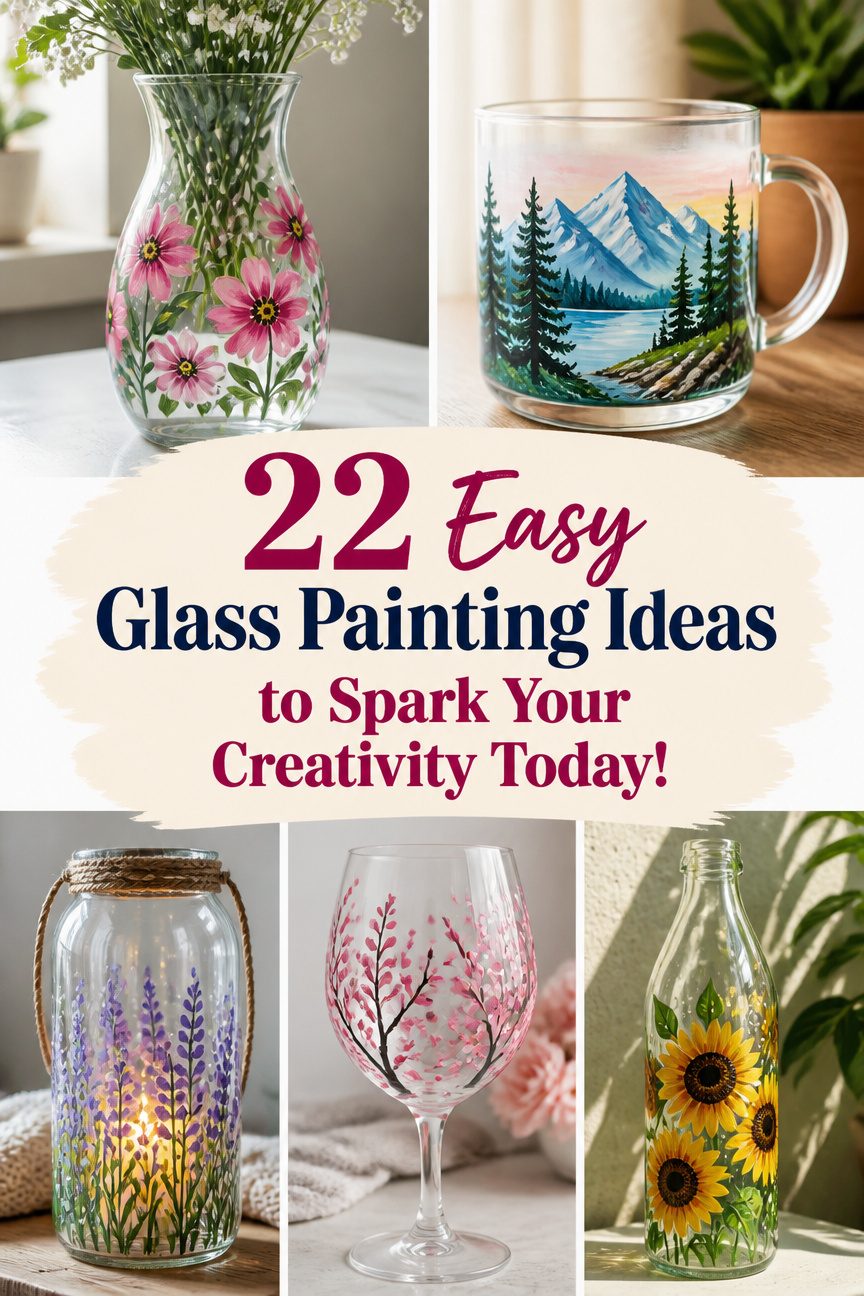
Light and color can feel like magic on glass. Tiny brushstrokes can turn plain surfaces into happy art.
-
1. Painted Rainbow Window Charm
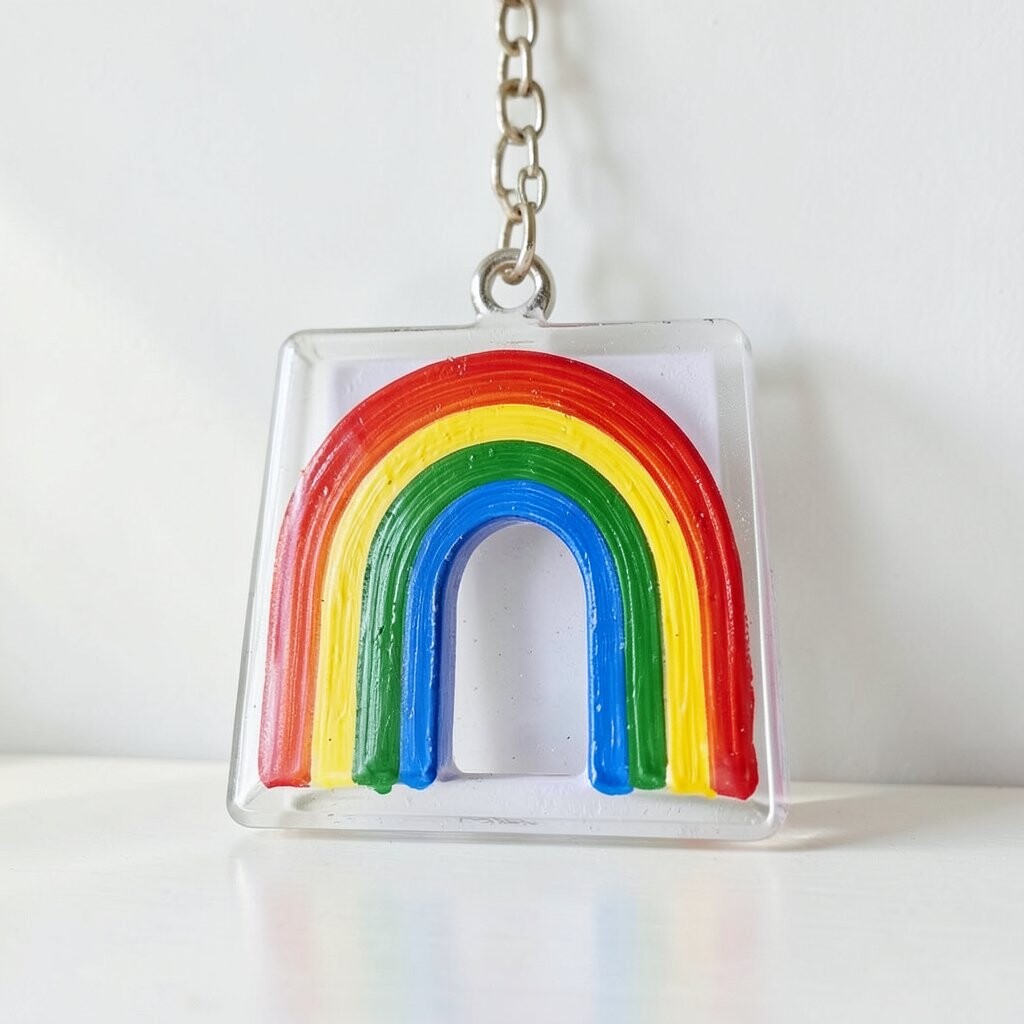
Painted Rainbow Window Charm Start with a small glass panel or a clear hanging ornament. Paint simple rainbow stripes that curve like a smile, then add tiny sparkle dots across the top.
Step back and notice how the colors glow when daylight hits them. This idea helps you practice smooth lines and color mixing without getting too complicated. Try personalization by giving each stripe a different thickness, or by adding the initials of someone special.
For tips, use thin paint layers and let each one dry before adding details. Keep it budget-friendly by using leftover glass paint or student acrylic mixed with a clear medium made for glass. A current trend is adding micro-sparkles and “sunburst” accents, so add a few short star rays near the center.
-
2. Galaxy Stars on a Clear Bottle
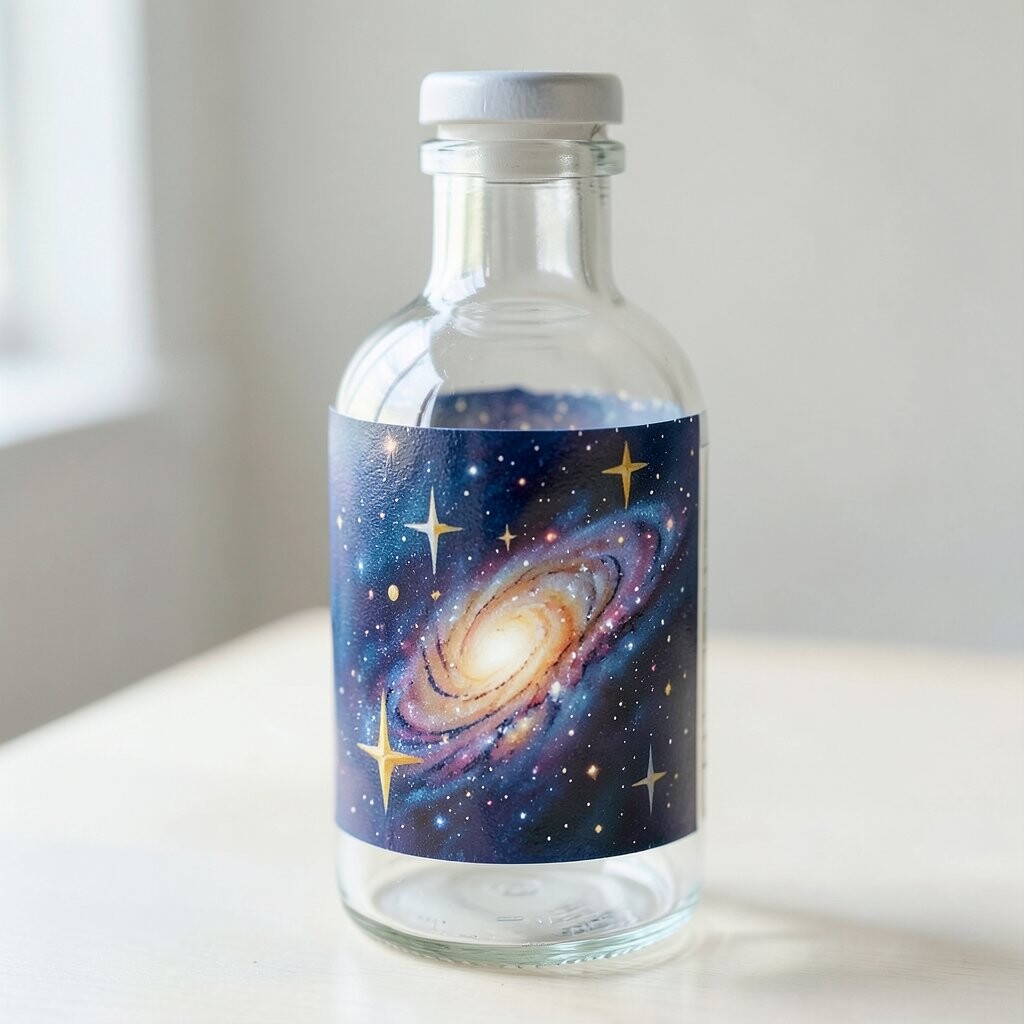
Galaxy Stars on a Clear Bottle Paint a bottle with a deep navy base, then tap on white and silver dots like distant stars. Add a soft swirl using purple and teal so it looks like a calm night sky.
The visual effect feels dreamy when the bottle catches light. This project is great for beginners because the star pattern is easy to repeat. Personalize it by choosing your favorite “planet” color and painting a small ringed planet near the neck.
Use a cotton swab to dab tiny stars for a quick texture. Let the bottle dry fully, then seal it with a clear glass-safe varnish if your paint brand recommends sealing. Cost stays low since you can reuse old bottles and focus your supplies on a few paint colors.
-
3. Citrus Slice Glass Coasters
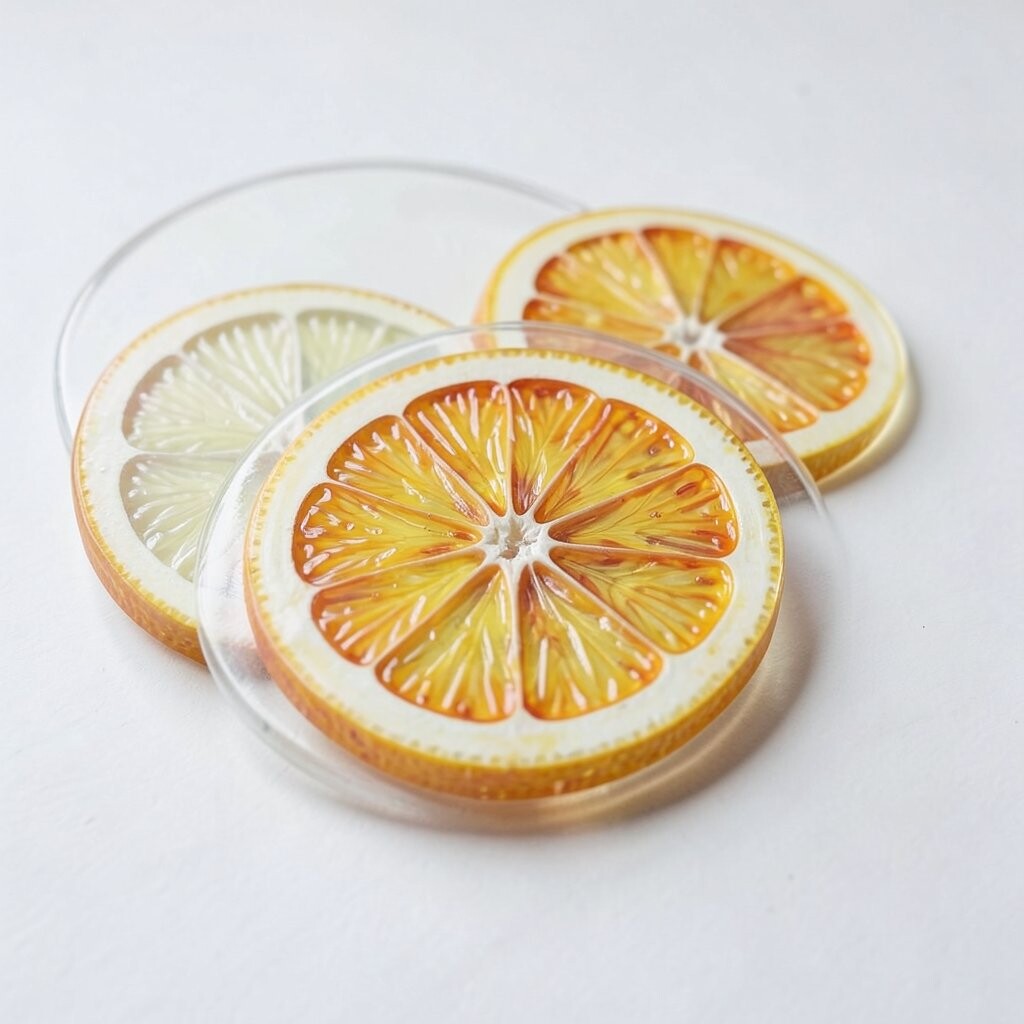
Citrus Slice Glass Coasters Paint lemon, lime, or orange slices on coaster-sized glass pieces. Use bright yellow or green rings, then add tiny “seeds” as small dots inside.
When you stack your drinks on top, the fruit shapes look fresh and sunny. These coasters bring a fun kitchen vibe and help you build steady hand control. Make it personal by matching fruit colors to your home decor or by adding cute bite marks like little comic slices.
For tips, outline the slice with a thin darker line so it pops. If you want a modern look, try a minimalist version with only the outer ring and a few seed marks. You can keep costs down by buying inexpensive clear coasters or using thrifted glass pieces.
Current trends like “citrus pop” and bright kitchen accents are showing up in lots of home styling right now. Finish with a glossy top coat to help the paint last with daily use, if your product is meant for surfaces that touch cups.
-
4. Boho Mandala on a Mirror Tile
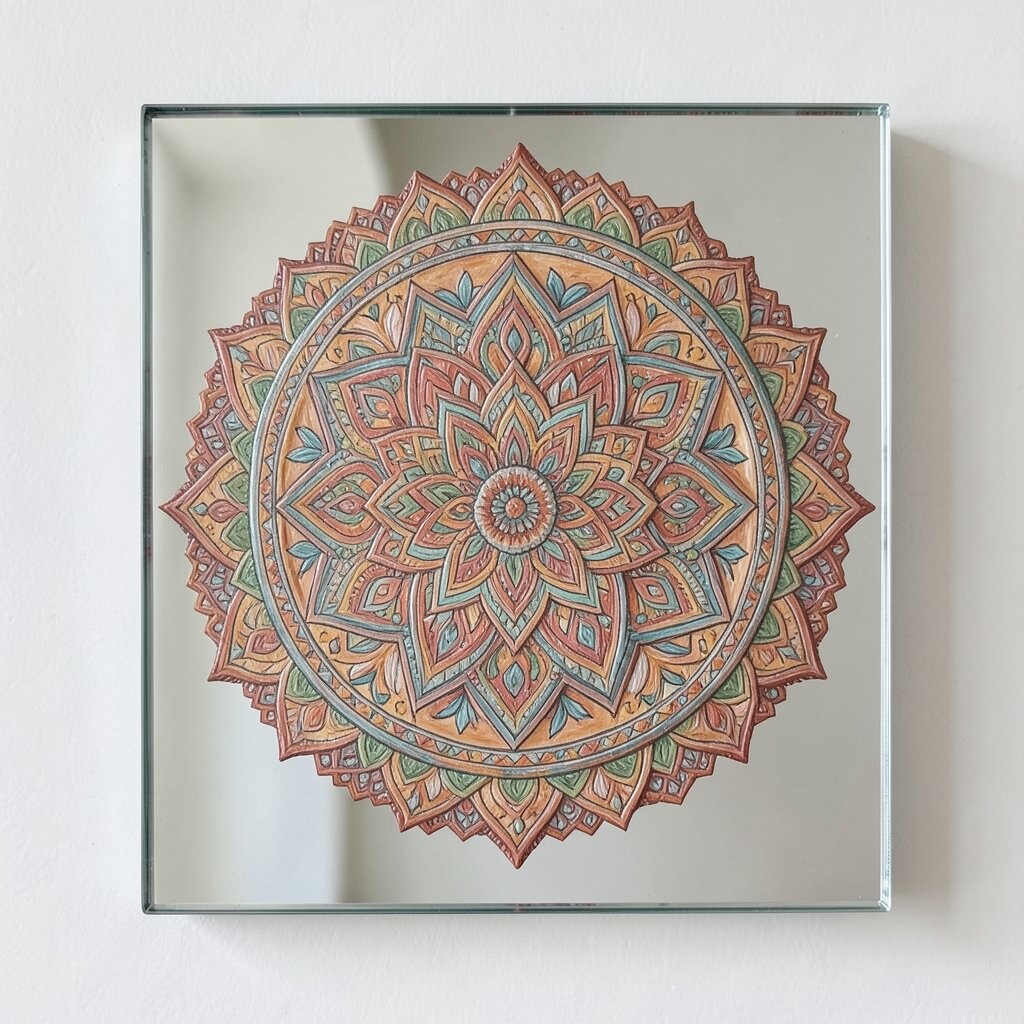
Boho Mandala on a Mirror Tile Choose a round mirror tile or a small glass mirror piece. Paint a center dot, then build out with petal shapes and repeating circles like a mandala.
This creates a calm, eye-catching focal point in a room. It also strengthens your symmetry skills and brush control. Personalize the pattern by changing the palette to match your space, like warm terracotta or cool blues.
Use a simple compass trick: lightly mark guide circles with a washable marker before you paint. For a trendy twist, add metallic paint lines that catch the light in the morning. Cost can stay reasonable because a single mirror tile can become an impressive wall accent.
-
5. Leafy Stained-Glass Style on Clear Frames
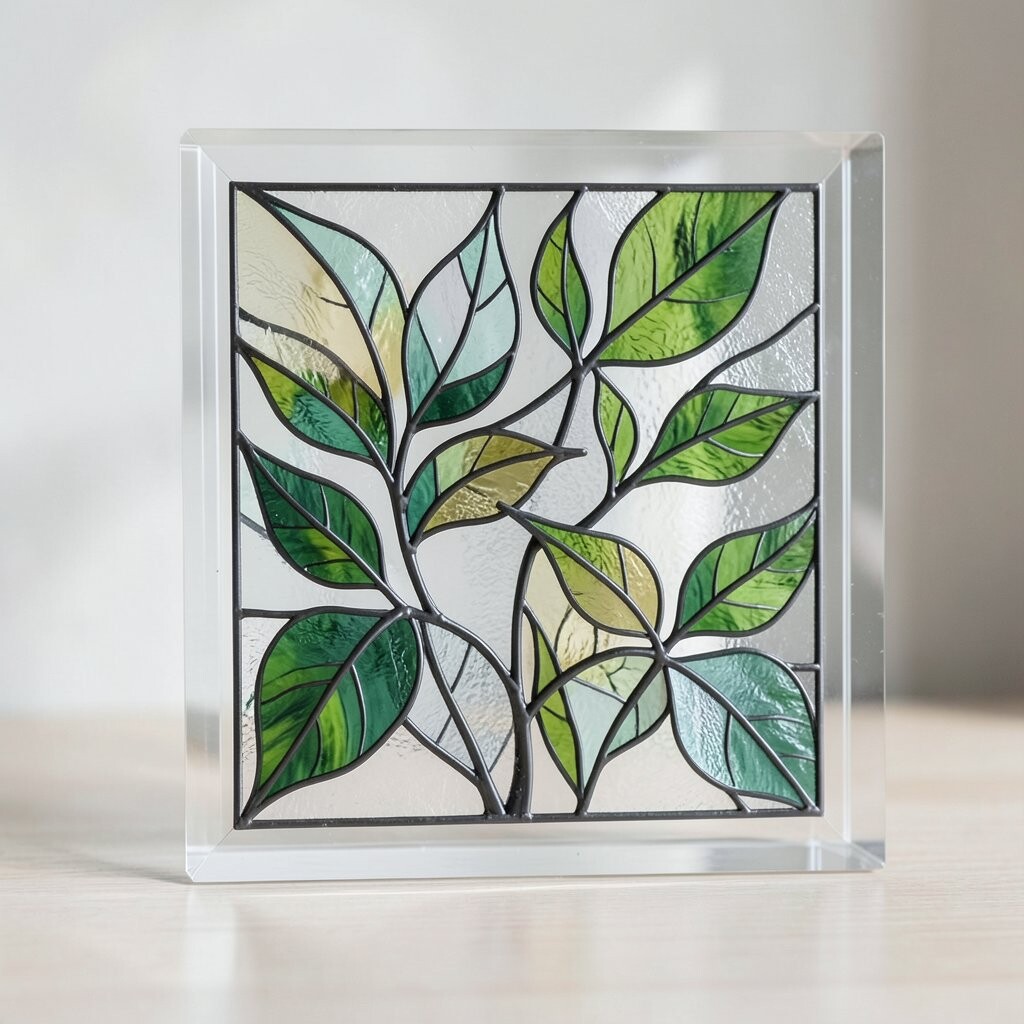
Leafy Stained-Glass Style on Clear Frames Use a clear frame or a glass sheet and paint “stained glass” leaf shapes inside. Start with thick outlines in a dark color, then fill each leaf section with lighter tones.
The look is rich and layered, almost like real stained glass. This is great for learning patience, because each section teaches you how to blend colors carefully. Personalize it by painting leaves from your favorite plant, like monstera, maple, or olive.
For tips, let outlines dry before filling, so colors don’t smear. If you want an easy effect, stick to three colors plus one outline color. Keep costs down by using leftover glass paint or small tubes, and by working on small frames from craft stores or thrift shops.
-
6. Pastel Waves on a Bathroom Glass Door
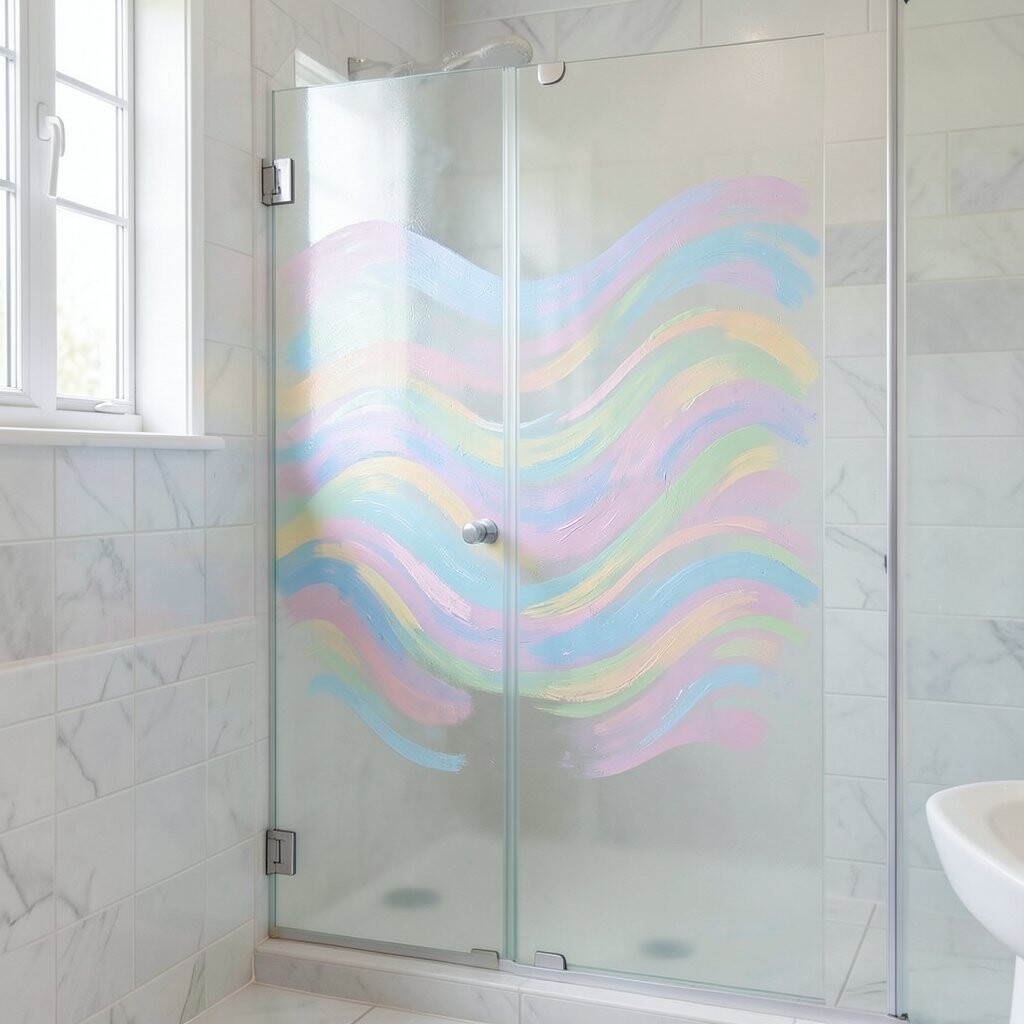
Pastel Waves on a Bathroom Glass Door Paint soft wave lines across a glass panel using pastel blues, pinks, and mint. Keep the waves gentle so they feel like a relaxing ocean breeze.
This brightens a bathroom and makes the space feel fresh. It also helps you practice repeating curves, which is a skill you can use in many future projects. Personalize by adding tiny foam dots at the tops of waves.
Use painter’s tape to block straight edges and protect parts you don’t want painted. Let everything dry, then apply a sealant that matches the paint type and surface needs. Cost is manageable since you mainly need paint colors, brushes, and tape.
-
7. Handprint Keepsake on Glass Votive
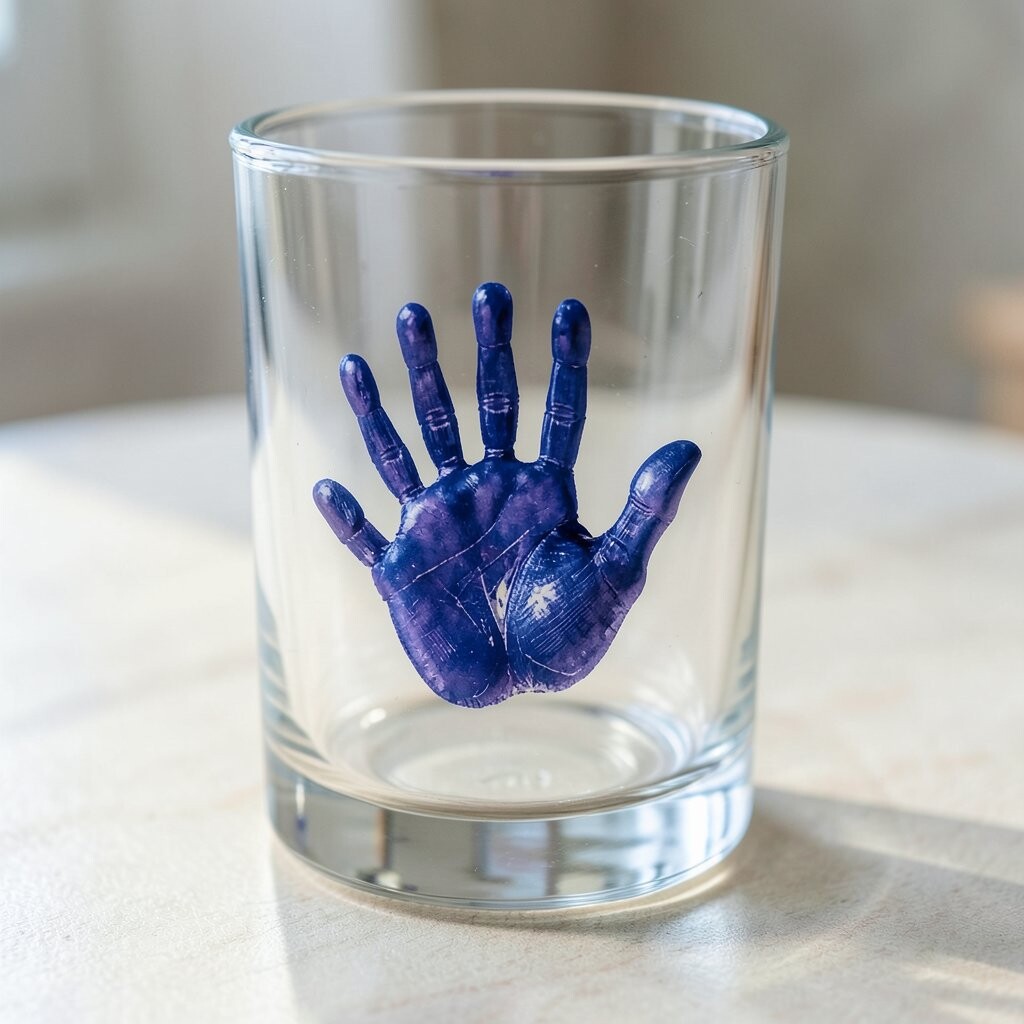
Handprint Keepsake on Glass Votive Paint a glass votive candle holder with a clean background. Then create a handprint shape using a darker color, and add small dots around it like tiny bubbles.
This turns a simple candle holder into a meaningful keepsake. It’s also a fun way to slow down and enjoy the process. Personalize by adding names and a date near the bottom, or by using two colors for two different handprints.
For tips, sketch the handprint outline first using a light pencil mark or a removable guide. Use a sponge brush to spread paint evenly on the glass. To keep costs low, thrift votives or buy multi-packs when they are on sale.
Right now, keepsake decor with personal marks is popular, especially for gifts. If you’re making one for a birthday or holiday, choose colors that match the person’s favorite style.
-
8. Cozy Plaid Pattern on a Small Glass Panel
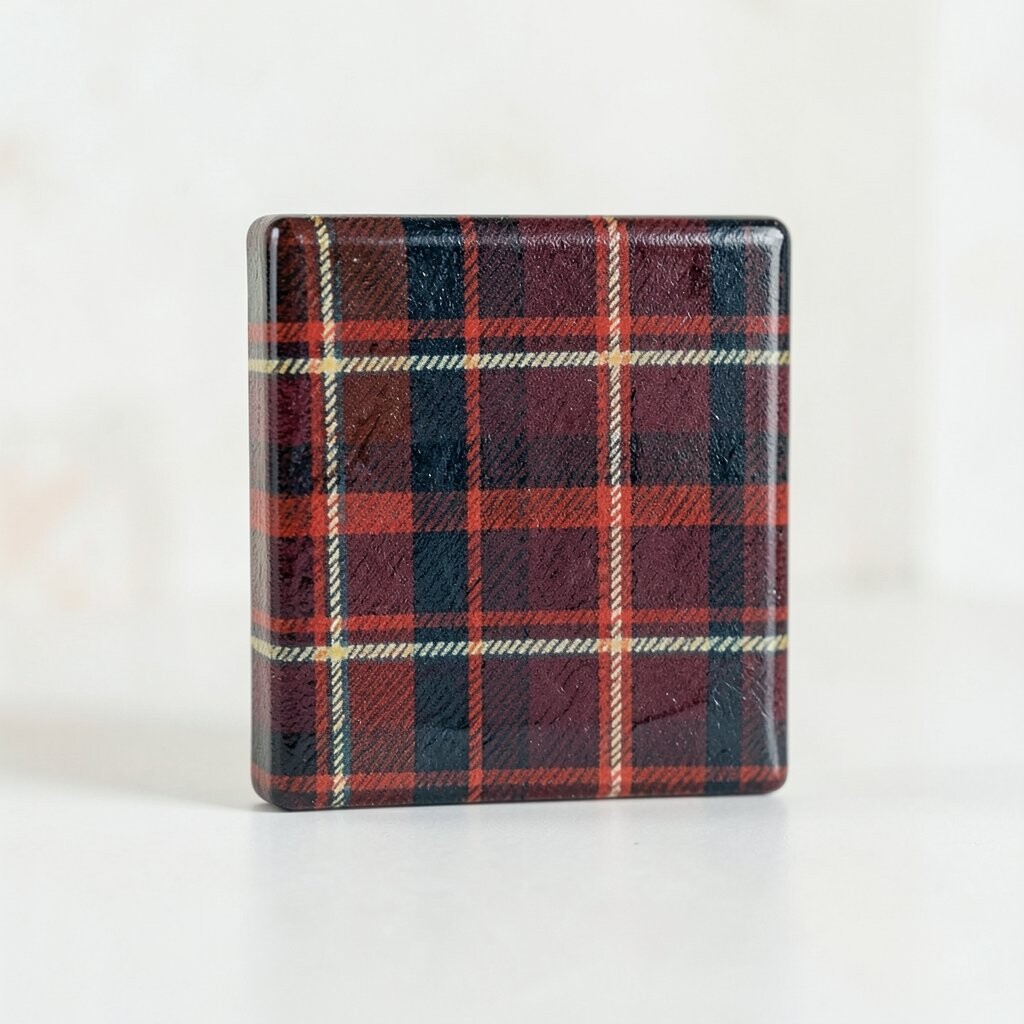
Cozy Plaid Pattern on a Small Glass Panel Paint a plaid design with thick lines and softer cross lines on a small glass panel. Use colors like cream, navy, red, and green for a classic cozy look.
The pattern feels warm and inviting, like a cabin sweater on a sunny day. This project helps you plan spacing and keep lines straight. Personalize it by choosing your favorite plaid colors, or by mixing modern bold colors like black, teal, and yellow.
For tips, draw thin guide lines first, then paint over them with thicker lines. Use a small brush for edges and a bigger brush for wide sections. Keep costs down by using tape as a “line maker” so you don’t need too many tools.
-
9. Color Block Abstract on a Glass Tray
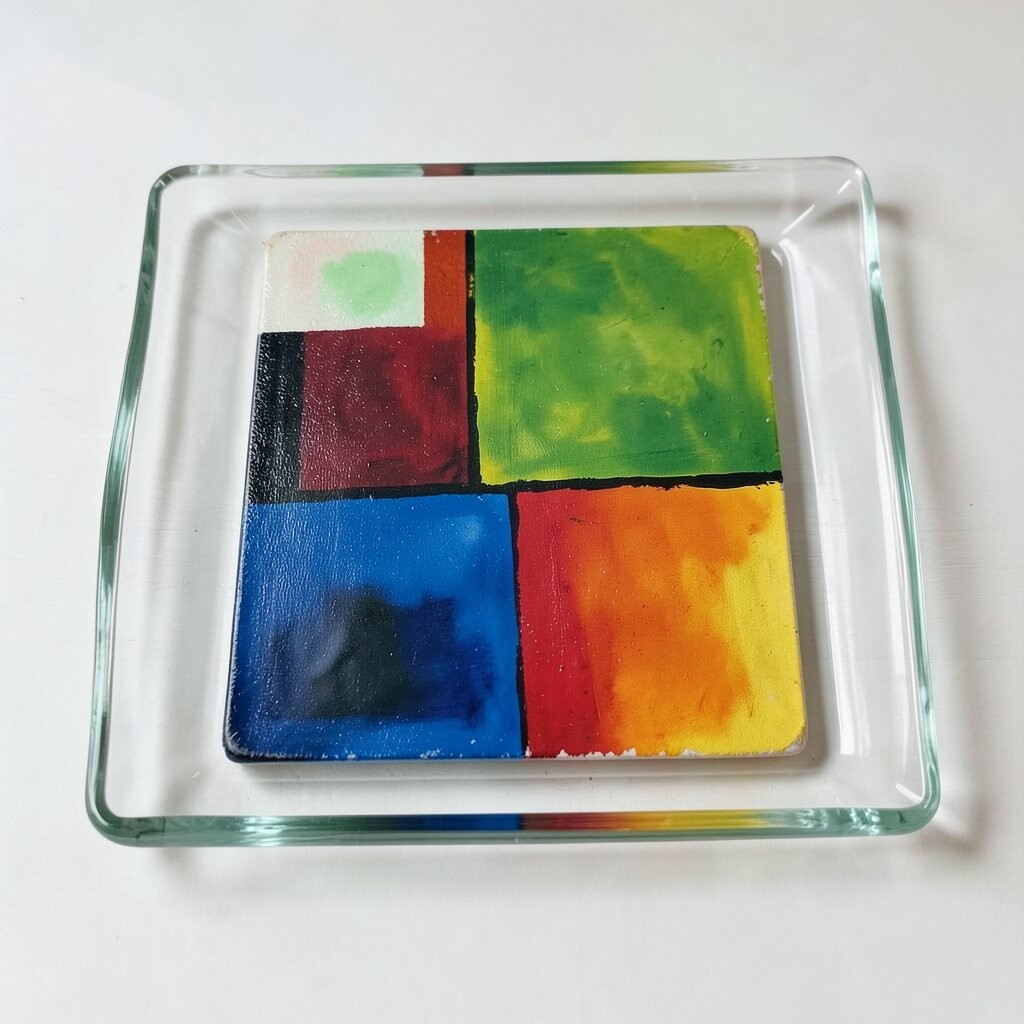
Color Block Abstract on a Glass Tray Pick a clear glass serving tray and paint bold color blocks on the edges. Use different shapes like rectangles, triangles, and rounded blobs so it feels playful.
This idea looks modern and fun, and it turns everyday items into stylish decor. It’s great for people who want freedom, because there is no strict rule for placement. Personalize by choosing a “theme,” like your favorite sports colors or a calm set like sage, sand, and sky blue.
Try a simple trend: “layered blocks” where you paint one set and then add a semi-transparent overlay. Use painter’s tape to keep crisp shapes, and remove it while the paint is still slightly tacky. Cost is fairly low because you can use only a few paint colors and keep the design only on the border.
-
10. Botanical Line Art on a Clear Jar
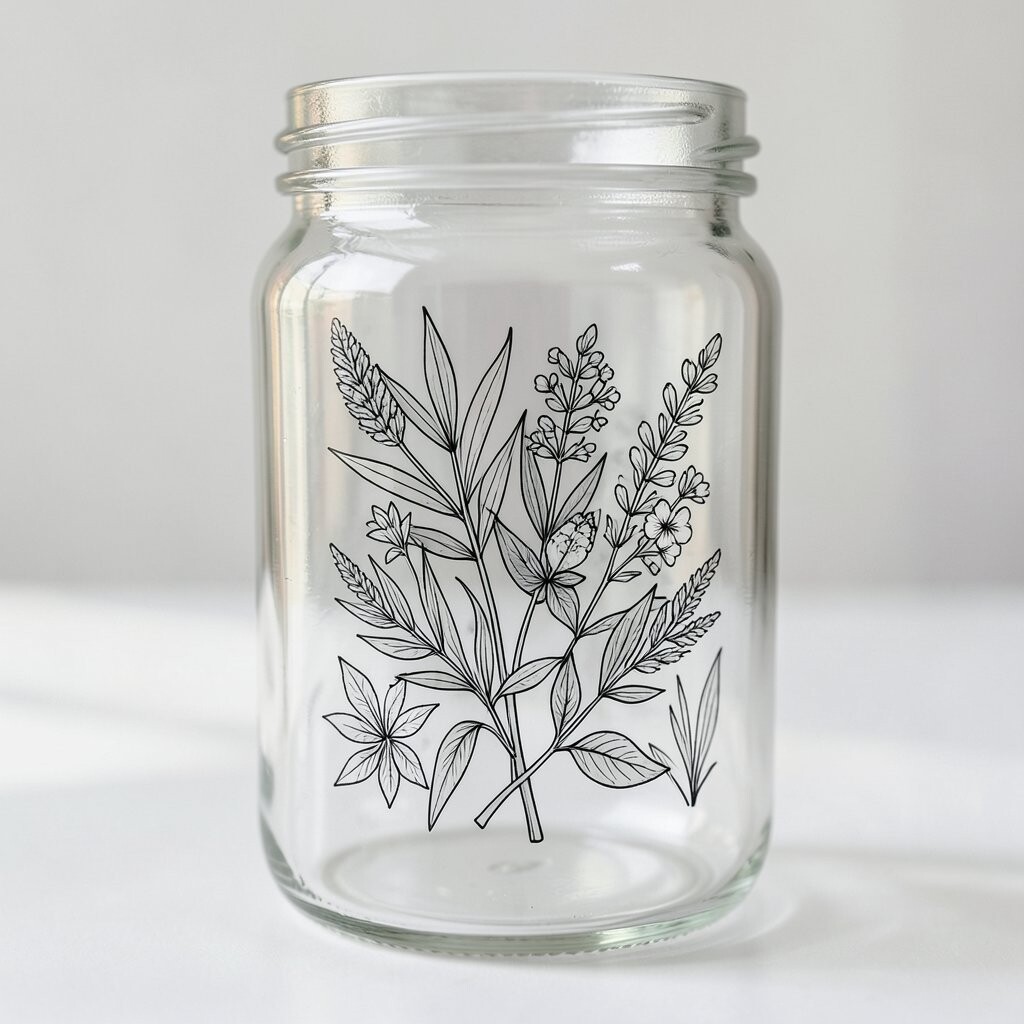
Botanical Line Art on a Clear Jar Paint thin line art of stems, leaves, and flowers on a clear jar. Keep the lines delicate and consistent, like a book illustration.
When the jar sits in a room, the lines look airy and light. This project builds confidence in clean drawing and helps you slow down. Personalize it by adding a single flower you love and giving it a tiny label like “lavender” or “sunflower.”
For tips, use a fine-tip paint pen or a small liner brush for crisp lines. Let the base layer dry before adding small details so they do not blend. You can keep costs low by using jars you already have, then focusing on paint and a seal if needed.
-
11. Sunflower Glow on Glass Frame Corners
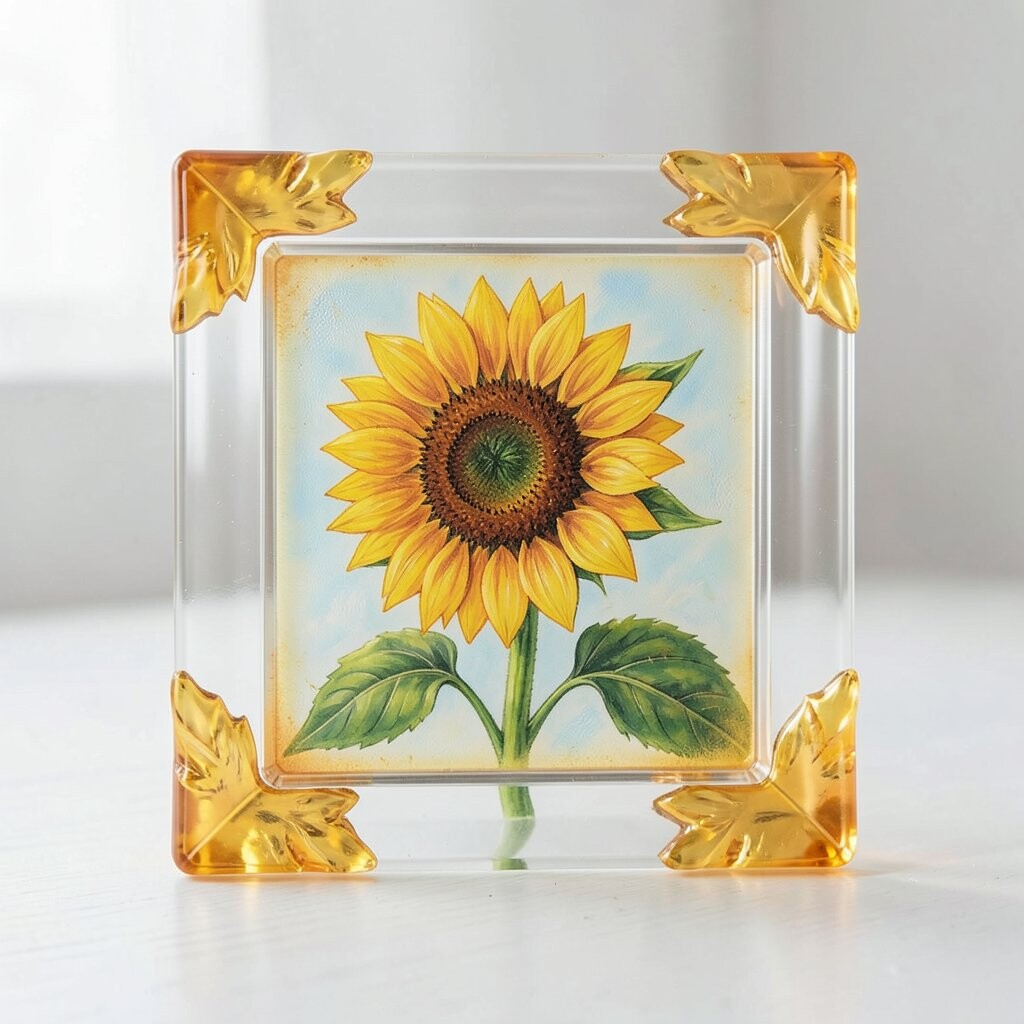
Sunflower Glow on Glass Frame Corners Paint sunflower shapes, but place them mainly in the corners of a glass frame. Leave some glass areas empty so the artwork has breathing space.
This makes the sunflower feel bright and modern instead of too busy. It’s helpful for practicing petal shapes and careful color layering. Personalize by painting the center in warm golden circles and adding a few tiny leaf doodles around it.
For tips, use a sponge to dab the center for a fluffy texture. If you want a trend update, add a subtle ombre on the petals, going from pale yellow at the tips to deeper gold near the base. Costs stay reasonable because you can paint small shapes and still get a big visual impact.
Try finishing with a glossy top coat so your sunflower colors catch the light. This can also make cleaning easier for many glass-safe paints.
-
12. Snowflake Frost Effect on Hanging Glass Ornaments
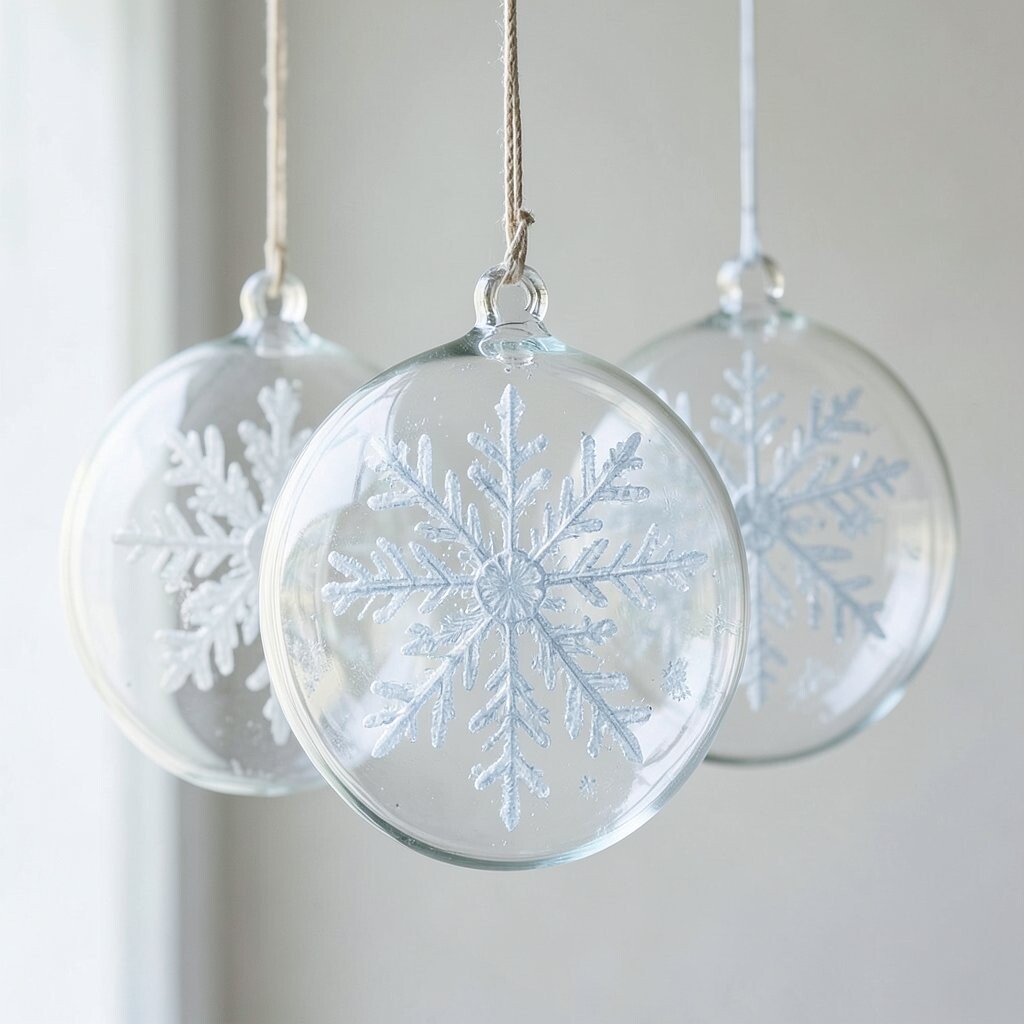
Snowflake Frost Effect on Hanging Glass Ornaments Paint delicate snowflakes using white and pale silver on hanging glass ornaments. Keep each arm thin and slightly different so every snowflake feels unique.
The result looks like frosty winter glass when it reflects light. This project is a relaxing choice and helps you practice repeating patterns. Personalize by adding a tiny sparkle dot at the end of each snowflake branch.
For tips, use a toothpick or dotting tool for small points and line turns. Let it dry, then paint a soft shadow glow around the snowflake with light blue. Keep costs down by using inexpensive ornament blanks and saving paint for multiple pieces.
-
13. Heart Confetti on Clear Water Bottle Sleeve
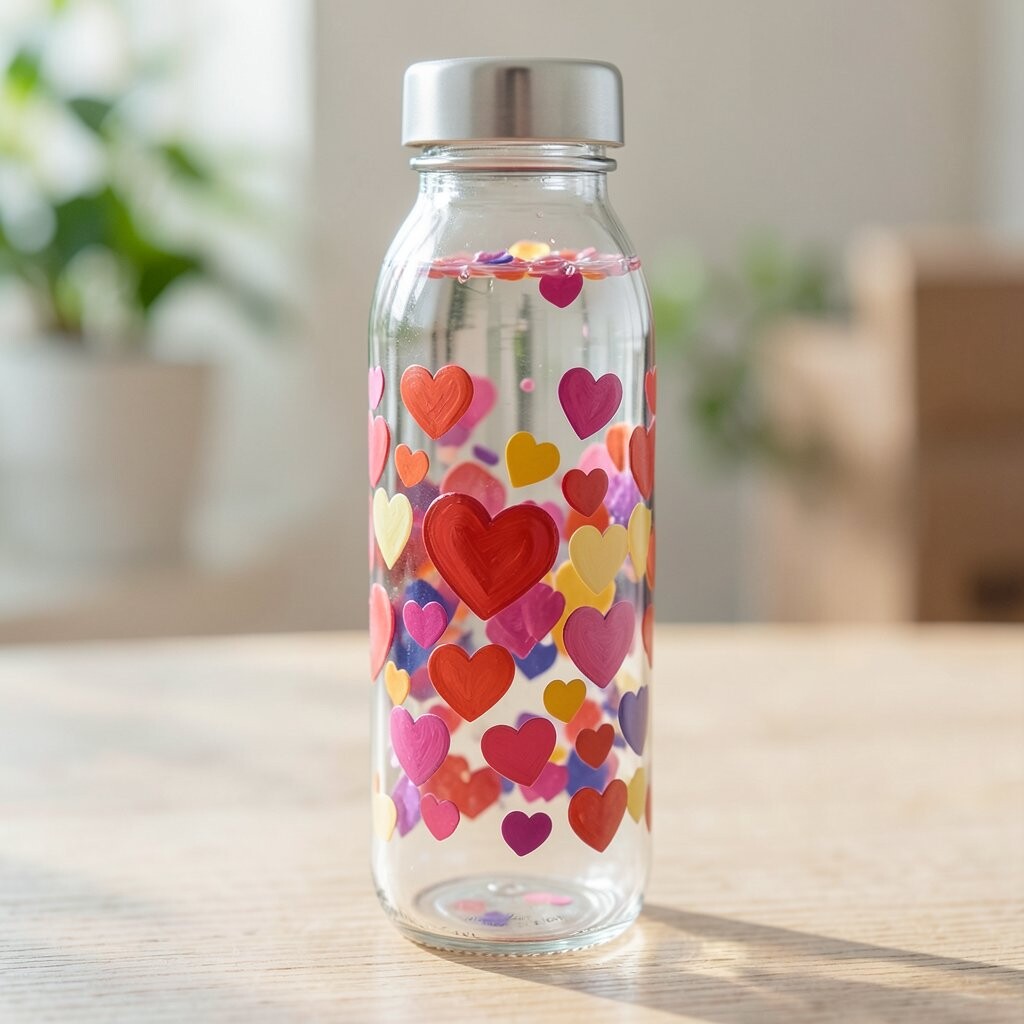
Heart Confetti on Clear Water Bottle Sleeve Paint small heart confetti patterns on a glass water bottle or a glass vase. Use one main color for hearts and a second color for tiny dots between them.
This makes your item look cheerful and perfect for gifts. It also teaches you how to create small shapes quickly and neatly. Personalize it with hearts shaped like your initials or by adding a short word inside a heart like “love.”
For tips, practice on scrap glass first, so your heart size stays consistent. Use a stencil for faster results if you prefer. Cost considerations are easy here because you can use just two paint colors for a big result.
Right now, playful “confetti” designs are trending on drinkware and home decor, and glass paint is a great way to match the vibe. Choose a finish that is meant for the surface so it lasts when the item gets handled.
-
14. Monochrome Geometric Stars on Window Glass
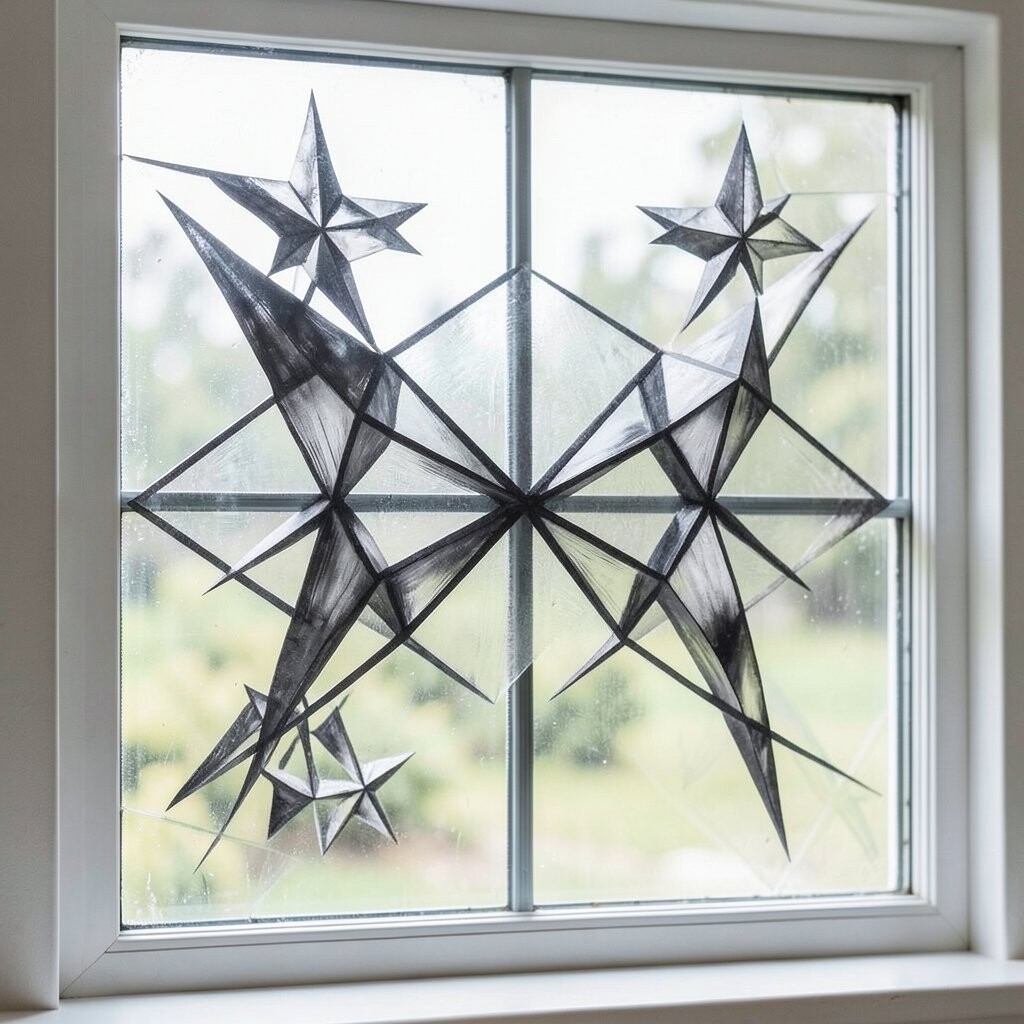
Monochrome Geometric Stars on Window Glass Pick one color, like black or deep purple, and paint geometric stars on a window section. Use triangles and sharp lines so the stars feel modern and clean.
This looks bold, especially in daylight, and it helps your window become art without clutter. It’s also great for learning angles and steady brush movement. Personalize by adding stars of different sizes, or by placing them in a simple pattern like a diagonal line.
For tips, use a ruler for straight lines and let each shape dry before adding details. Cost stays low because one color goes far. A current style is minimal “line star” art, so keep the background simple and let the shapes stand out.
-
15. Mermaid Scale Texture on a Small Glass Tray
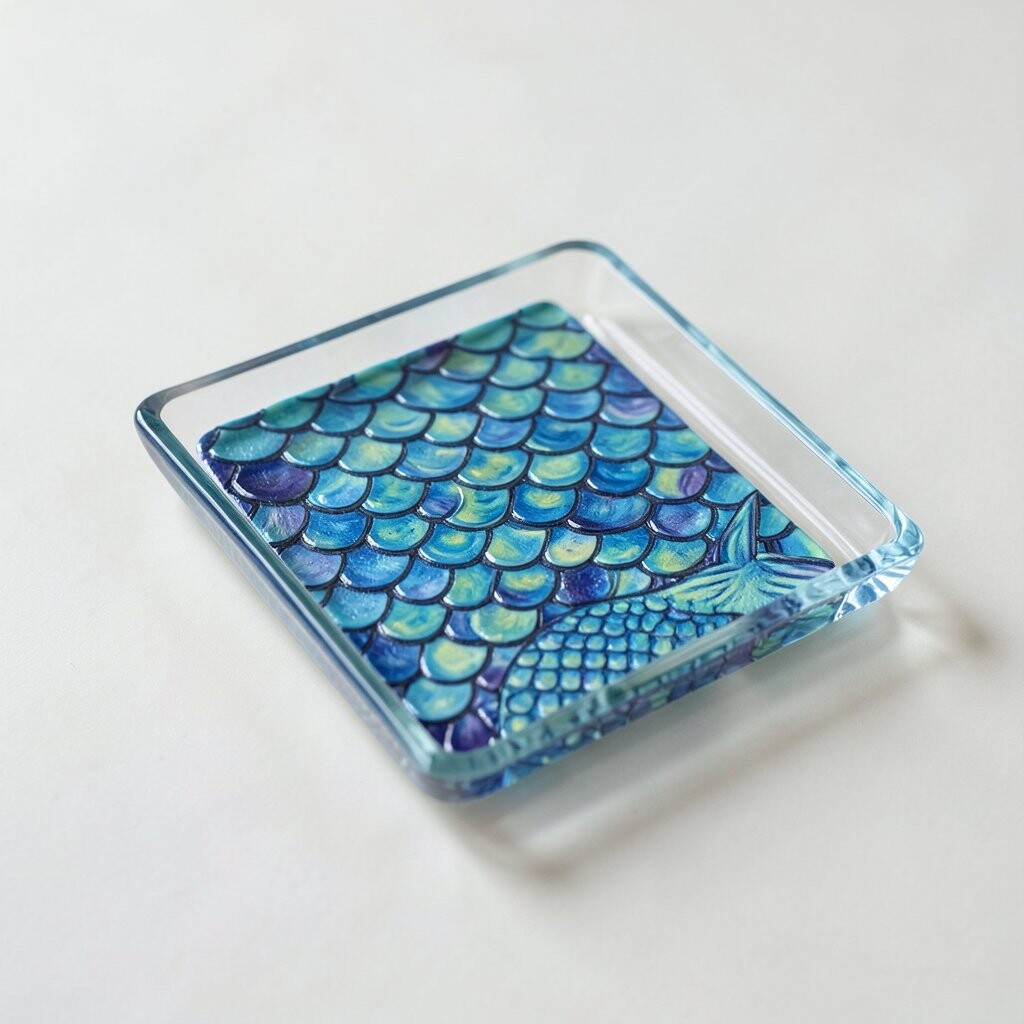
Mermaid Scale Texture on a Small Glass Tray Paint a scale texture by drawing curved “U” shapes that overlap each other. Use teal, aqua, and a touch of green for a sea-inspired look.
When light hits, the scales look shiny and playful like fish skin. This is a super satisfying project because the pattern repeats in a fun way. Personalize it by adding a few starfish outlines near the corner or a wave edge around the tray.
For tips, start at the bottom and work upward so the scales overlap naturally. Use a medium brush for main scales and a tiny brush for highlights. Cost is friendly since you can create a full ocean look with just three paint shades.
-
16. Painted Ribbon Banner on a Glass Plaque
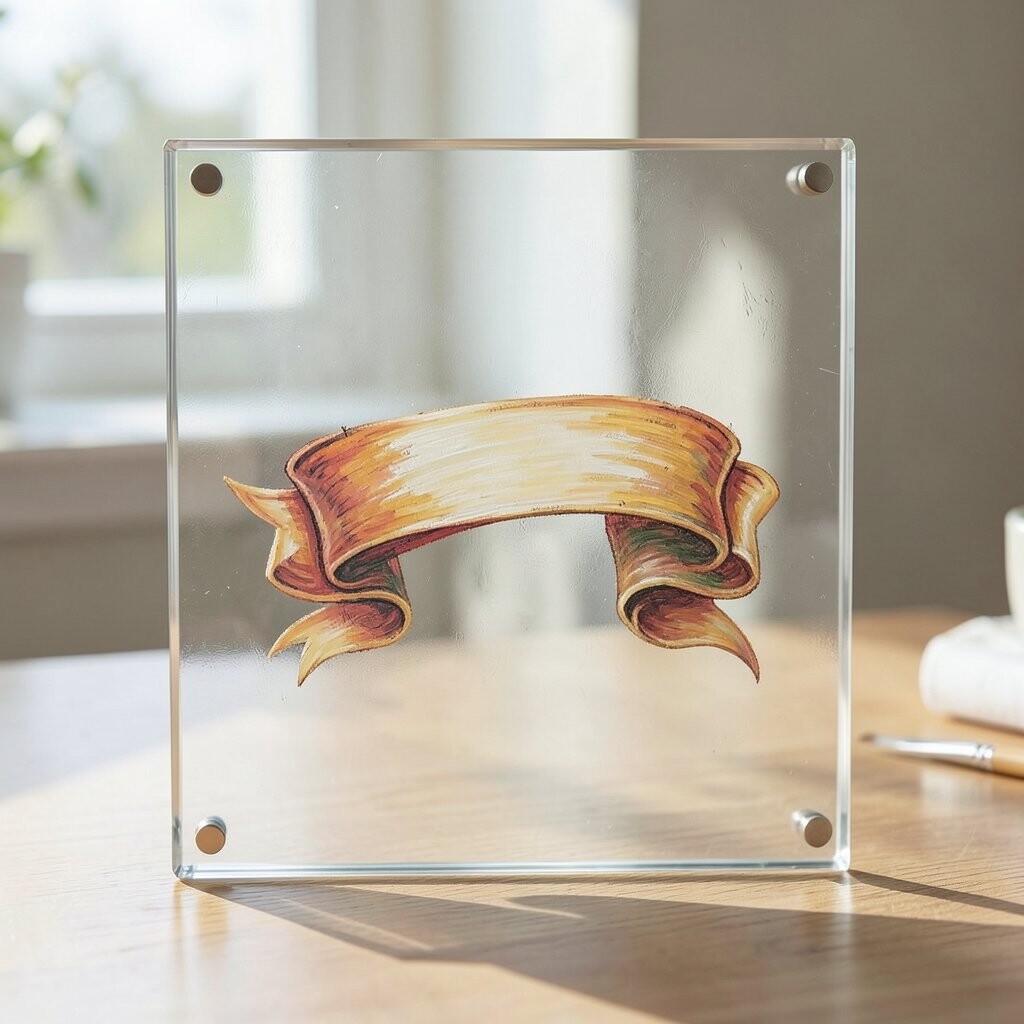
Painted Ribbon Banner on a Glass Plaque Paint ribbon shapes across a glass plaque using a mix of soft and bold colors. Add curled tails like banners on flags, then paint small dots along the edge.
This makes the plaque look like it belongs on a holiday wall or a celebration table. It also improves your ability to paint smooth curves. Personalize by changing ribbon colors to match birthdays, weddings, or seasonal decor.
For tips, sketch the ribbon path first so the curves stay even. Use thin paint for fine lines and a slightly thicker coat for the ribbon fill. Cost can be kept down by using affordable glass plaque blanks and focusing on just one or two banner styles.
-
17. Autumn Leaves Gradient on Glass Coaster Set
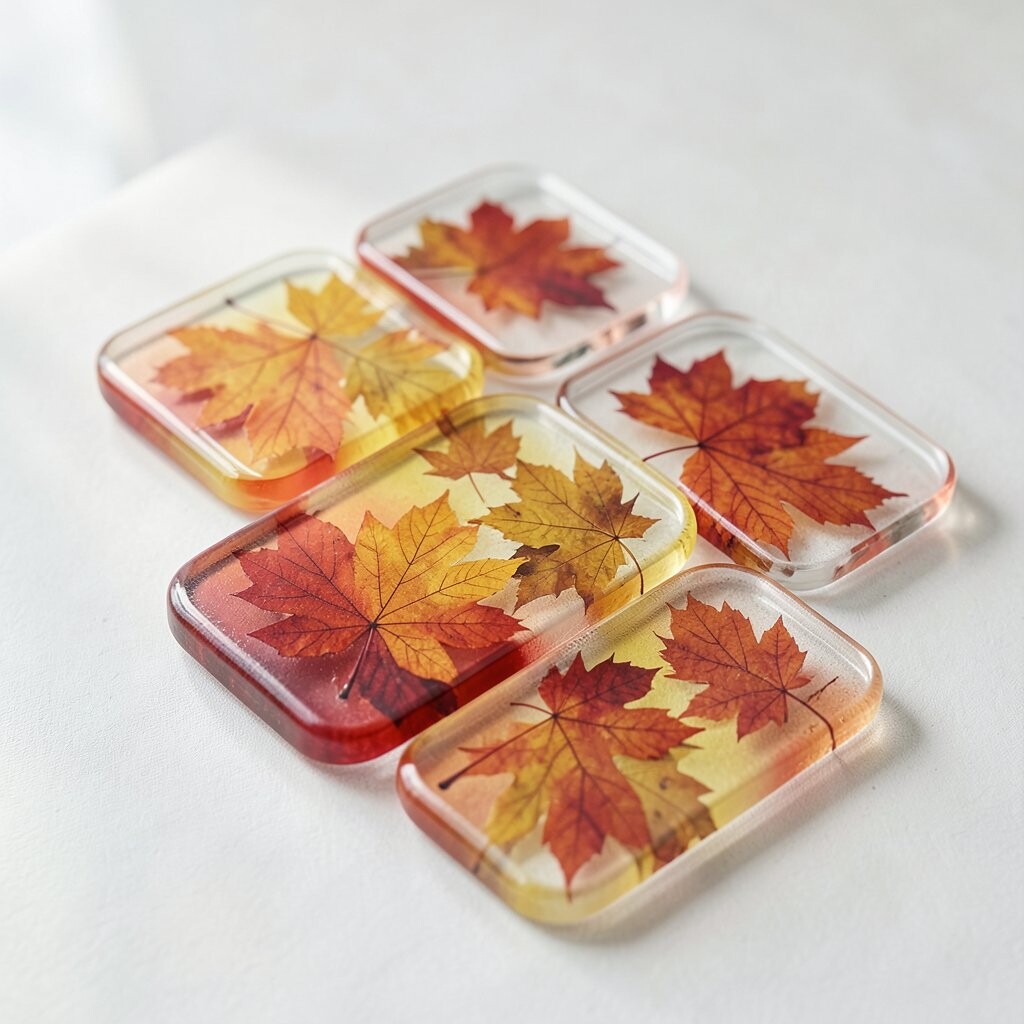
Autumn Leaves Gradient on Glass Coaster Set Paint autumn leaf shapes with a gradient style, like yellow to orange to deep red. Work on a set of coasters or small glass circles for a matching set.
The warm colors feel like fall even if it’s not the season. This project is helpful because it teaches you how to blend while still keeping leaf outlines clear. Personalize by making each leaf type different, like maple, oak, and ginkgo.
For tips, blend near the edge of the leaf first and keep the center slightly darker. Add a few simple veins using a fine brush. Cost considerations are good here because a small set can be made with a limited palette and basic brushes.
A current trend is “seasonal color stories,” where the same family of colors repeats across multiple items. If you like that style, match your leaf colors to your living room or dining table theme.
-
18. Tiny Dots and Smudges on a Clear Vase
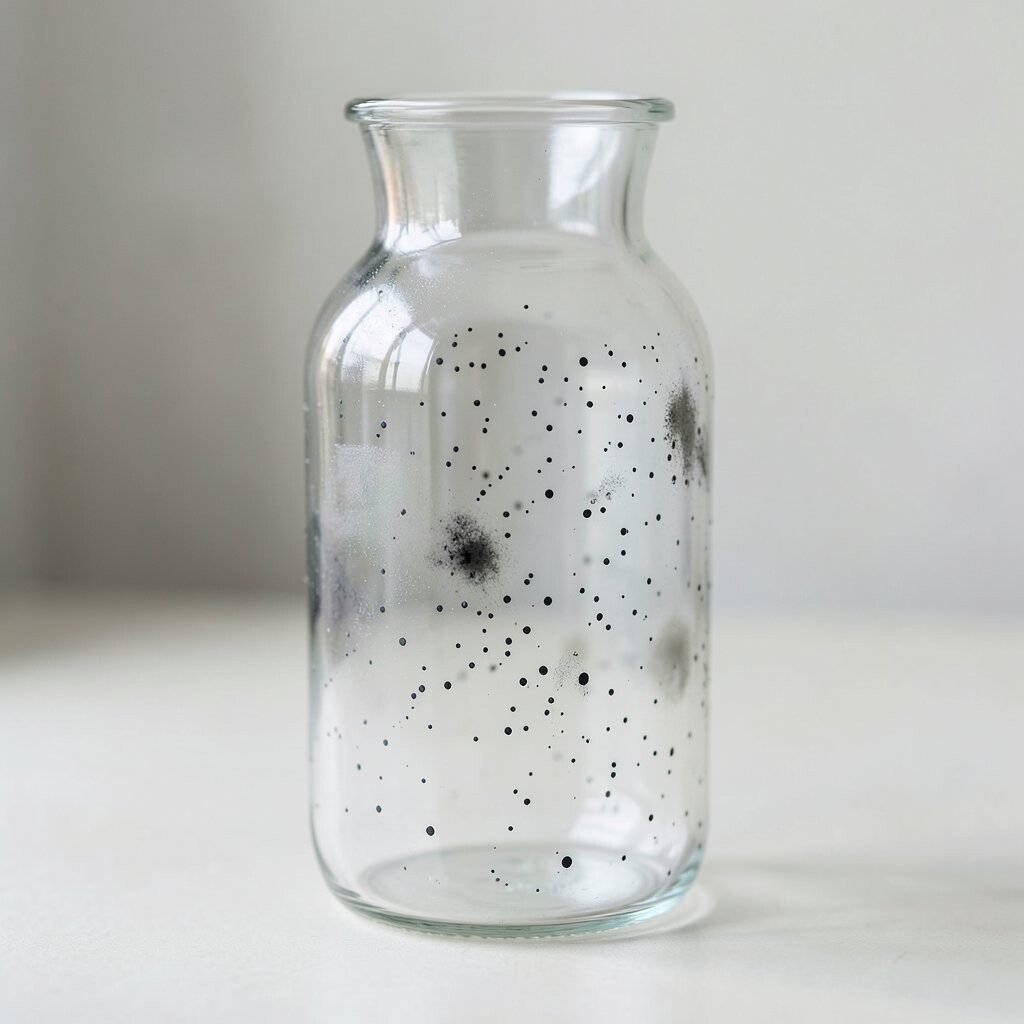
Tiny Dots and Smudges on a Clear Vase Paint the outside of a vase with tiny dots and soft smudges. Use one bright color as the main color, then add white dots for light and sparkle.
This creates a playful look that feels like modern art. It’s relaxing because you’re not drawing complicated pictures. Personalize by placing dots in a pattern, like heavier near the bottom and lighter near the top.
For tips, use a sponge corner to create soft smudges so the paint looks textured, not flat. Let each color area dry before adding another layer. Cost is low because dot work uses very little paint, and you can use simple household glass vases.
-
19. Storybook Icons on a Glass Door Handle Cover
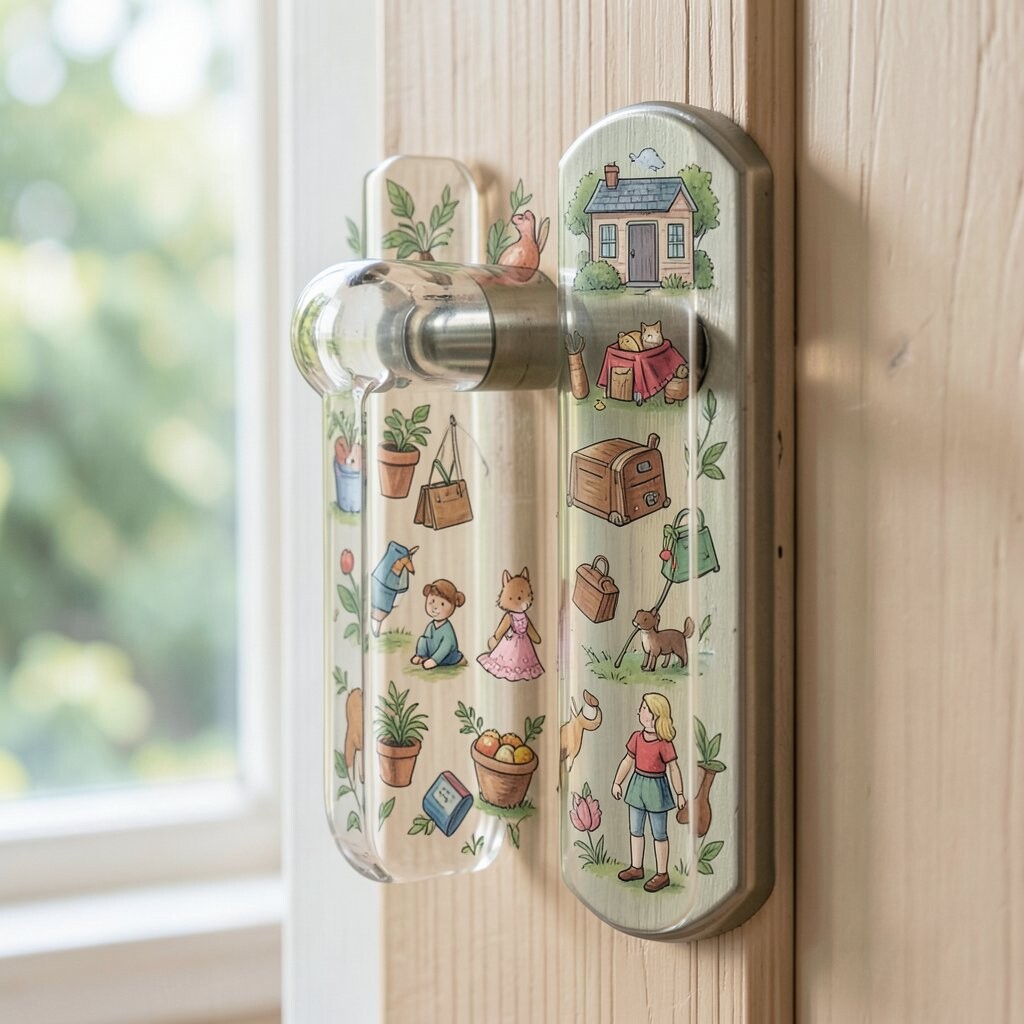
Storybook Icons on a Glass Door Handle Cover Paint small storybook icons, like a tiny book, star, moon, or cloud, on a glass handle cover. Keep the icons spaced so each one is easy to see.
This makes everyday things feel magical, like a tiny scene from a favorite book. It also helps you practice small details without overwhelming the whole piece. Personalize by using icons that match a hobby, like music notes for a music lover or paw prints for a pet family.
For tips, use a fine brush and draw outlines first. Fill with color slowly to avoid drips, then add a thin highlight line for extra shine. Cost considerations are good because icons can be painted with a small amount of paint, and glass handle covers are often inexpensive.
-
20. Floral Vine Border on a Glass Tabletop Insert
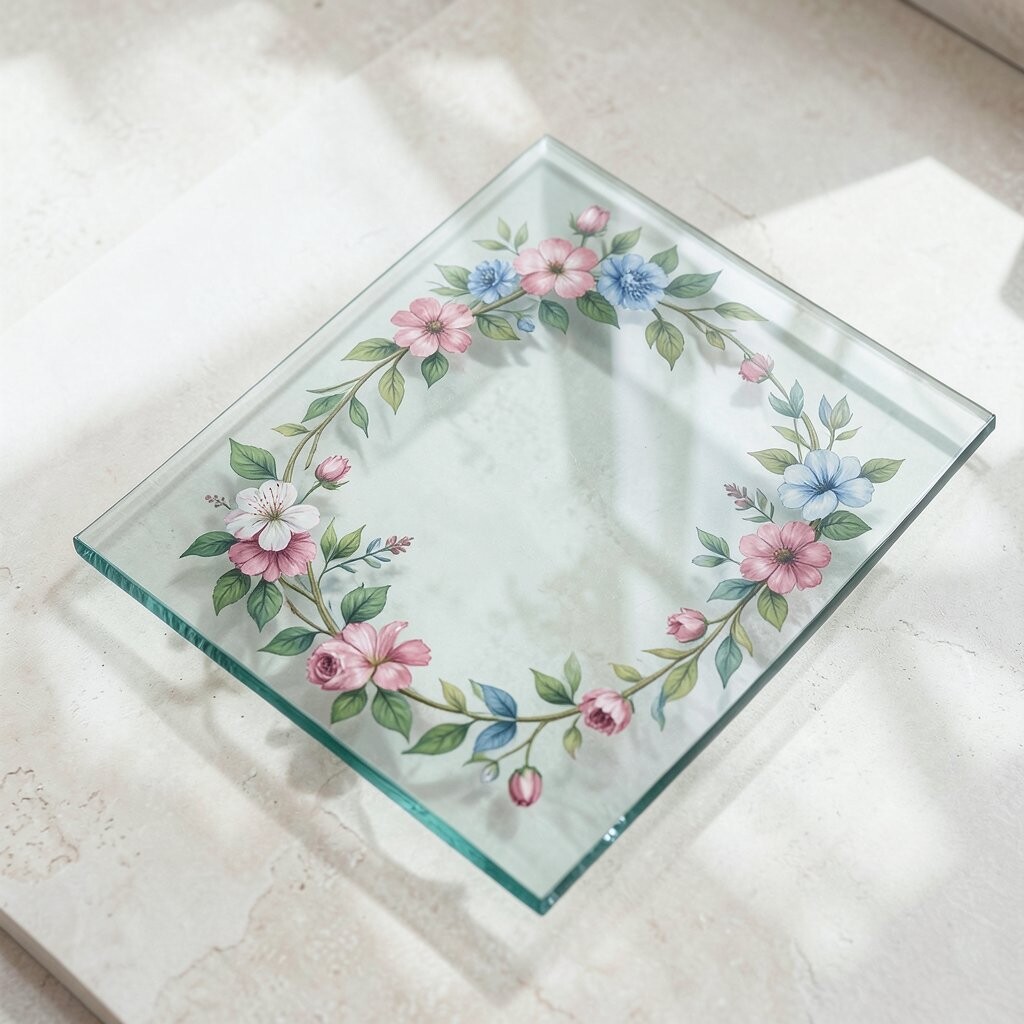
Floral Vine Border on a Glass Tabletop Insert Create a floral vine border by painting looping stems around the edges of a glass insert. Add small buds and simple leaves along the vine so it looks like it’s growing.
This adds elegance to a table and makes the glass feel framed by nature. It’s also a great skill-builder because vines teach smooth hand movement. Personalize it by choosing flowers you recognize, like daisies or tiny roses, and by using colors that match your room.
For tips, paint the main vine line first, then place leaves at even spacing. Leave a little glass showing in the middle so the border looks lighter. Cost stays manageable because a border design uses less paint than full coverage, and you only need a few key colors.
-
21. Candy Stripe Letters on a Glass Name Sign
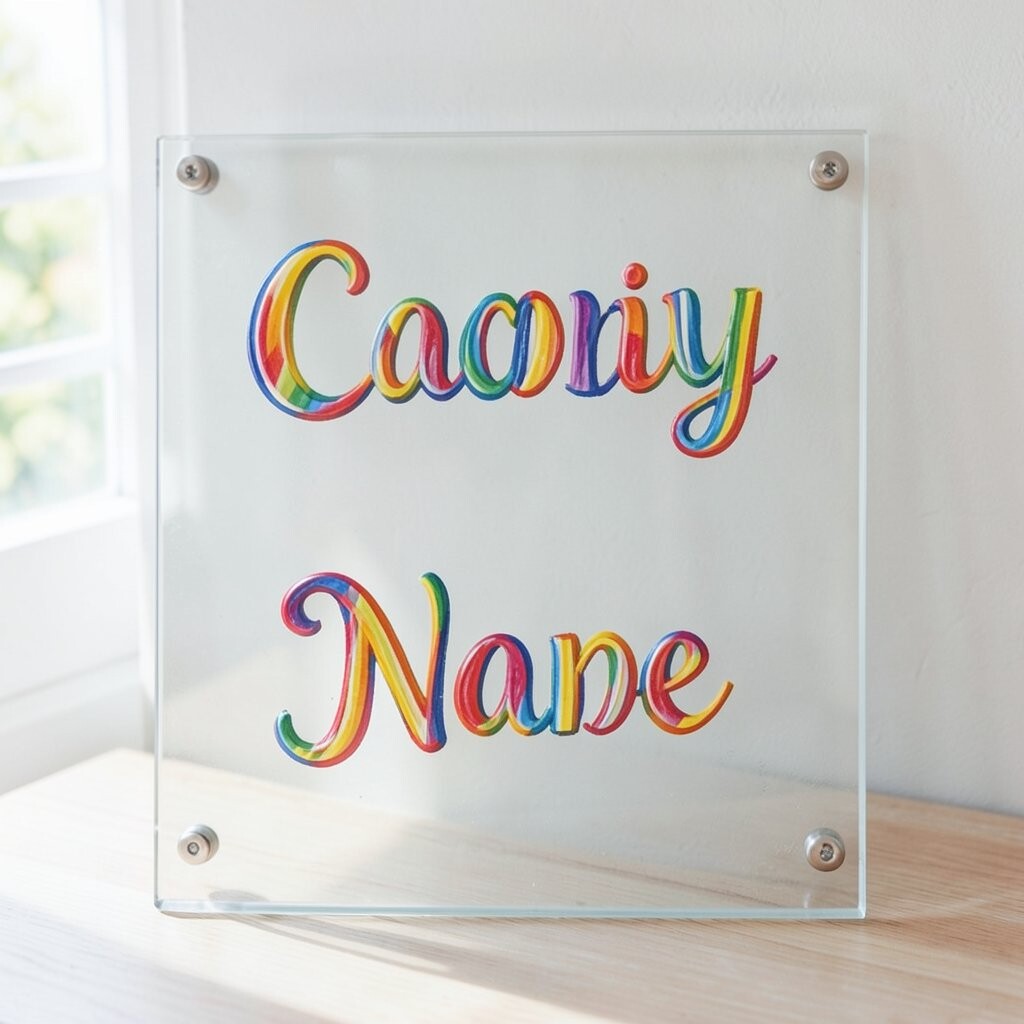
Candy Stripe Letters on a Glass Name Sign Paint your name or a short word on a glass sign using candy stripe letters. Use alternating colors inside the letters and add a thin outline to make the word pop.
This makes a personal display for a bedroom, entryway, or gift. It also teaches lettering basics and helps you plan spacing for clean shapes. Personalize it by adding a small icon above or below the word, like a heart, butterfly, or star.
For tips, practice the letter shape on paper first and then lightly mark guides on the glass. Use tape to help keep stripe lines straight, and remove it carefully. Cost considerations are simple since letters can be done with a few colors and one clear brush set, and the design is high-impact with low paint use.
A current trend is bold typography with playful color fills, so lean into bright stripes and glossy finishing for a modern look.
-
22. Watercolor Look Wash on Glass Lantern Panels
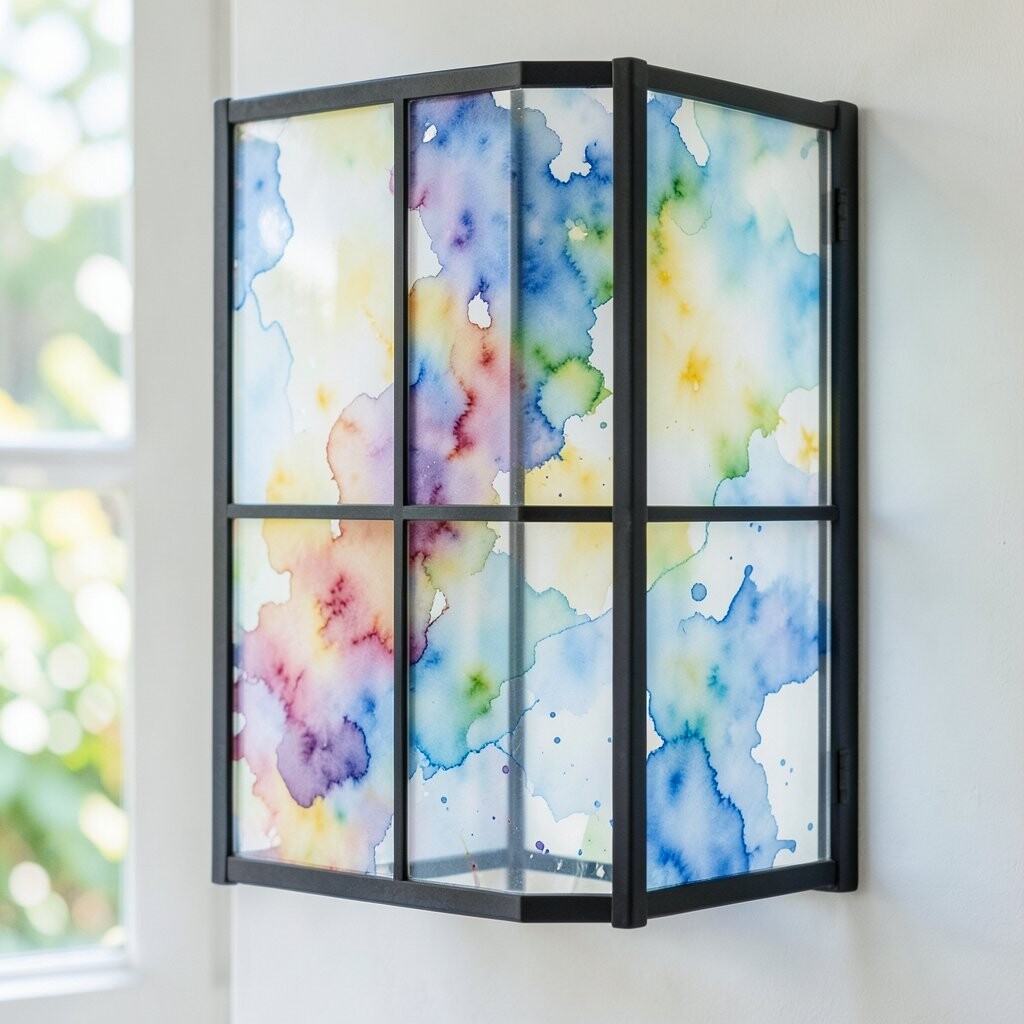
Watercolor Look Wash on Glass Lantern Panels Paint a watercolor-style wash on glass lantern panels using diluted paint for soft edges. Blend colors in small areas so you get a gentle fade effect, like sunset clouds.
When you place light inside, the panel glows like a warm painting. This idea is unique because it focuses on softness, not strict lines. Personalize it by choosing a color mood, like calm blues, cozy oranges, or bright pinks for a lively feel.
For tips, work in thin layers and let each one dry slightly before adding the next wash so colors blend smoothly. Use a flat brush for big areas and a damp brush edge to pull color into a cloud shape. Costs stay reasonable because watercolor looks good even with fewer colors, and lantern panels can be reused year after year.