As the days grow longer and the flowers start to bloom, it’s the perfect time to bring some spring magic into your home. Crafting can be a delightful way to celebrate the season while adding personal touches to your space. Let’s jump into some charming projects that will not only brighten your surroundings but also spark joy in your heart!
Whimsical Flower Mason Jars

Imagine your favorite spring flowers perched in colorful mason jars, brightening up any room in your home. These whimsical flower jars are not just pretty to look at; they also add a splash of color and cheer wherever they are placed. You can choose jars in different sizes and colors, making them a unique addition to your spring decor. Plus, they can be created with your kids or friends, making it a joyful activity for everyone!
What you’ll need:
- Mason jars (various sizes)
- Acrylic paint (spring colors like pastel pink, yellow, blue, and green)
- Paintbrushes (various sizes)
- Fresh or faux flowers
- Ribbon or twine (optional)
Start by painting the mason jars in vibrant spring colors. Once they’re dry, fill them with flowers of your choice for a cheerful centerpiece. Don’t forget to tie a cute ribbon or twine around the neck of the jar for an extra touch. This project is not only cost-effective but allows you to personalize each jar based on your style and the flowers you love!
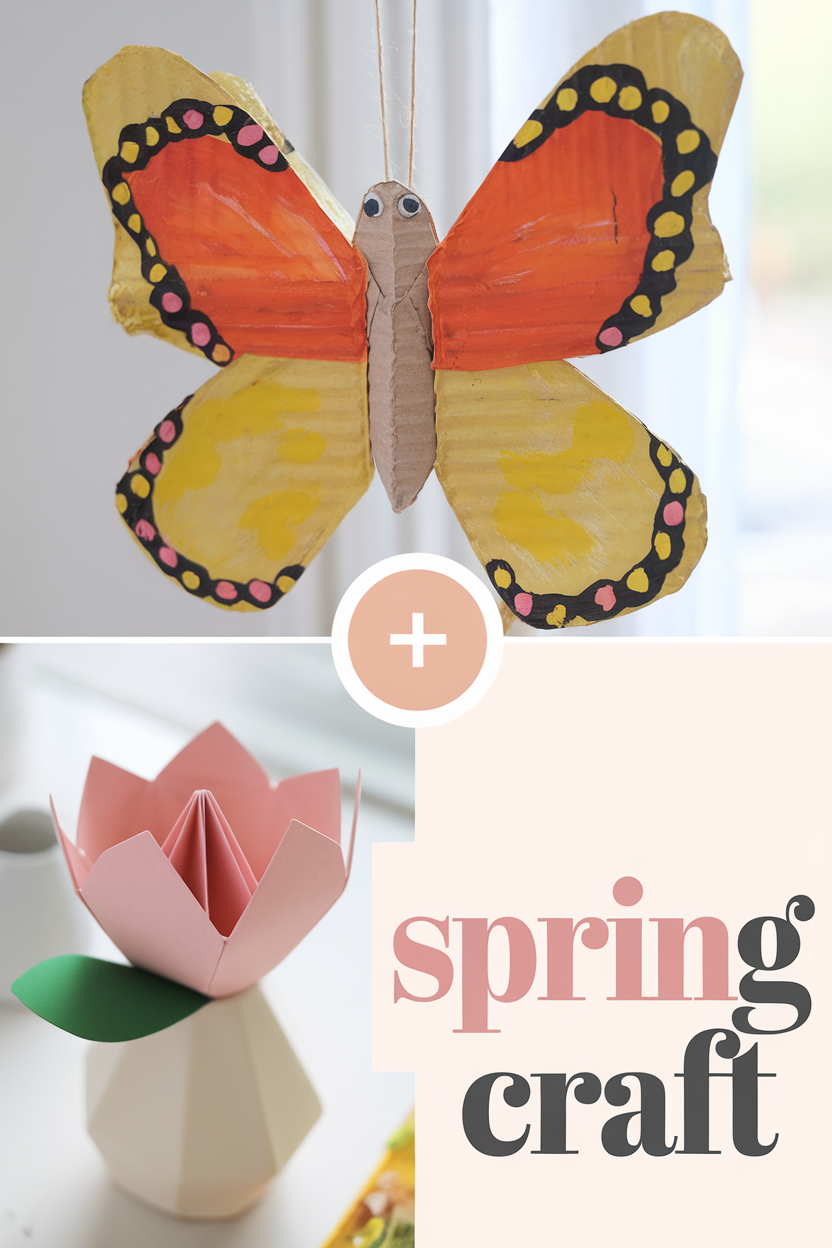
DIY Butterfly Wall Art

Bring the beauty of nature indoors with stunning butterfly wall art that dances on your walls. This craft is not only visually appealing but also serves as a reminder of the beauty of spring. You can create a whole garden of butterflies in different colors and sizes that will surely catch everyone’s eye. It’s a unique way to express your creativity and make a statement in your home.
What you’ll need:
- Colorful cardstock paper
- Scissors
- Glue or double-sided tape
- Wall frames (optional)
- String and a sewing needle (for hanging)
Start by cutting out butterfly shapes from the colorful cardstock. You can go for classic butterfly silhouettes or get creative and design your own! Hang them on the wall using string or frame them for an elegant touch. This craft is not only fun to make but also offers endless possibilities for personalization, making your space uniquely yours.
Charming Spring Wreath

A charming spring wreath is a delightful way to welcome the season at your front door. It adds a warm, inviting touch to your home and lets everyone know that you’re ready for spring! You can use various materials like flowers, twigs, and even fabric to create a wreath that reflects your personality. Plus, making a wreath can be a relaxing and enjoyable experience, perfect for a sunny afternoon!
What you’ll need:
- Wire wreath frame
- Floral wire
- Artificial flowers (or real, if you prefer)
- Greenery (like faux leaves or moss)
- Hot glue gun (optional)
Start by wrapping greenery around the wire frame, securing it with floral wire. Next, add your artificial flowers, arranging them in a way that looks pleasing to the eye. You can make it as colorful or as simple as you’d like! This craft allows for lots of creativity, and you can swap out flowers for different seasons, making it a year-round project!
Painted Rocks Garden Markers

Bring a bit of whimsy to your garden with painted rocks that double as charming garden markers. These easy-to-make markers not only help label your plants but also add a playful element to your outdoor space. Each rock can be uniquely designed, reflecting your personality and making your garden feel special. This craft is perfect for anyone who loves plants and wants to add a personal touch to their garden.
What you’ll need:
- Smooth, flat rocks (various sizes)
- Acrylic paint (various colors)
- Paintbrushes
- Sealant spray (to protect your art)
- Permanent markers (optional for labeling)
Start by cleaning the rocks and letting them dry. Then, paint them with your favorite colors and designs, such as flowers, butterflies, or even the names of your plants. Once they’re dry, you can use a permanent marker to label them if you wish. Seal them with a spray to keep your art looking fresh, even after a rain shower, and enjoy the smiles they bring to your garden!