Soft colors, tiny details, and heartfelt notes can turn a simple party into a cherished memory. DIY ideas help your shower feel personal, cozy, and full of love.
This list is packed with fun projects you can actually finish, share, and enjoy with friends and family.
1. DIY “Welcome Baby” Banner With Message Pockets

Hang a cheerful banner across a doorway or high wall, and make it look like it is smiling. Each triangle flag can hold a small note pocket, so guests can write sweet messages before the baby arrives.
Choose thick cardstock in pastel shades, and add a simple string of twine or ribbon. The visual pop is bright and handmade, and the pocket idea helps the shower feel interactive. For personalization, use the baby’s name if you know it, or write “Coming Soon” in a playful font.
2. Balloon “Cloud” Garland Using Paper-Look Stars
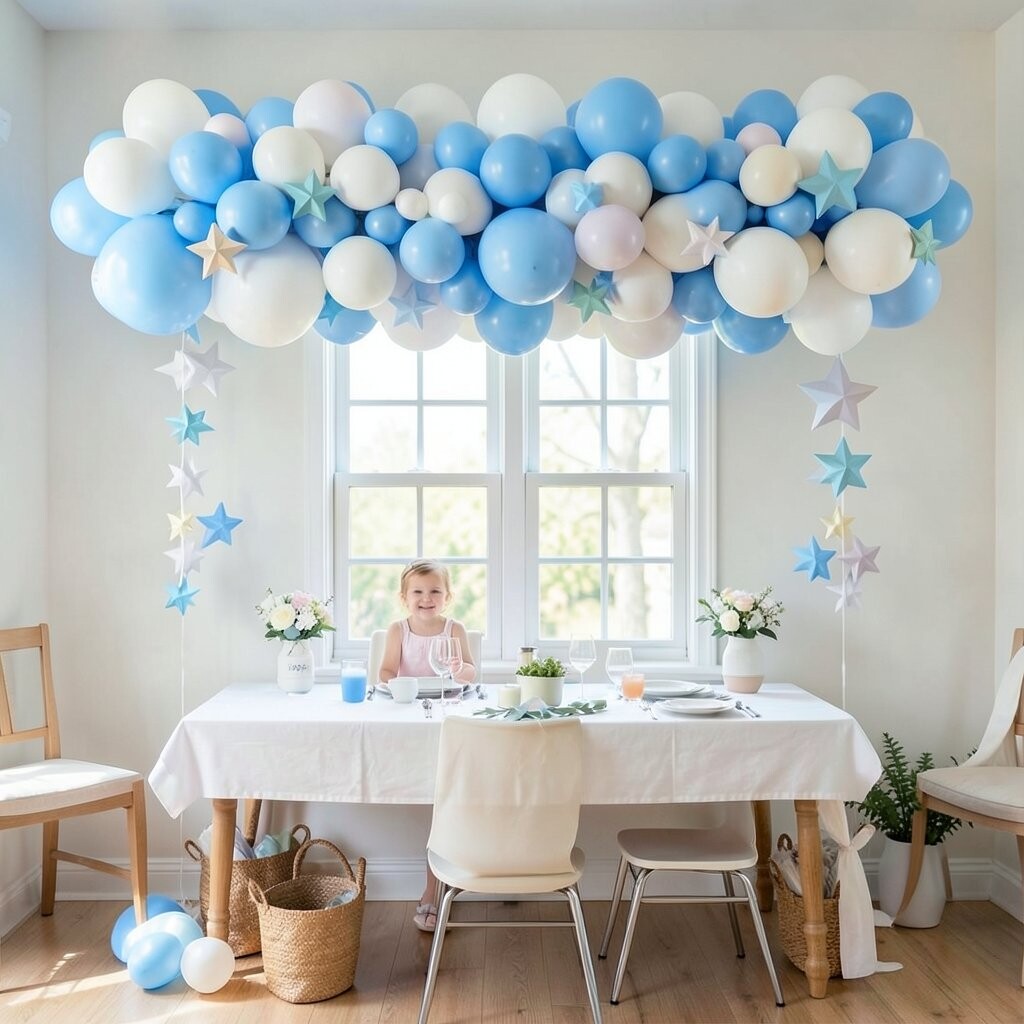
Build a balloon cloud in soft whites, blush pink, and light blue, then add star-shaped accents that look like paper snow. Even if balloons are not your favorite, this can still look airy and modern.
Use clear fishing line for a floating feel, and place the star pieces at different heights so it looks layered. A cloud backdrop is perfect for photos, and it also makes the room feel festive right away. To keep costs friendly, buy a small balloon mix and reuse a few star cutouts from craft paper.
Current trend vibes lean toward airy “less-is-more” party styling, so leave some open space around the cloud. Personalize by adding one custom star tag with the baby’s expected birth month.
3. Baby Bootie Table Centerpieces From Old Jars

Turn simple glass jars into cute bootie-style planters with felt, ribbon, and a tiny bow. When you set them on tables, the whole spread looks cozy and sweet.
Wrap the jar with fabric “boot” shapes, then tuck in faux greenery or a small bundle of dried flowers. This keeps the centerpiece from wilting and saves money on fresh flowers. If you want a fun twist, add a little fabric tag with “For Little Feet” or the nursery theme name.
Keep sizes varied so it looks styled, not matching. For safety, choose battery candles or skip flames if you have little ones around. These centers feel unique because they look like a nursery scene, not a store-bought arrangement.
To personalize further, use the parents’ favorite colors for ribbon and add one jar with a glittery initial.
4. DIY “Memory Wall” Clips With Photo Cards
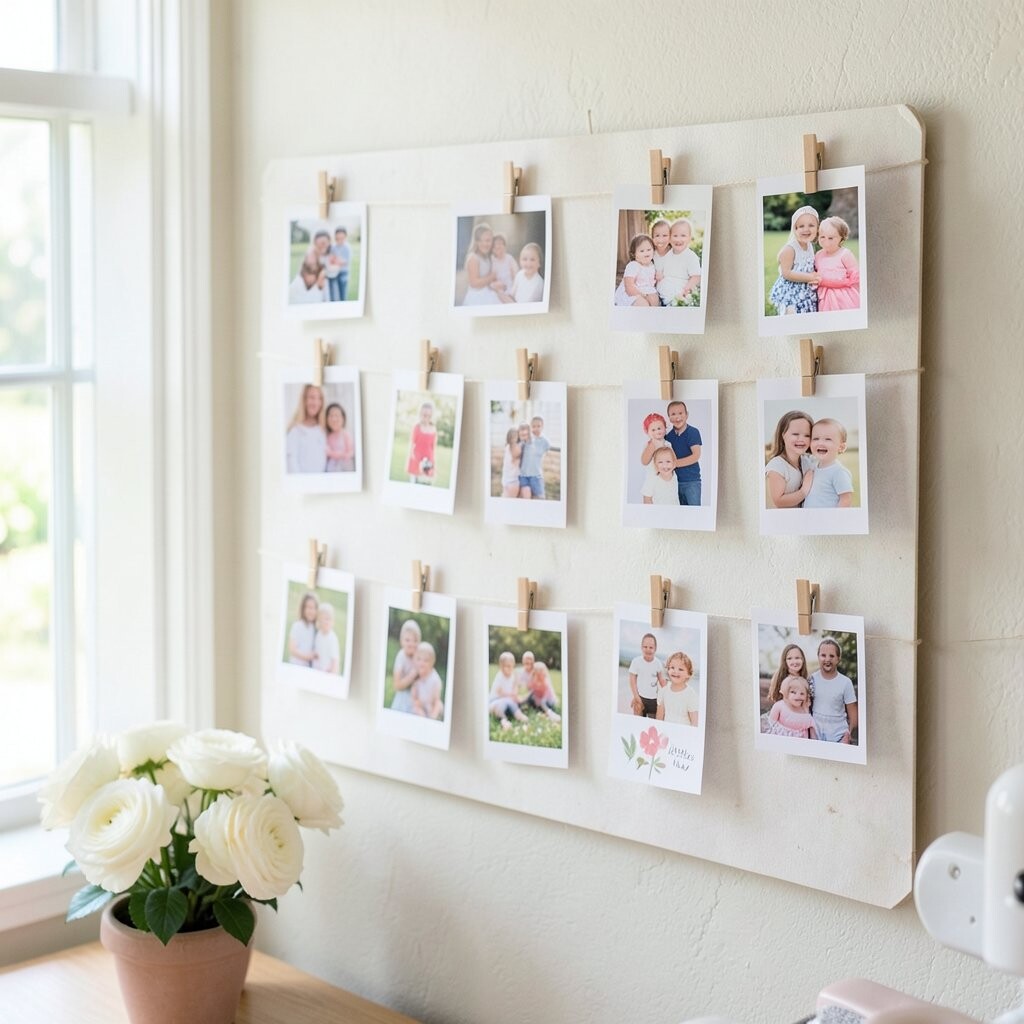
Make a memory wall using a rope or thin wire and clothespins, then hang printed photo cards in neat rows. The display looks warm, like a mini gallery made just for your family.
Include baby photos, couple photos, or silly “how they met” pictures. Guests love seeing the journey, and it encourages conversation instead of awkward small talk. For cost, print at home or at a local shop and use cardstock as a sturdy backing.
Personalize by adding short captions on each card, written in bright marker. A popular trend is turning photos into collage-style grids, so mix sizes a little for a modern feel.
5. Hand-Painted Onesie “Guest Book” Display

Set out plain white onesies, and let guests sign with fabric markers. You will get a wearable guest book, and it feels extra special because it becomes part of the baby’s keepsakes.
For the visual look, display the onesies on a clothesline with tiny clothespins. Add a sign that says “Please write a message and a date,” so you can sort memories later.
To keep it unique, paint small hearts, moons, or simple doodles around the signatures. For personalization, coordinate marker colors with your theme palette and create one “cover” onesie featuring the baby’s name if known. Cost stays low because you only need a few onesies and quality fabric pens.
6. “Kind Words” Sprinkle Jar Labels

Place small jars on a table, and add handwritten labels that read “Kind Words” or “Advice for Parents.” The jars look cute, and they help guests focus on positive messages.
Use kraft paper labels, then cut tiny circles for a layered effect. Guests can drop folded notes inside, and you will end up with an ongoing stash of loving support. Personalize by matching label colors to the nursery theme or adding a tiny icon like a star or bunny.
For cost considerations, choose thrift-store jars and clean them well, then reuse last year’s ribbon if it still looks nice. This idea fits a current trend toward meaningful keepsakes, not just decorations.
7. DIY Pastel Diaper Cake With Practical Layers
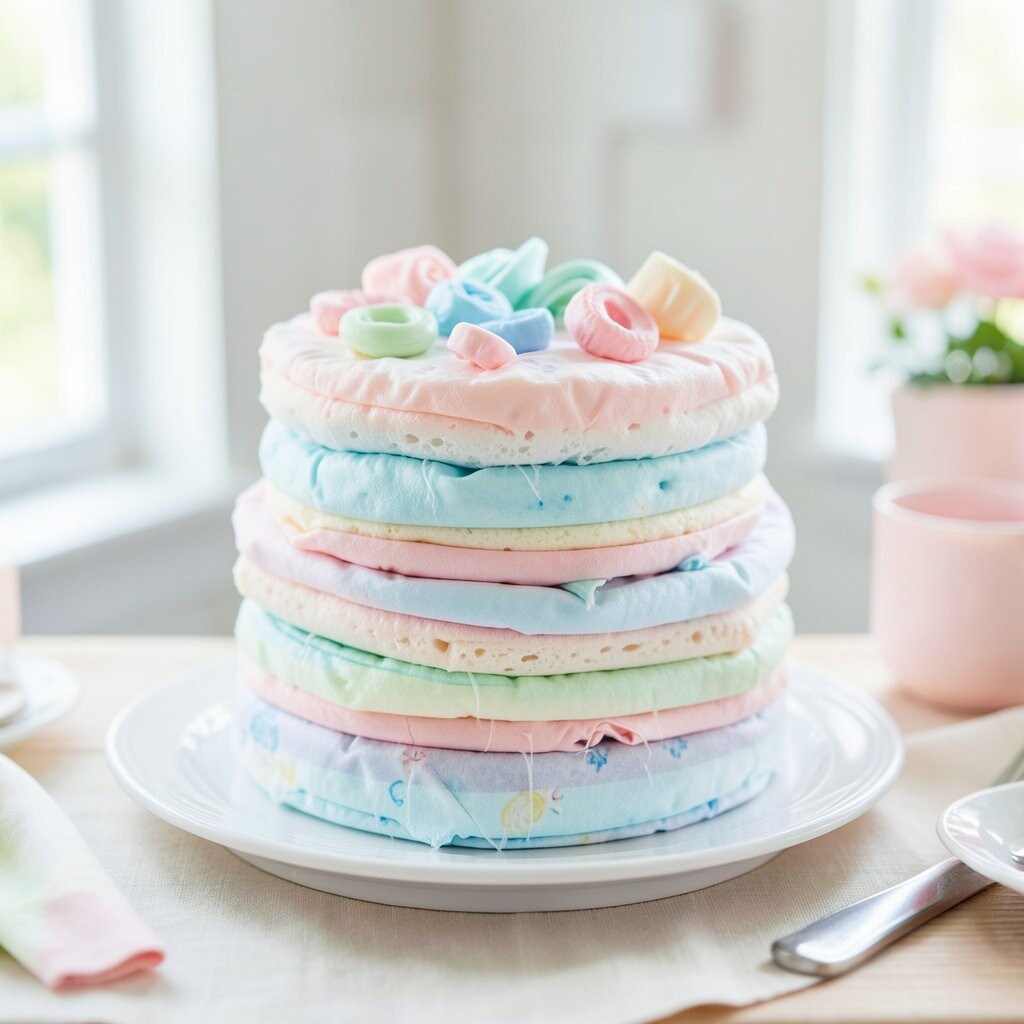
A diaper cake is a classic, but you can make it feel fresh with a pastel color scheme and useful additions. Stack diapers like a centerpiece and wrap each layer with satin ribbon.
Between layers, tuck in items like burp cloths, baby socks, and mini skincare samples. The benefit is that the décor is also a gift, so it saves time later. For uniqueness, add a top “bow” made from cloth or a felt flower.
Personalize by using the baby’s initials on a small topper card. Cost can be controlled by buying a store brand diaper pack and using a few affordable extras you already planned to buy anyway.
8. Themed “Baby Photo Guessing” Cards You Print and Cut
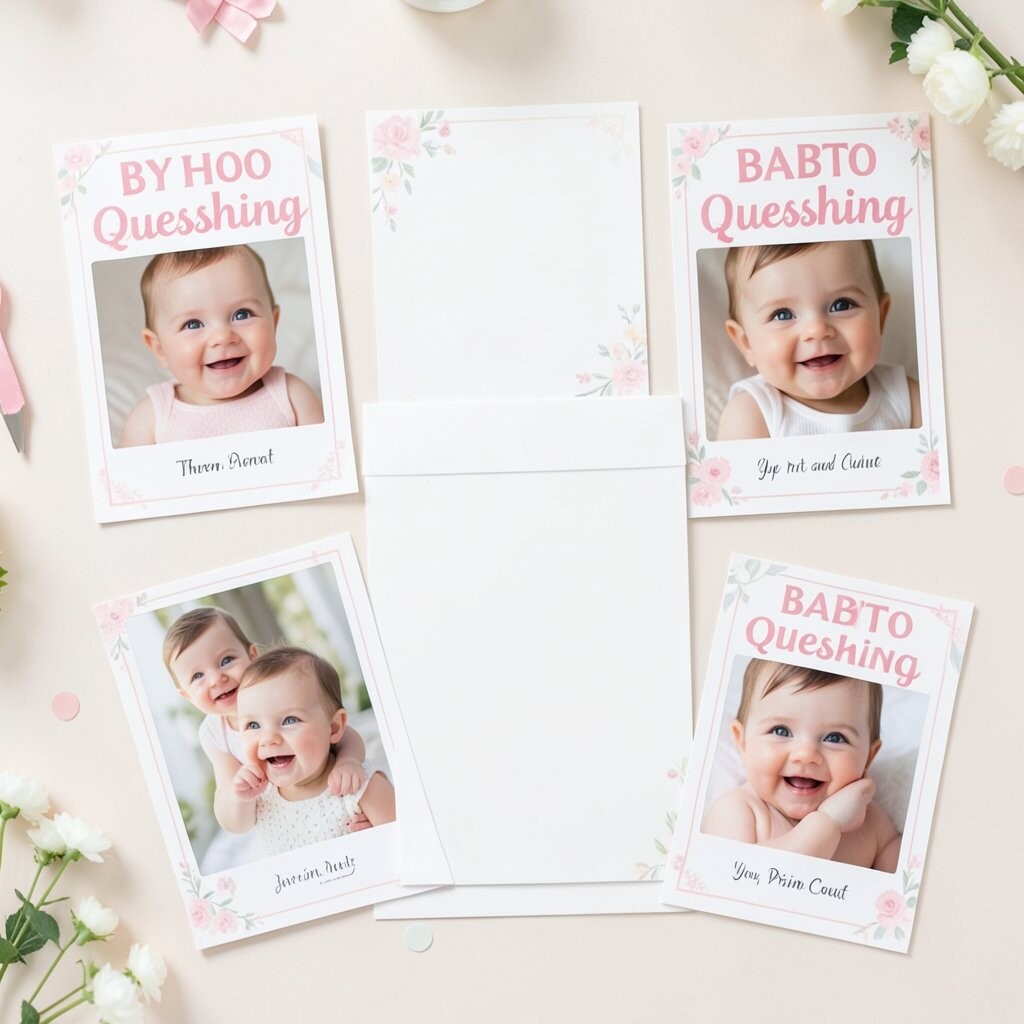
Create a set of photo cards and place them on a display table for a fun guessing game. Guests pick the baby’s age from cute snapshots, like tiny milestone teasers.
Use cardstock and cut each card into a rounded shape for a friendly look. Add a short instruction sign that explains how to play, which makes it easy for everyone to join. This adds energy to the party and gives you a keepsake of sweet guesses.
For personalization, include a mix of family photos and write a theme title in the corner. Keep costs low by using free templates online, then printing at home and cutting with a paper trimmer.
A current trend is making games “small and quick,” so aim for simple rounds that fit between gift opening and snacks.
9. DIY Faux “Nursery” Backdrop With Fabric Drapes
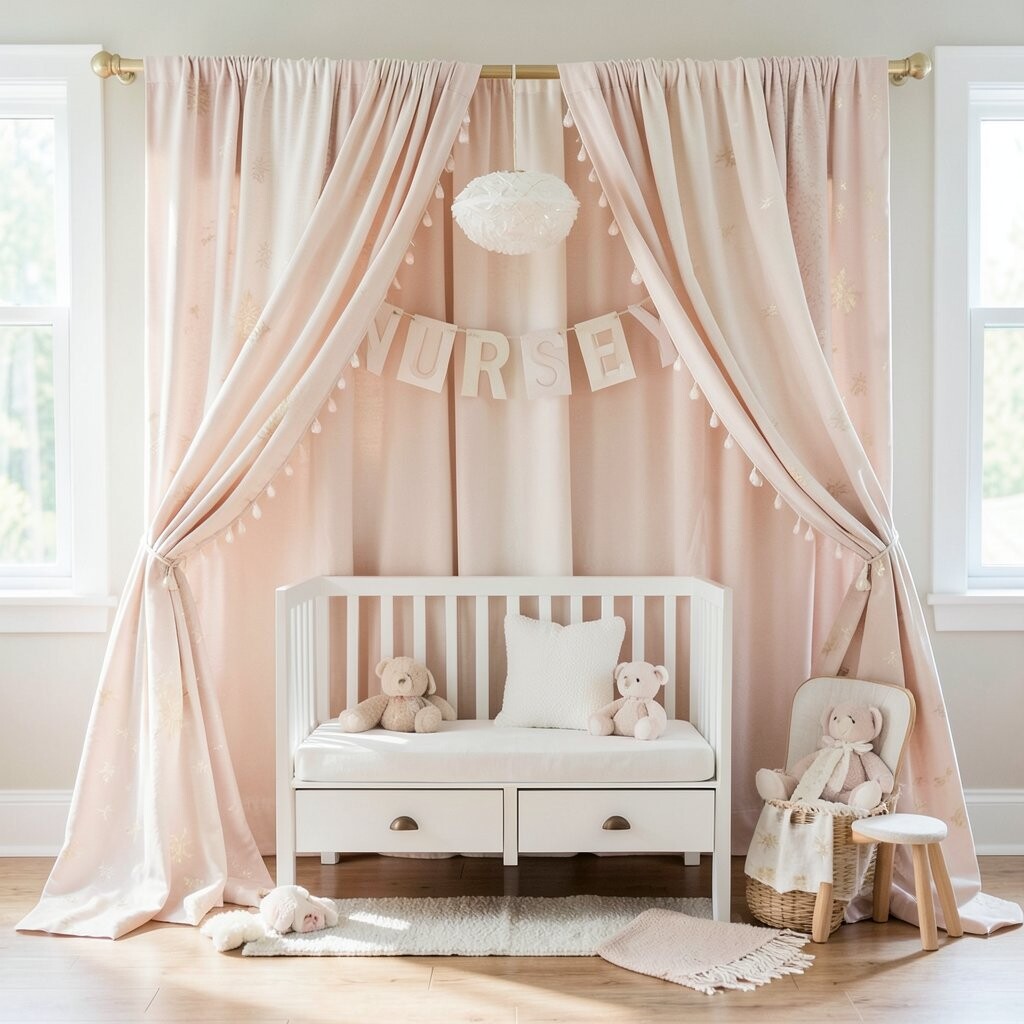
Use fabric drapes to set up a photo area that looks like a nursery scene. Hang sheer curtains behind a simple sign, then add a few soft blankets and pillows for a cozy background.
The visual effect is dreamy and soft, and it makes photos look polished even with basic smartphone pictures. This is also a flexible option because you can reuse the fabric for other parties or the baby’s room later.
Personalize by choosing patterns that match the shower theme, like tiny clouds, dots, or gentle stripes. For cost, shop for clearance fabric at craft stores or borrow pieces from friends.
Tip: secure everything with fabric clamps or safety pins, and keep cords and stands out of reach. This keeps the area safe and tidy while still looking magical.
10. Sprinkle-Topped Cupcake or Cookie Labels

Make your treats look extra special by adding handmade labels that describe each flavor. Guests love knowing what they are choosing, and the labels make the table look styled.
Print or handwrite label cards, then attach them to short skewers or small paper tags. For a visual pop, add a tiny sprinkle of colored sugar on a label corner, or use glitter paper accents.
11. Bottle Brush “Baby Trees” for a Side Table

Create bottle brush trees using green craft foam or small brush trees, then decorate them with mini bows and pastel accents. These tiny trees look like a winter wonderland made for spring.
Place them in small pots filled with colored sand, and add a little “story tag” like “Made with love.” The benefit is that they stay clean and do not need watering.
Uniqueness comes from how you dress each tree differently, so one can have tiny stars while another has mini flowers. Personalize with the baby’s birth month color, then use matching ribbon for all trees.
Cost considerations: buy a few starter trees on sale and add decorations from dollar stores. This also fits current trend styling that uses small tabletop art instead of only big centerpieces.
12. DIY “Baby Items Bingo” for Guests Who Want to Play
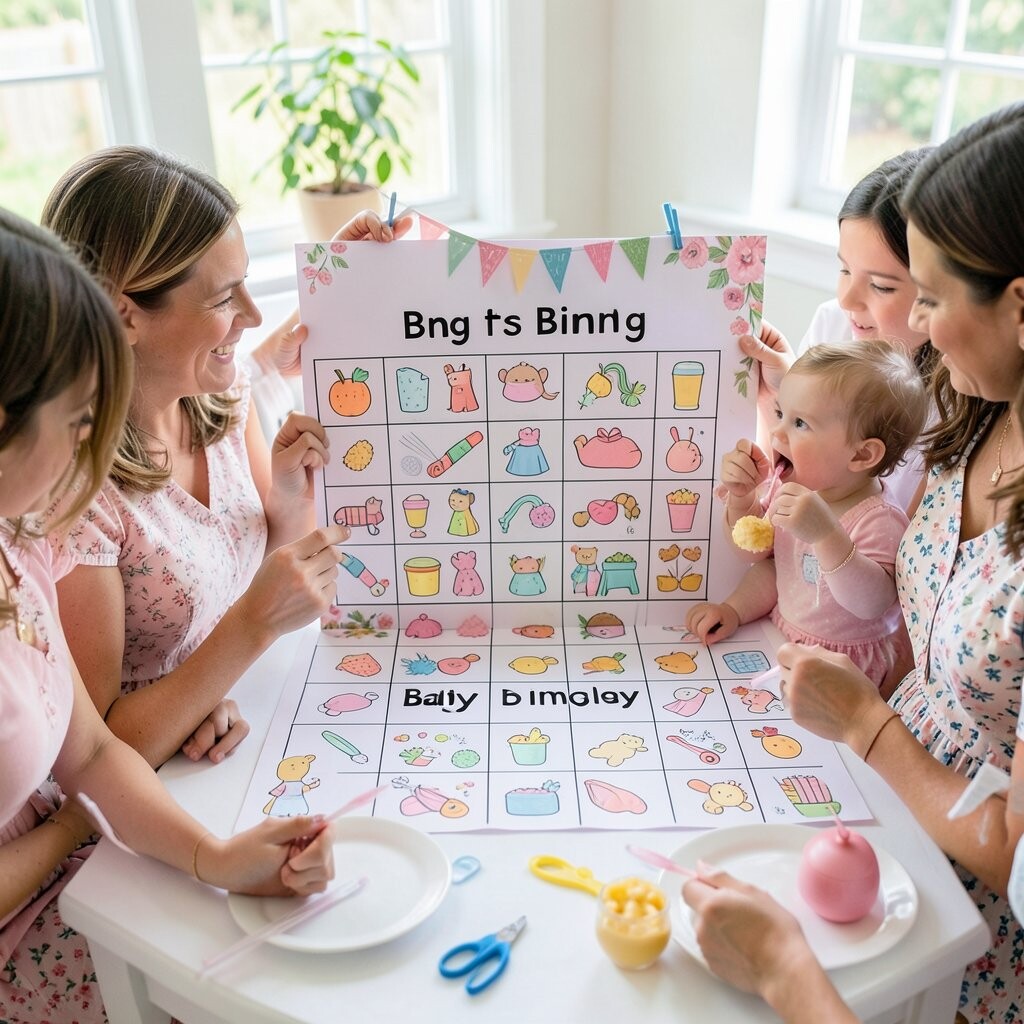
Make bingo cards themed around common baby gifts like diapers, wipes, swaddles, and onesies. Guests check items as gifts appear, and they feel included even if they are not sure where to stand.
Use a simple grid on cardstock, then laminate if you want reuse for future parties. The visuals are neat and easy to read, which is great for all ages.
For personalization, print small icons that match your theme colors. Tip: add a “Free Space” that says “Gift Surprise” so no one feels stuck too long.
Cost stays reasonable because you can print multiple cards at home and use small markers like candy pieces. This game adds fun energy and gives guests a reason to look around the room.
13. Custom Favor Bags With “Tiny Thank You” Notes
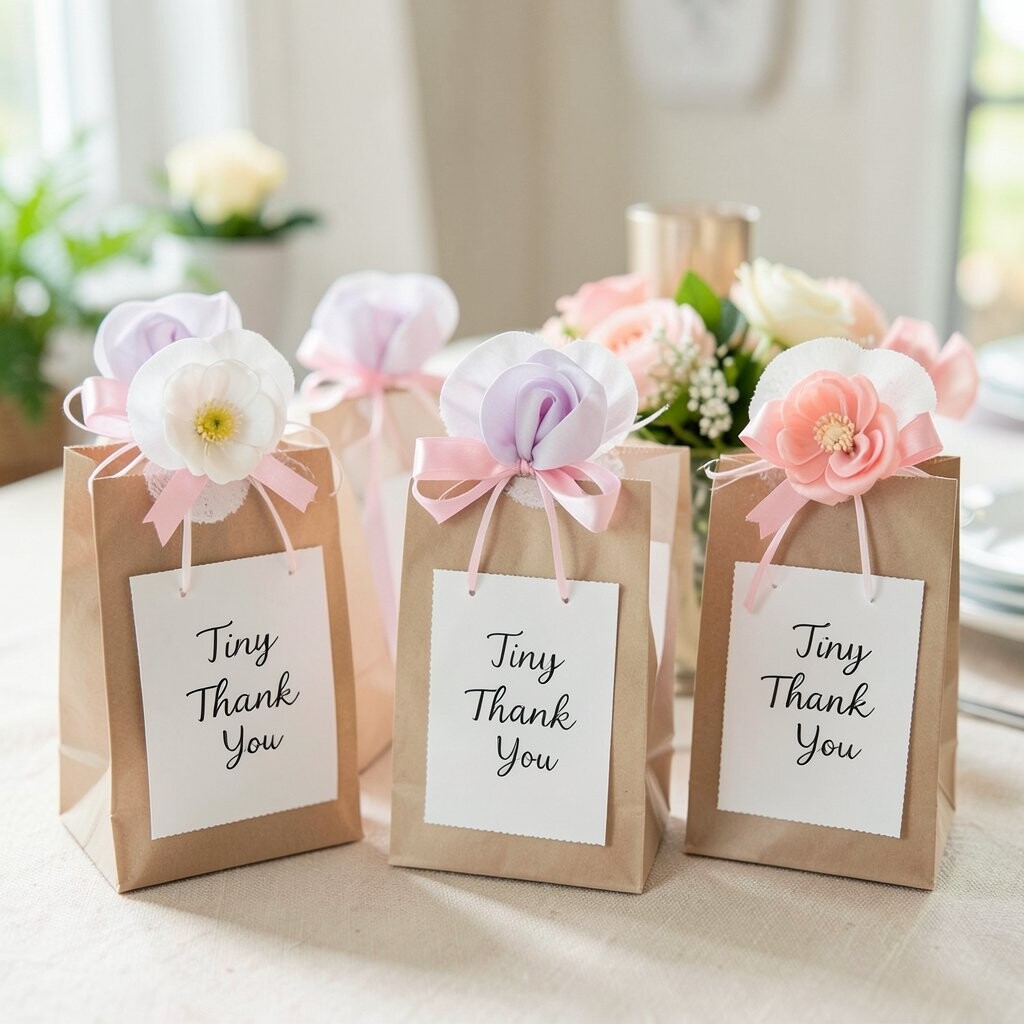
Put small goodies in favor bags and add a custom note card that thanks guests for coming. The bags can include mini hand creams, candies, or even a small cookie.
Decorate bags with stamped icons, ribbon ties, or a simple seal that matches your shower palette. Guests notice thoughtful details, and the benefit is you provide a sweet take-home reminder of the day.
Personalization idea: write each guest’s name with a marker and add a tiny doodle in the corner. Cost tips: buy plain bags in bulk, then decorate with affordable stamp sets and paper accents.
14. DIY “Boho” Diaper Wreath for the Front Door
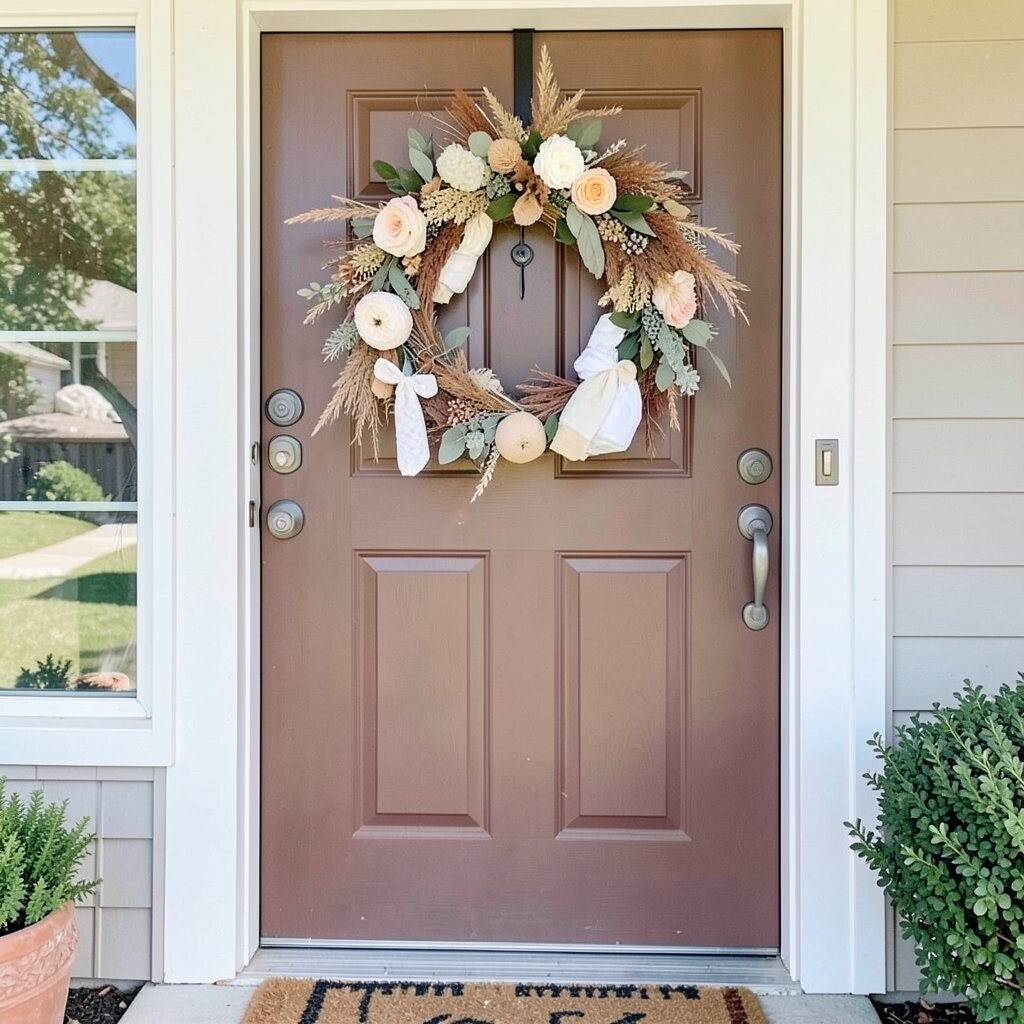
Make a wreath using diapers arranged in a spiral, then add a fabric bow and soft accent greenery. When you hang it near the entrance, it immediately sets the mood like a warm welcome sign.
Choose a wreath base, then wrap diapers with ribbon so they hold shape. This DIY centerpiece for the doorway looks trendy because boho styling favors natural textures like burlap, twine, and soft fabric.
15. Crayon “Color Story” Table With Safety Covers
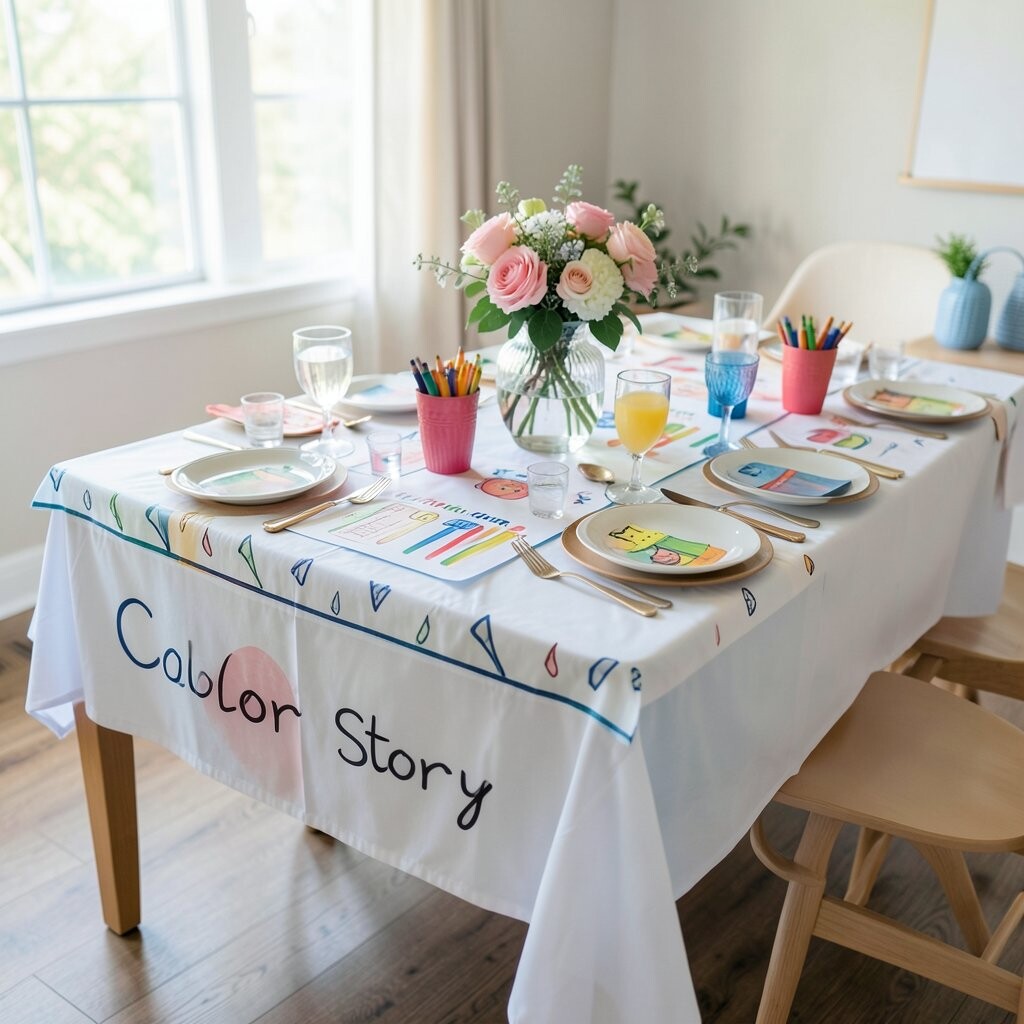
Create an art table for guests by setting out crayons, paper, and a color story prompt. It can be as simple as “Draw something you hope for the baby” or “Sketch a cozy nursery.”
For a clean look, place supplies in labeled bins, and cover the table with a wipeable cloth. The benefit is that kids and grown-ups can relax and feel creative, which makes the shower feel lively.
Uniqueness comes from the prompts, so pick ones that fit the parents’ style. Personalize by writing the baby’s name on each drawing sheet header, or add a tiny sticker on the corner.
Cost considerations are easy because basic supplies are affordable, and you can use leftover paper from craft nights. Tip: keep a small trash bag nearby so the table stays neat and ready for guests.
16. DIY “Baby Footprint” Keepsake Tag on a Ribbon
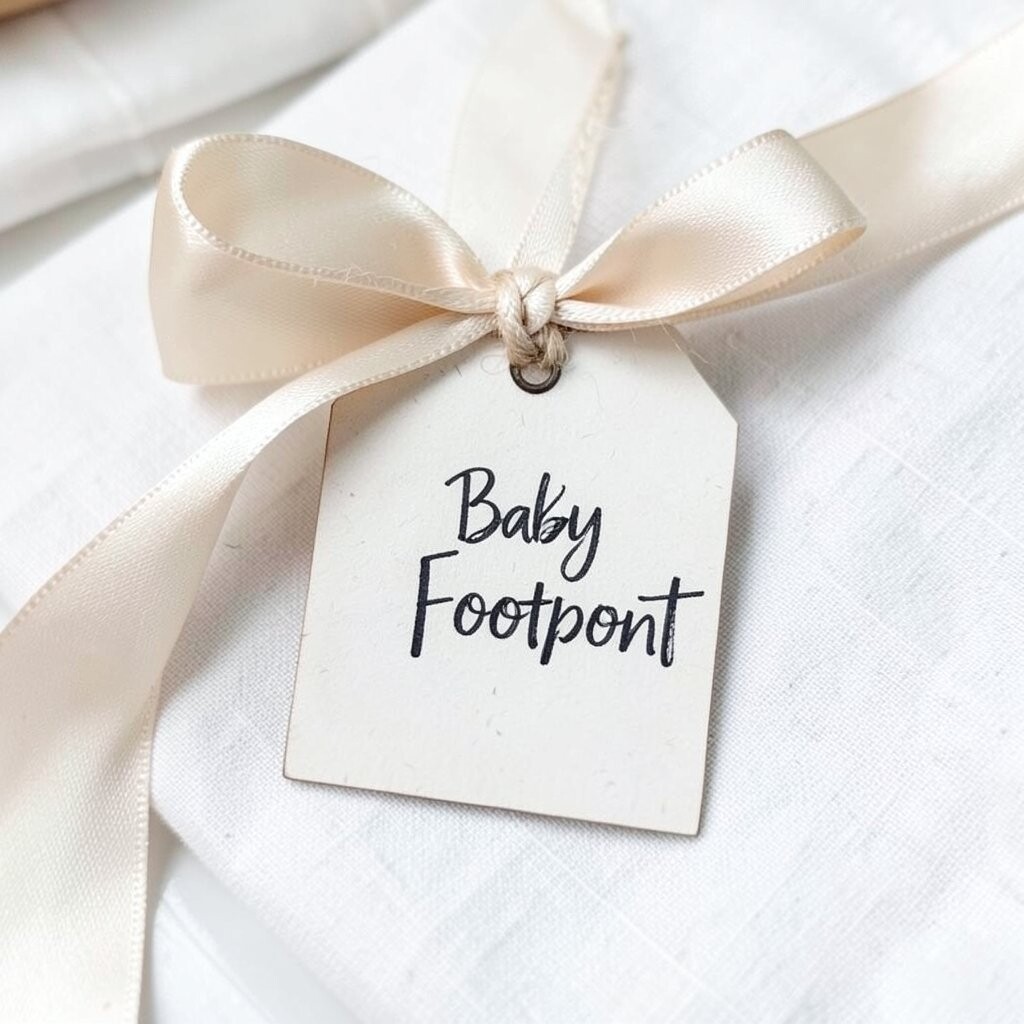
Make a keepsake tag by tracing a baby footprint-inspired shape on cardstock and attaching it to a ribbon. Guests can sign the tag and share a wish, which becomes a meaningful ornament for later.
For visual charm, cut the tag into a soft foot outline, then add a stitched-look border using marker or paint. The benefit is that it is simple, lightweight, and easy to store in a memory box.
Personalize by using the parents’ initials on the ribbon knot and adding a date strip. Cost stays low because you only need cardstock, ribbon, and pens, and you can make multiple tags with different colors.
17. Handmade “Sweet Dreams” Sleepy-Time Gift Basket Setup

As a DIY final touch, build a sleepy-time gift basket with comforting items like swaddles, a soothing book, and a gentle lotion. Arrange everything in a basket with tissue paper so the items look like they are glowing.
Make a label set that reads “Sweet Dreams” and add a short note about why each item is special. This gives guests a clear idea of what the basket is for and helps the parents feel supported.
Uniqueness comes from personal choices: pick items that match the parents’ daily routine, like a bedtime story book if they love reading. Personalize by adding a small card with the baby’s expected arrival date or a favorite quote.
Cost considerations: choose one or two “nice” items and fill the rest with budget-friendly essentials. This fits the current trend of gifting comfort and calm, not just random surprises.