Terracotta tiles can look warm and neat when they are sealed the right way. A little prep before sealing can help the finish last longer and look more even.
1. Clean Off Dust and Loose Dirt

Start by sweeping the floor well and picking up all loose grit. Terracotta can hold on to dust in small pores, so a quick sweep is not enough.
Use a vacuum with a hard floor setting if you have one. This helps you get dirt from corners and grout lines, which makes the tile look cleaner right away.
A clean surface also helps the sealer stick better. If dust stays on the tile, the finish can look dull or patchy after it dries.
2. Wash Away Old Grime

After sweeping, wash the tiles with warm water and a mild cleaner made for stone or tile. Terracotta can be sensitive, so strong soaps or rough scrubbers are not a good choice.
Use a soft mop or cloth and work in small areas. This keeps the floor from getting too wet and helps you see spots that still need care.
Old grime can make a fresh seal look uneven. A good wash gives the tiles a more even color and helps the final look feel neat and calm.
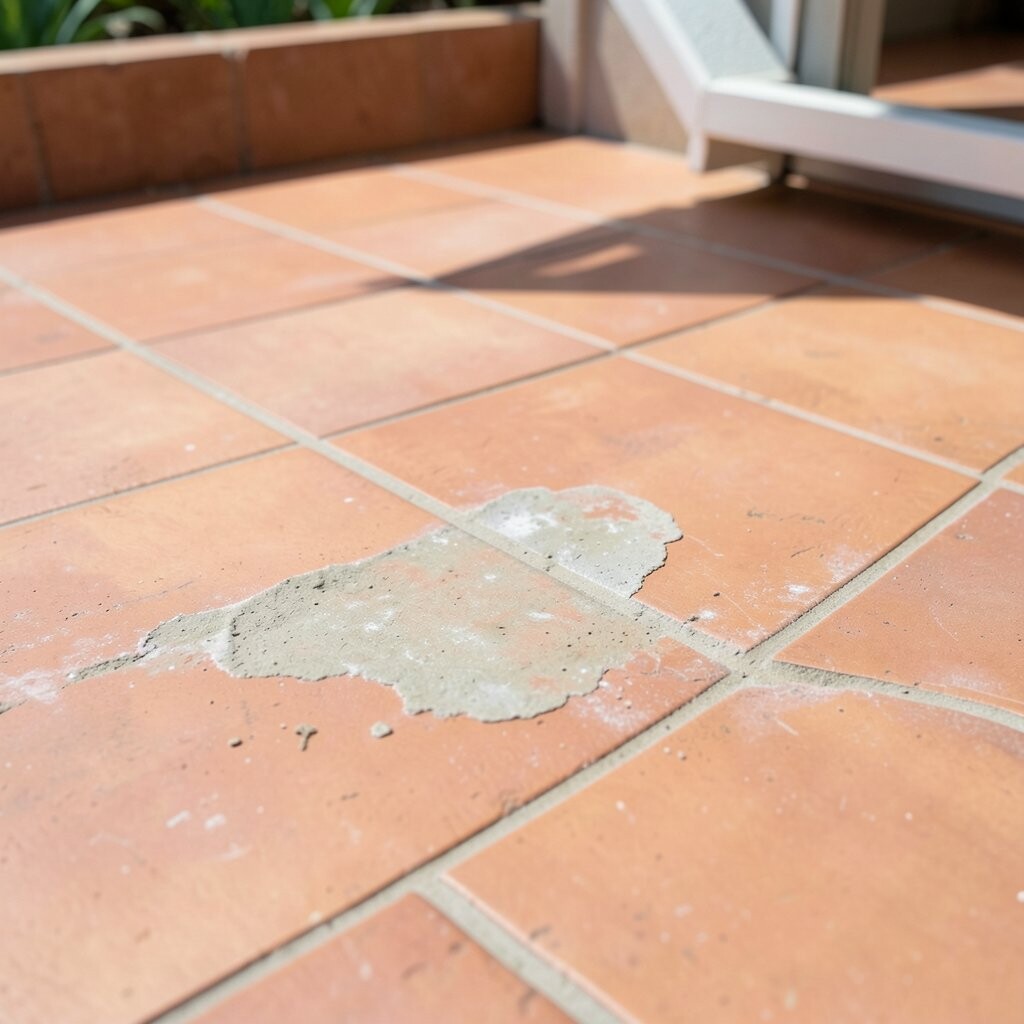
3. Check for Stains Before You Seal

Look closely for dark spots, water marks, or oil stains. Terracotta often shows these marks more than other tile types, so it helps to check in bright light.
If you seal over a stain, it can stay there for a long time. Some stains may even look darker once the sealer goes on, which can be hard to fix later.
Use a stain cleaner that is safe for terracotta if needed. Test it in a small hidden spot first so you can see how the tile reacts before you use it on the whole floor.
4. Let the Tiles Dry All the Way

Terracotta needs to be fully dry before sealing. If water stays in the tile, the sealer may not soak in well and can leave cloudy spots.
Give the floor time after washing, and open windows if you can. A fan can also help move air around and speed up drying in a simple way.
Dry tiles help the sealer go on more even. This can make the floor look smoother and can help stop peeling or blotchy areas later.
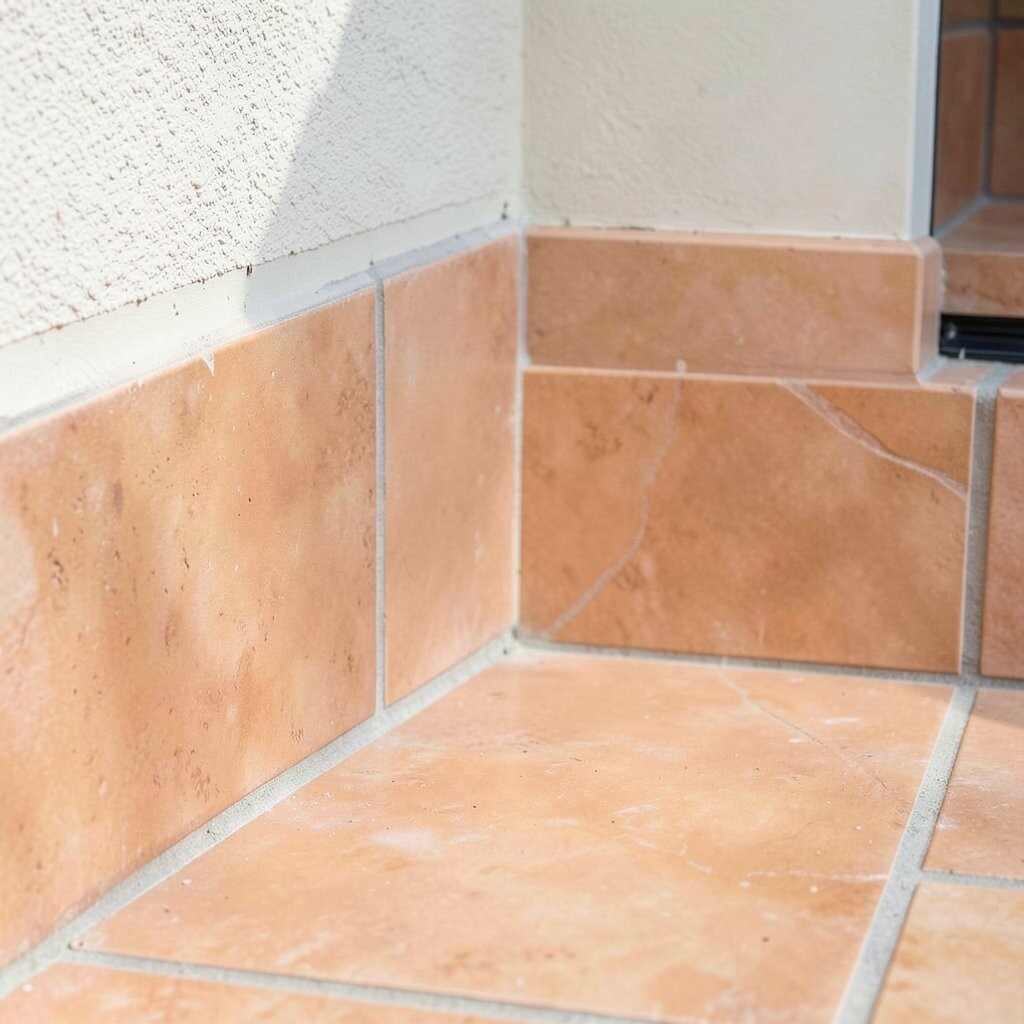
5. Repair Chips and Cracks First

Take time to fix small chips, cracks, or broken edges before sealing. These spots can stand out more after the sealer is added, especially on older terracotta.
Use a filler made for tile or masonry if the damage is small. For larger cracks, you may need help from a pro so the repair looks neat and holds up well.
Fixing damage before sealing can save money later. It can also help the floor look more finished and make the sealed surface feel more even underfoot.
6. Remove Old Sealer if Needed

If the tiles were sealed before, check if the old coat is still in good shape. A worn or peeling layer can keep the new sealer from working well.
Look for shiny spots, sticky areas, or places where water no longer beads. These signs can mean the old sealer is weak or uneven.
Sometimes you need a sealer remover to clear the old layer first. This step takes more time, but it can help the new finish look cleaner and last longer.
7. Test the Color in a Small Spot

Terracotta can change color a lot after sealing, so always test first. A small hidden spot can show you if the tile will look richer, darker, or more glossy.
Some people like a natural look, while others want a deeper red-brown tone. A test spot helps you match the style you want without guessing.
This step is useful for both old and new tiles. It can also help you avoid a costly mistake if the sealer makes the floor look too shiny or too dark.
8. Pick the Right Sealer Type
There are different sealers for terracotta, and each one gives a different look. Some are made to keep a natural matte finish, while others add a soft shine.
Think about how the room is used. A kitchen or mudroom may need a stronger sealer than a low-use room, especially if spills happen often.
Many people now like low-odor, water-based sealers because they are easier to use indoors. These are often a good fit for homes that want a cleaner, simpler finish.
9. Think About the Finish You Want

Before sealing, decide if you want the tiles to look rustic, smooth, or a bit glossy. Terracotta has a warm, earthy look, and the finish can change that feel in a big way.
A matte finish keeps the tile close to its natural look. A satin or gloss finish can make the color stand out more and reflect more light in the room.
This choice is personal, so it helps to match it with your furniture and wall color. A soft finish may suit a calm space, while a shinier one can fit a more modern room.
10. Check the Room Temperature and Air Flow

Sealer works best when the room is not too cold or too damp. Good air flow helps the coat dry at a steady pace and can lower the chance of streaks.
Open doors and windows if the weather allows it. If not, use fans to move air, but do not point strong heat right at the floor.
Stable room conditions can make the sealed look more even. This simple step can also help the sealer last longer and keep the terracotta looking fresh.
11. Protect Nearby Walls and Trim
Before you start sealing, cover baseboards, walls, and nearby wood trim. Sealer can drip or splash, and terracotta floors often sit close to painted or finished surfaces.
Painter’s tape and old paper or cloth sheets work well for this job. They are low-cost and easy to remove when the work is done.
Clean edges make the whole room look more cared for. This is a small step, but it helps the final result look neat and tidy.
12. Plan for the Right Amount of Product

Measure the floor so you know how much sealer you need. Terracotta can soak up more product than some other tiles, so buying too little can leave the job unfinished.
Check the label for coverage details, but keep in mind that rough or old tiles may use more. It is usually better to have a little extra than to run short in the middle.
Planning ahead can help you stay on budget too. It can also keep the color and finish more even, since you will not need to stop and start with a different batch.
13. Make a Simple Care Plan After Sealing

Think about how you will care for the floor once the sealer is dry. A soft broom, a damp mop, and a mild cleaner can help keep terracotta looking good for a long time.
Avoid harsh scrub pads and strong cleaners that can wear down the finish. If the floor is in a busy room, place mats near doors to cut down on dirt and grit.
Fresh-sealed terracotta can fit many styles, from old country looks to clean modern rooms. With a little care and the right routine, the tiles can keep their warm color and neat look without much trouble.