Some paper and a little patience can make someone’s whole day brighter.
Pick a style, add your story, and watch a simple card feel unforgettable.
-
1. Watercolor Heart Window Card
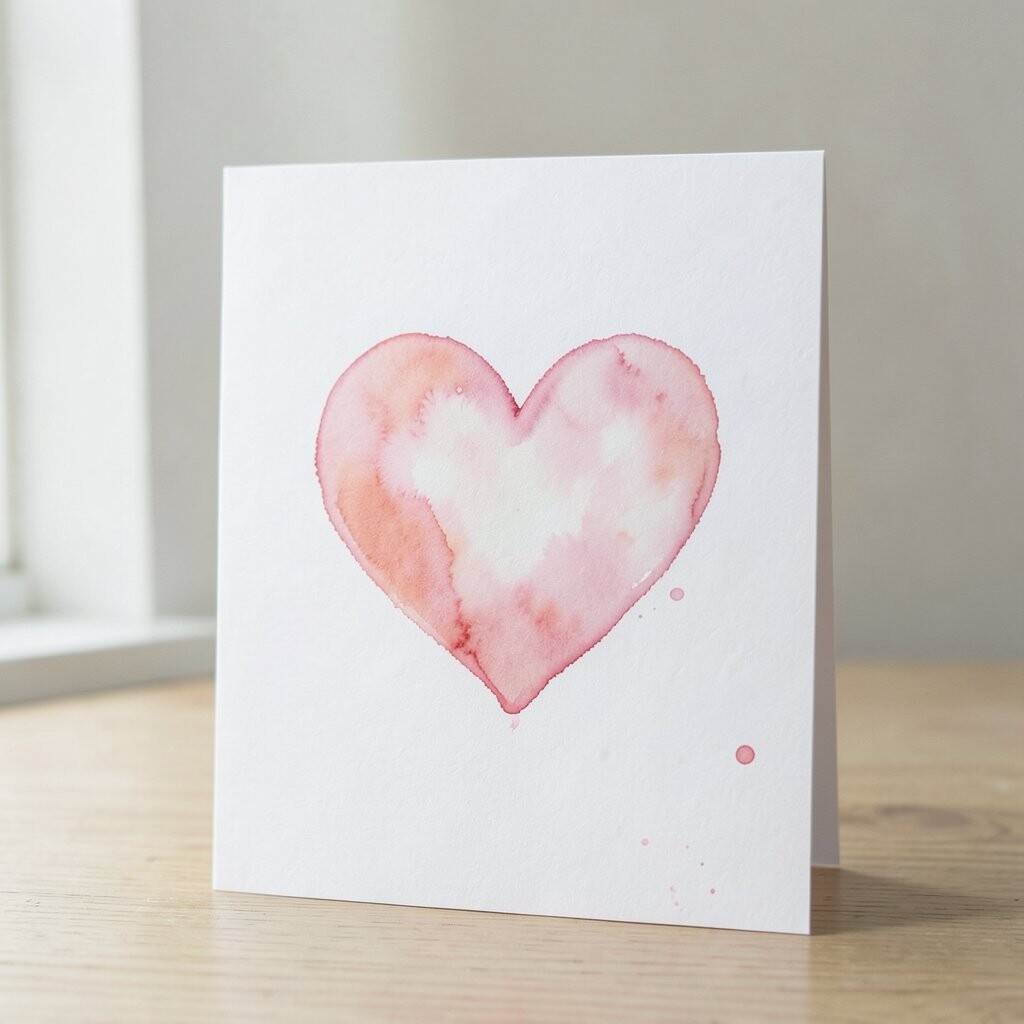
Watercolor Heart Window Card Paint soft watercolor hearts on thick cardstock, then let the edges bleed like tiny sunset clouds.
When the paint dries, you’ll see a dreamy glow that looks like it’s smiling.Add a simple “thinking of you” message inside a window made with a folded panel.
People love how the colors look handmade, not store-made.
This card feels extra kind because it looks gentle and personal at the same time. -
2. Photo Strip Memory Card
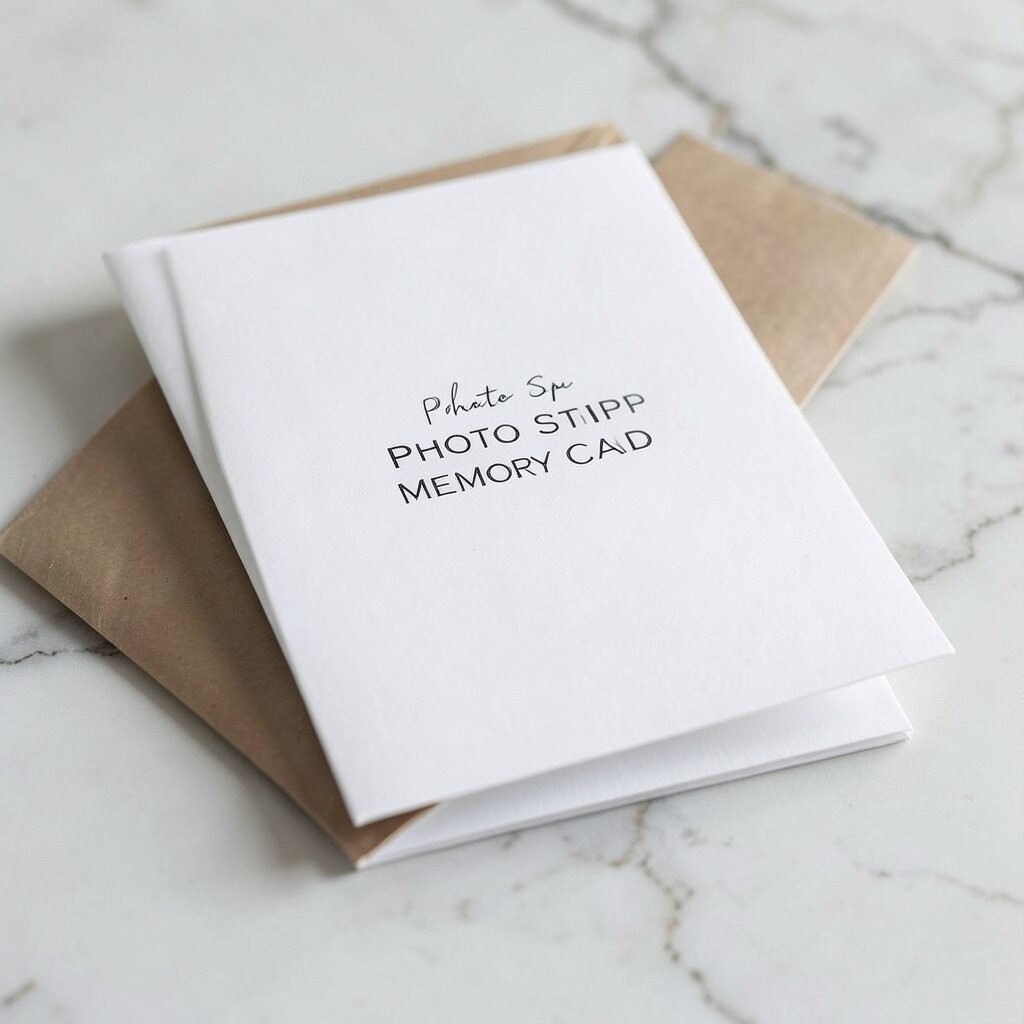
Photo Strip Memory Card Print three small photos and tape them in a vertical strip like a tiny storybook.
Place each photo in a different colored frame so the card pops right away.Write one sentence under each photo about a moment you share.
The benefit is clear: the recipient instantly remembers the good times.To personalize, add a short “favorite memory” list using neat handwriting.
Keep costs low by using free photo apps and printing only what you need.
This style matches a current trend of “micro-scrapbooks” that feel modern and warm. -
3. Pressed Flower Floating Card
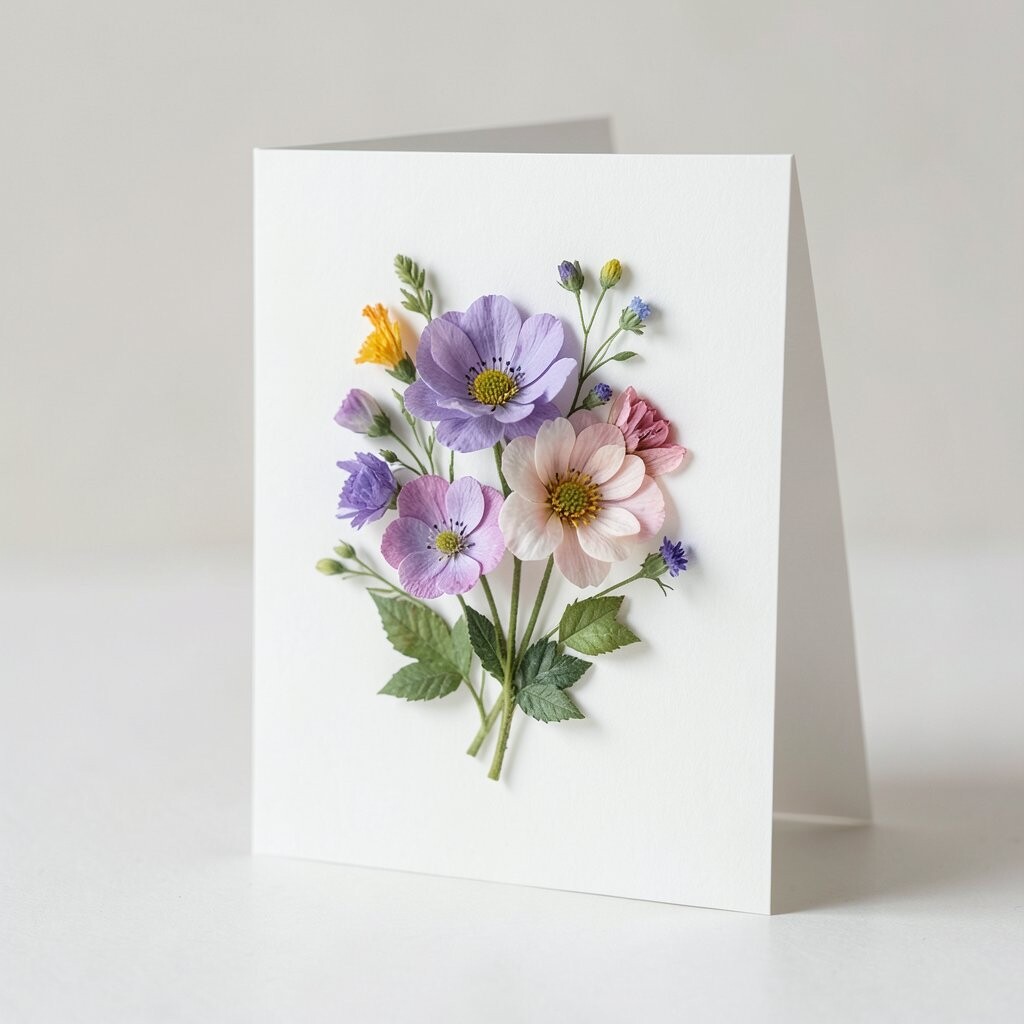
Pressed Flower Floating Card Press small flowers between books, then place them on a card background with a clear glossy overlay.
The flowers look like they’re floating in a little garden sky.Add a thin border using marker lines so the pressed petals stay neat.
A big benefit is that it feels thoughtful without being complicated.Personalize by choosing flowers that match your connection—like the plant you once talked about.
Consider cost: you can gather blooms for free, and all you may need is clear craft gel.
This is unique because real textures add depth no sticker sheet can copy. -
4. Pop-Up “You Matter” Heart
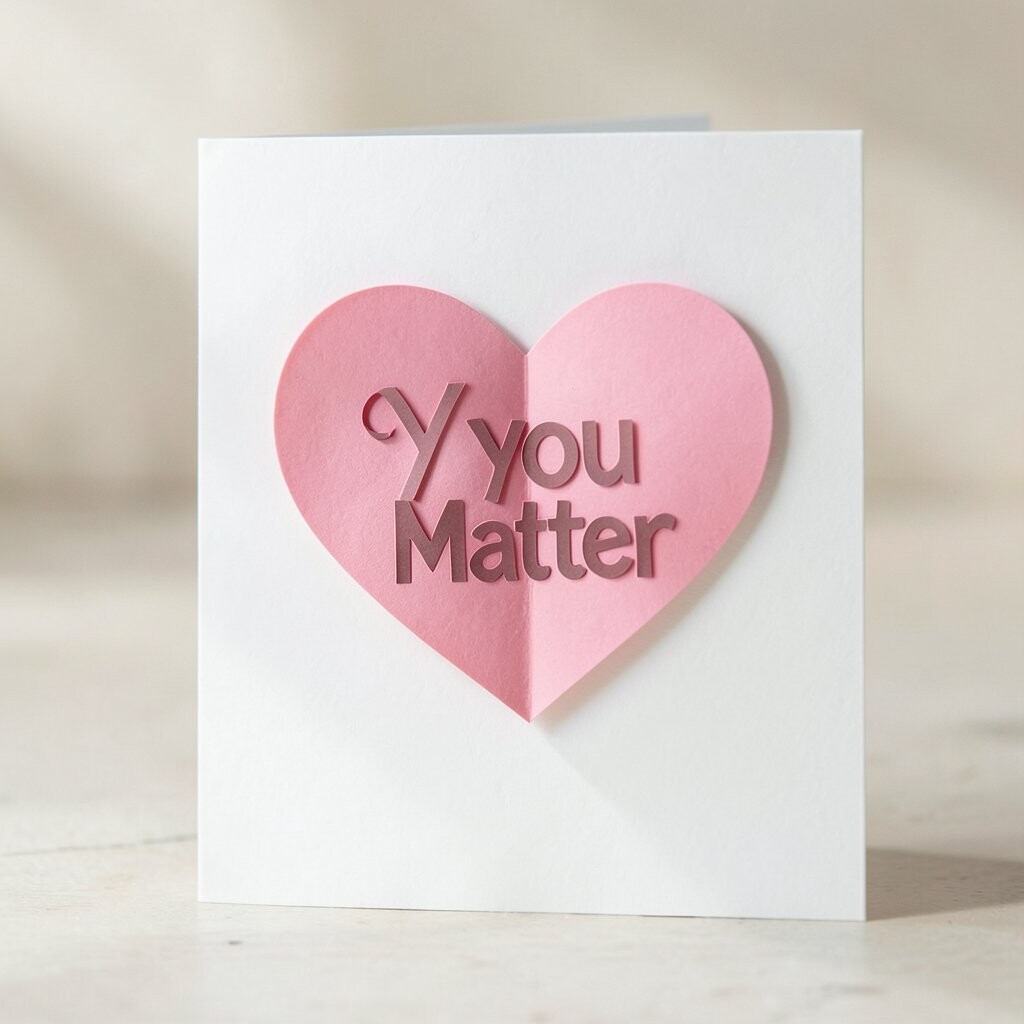
Pop-Up “You Matter” Heart Fold cardstock into a clean card base, then cut a simple heart shape with a pop-up mechanism.
When you open the card, a heart lifts like it’s cheering for them.Use bright red or soft pink paper, and add tiny sparkles around the pop-up.
The benefit is wow-factor: it turns reading into an exciting moment.
It also shows you put time into making something special. -
5. Sticker Mosaic Thank-You Card
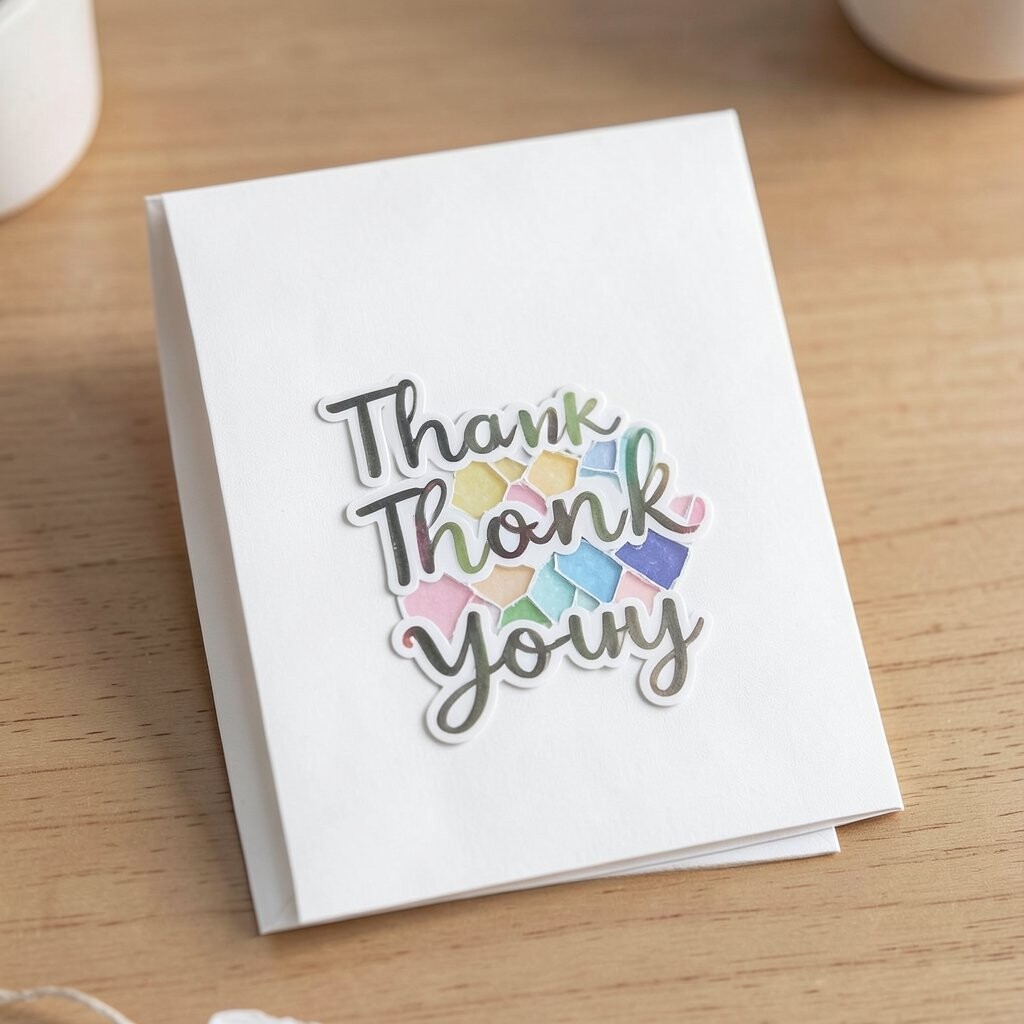
Sticker Mosaic Thank-You Card Grab sticker scraps, small die-cut shapes, or leftover packaging graphics.
Arrange them in a mosaic pattern that forms a big heart or a “thank you” banner.Smooth everything down so it looks tidy, then add a patterned border.
The benefit is speed: you can make something beautiful in a short session.Personalize by sorting stickers by color based on the person’s favorite shades.
This can be budget-friendly because you can use what you already own.
Current trends love bold sticker art and playful layering, and this fits right in. -
6. Cinnamon Stick Spice Card
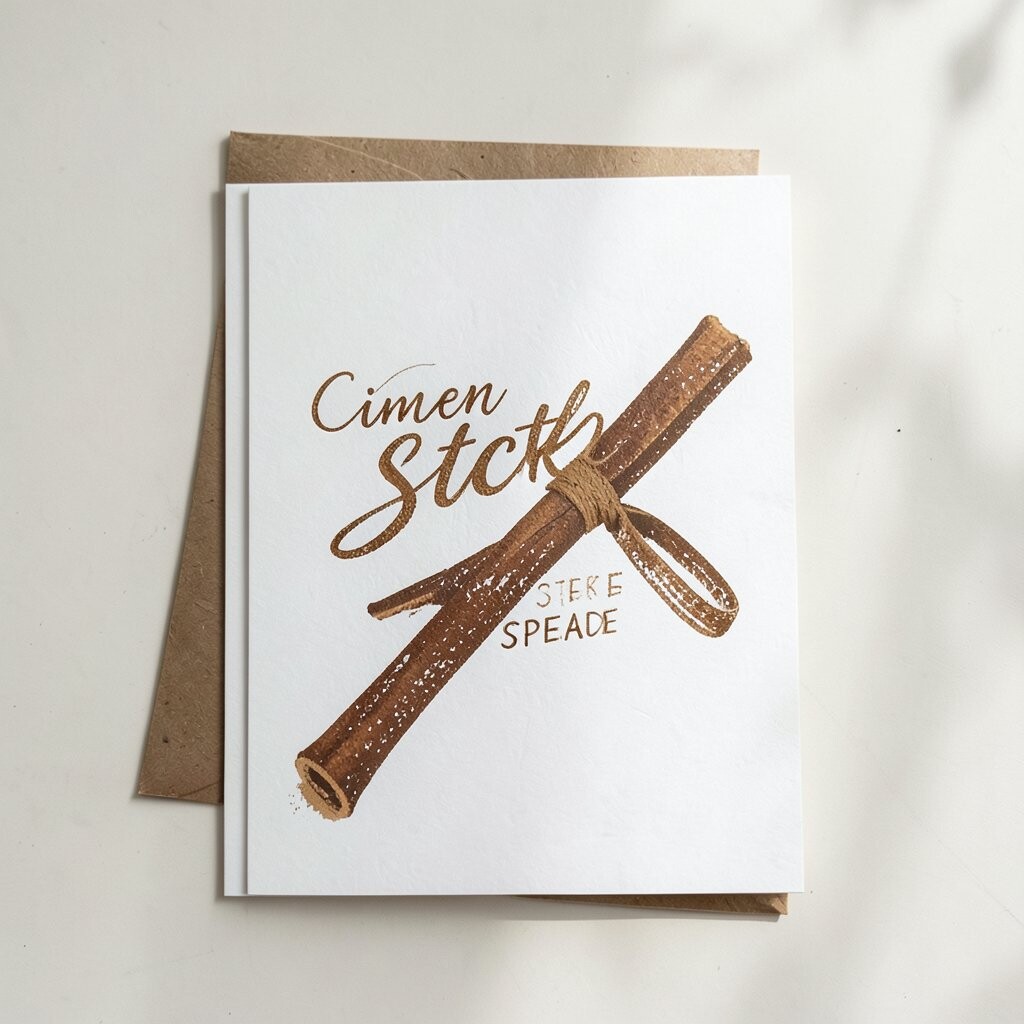
Cinnamon Stick Spice Card Glue one short cinnamon stick along the side of your card, then decorate with small leaf shapes.
The card looks cozy, and it smells warm every time it’s opened.Add a message like “you make life sweet” or “thinking of you—stay cozy.”
This small sensory touch is a benefit that stands out from typical cards.For personalization, write the date you met or a family tradition next to the spice.
Cost consideration is simple: one cinnamon stick can be reused across multiple occasions if you store it well.
It’s unique because it adds aroma, which feels like a little hug. -
7. Origami Crane Kindness Card
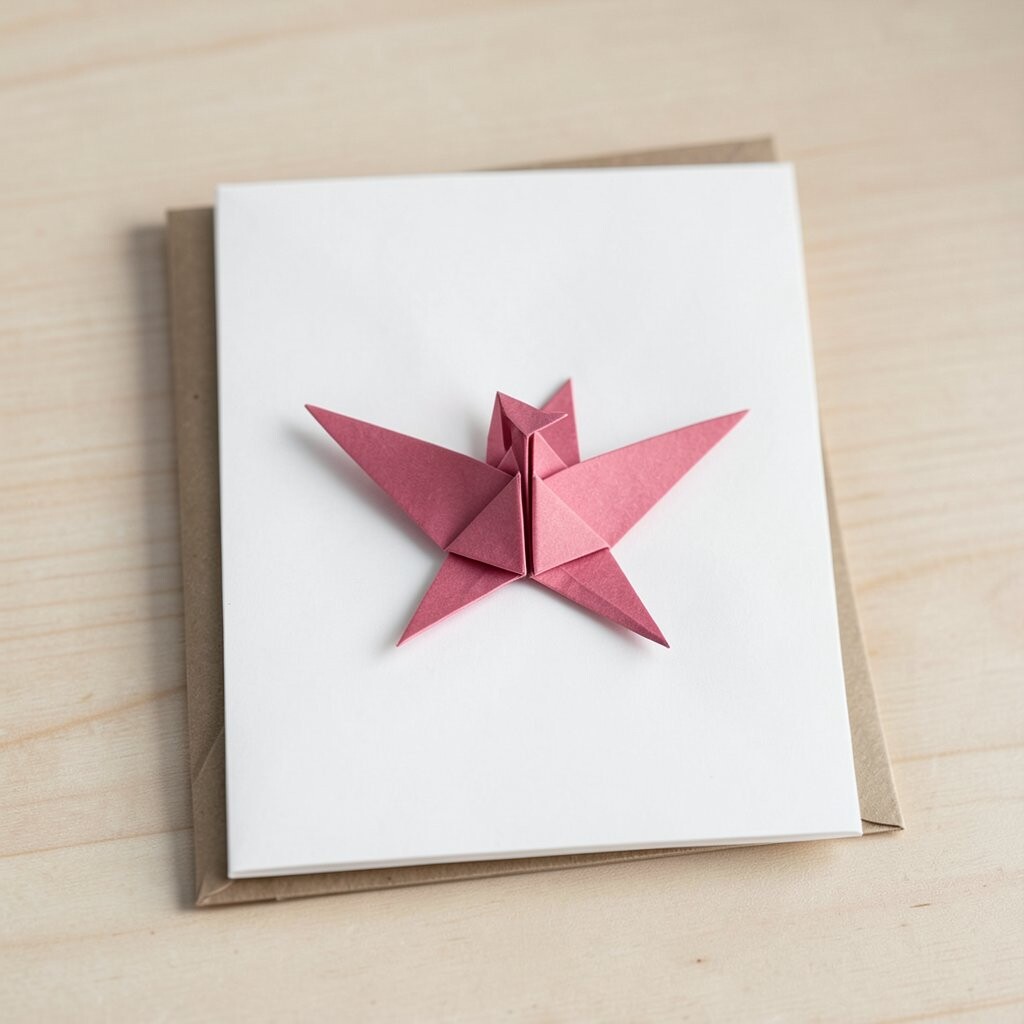
Origami Crane Kindness Card Fold a small origami crane from patterned paper and glue it to the front.
The paper wings create a crisp, elegant look that feels gentle and calm.Write a message inside that matches the meaning of cranes, like hope or care.
The benefit is that the card carries symbolism, not just decoration.Personalize by choosing paper colors tied to their style, like ocean blues or sunny yellows.
To save money, use scrap wrapping paper or old art pages.
This matches the current trend of meaningful crafts and “symbol cards” that carry a message beyond words. -
8. Foil Name Cutout Card
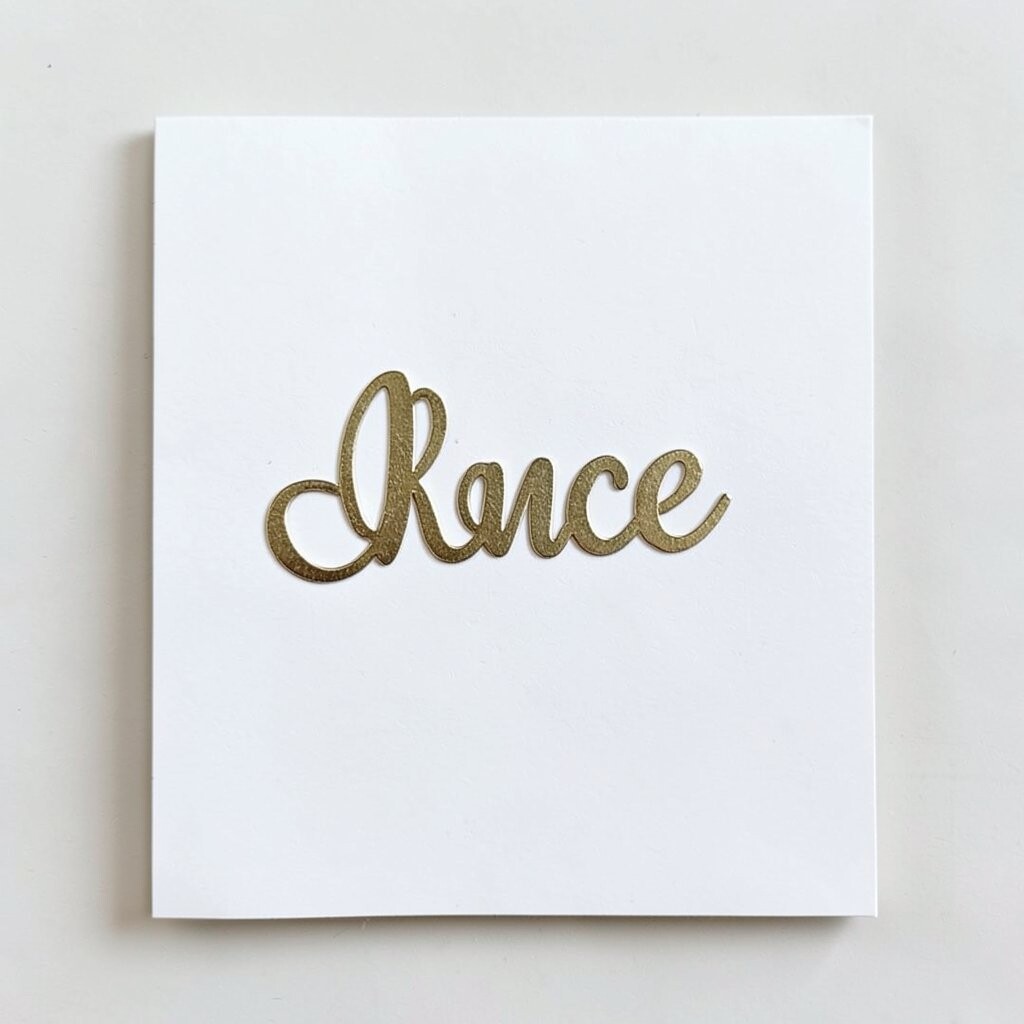
Foil Name Cutout Card Write the recipient’s name in thick marker, then cut it out from cardstock.
Behind it, place colored tissue paper so the letters look like stained glass.Add a small foil accent line using metallic tape or craft foil strips.
The benefit is that their name becomes the star, making it feel made just for them.Personalize by adding a tiny icon near the name, like a star, book, or music note.
Cost considerations: metallic tape is inexpensive, and tissue paper is usually cheap.
This is unique because the layered look feels more premium than the materials cost.For tips, keep edges clean with a ruler and cut slowly.
A sharper cut makes the whole card look more professional. -
9. Chalkboard Style Message Card
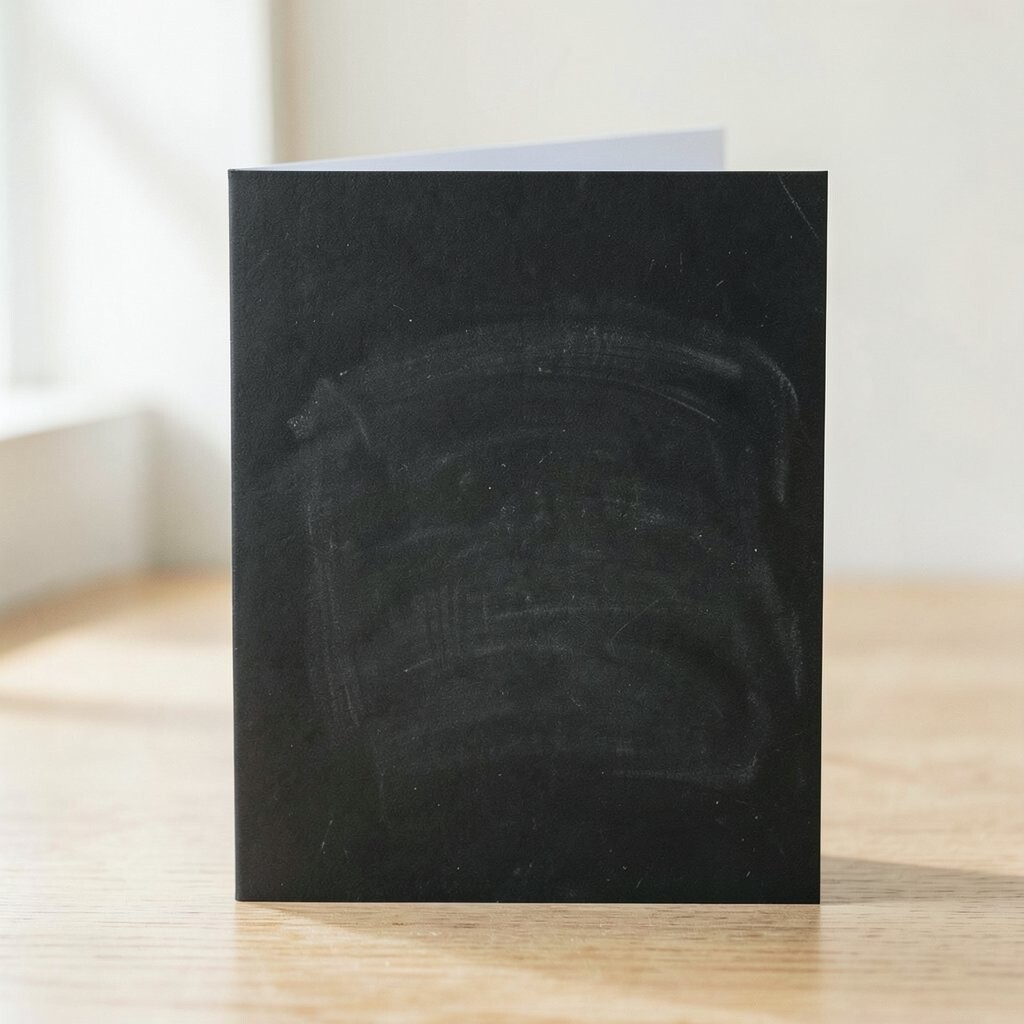
Chalkboard Style Message Card Paint or cover the front with black cardstock, then add messages using white chalk marker.
The surface looks like a tiny school sign, bold and easy to read.Draw small doodles like hearts, stars, or a smiley face in chalk style.
The benefit is clarity: it’s readable from far away and still feels fun. -
10. Scrapbook Ticket “Date You Deserve” Card
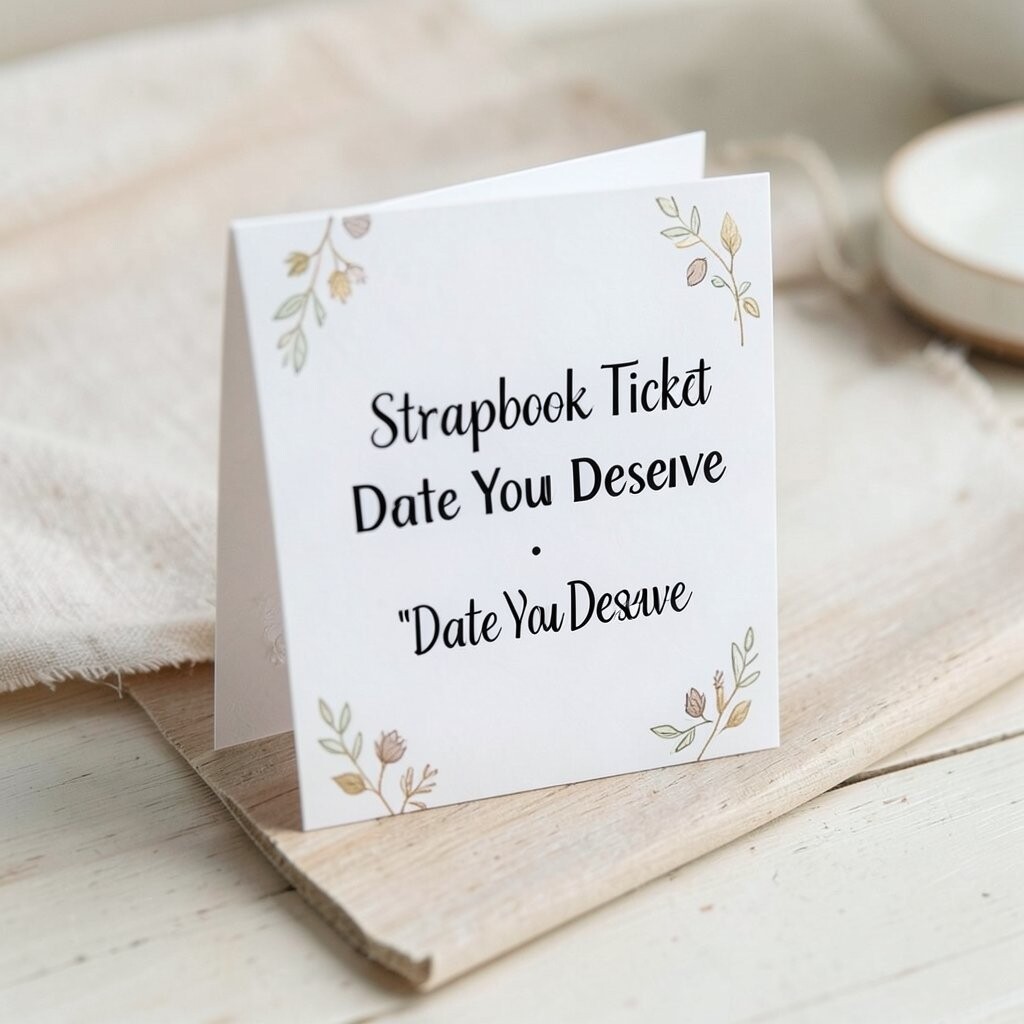
Scrapbook Ticket “Date You Deserve” Card Cut shapes like ticket stubs and label them with kind plans, such as “movie night” or “coffee chat.”
Arrange them like a little schedule so the card feels exciting.Add a pull-tab or simple fold flap where you can write details.
The benefit is that it turns a greeting into a promise of time together.Personalize with inside jokes or shared places, like the park bench you always sit on.
Cost is low because ticket shapes can be made from scrap paper.
Current trends are big on “experience gifting,” and this card fits that vibe perfectly. -
11. Conversation Bubble Love Card
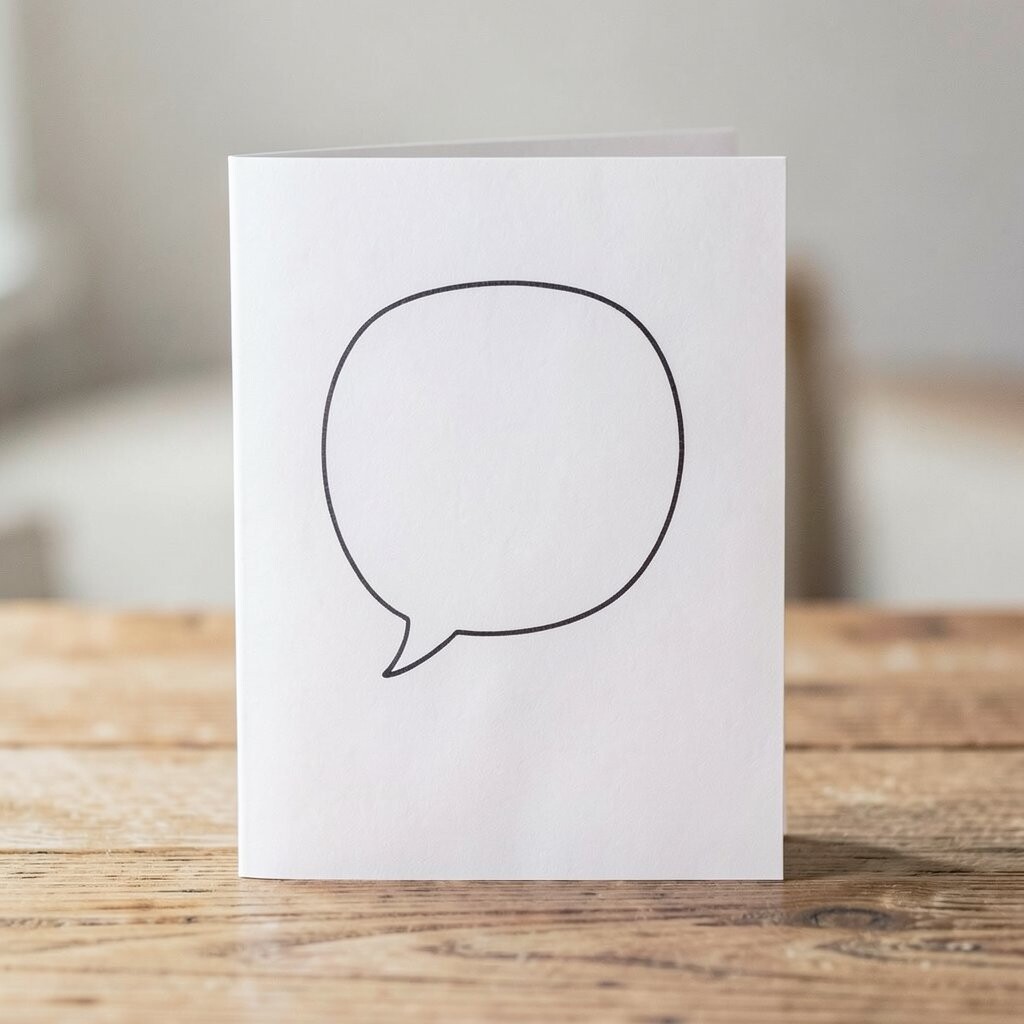
Conversation Bubble Love Card Draw a big speech bubble on the front and fill it with short compliments.
Use different handwriting styles so it feels playful and alive.On the inside, write a longer message in a second bubble.
This helps the recipient read it like a friendly chat, which is a great benefit.Personalize by adding their favorite saying or a “you always” sentence.
Cost considerations: markers are affordable, and you can reuse colored pens.
It’s unique because it looks like you’re speaking directly to them. -
12. Monochrome Lines “Love Loom” Card
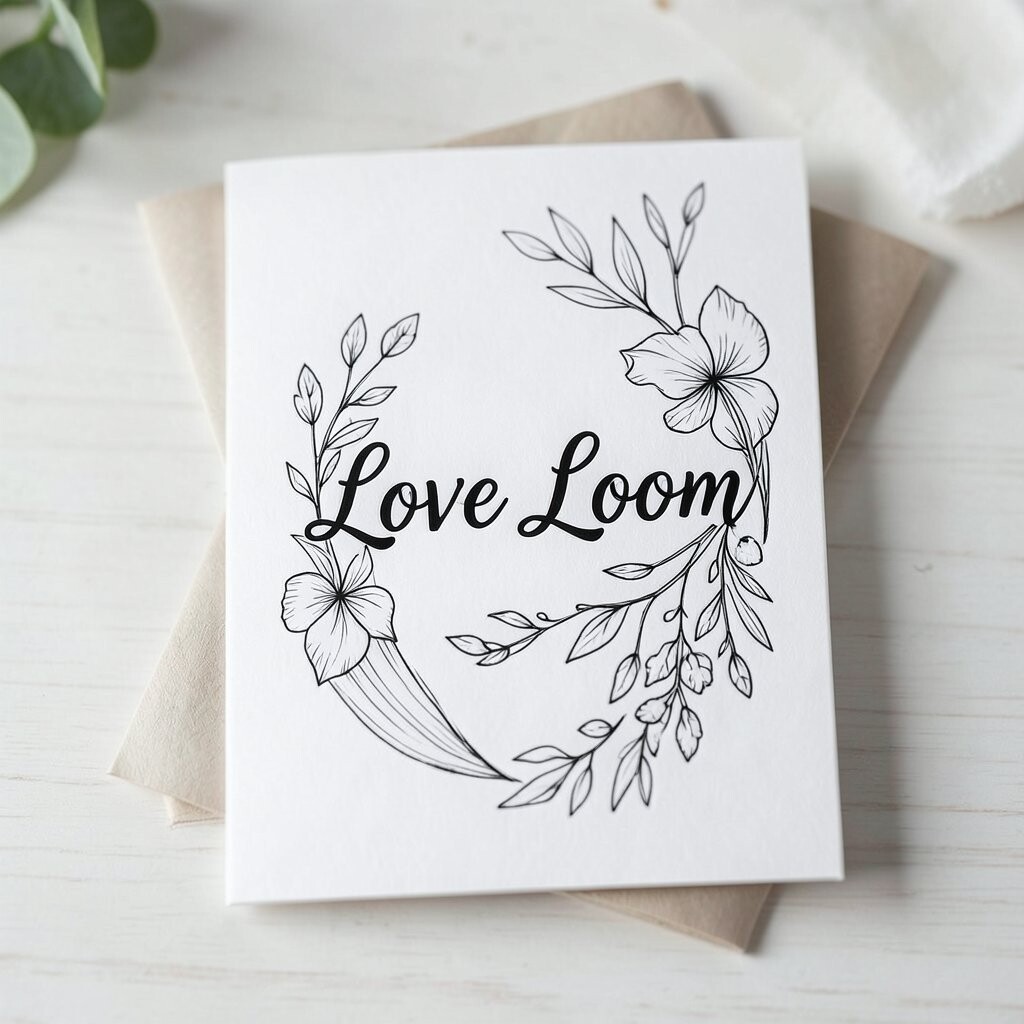
Monochrome Lines “Love Loom” Card Use only one color of pen or marker to draw neat lines that swirl around the card.
The design looks like a calm art poster that shows careful effort.Add a simple message in the middle, like “you’re my favorite.”
The benefit is that the card looks clean and stylish without extra supplies.Personalize by changing the line pattern for their personality, like straight lines for calm folks or curvy lines for creative minds.
Cost is minimal because you just need one marker and cardstock.
This style matches a trend toward minimal, modern card art. -
13. Fabric Ribbon Bookmark Card
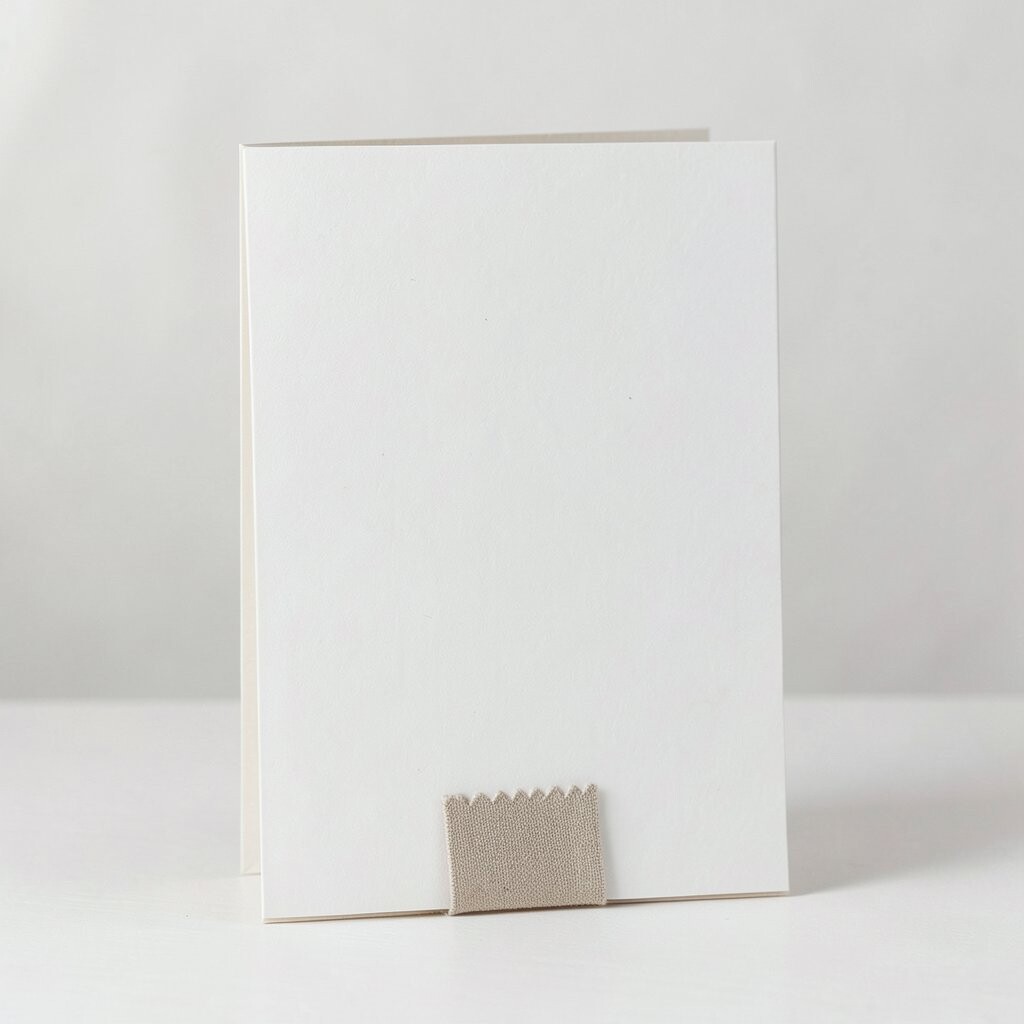
Fabric Ribbon Bookmark Card Attach a small ribbon strip or fabric scrap to the inside flap so it works like a bookmark.
The recipient can slide it into a book and feel your card again later.Write a message that fits reading, like “keep shining in your story.”
The benefit is usefulness: it becomes a tiny tool, not only a one-time note.Personalize by matching ribbon colors to a favorite sweater, team, or hobby bag.
Cost considerations: fabric scraps are often free, and you can reuse old ribbon.
It’s unique because the card keeps offering value long after the greeting.Tip: use a strong glue or a small stitched look with thread for extra durability.
-
14. Stamp and Wash “Sky Love” Card
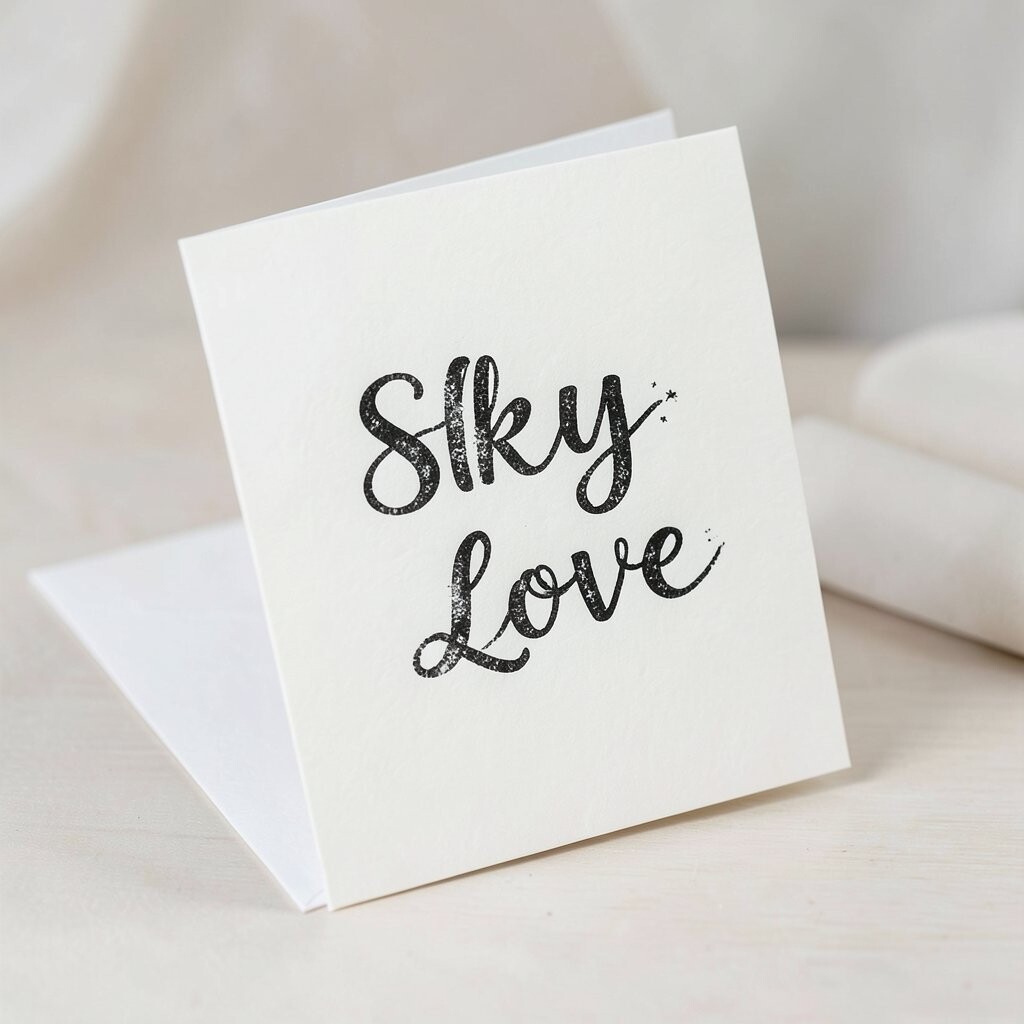
Stamp and Wash “Sky Love” Card Dip a sponge or small brush in light blue ink and stamp soft clouds across the background.
Then add a darker stamp for a hill or gentle horizon.Draw a heart above the hill using a white pen or marker line.
The benefit is a fresh, weather-themed look that feels peaceful and uplifting.
It’s also fun because the pattern always turns out slightly different. -
15. Button and Thread Sentiment Card
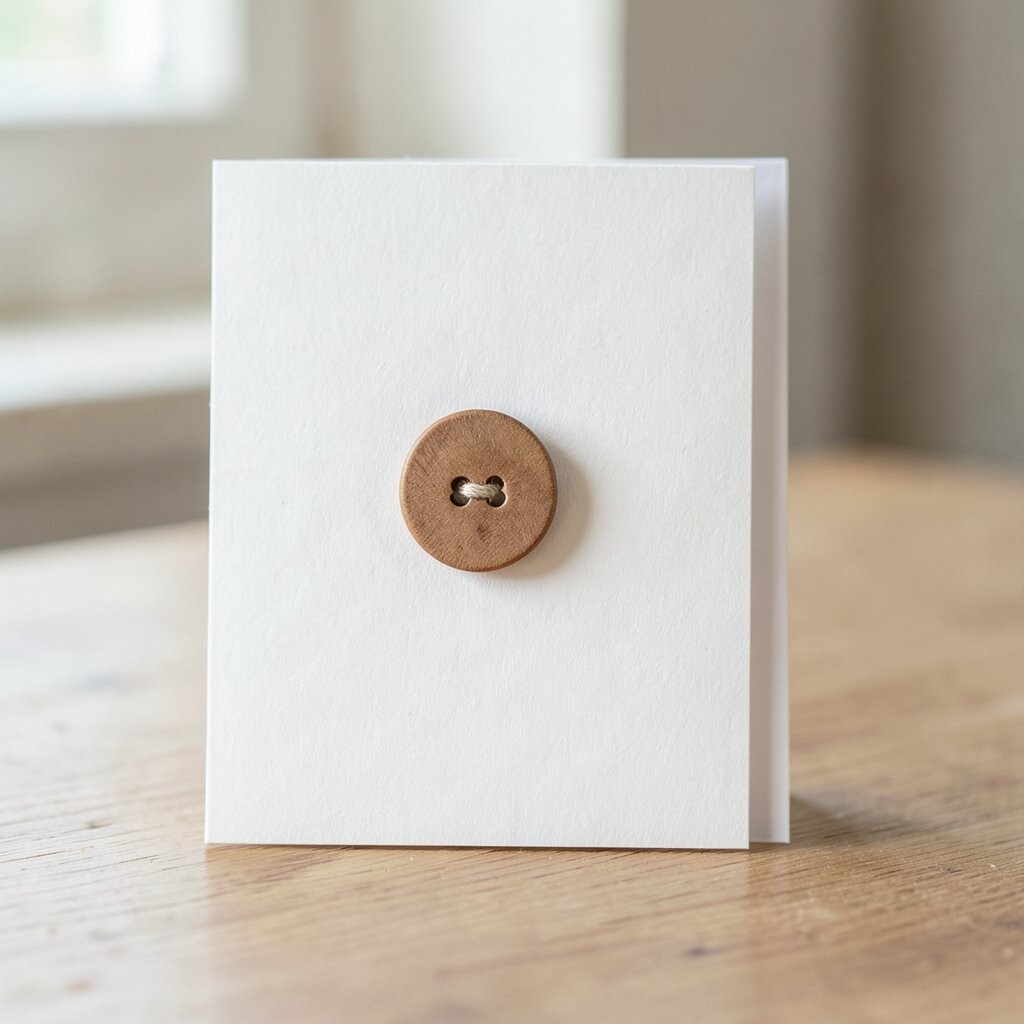
Button and Thread Sentiment Card Sew or glue a few buttons in a row and connect them with thread to form a small path.
The texture looks cozy and handmade in a way that’s hard to fake.Add a message near the buttons that matches the “journey” idea, like “you’re my way.”
The benefit is that the recipient gets a tactile element they can feel.Personalize by using buttons from an old clothing repair kit or items with favorite colors.
Cost is low if you collect spare buttons over time.
Current trends love “visible mending” and upcycled crafts, and this fits perfectly. -
16. Handmade Enamel-Look Heart with Clear Gel
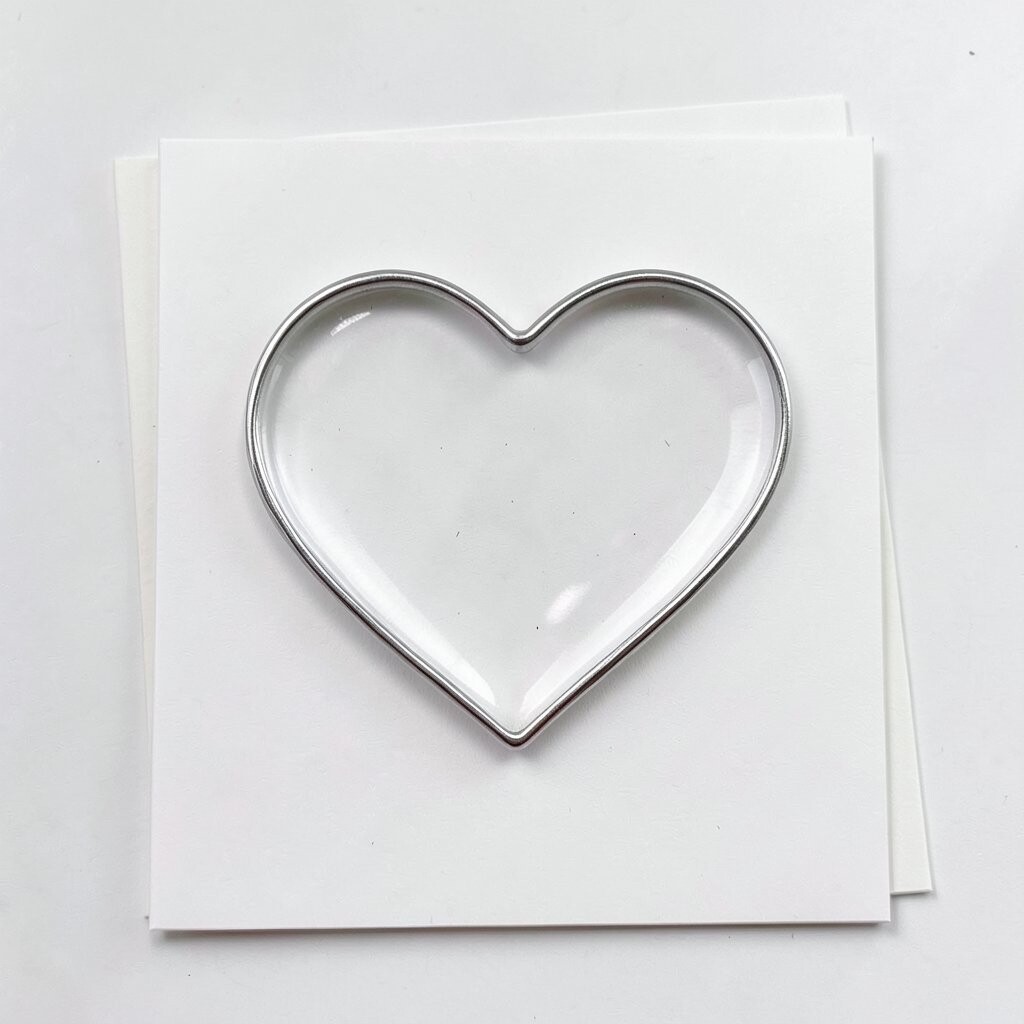
Handmade Enamel-Look Heart with Clear Gel Outline a heart with glue, sprinkle fine glitter, and then seal it with clear craft gel.
When it dries, the heart looks smooth and glassy like an enamel charm.The benefit is shine without needing expensive tools.
People will notice the raised texture and the glossy finish right away.Personalize by choosing glitter colors that match their vibe, like gold for warm friends or silver for cool ones.
Cost consideration: glitter and clear gel are usually inexpensive, and a little goes a long way.
This is unique because it creates a “mini keepsake” effect on the card surface. -
17. Letter Fold “Secret Message” Card
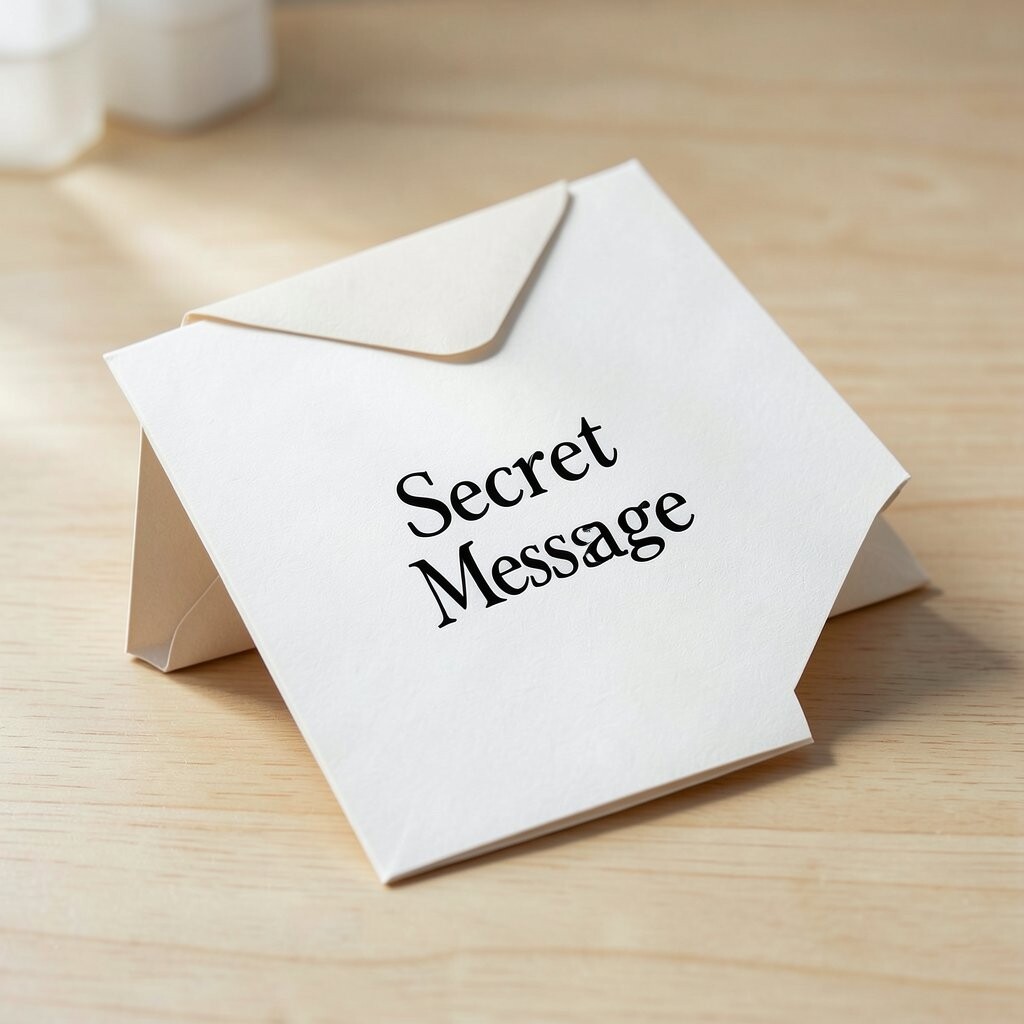
Letter Fold “Secret Message” Card Write a sweet message, then fold the paper into a small accordion inside the card.
When they open it, new lines appear like a little secret.The benefit is surprise, and surprise makes people pay attention.
It also turns reading into a gentle activity, not just a quick glance.Personalize by adding small clues like “read the next line slowly.”
Cost is almost nothing if you already have paper.
This matches current trends of interactive paper crafts that feel fun and thoughtful. -
18. Kids’ Doodle “Art Gallery” Card
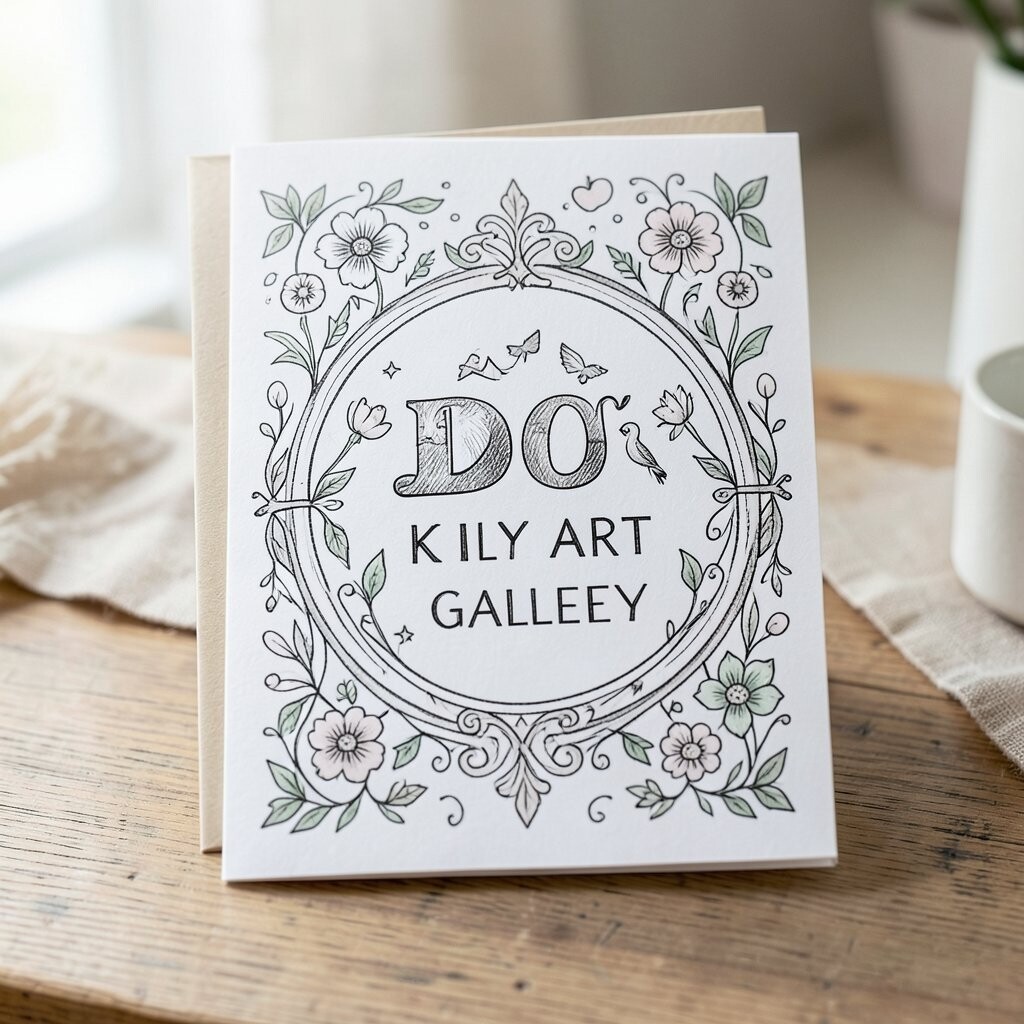
Kids’ Doodle “Art Gallery” Card Create a card front that looks like a mini art gallery with a frame made from craft paper.
Add simple doodles like faces, balloons, or plants around the message.The benefit is emotional warmth: doodles feel honest and full of personality.
The recipient will likely smile because it looks like a real creative moment.Personalize by including one doodle that matches their hobby, like a tiny camera for photography lovers.
Cost considerations are easy: crayons and markers are usually the cheapest supplies.
It’s unique because the “imperfect” lines make it feel even more real.Tip: write your message in large letters so the doodles don’t hide it.
-
19. Leafy Monogram Card with Nature Texture
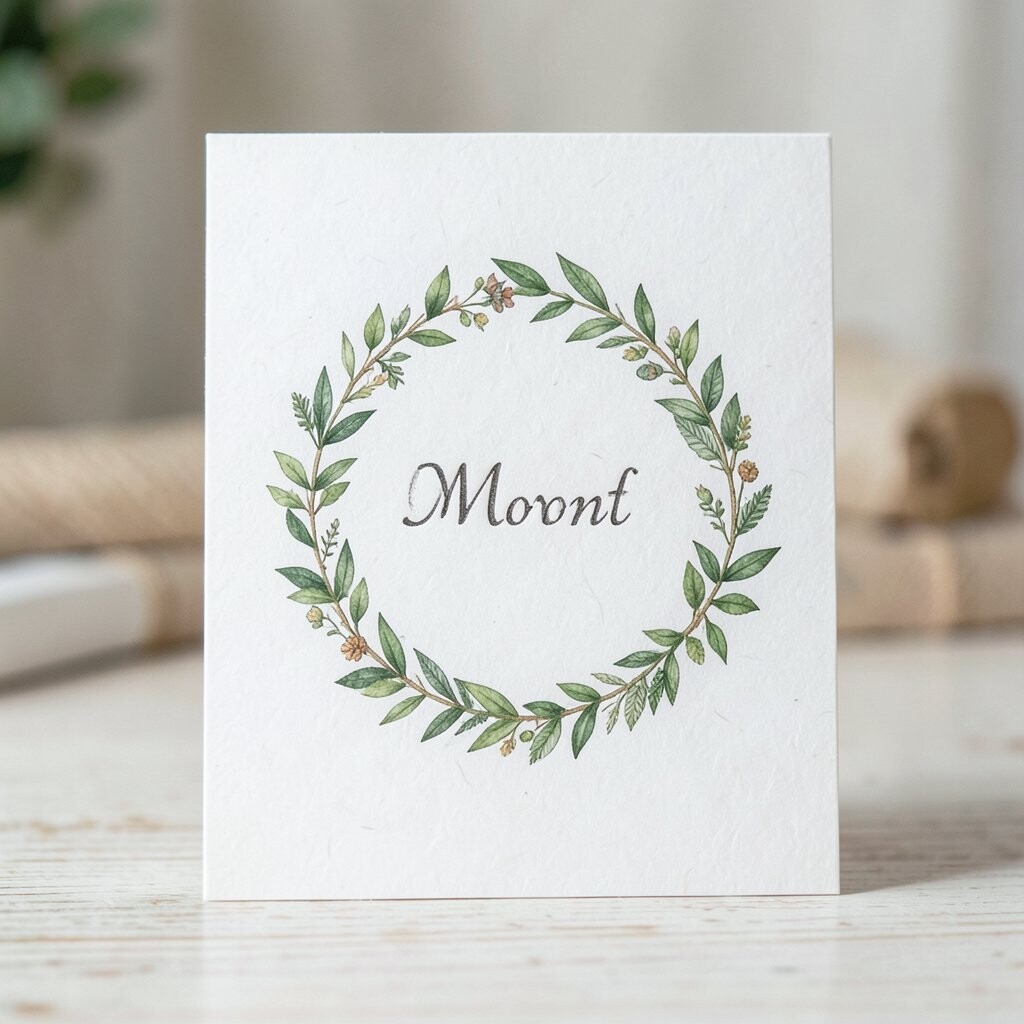
Leafy Monogram Card with Nature Texture Rub a leaf under colored chalk or pastel to create a natural pattern, then trace a monogram letter on top.
The result feels earthy, crisp, and special.Add a short line inside, like “rooting for you” or “you grow my heart.”
The benefit is a nature-inspired look that feels calm and thoughtful. -
20. Illustrated “Matchbox” Gift Card Holder
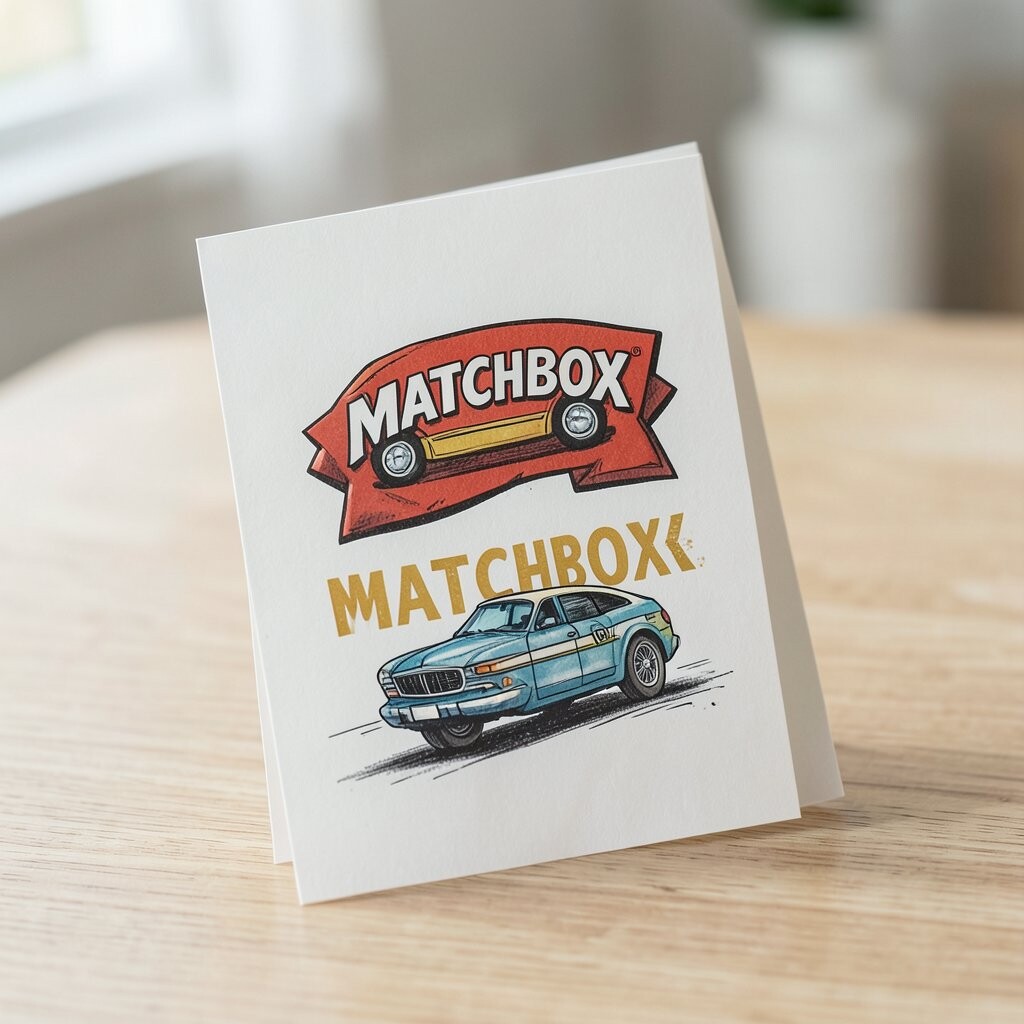
Illustrated “Matchbox” Gift Card Holder Build a small holder shaped like a matchbox using thicker cardstock.
Decorate it with an illustration on top, such as a little house, cat, or rocket.Put a gift card or note inside and seal it with a ribbon.
The benefit is practical value plus creativity.Personalize by using colors that match the recipient’s room or favorite outfit.
Cost considerations: you’ll need cardstock and glue, but those are usually basic supplies.
Current trends love functional crafts that still feel cute and handmade. -
21. Color-Pop Balloon String Card
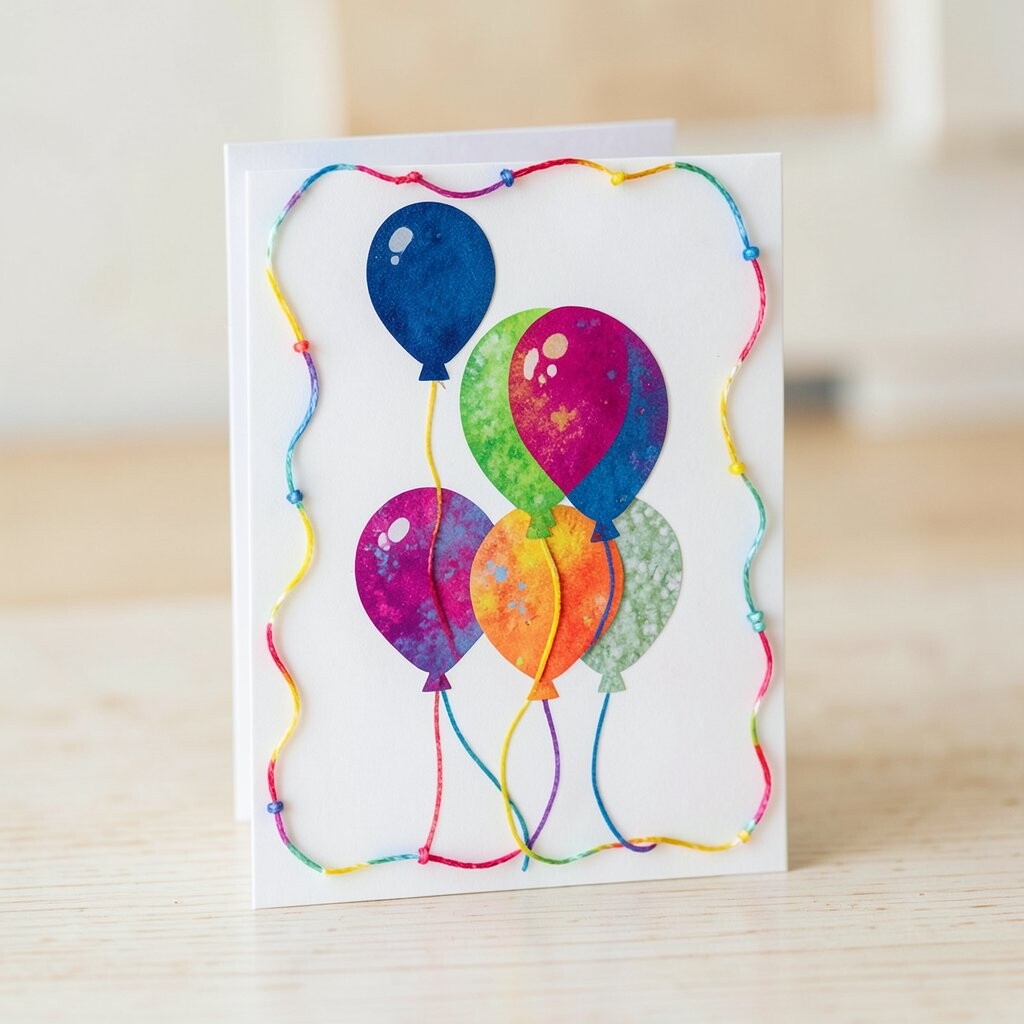
Color-Pop Balloon String Card Cut balloon shapes from colored paper and attach them near the top of the card.
Draw strings that curl down and end at tiny hearts or stars.Write a message that feels celebratory, like “congrats on you” or “happy day for you.”
The benefit is that the card looks bright even with simple materials.Personalize by choosing balloon colors for their favorite team, season, or personality.
Cost is low if you use leftover colored paper scraps.
It’s unique because the balloon strings guide the eye toward your message like a fun design trick. -
22. Ribbon-Bow “Because You” Card
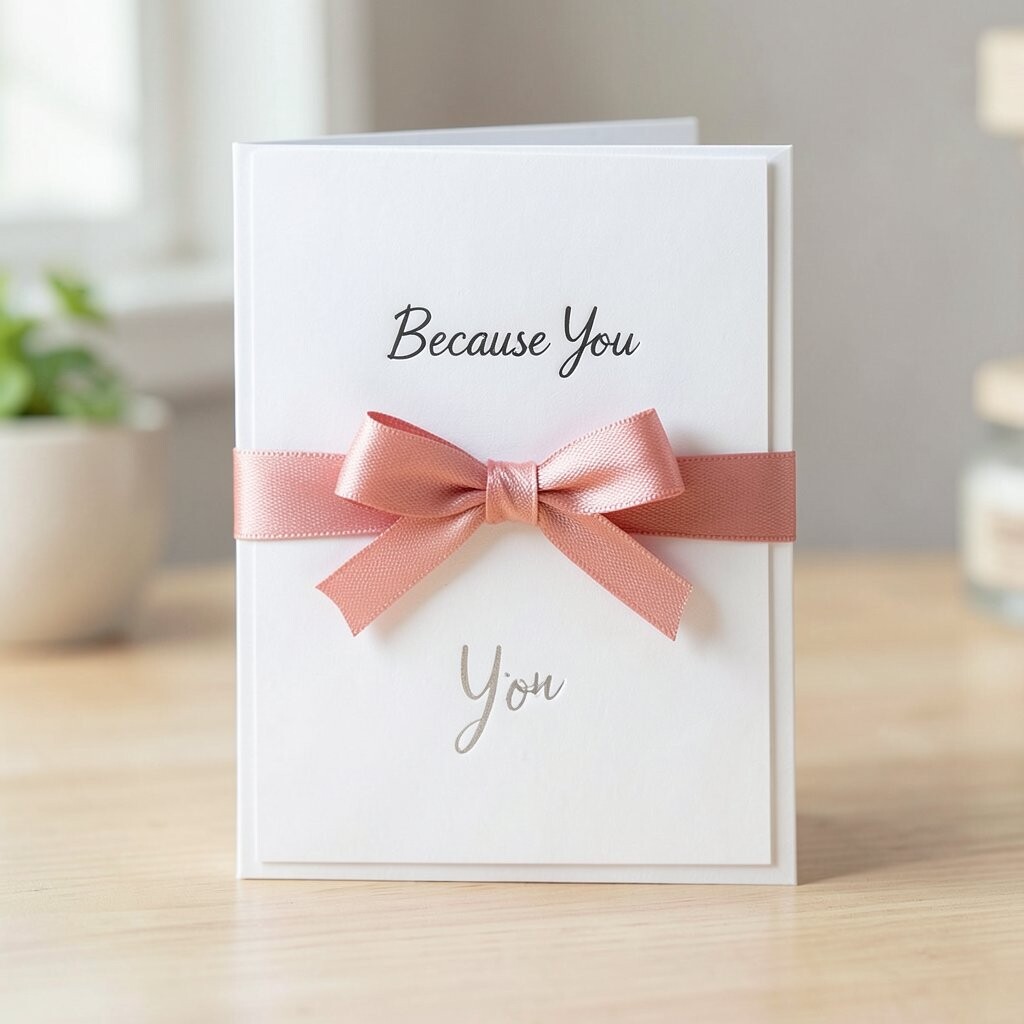
Ribbon-Bow “Because You” Card Make a small bow from ribbon and glue it at the center, then surround it with tiny paper confetti.
The front feels like a gift already, even though it’s a card.Write “because you…” on the front and list reasons inside.
This gives the recipient personal attention, which is a big benefit for their heart.Personalize with one specific compliment, like “because you always listen” or “because you make people laugh.”
Cost considerations: ribbon can be reused from old wrapping.
Current trends include “gift-style stationery,” and this is a sweet match. -
23. Stenciled Pattern Love Letter Card
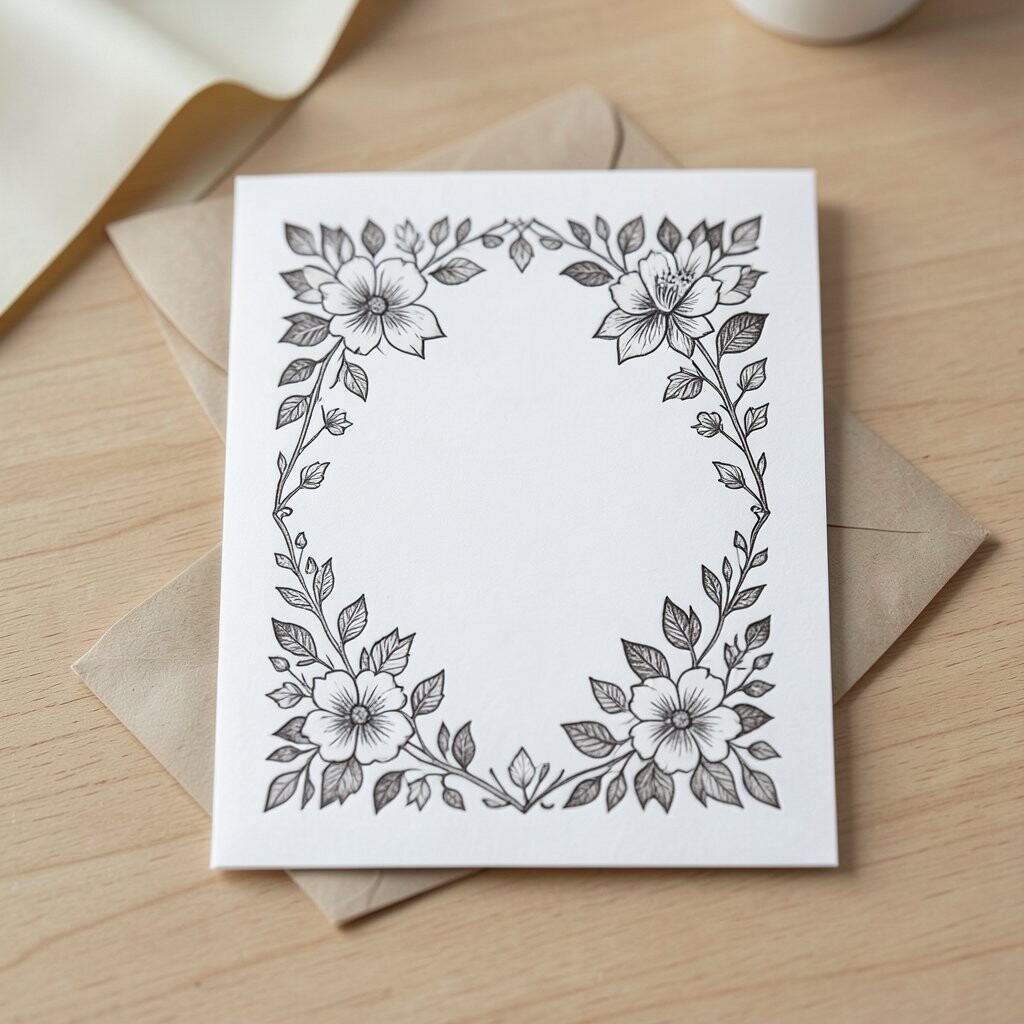
Stenciled Pattern Love Letter Card Use a stencil to paint or sponge a repeating pattern on the background, like tiny hearts or dots.
Choose one main color so it looks neat and intentional.Add a simple letter theme in the center, like an envelope icon and a short note.
The benefit is that it looks professional without needing advanced skills.Personalize by swapping patterns based on the recipient’s hobbies, such as music notes or paint splats.
Cost is manageable: stencils are affordable, and you can even reuse cut paper stencils.
This is unique because the pattern makes your message feel like it belongs in a special design world.Tip: let each layer dry to avoid smudges, especially when using sponge paint.
-
24. Candlelight Night Scene Card
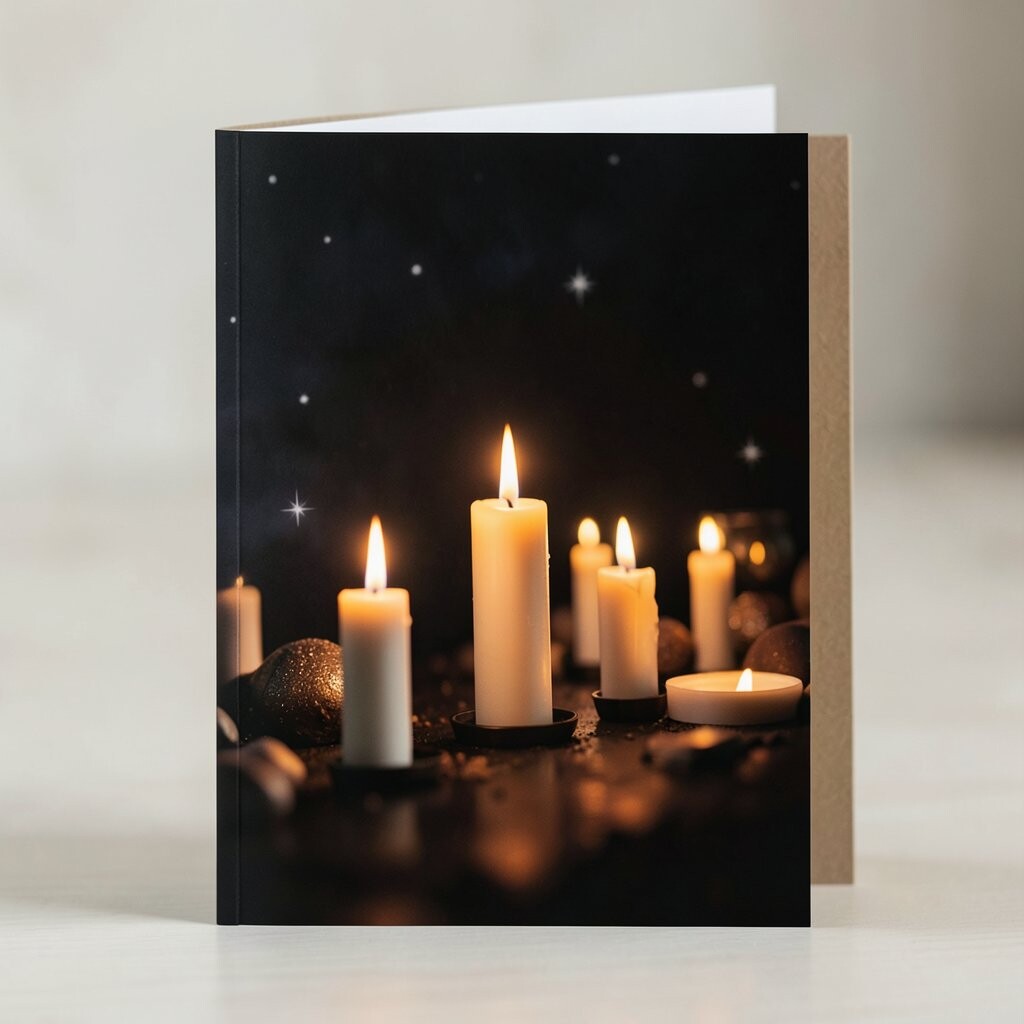
Candlelight Night Scene Card Paint a dark night sky on the card and add a small candle or lantern illustration with glowing yellow.
Use a lighter color near the “light” area so it looks like the glow spreads.Write a message like “you light up my world.”
The benefit is emotional comfort, because candle imagery feels safe and warm. -
25. Interactive Scratch-Off Appreciation Card
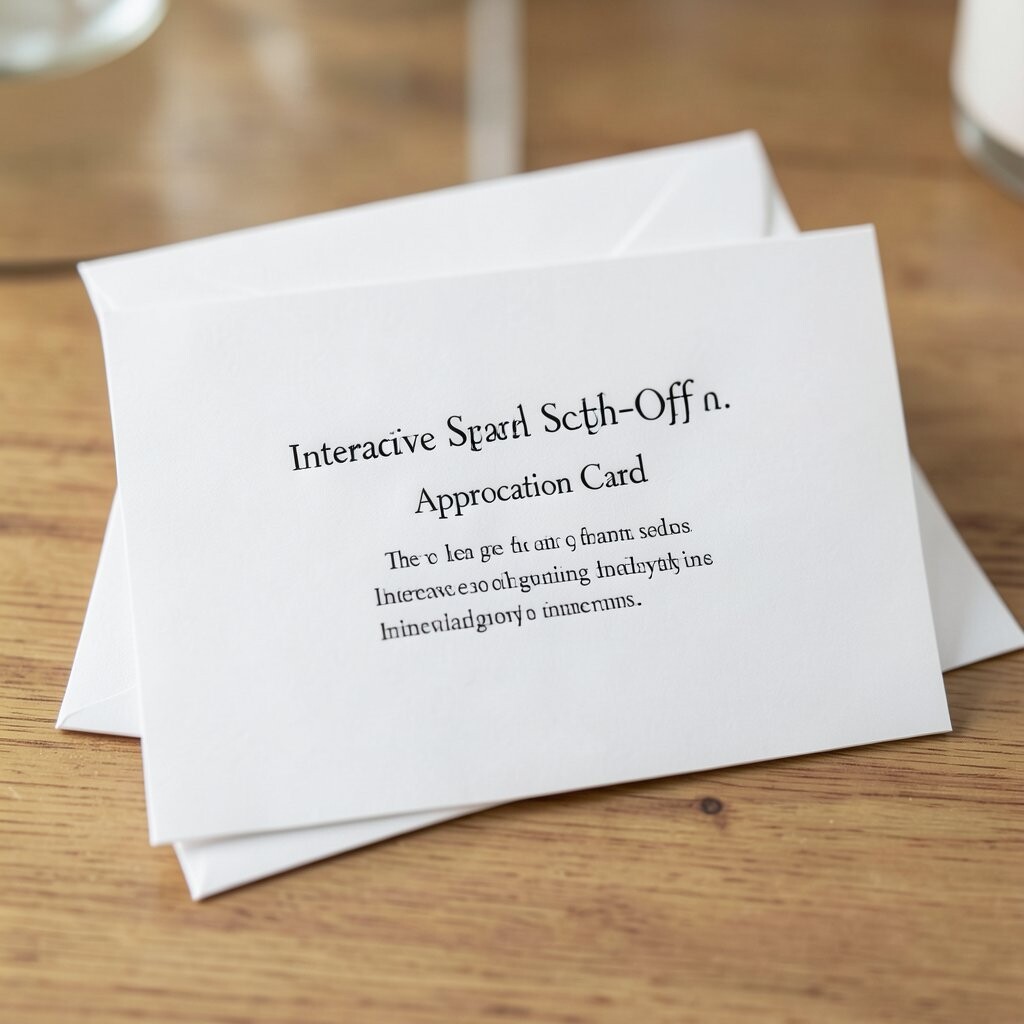
Interactive Scratch-Off Appreciation Card Cover a small square with a scratch-off style layer made from craft supplies or thicker marker ink.
Under it, write a hidden compliment that will appear when they scratch it gently.The benefit is fun plus kindness: it’s like a mini game that ends with love.
It also helps the recipient focus on one sweet sentence at a time.Personalize by hiding a message that fits the moment, like “today you shine” or “you’re brave.”
Cost considerations: you may only need cardstock, marker, and a simple cover layer.
This matches current trends of interactive cards that feel playful and modern.