Cabinets can look brand new without a full kitchen makeover. Small changes can make the whole room feel brighter and calmer.
-
1. Paint the cabinet faces with a fresh, durable coat
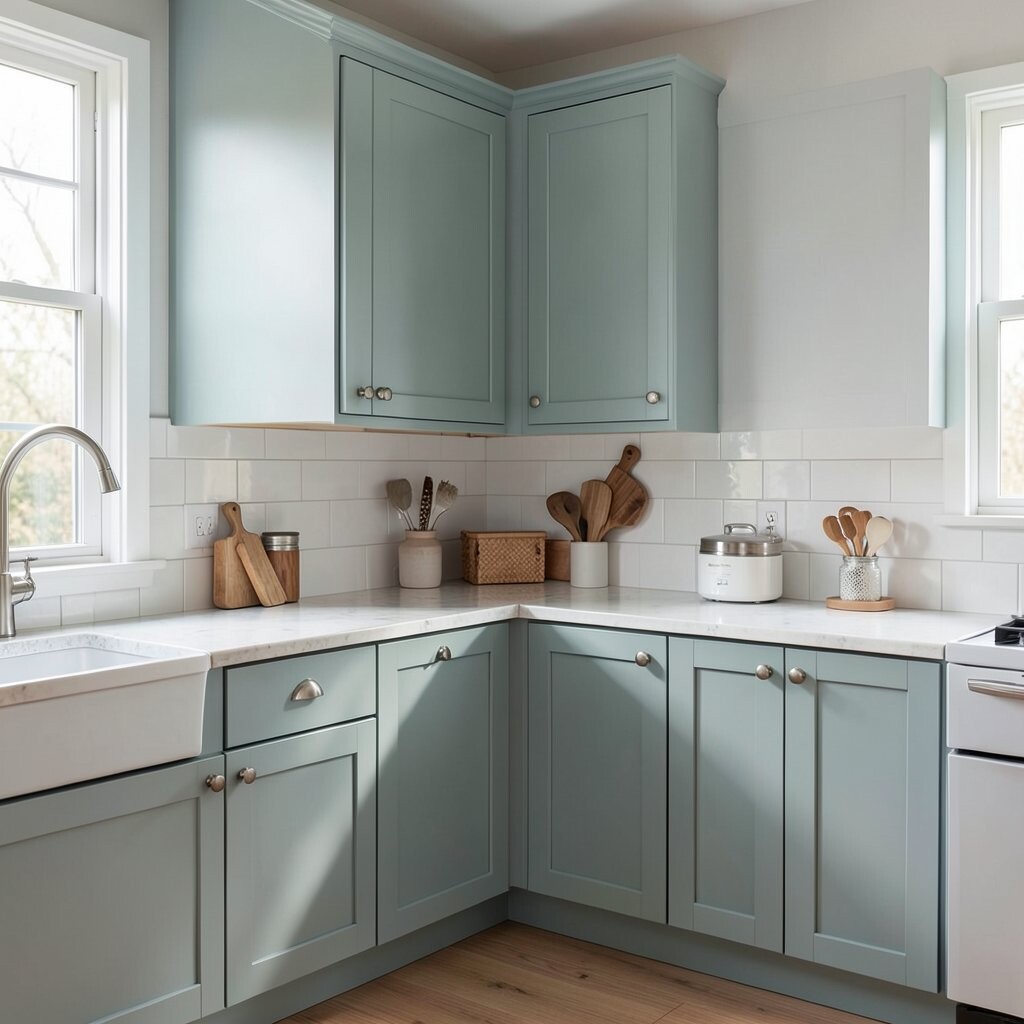
Paint the cabinet faces with a fresh, durable coat Start by sanding lightly and wiping everything clean so the new finish sticks well. You can picture the cabinets getting a smooth, even look that feels like a makeover.
Choose a paint made for cabinets for better wear, especially near handles and high-touch spots. A semi-gloss or satin sheen helps light bounce around, which can make your kitchen feel bigger. For personalization, pick a color that matches your hardware and your kitchen vibe, like warm whites, soft greens, or muted blues.
-
2. Add peel-and-stick cabinet panels for instant style
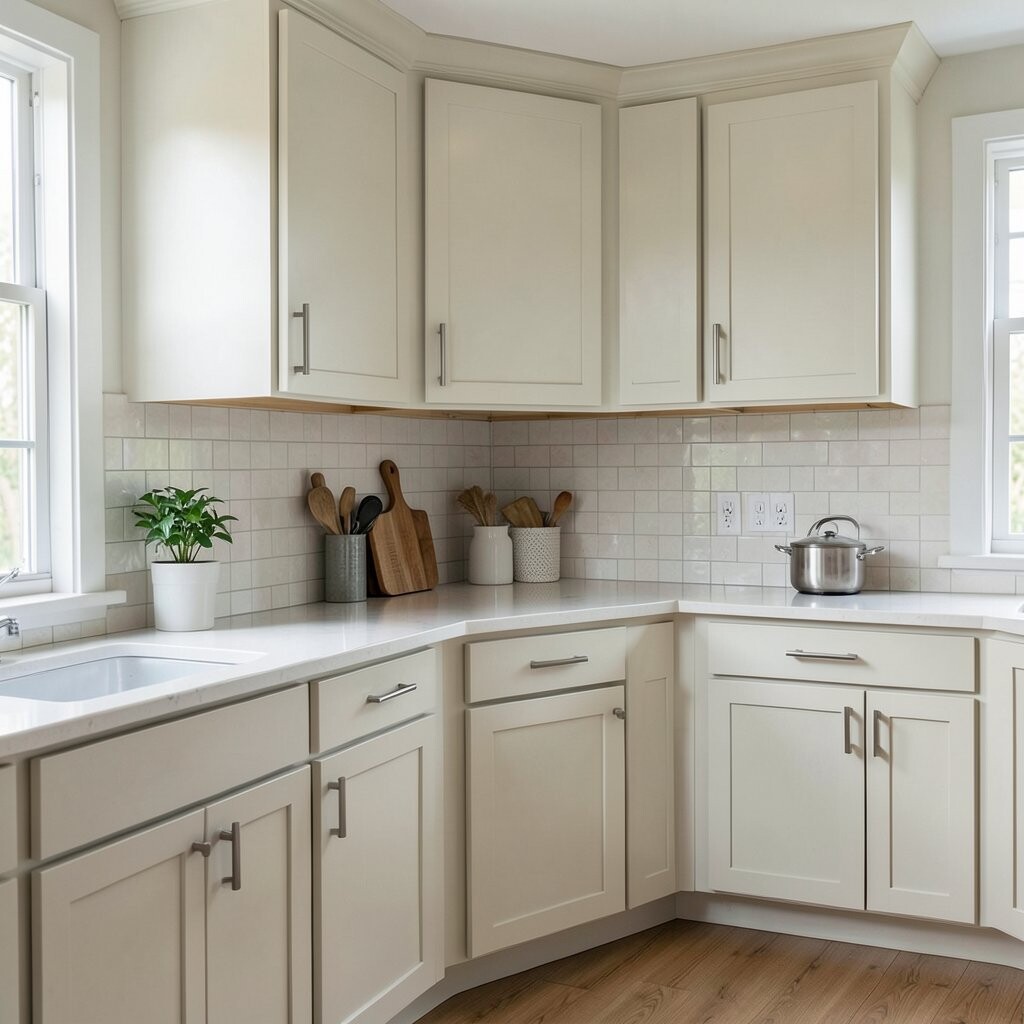
Add peel-and-stick cabinet panels for instant style Think of thin panel sheets that fit over the cabinet doors like a quick costume change. The look can be modern or cozy right away, with raised patterns that catch the light.
Benefits show up fast: you skip messy spray setups and you can refresh only the doors you want. Pick designs that match current trends like subtle shiplap lines, simple fluted textures, or soft geometric grids. Plan your layout carefully so the patterns line up, and measure twice so your corners stay neat.
For cost, this option often beats full door replacement, and it’s friendly for renters too. Try using a matching style across all uppers, then switch to a calmer design for lowers if you want a balanced look. Seal edges with a trim or clear protector if your kitchen gets steam often.
-
3. Swap old hardware with updated pulls and knobs
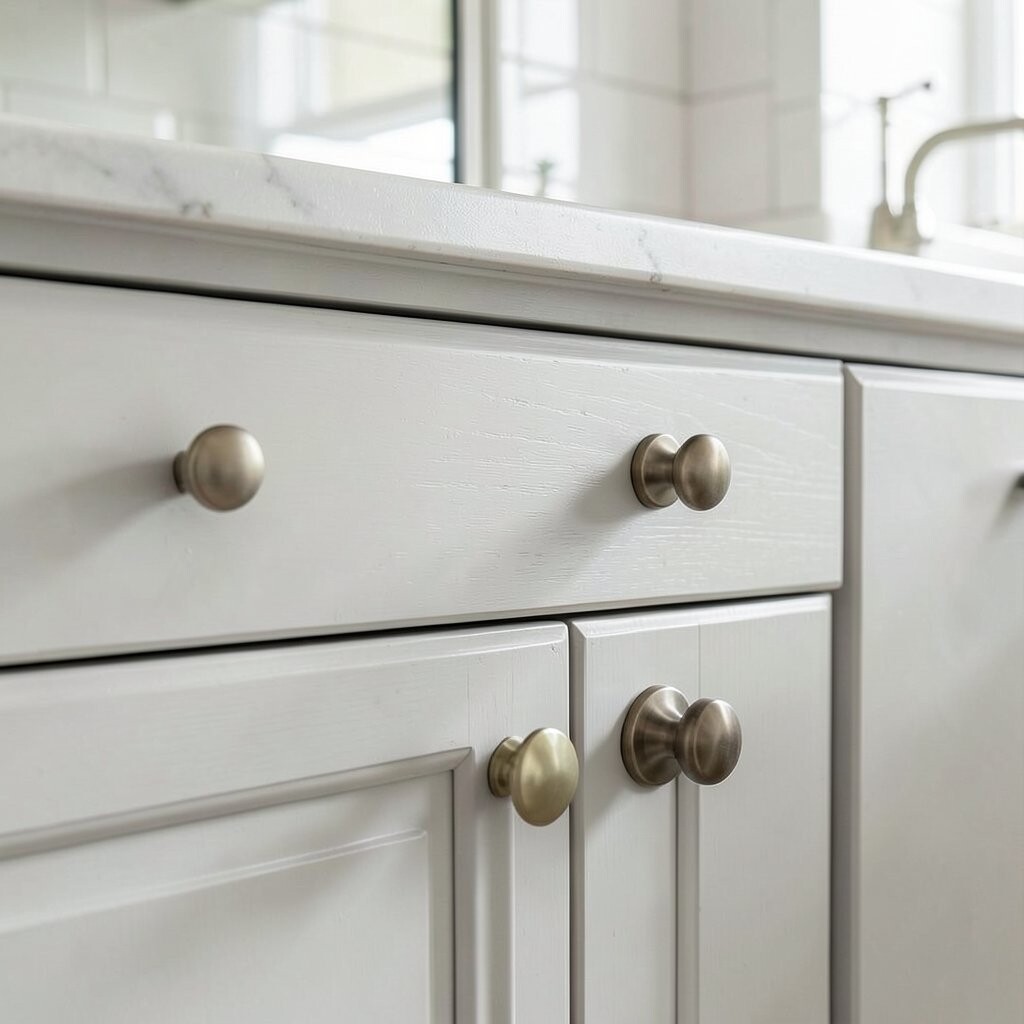
Swap old hardware with updated pulls and knobs Small shiny upgrades can make cabinets feel modern in minutes. Picture your hands grabbing a smooth pull that lines up perfectly and makes opening feel effortless.
This revamp is budget-friendly and has a clear benefit: it can completely change the mood without repainting. Today’s popular looks include matte black, brushed brass, and oil-rubbed bronze, which pair well with both warm and cool paint colors. For tips, use a template or tape measurement so screw holes match and you avoid drilling mistakes.
To personalize, mix sizes for a fun effect, like larger pulls on drawers and smaller knobs on doors. If you want a softer style, choose curved shapes instead of boxy ones. Consider buying extra pieces first so you can keep the set consistent.
-
4. Refresh cabinet edges with new trim or molding
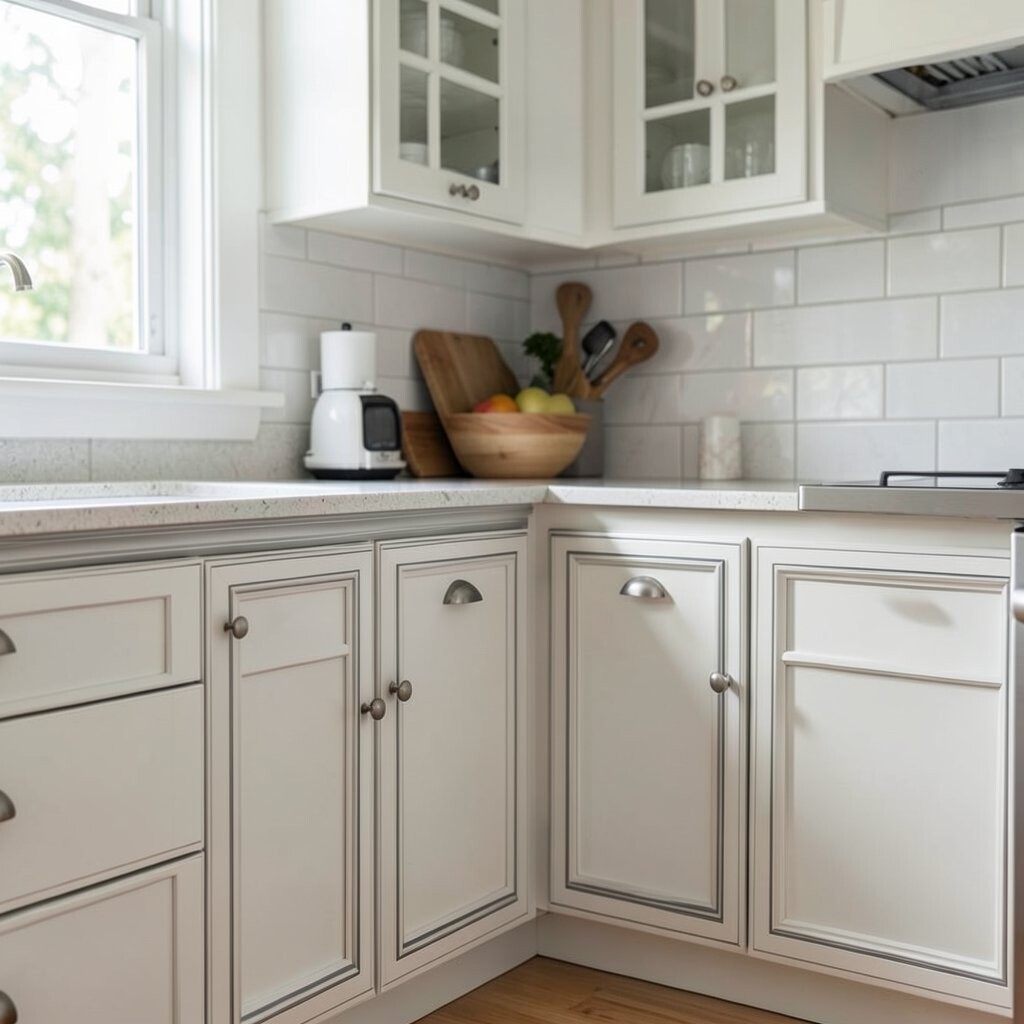
Refresh cabinet edges with new trim or molding Adding simple trim can turn flat doors into something architectural. Imagine thin molding creating clean lines that make your cabinetry look higher-end.
This approach helps you get a “custom” feel without replacing the whole cabinet box. Cut small pieces, use strong adhesive, and paint or stain the trim to match your cabinet color. It’s a great fit for people who enjoy DIY, because careful measuring makes the result feel professional.
-
5. Stain or re-finish the wood for a warm, natural look
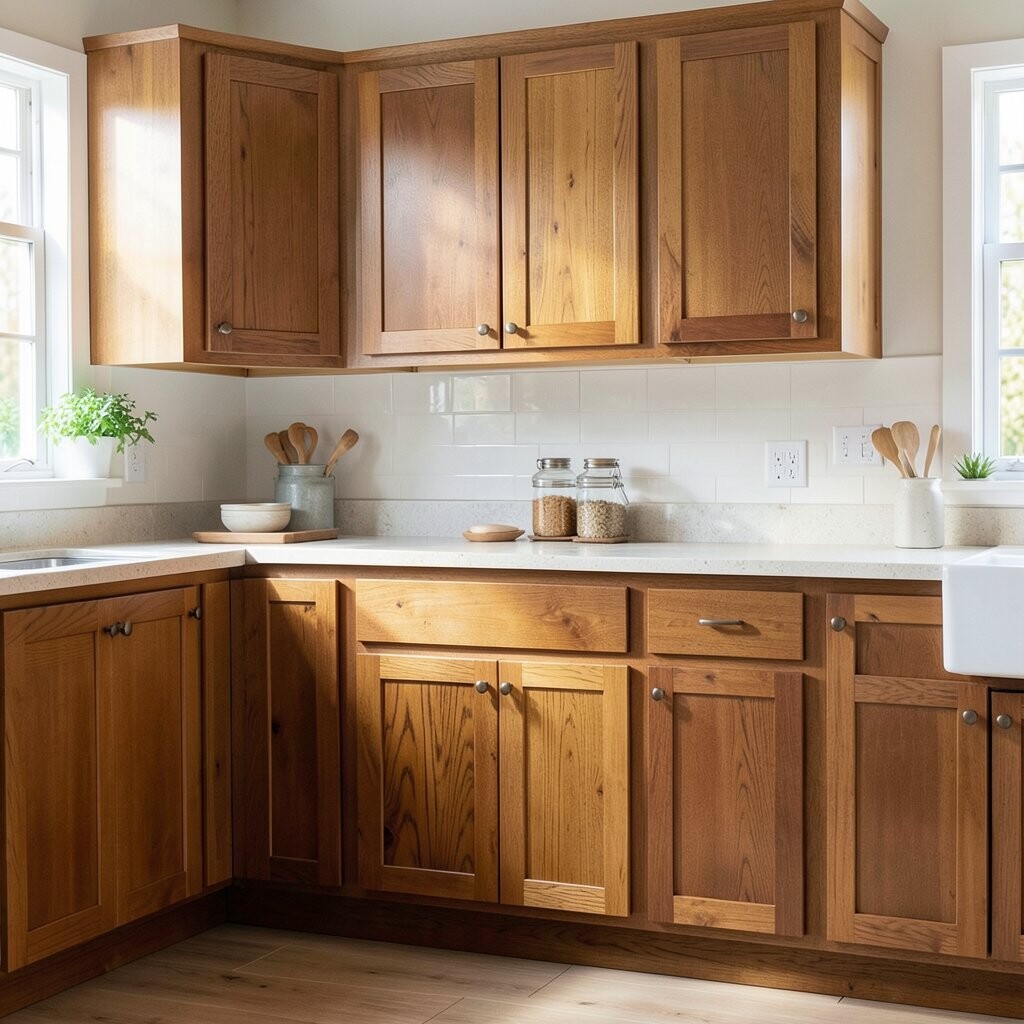
Stain or re-finish the wood for a warm, natural look If your cabinets are real wood or can be treated, staining can bring back depth and warmth. Picture those grain lines becoming visible again, like your kitchen has a cozy glow.
Staining can be a standout option because it highlights the cabinet character instead of covering it. Pick a stain that matches your floors or your table tone, and test a small hidden spot first. Seal with a protective topcoat so the finish stands up to daily cooking.
For cost, re-finishing can be cheaper than replacement, especially when you already have solid doors. Keep trends in mind by choosing warm honey tones, rich walnut shades, or cool greige stains that feel current. Add a matching wood tone to open shelves so everything looks connected.
-
6. Paint only the cabinet doors and leave frames simple
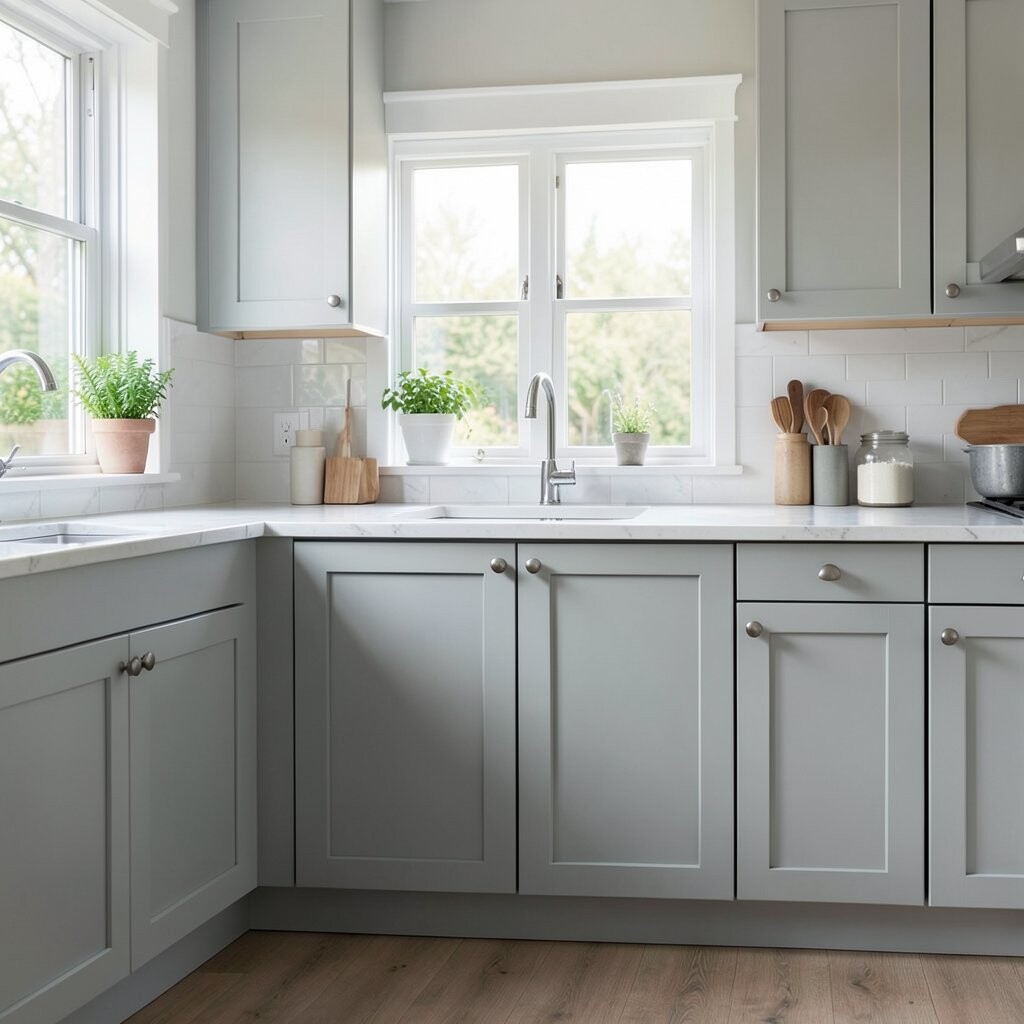
Paint only the cabinet doors and leave frames simple This method can look elegant because you control the contrast. Imagine doors in a bold color while the cabinet frames stay light, letting the space feel airy.
It’s a smart benefit because you use less paint and can keep some original details for charm. Choose two tones that work together, like a white frame with sage doors or a cream frame with navy doors. For personalization, you can also paint the inside of doors a matching or coordinating color for a “hidden surprise” when you open them.
To keep it neat, remove doors, label hinges, and let everything dry fully before re-hanging. If you have glass-front doors, paint the backing for a clean, custom look. This option also fits busy schedules because you can work in small sessions.
-
7. Install inexpensive shelf liners for a cleaner interior feel
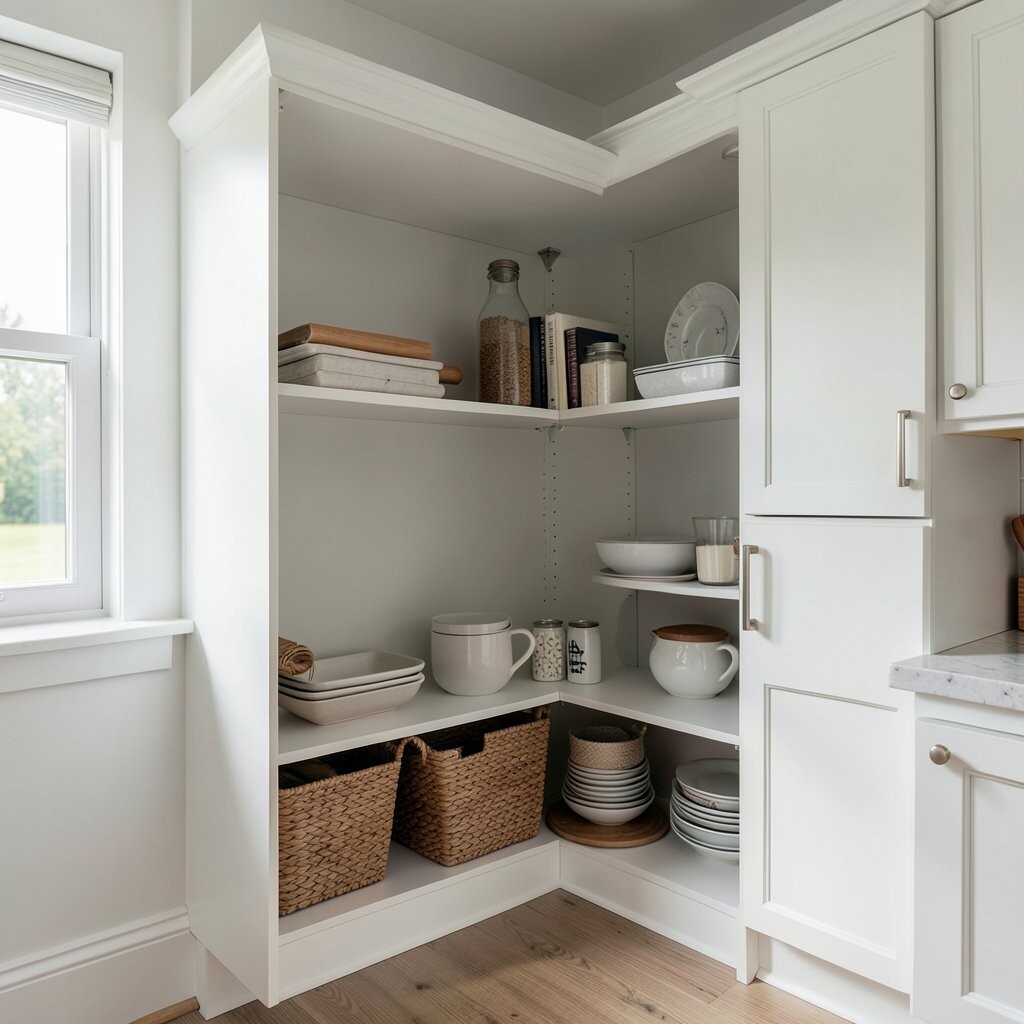
Install inexpensive shelf liners for a cleaner interior feel Cabinet revamps don’t have to be only about the outside. Picture your shelves looking tidy with liners that protect surfaces and make cleaning easier.
Shelf liners offer an everyday benefit: they prevent scratches, reduce sliding, and keep spills from staining. Choose patterns that fit your style, like subtle marble, soft geometric, or simple solid colors. This is a unique touch because it upgrades the “feel” every time you open a door.
For tips, measure each shelf and trim slowly with a sharp blade. Consider adding liners to drawers too, especially for utensils, so everything feels coordinated. Cost-wise, liners are usually much cheaper than new cabinets but still make a noticeable difference.
-
8. Add glass inserts to selected cabinet doors
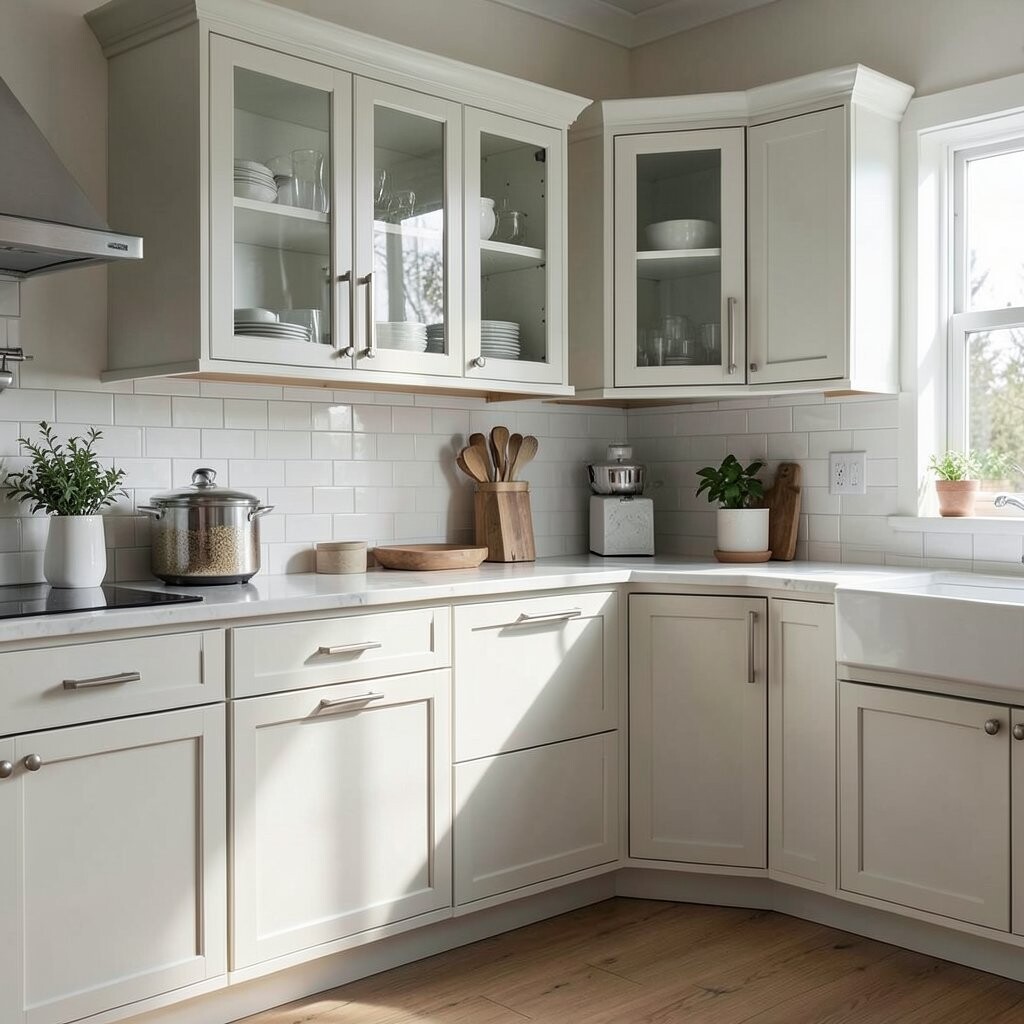
Add glass inserts to selected cabinet doors Glass inserts can make cabinets look light and stylish. Imagine a mix of solid doors and glass fronts, showing your dishes in a neat and appealing way.
This upgrade helps the room feel brighter because light can pass through. Pick tempered glass for safety and choose frosted or patterned options for privacy. For personalization, add matching knobs or pulls so the new glass doors feel like part of the same set.
-
9. Use peel-and-stick wallpaper inside cabinets for a bold accent
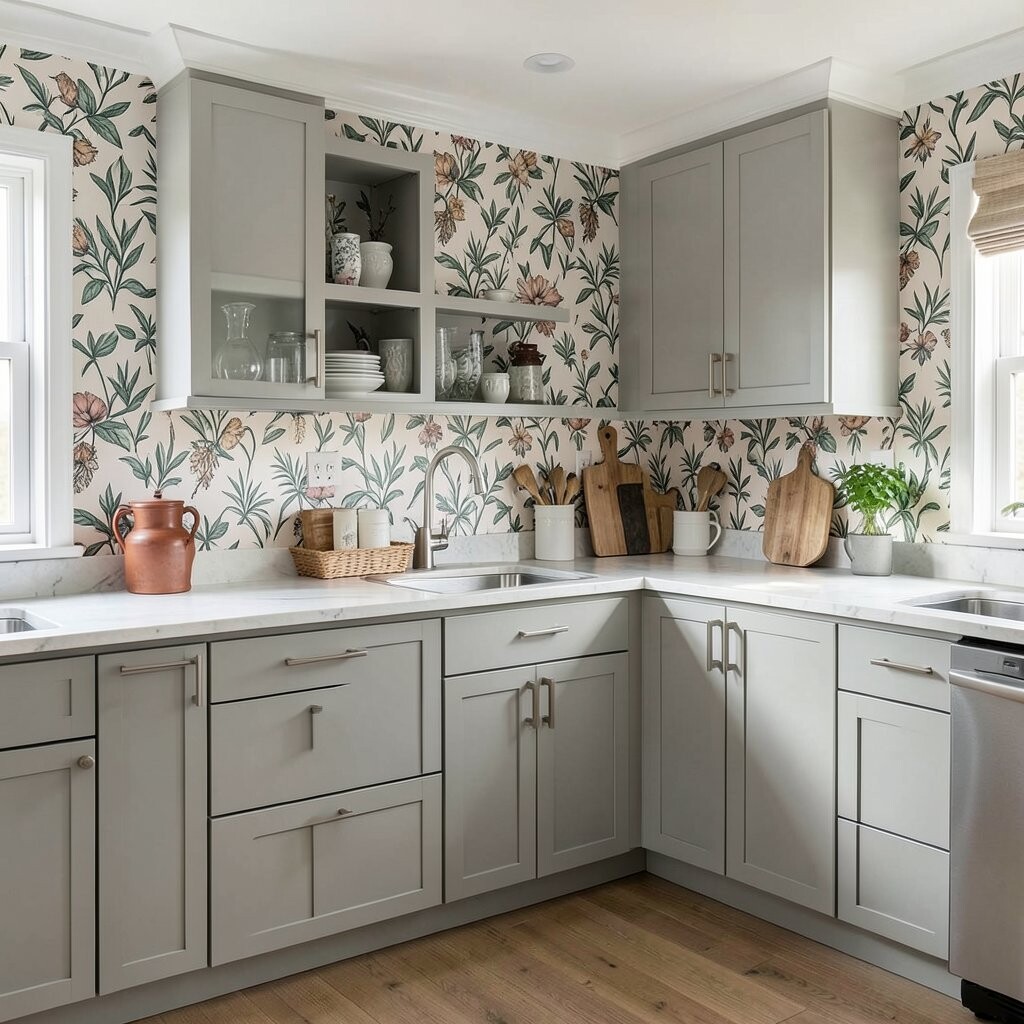
Use peel-and-stick wallpaper inside cabinets for a bold accent Your cabinets have hidden walls that are often ignored. Picture the inside panels covered with a tasteful wallpaper that pops when you open a door.
This is a fun benefit because you get high visual impact without touching the main cabinet finish. Choose a print that matches your kitchen, such as tiny florals, simple stripes, or modern botanical designs. Seal the edges after sticking so steam and splashes don’t lift the corners.
For cost considerations, wallpaper can be affordable, and you can buy enough for the interior only. Keep it personal by matching colors to your backsplash or your dishware. If you want a calm look, choose a smaller pattern rather than a loud one.
-
10. Create a two-tone look with contrasting paint colors
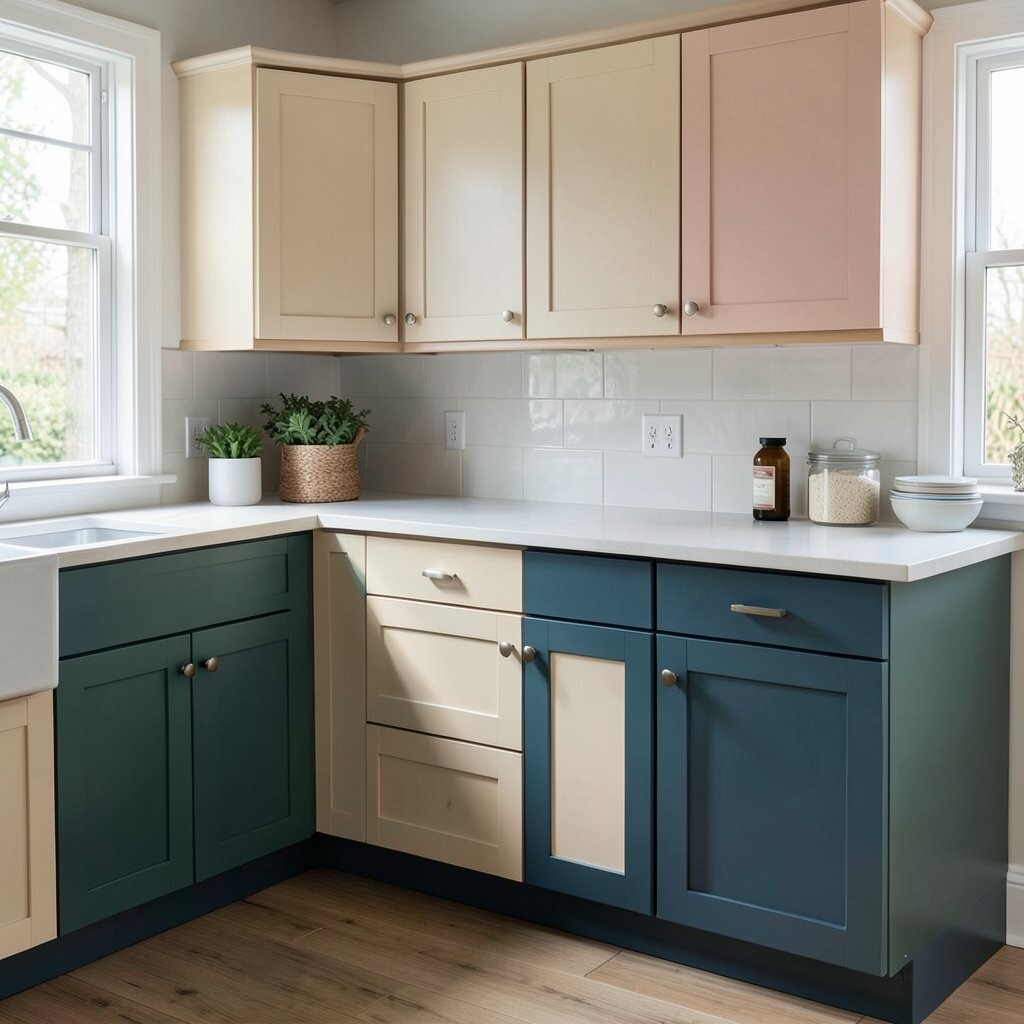
Create a two-tone look with contrasting paint colors Two-tone cabinets look like you hired a designer, even when you didn’t. Imagine uppers painted one shade and lowers in another, creating a balanced frame for the kitchen.
This revamp has a strong benefit: it adds depth and makes your space feel styled, not plain. Today’s trend leans toward calm, grounded color pairs like cream with earthy green, or light blue with warm white. For tips, keep the undertones consistent, so the shades look like they belong together.
Personalization is easy here because you can choose the “main” color from your favorite decor items. Add matching hardware in a finish that ties both colors together, like brushed brass or matte black. Plan dry times and protect countertops with drop cloths or cardboard.
-
11. Install LED puck lights under cabinets for instant glow
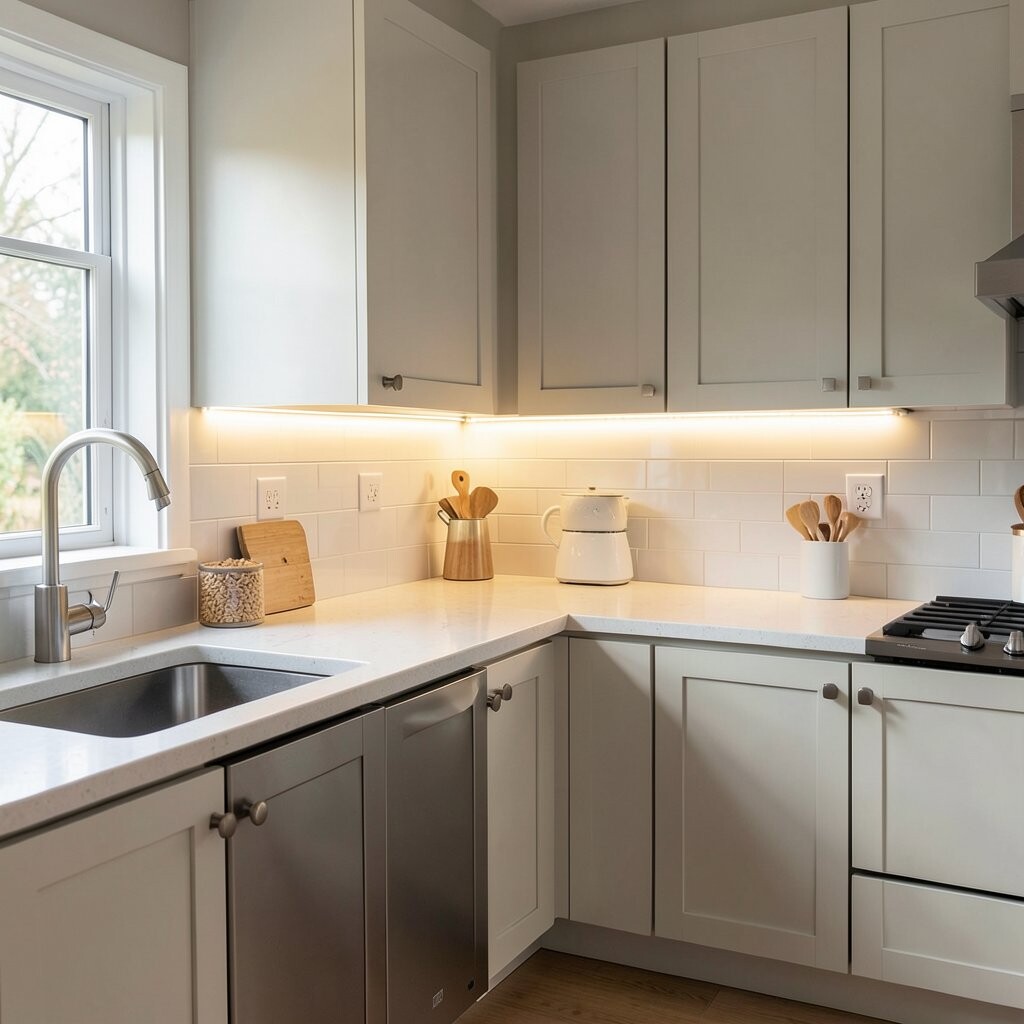
Install LED puck lights under cabinets for instant glow When cabinets get new lighting, they look better even if nothing else changes. Picture warm light shining along the underside of the uppers, making countertops feel inviting.
Lighting offers a real benefit because it reduces shadows and makes cooking areas easier to use. Many people love the current trend of “warm white” under-cabinet lighting, which feels cozy rather than harsh. For tips, hide the wires neatly, and choose dimmable options if you want a softer evening feel.
To personalize, use a light color that matches your kitchen bulbs, or aim the light slightly toward the back for a smooth wash. Cost can stay reasonable, especially with plug-in puck lights. You’ll also notice it makes painted or stained cabinets look richer.
-
12. Refinish hardware plates and add coordinating backplates
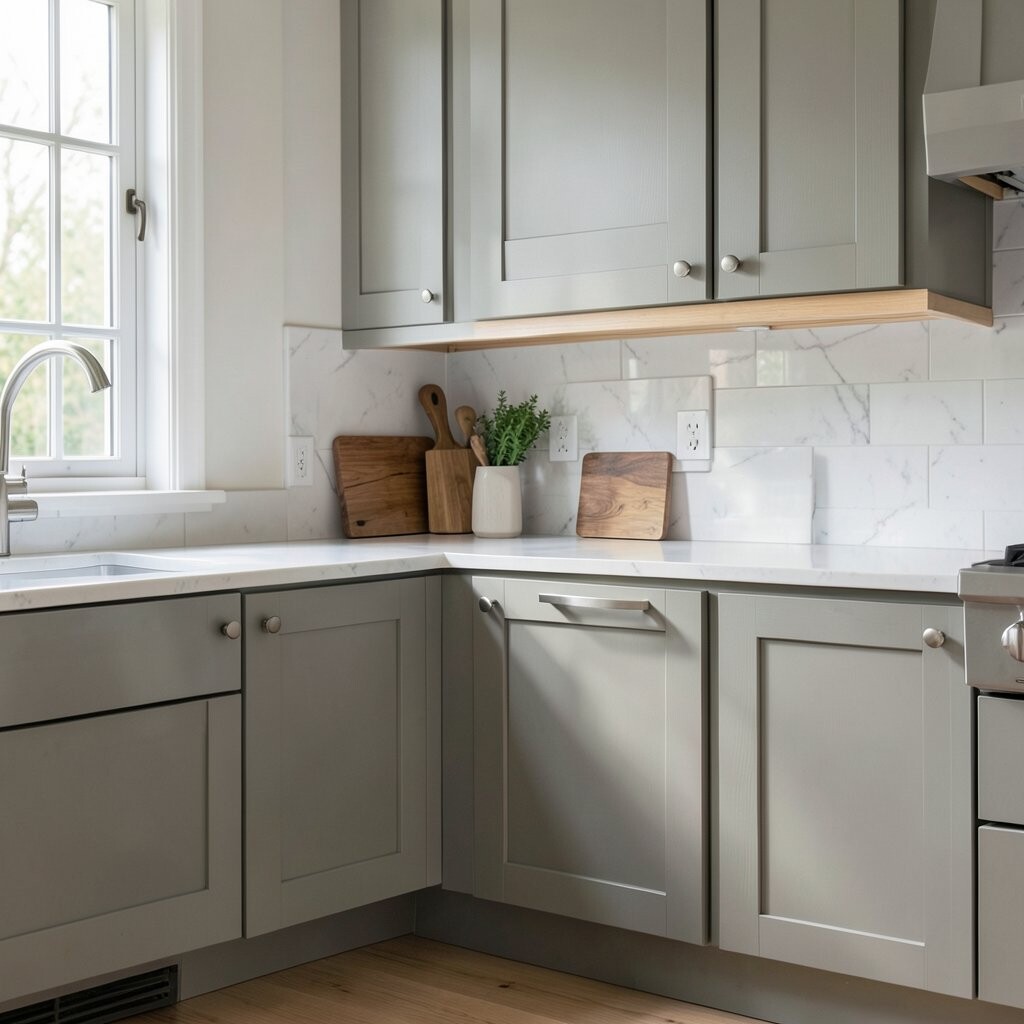
Refinish hardware plates and add coordinating backplates If your hardware holes feel messy, this idea can hide them in a stylish way. Picture new decorative backplates giving your pulls a crisp, finished look.
Backplates bring a benefit because they cover old scratches, chip marks, and uneven drill spots. Choose shapes that match your cabinets, like round, square, or arched designs. For personalization, coordinate the backplate finish with your faucet and light fixtures so the whole kitchen feels intentional.
Cost-wise, backplates are usually cheaper than replacing doors, and they can update mismatched sets. Measure carefully so the backplate doesn’t block door alignment. If you have soft wood, use the right screws so everything sits flat.
-
13. Add a slim peg rail for hanging tools on the inside
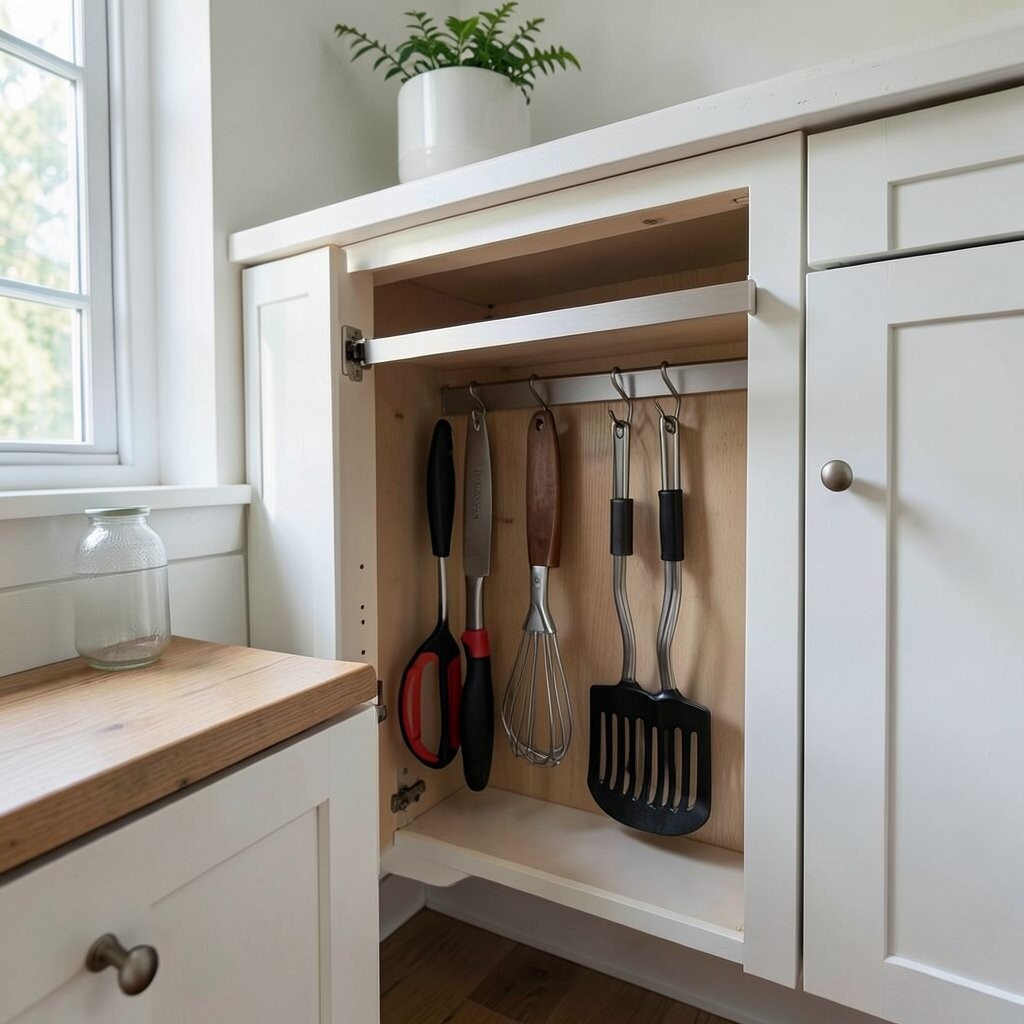
Add a slim peg rail for hanging tools on the inside Storage can look stylish, especially when it’s organized. Picture a small peg rail mounted inside a cabinet so spatulas, brushes, or measuring spoons have a home.
This revamp gives you a benefit that goes beyond looks: easier cooking and fewer messy countertop piles. Choose a slim rail with hooks that fit your tools, and paint it to match the cabinet interior. For tips, test the placement with the tools you actually use, so everything reaches comfortably.
-
14. Paint drawer fronts and keep cabinet doors neutral
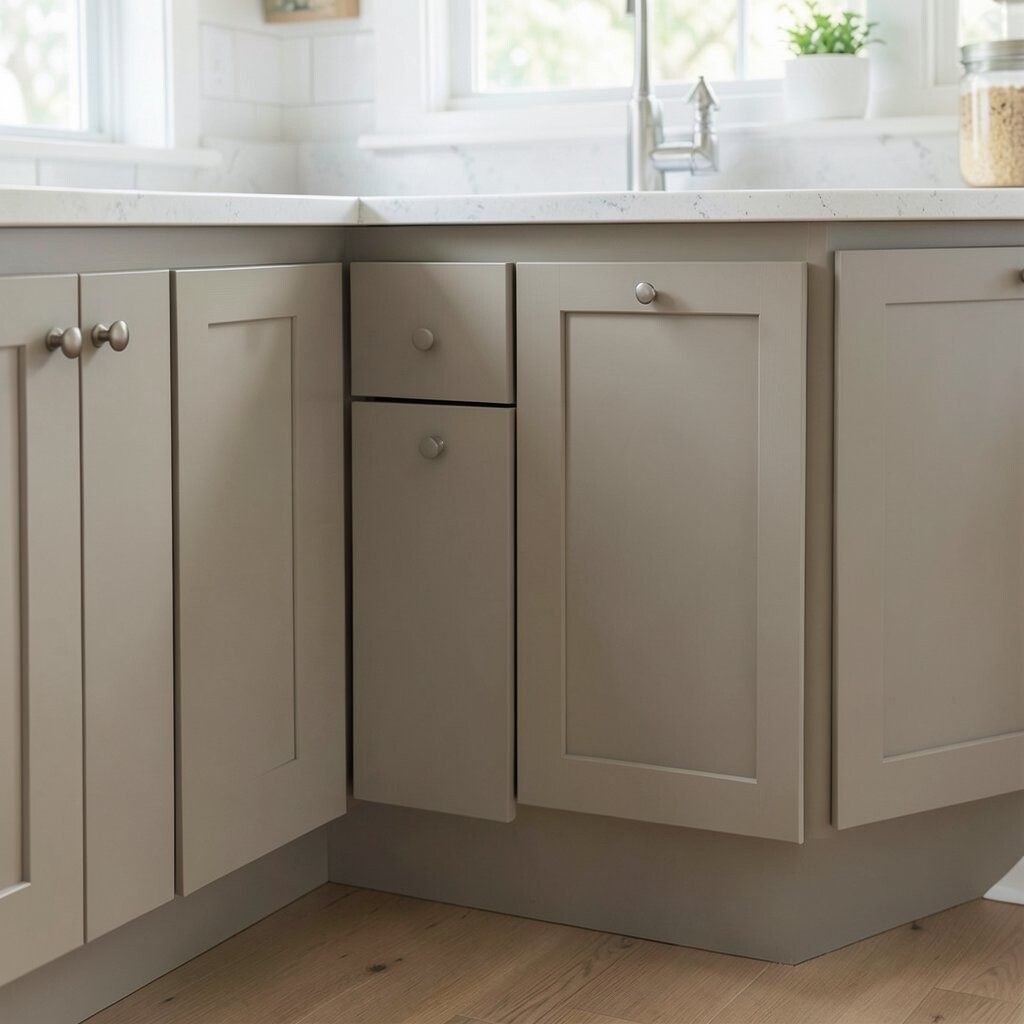
Paint drawer fronts and keep cabinet doors neutral This is a clever way to add personality without making the whole kitchen feel busy. Imagine neutral doors paired with colorful drawers that feel fun every time you open them.
The benefit is that you get a style “pop” where your hands go most often. Pick a color that speaks to your kitchen theme, like a deep teal for a calm mood or a sunny butter yellow for a cheerful feel. If you like current trends, try earthy terracotta or muted navy for a modern edge.
To personalize, use a matching color in smaller decor items like canisters or a runner. For tips, remove drawers if possible and sand smooth so the paint stays even. Budget-wise, you might spend less paint because drawers have a smaller surface area than doors.
-
15. Use cabinet liners and organizers to make storage look planned
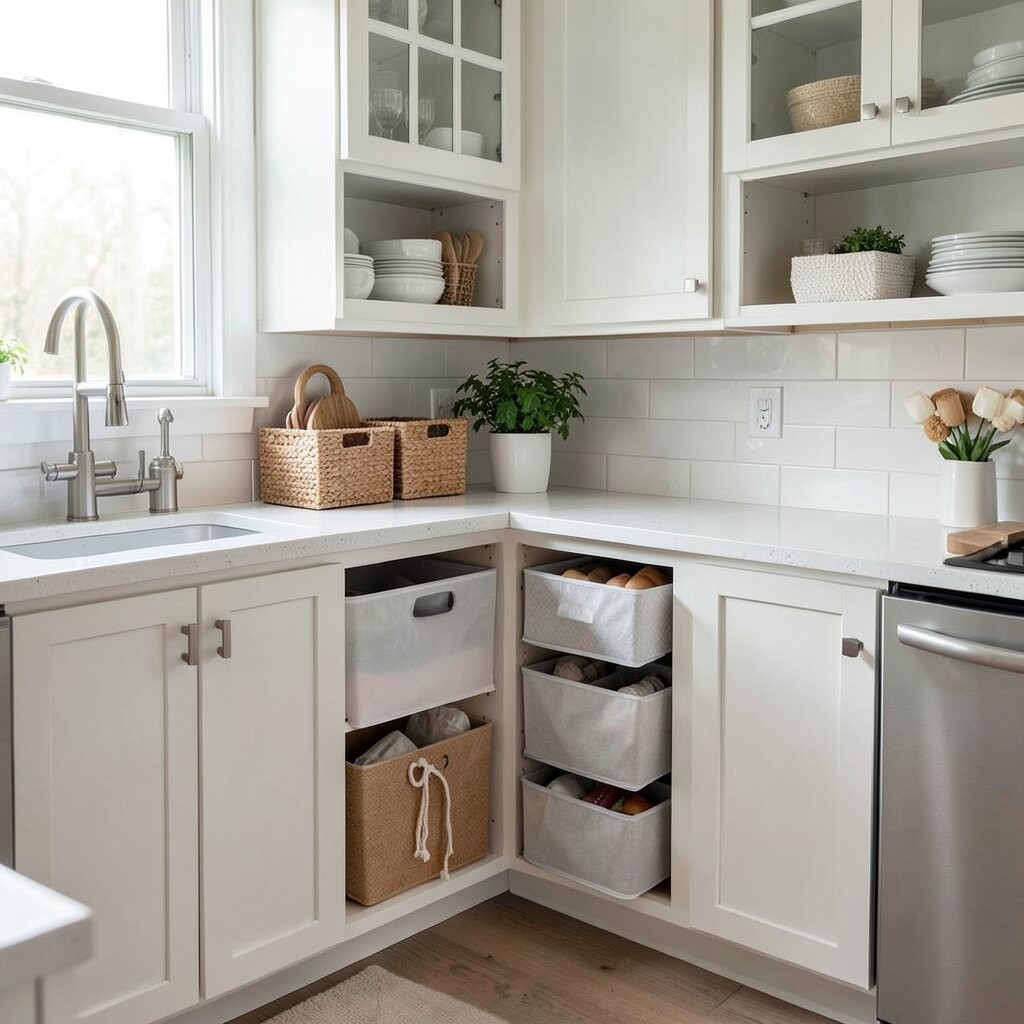
Use cabinet liners and organizers to make storage look planned Sometimes cabinets look tired because the inside is cluttered, not because the finish is old. Picture neat organizers and liners making every corner feel calm and purposeful.
Organizers create a benefit you feel daily: fewer items lost and easier cleaning after cooking. You can go simple with shelf dividers and utensil trays, or upgrade with stackable bins for spices and snacks. For personalization, match organizer colors to your hardware finish or paint color for a coordinated look.
Consider cost by starting with high-use spots, like the utensil drawer and the pots-and-pans shelf. Measure your spaces before buying anything so the fit is smooth. This kind of refresh also supports current trends toward tidy, “everything in its place” kitchens.
-
16. Add a peel-and-stick trim stripe along the cabinet doors
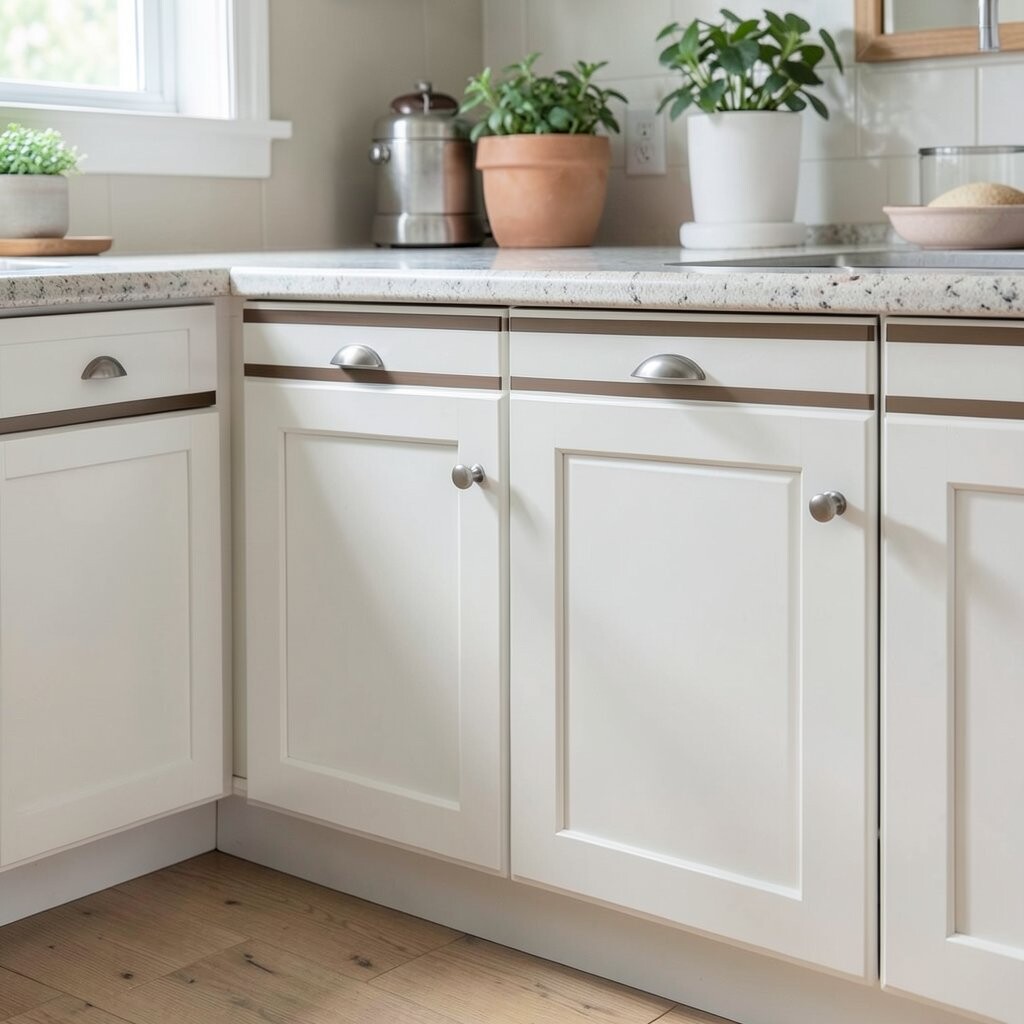
Add a peel-and-stick trim stripe along the cabinet doors A thin stripe can make doors look custom without complicated carpentry. Picture a simple line of contrast running along the edges so each door looks framed and neat.
This upgrade brings a benefit by adding visual structure, especially if your cabinets are currently flat. Choose trim in a finish that matches your hardware, like matte black for modern contrast or warm gold tones for a richer look. For tips, apply the strip with steady pressure and use a ruler so the line stays straight.
-
17. Clean, degrease, and repair chips before any finish work
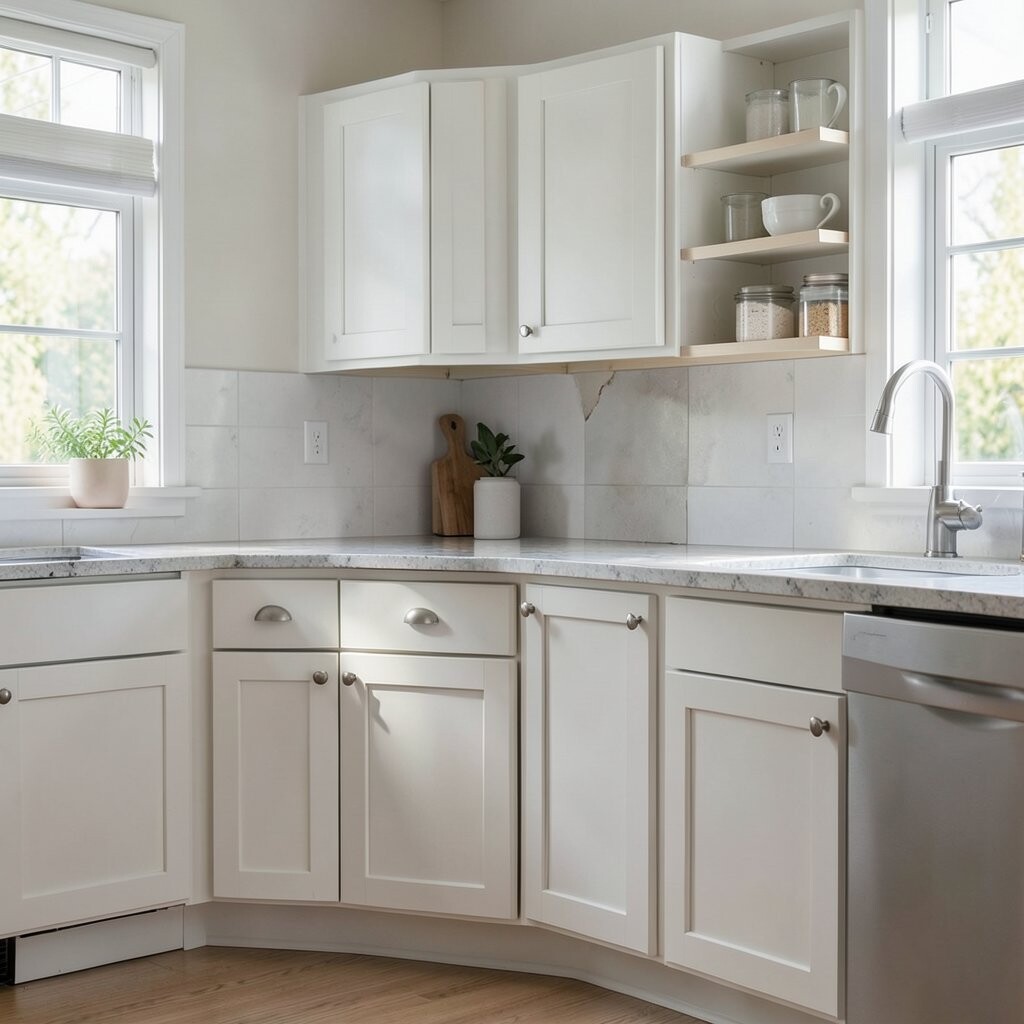
Clean, degrease, and repair chips before any finish work Before you change anything, a deep clean can do wonders. Picture cabinets that look ready for their next step because grease is gone and chips are fixed.
This step has a clear benefit: your new paint, stain, or liners will last longer and look smoother. Use a gentle degreaser, then let surfaces dry fully before sanding or priming. If you have small chips, fill them with wood filler, sand level, and wipe again so the finish doesn’t show bumps.
Personalization comes in here too, because repairs let your new color choices look crisp and even. Cost is low since these supplies are often cheaper than redoing a project. It’s also a smart trend to aim for quality prep, because it makes every budget revamp look more expensive.
-
18. Replace cabinet doors with budget-friendly new fronts
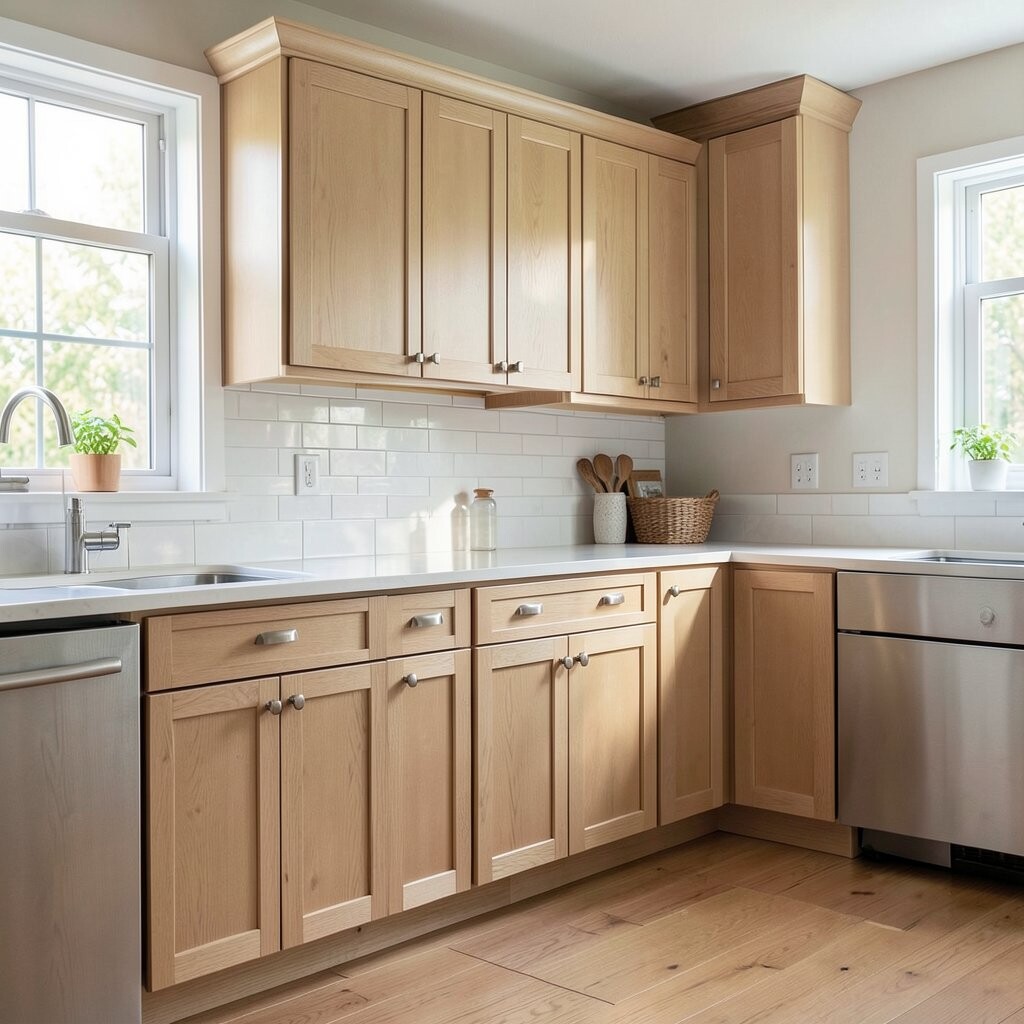
Replace cabinet doors with budget-friendly new fronts When you want a big change without ripping out everything, new fronts can be the answer. Picture your kitchen with fresh door styles that match your taste, like modern slab fronts or classic panel designs.
This is a benefits-first option because it updates the look while keeping the existing cabinet boxes. It can be more costly than paint alone, but it often saves money compared to full cabinet replacement. For personalization, choose hardware-ready styles and pick finishes that fit today’s look, such as matte paint colors or clean wood tones.
For cost considerations, measure carefully and check if your existing hinges can be reused. If you want a smoother process, order compatible sizes and finishes so you can install with less trial and error. Once the fronts are on, add matching hardware and consider lighting upgrades for a complete “new kitchen” feeling.