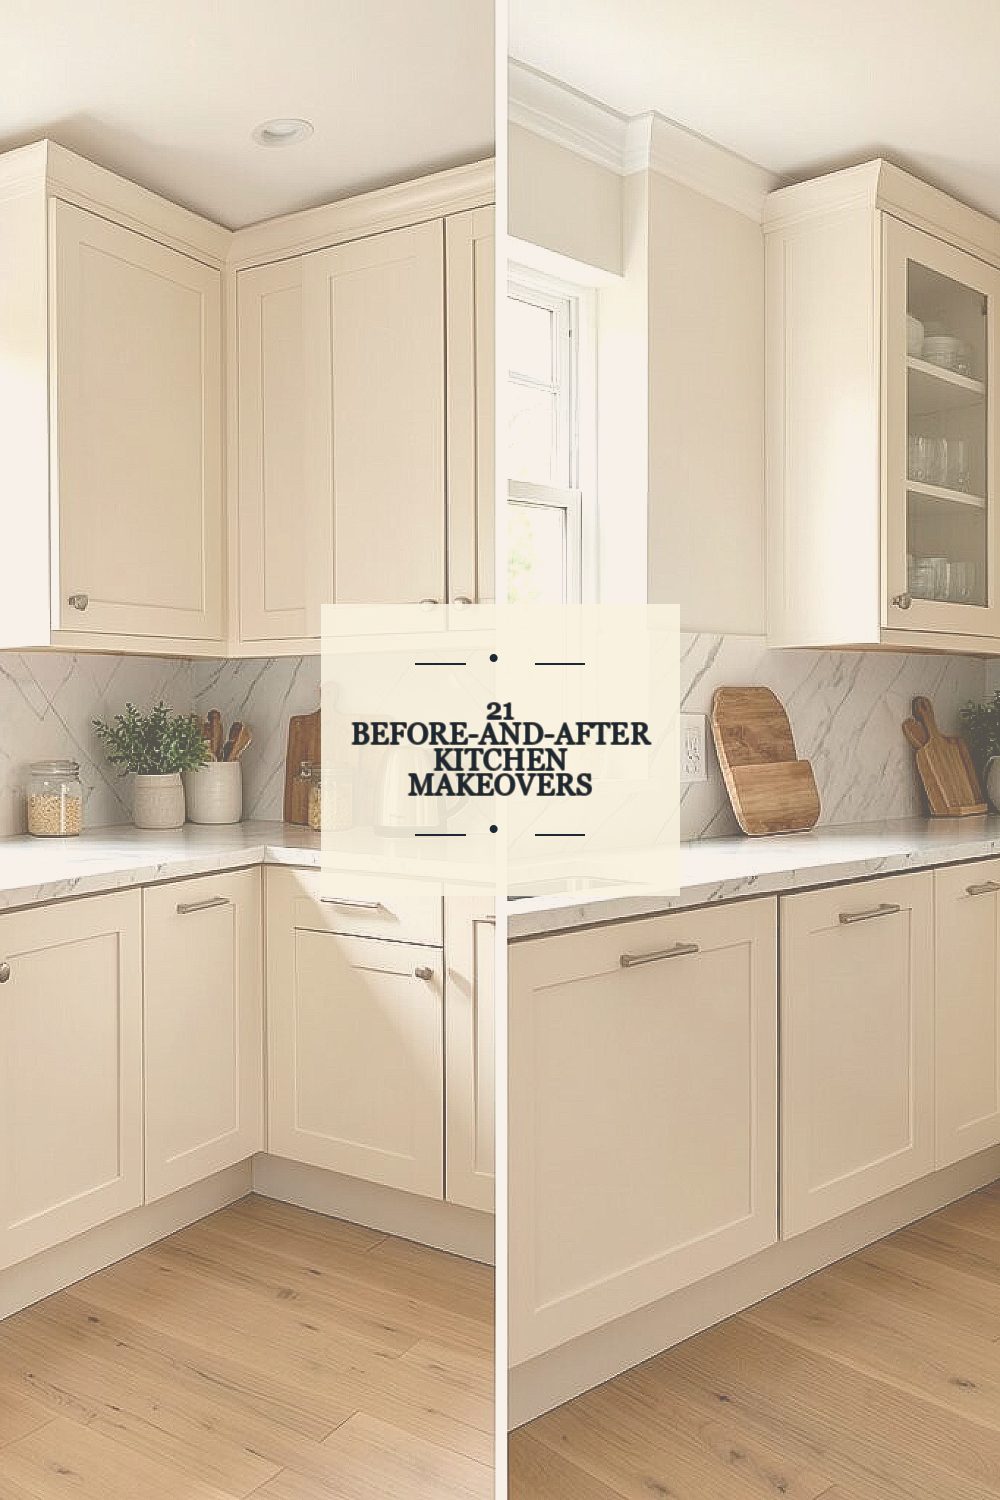
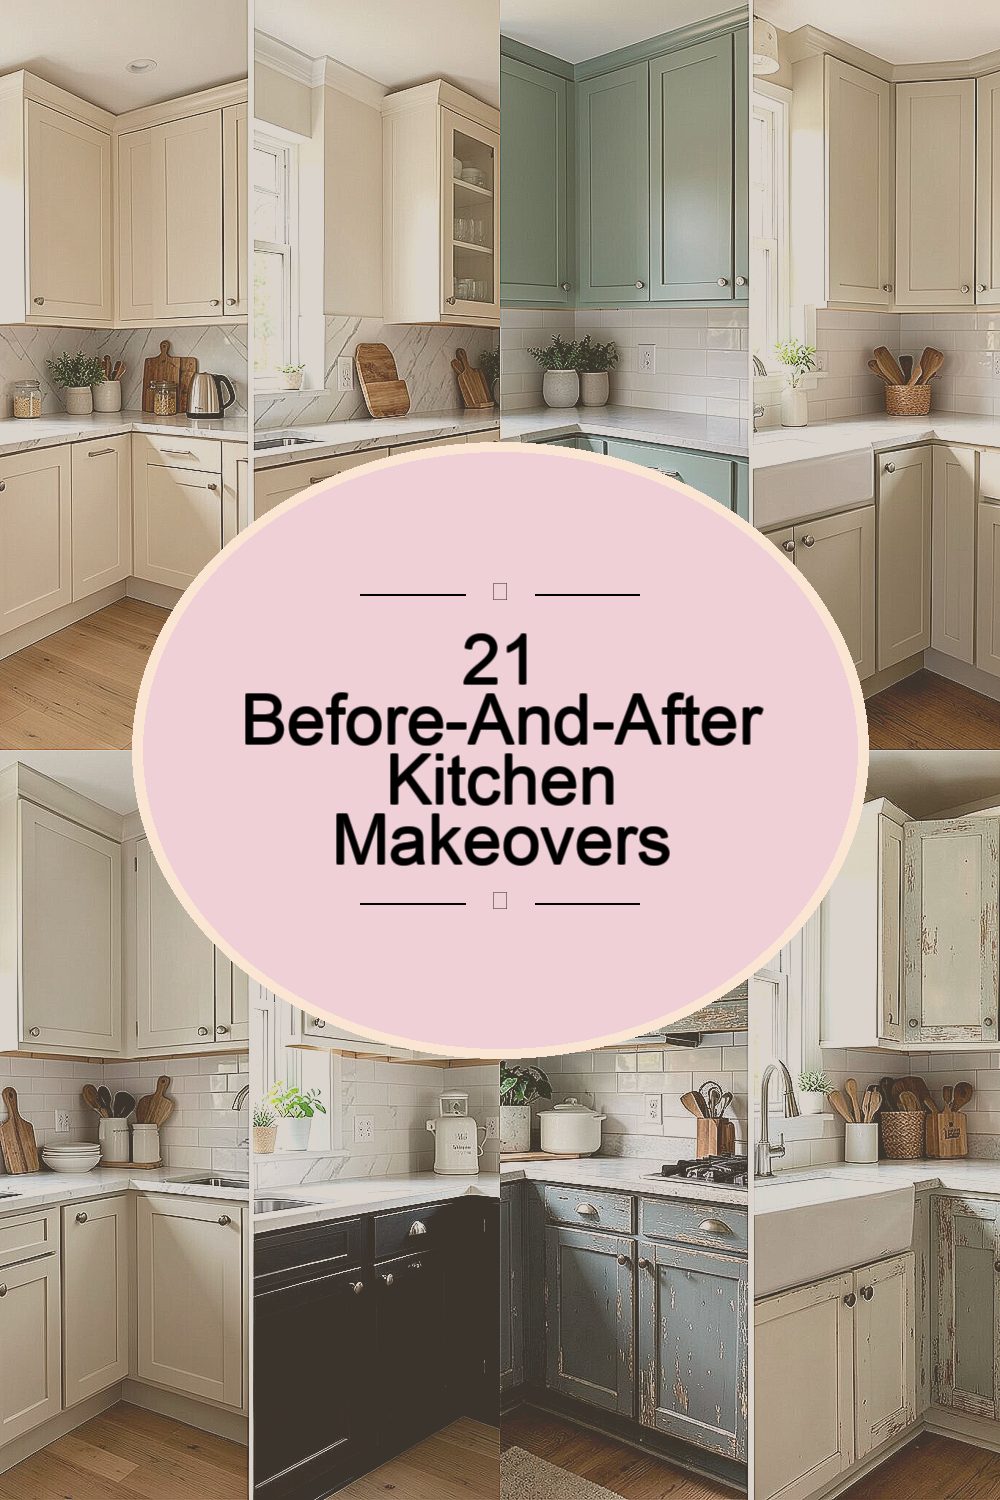
Old cabinets can feel heavy and tired, but the right makeover can make them look brand new. Small changes often create big smiles every time you walk into the kitchen.
-
1. Warm White Cabinets With Soft Matte Finish
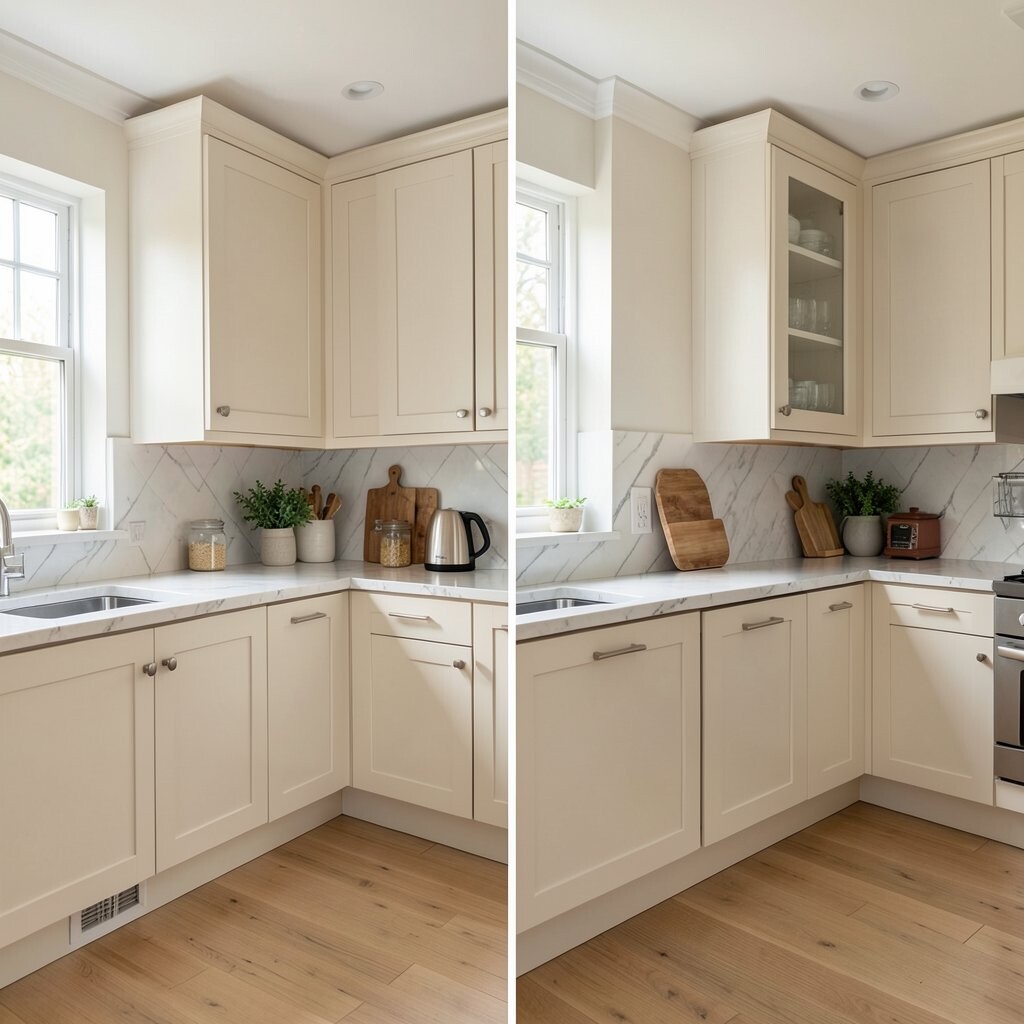
Warm White Cabinets With Soft Matte Finish Before, the cabinets may look a little yellow and shiny, like they catch every light in the room. After, warm white cabinets with a soft matte finish can look calm, clean, and bright.
The visual shift is gentle: you still see wood details around the edges, but the whole kitchen feels lighter. This makeover helps the space feel bigger and more inviting, especially if your kitchen has limited natural light. For tips, choose a cabinet paint made for hard wear, and use a primer so the color stays true for years.
To personalize, pick a warm undertone that matches your floors and countertops. If you love a cozy look, add simple brushed nickel pulls and a matching faucet. Cost-wise, painting cabinets is often cheaper than replacing them, but quality supplies will matter for smooth doors and fewer touch-ups.
A current trend is matte paint with subtle texture because it hides minor imperfections and fingerprints. Try painting the inside of the cabinet frames too, so the “before and after” surprise hits even when doors open. Want a more custom vibe? Add a thin strip of molding on select doors for a boutique style feel.
-
2. Classic Shaker Cabinets With Fresh Paint and New Hardware
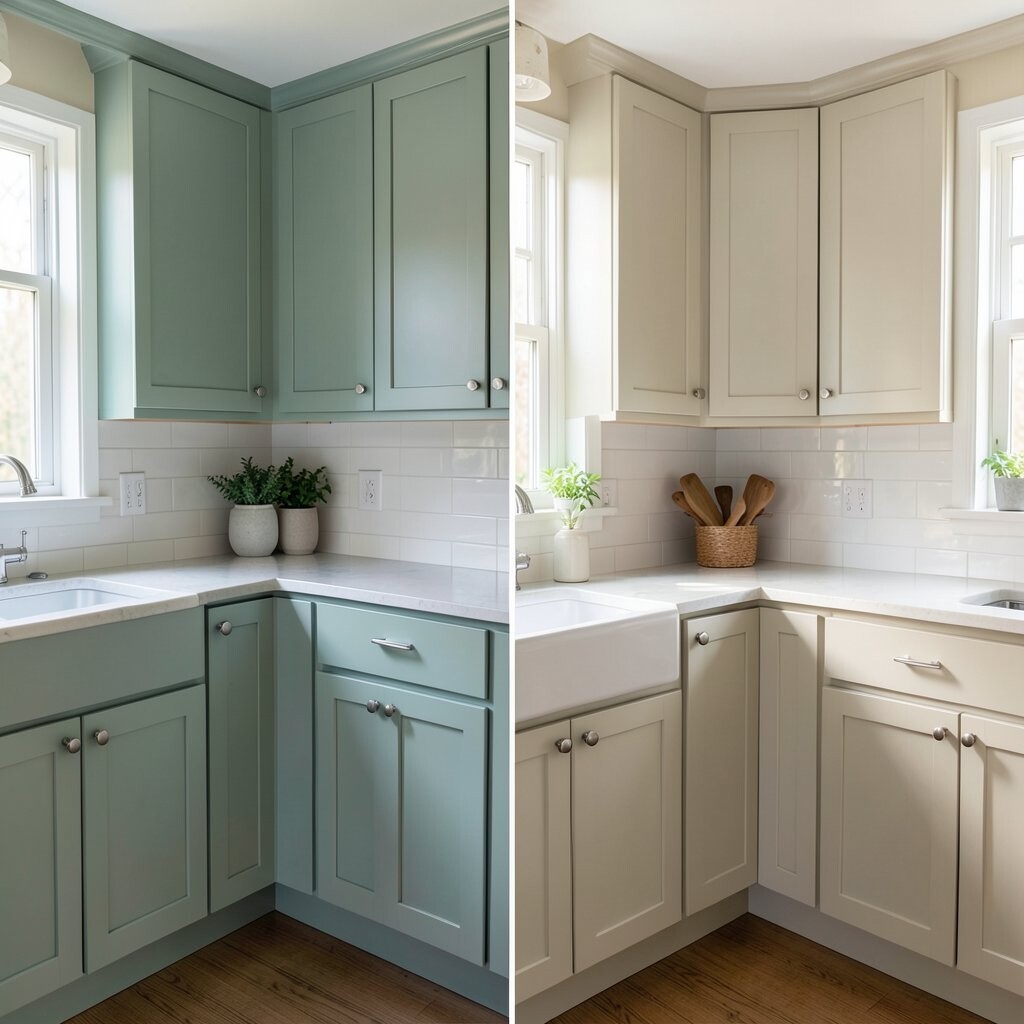
Classic Shaker Cabinets With Fresh Paint and New Hardware If your cabinet doors feel plain or dated, shaker-style updates can make them look crisp and intentional. Before might show tired flat panels, while after shows clean lines and a tidy profile.
The beauty is in the details: the raised frames create shadows that make the doors look deeper and more expensive. You’ll also enjoy better organization because shaker doors often pair nicely with new cabinet organizers. For tips, measure carefully and think about door alignment before you paint or swap pieces.
Personalization ideas include choosing hardware finishes like black bronze, satin chrome, or polished brass. If you want a modern twist, go slightly larger on pulls so the look feels balanced. Budget-wise, you can keep the cabinet boxes and focus money on doors, paint, and hardware, which helps you control costs.
-
3. Two-Tone Cabinets: Upper Light, Lower Bold
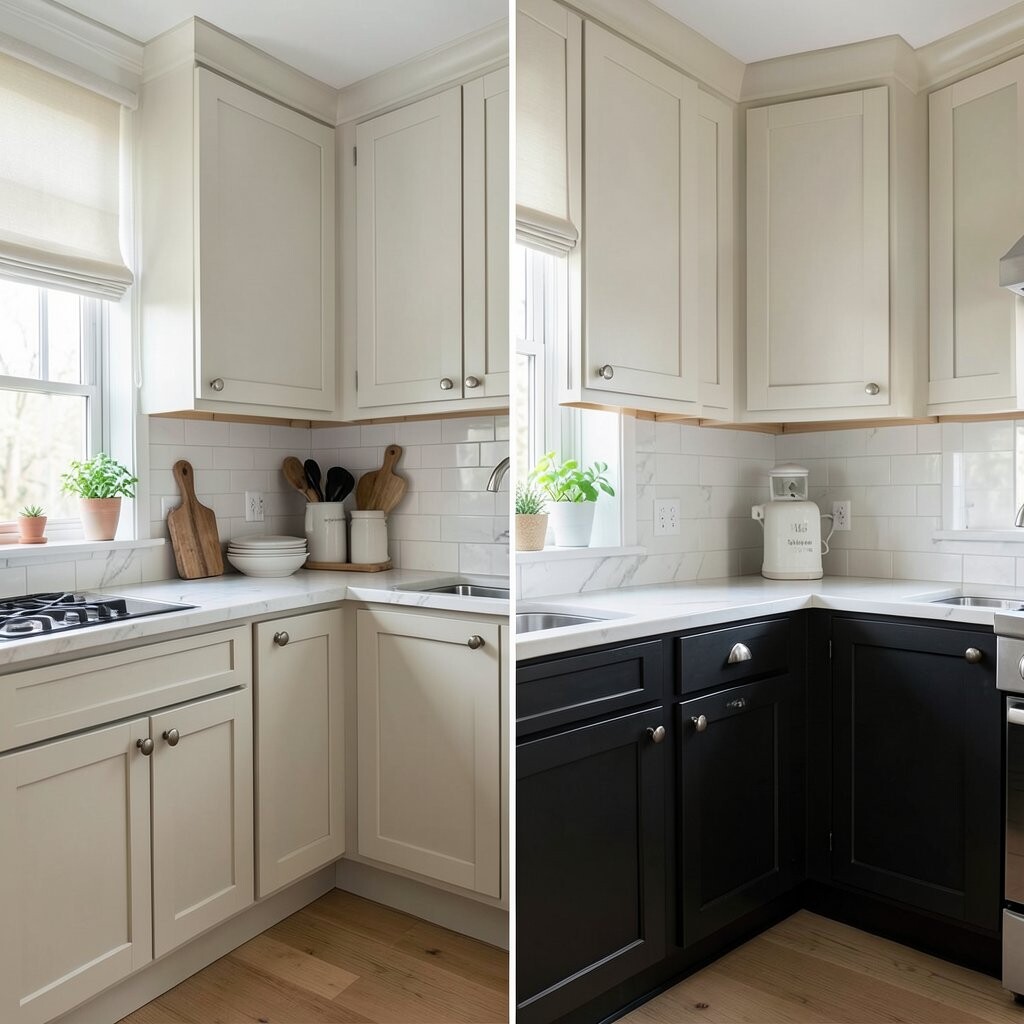
Two-Tone Cabinets: Upper Light, Lower Bold Two-tone cabinets make your kitchen feel styled instead of simple. Before, everything might blend into one color block, while after creates a clear visual rhythm.
You’ll notice the upper cabinets feel airy and open, and the lower cabinets add confidence and grounding. This is a great way to make your kitchen look higher-end without adding new cabinetry. A smart tip is to repeat the same color family in small details like the backsplash, light fixtures, or a rug.
For personalization, pick a lower color that matches your personality: navy for drama, forest green for nature vibes, or charcoal for a sleek mood. Keep the hardware consistent across both tones so it looks intentional. Cost considerations: two-tone work can cost a bit more because it involves more masking, more paint, and extra drying time.
A current trend is pairing soft whites with saturated accents, because it looks fresh and not too harsh. If you want a quick win, do the painting only on cabinet fronts first and see how it feels before committing to any hardware changes. Also, remember to label doors so you don’t mix up placements during repainting.
-
4. Distressed Farmhouse Finish With Subtle Wear

Distressed Farmhouse Finish With Subtle Wear Before, cabinets may look too smooth and modern for the cozy vibe you want. After, a light distressed farmhouse finish adds charm without making your kitchen feel messy.
Visually, you’ll see gentle highlights in corners and edges, like the cabinets have stories to tell. The benefit is that distressing can hide small imperfections and small dents over time. For tips, use controlled sanding and a clear glaze, and test in a hidden spot so you can decide how much character you want.
Personalize the style by choosing antique-looking pulls, such as cup pulls for drawers and bin-style hardware for doors. Want it calmer? Keep distressing light and use a warm off-white or creamy beige. Cost-wise, distressing can be done within a paint budget, but quality glaze and finishing coats help the look stay smooth.
A current trend is “lived-in” textures that still feel clean, not overly rough. If you have kids or heavy cooking, choose a durable topcoat so the finish can handle daily life. Add a matching runner rug and open shelving to make the farmhouse look feel complete.
-
5. Glass-Front Upper Cabinets for Open-Show Storage
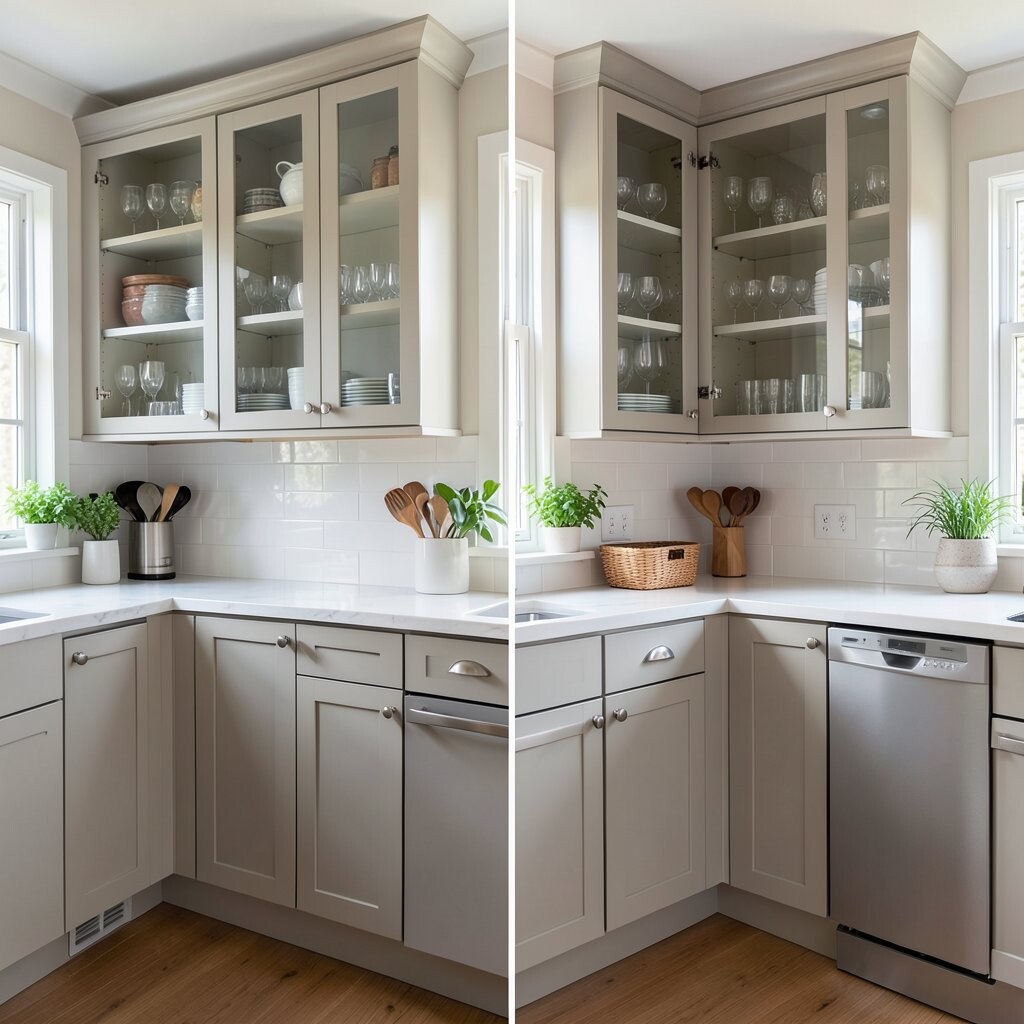
Glass-Front Upper Cabinets for Open-Show Storage If your upper cabinets feel closed-off, glass fronts can bring your kitchen to life. Before might show opaque doors, while after shows curated items glowing behind glass.
The visual benefit is huge: glass lets you see matching plates, mugs, or cookware, and the kitchen feels more airy. This makeover also encourages organization because you’ll want items to look neat on display. For tips, add interior lighting if you can, and use the right glass panels for a smooth, even finish.
Personalization is easy here: choose a finish for frames, then display a themed set like all-white dishes or colorful bowls. For a budget-friendly approach, consider glass inserts rather than replacing entire doors. Cost considerations include the door modifications and the added hardware, but you can keep lower cabinets solid for cost control.
Trend-wise, many kitchens now use glass fronts to mix function and style. Keep the display clutter-free by using bins and trays inside. If you love the look but fear dust, select glass that’s easy to clean and keep a simple cleaning cloth nearby.
-
6. Sleek Cabinet Reface With New Veneer and Clean Lines

Sleek Cabinet Reface With New Veneer and Clean Lines Reface-style makeovers can bring a smooth, modern look without tearing everything out. Before, the cabinets may show worn surfaces, peeling edges, or faded color.
After, the cabinet fronts look freshly covered and lined up, often with crisp edges that feel custom. The benefit is that you can change the “face” of your kitchen while keeping the underlying structure. A tip is to check cabinet box condition first; if the boxes are solid, refacing can save money.
Personalize with wood-look veneer tones like walnut for richness or maple for a brighter feel. Pair it with slim bar pulls for a contemporary look. Cost considerations are usually mid-range: refacing costs less than full replacement but more than simple paint.
A current trend is warm natural veneers paired with matte hardware. If you want extra depth, choose a slightly darker veneer for lower cabinets and a lighter one above. Also, consider adding a matching toe-kick panel so the bottom looks finished.
-
7. Bold Color Cabinets With a High-Gloss Pop
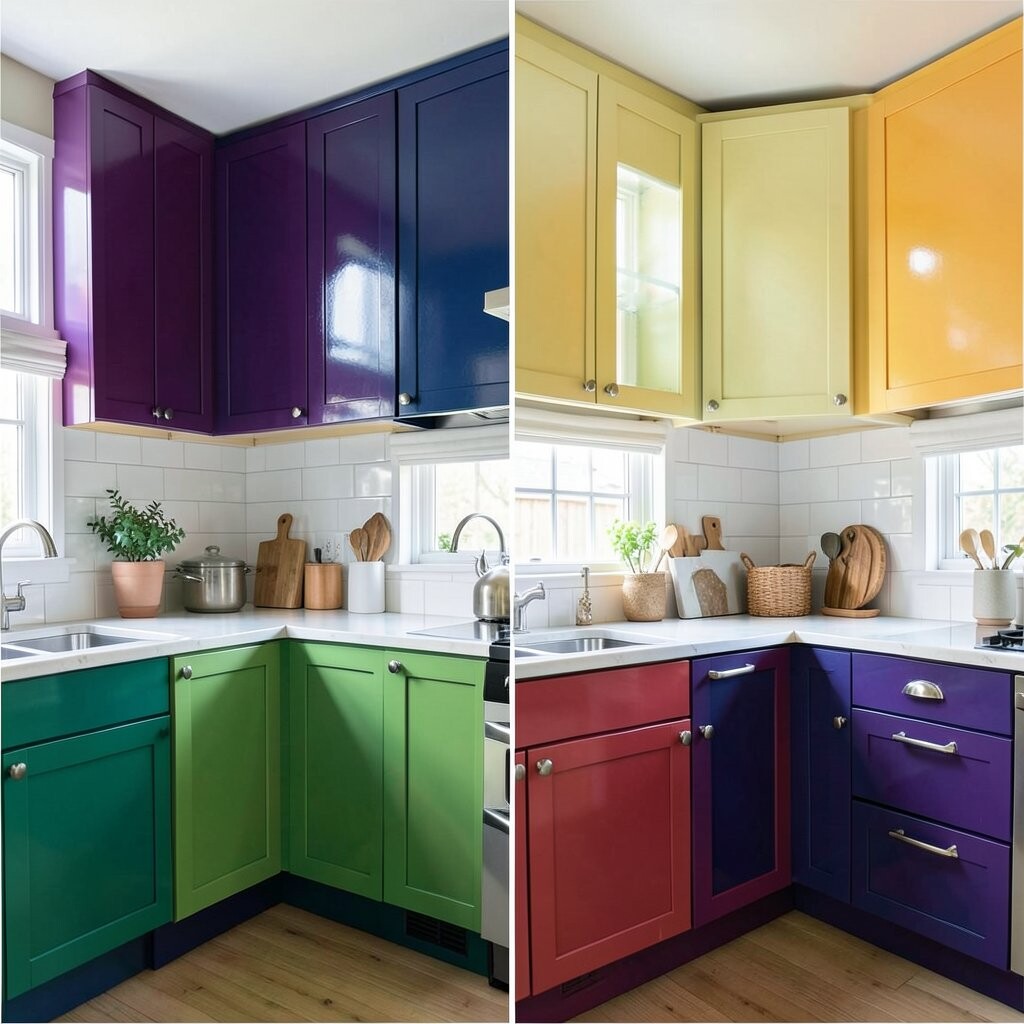
Bold Color Cabinets With a High-Gloss Pop Bright cabinet color can turn your kitchen into the star of the house. Before, neutral cabinets might blend into the background, but after, vivid color makes the room feel alive.
Visually, high-gloss paint reflects light and makes doors look smooth and premium. This also helps the kitchen feel cleaner and more polished. For tips, use thin, even coats and let drying happen fully so the shine stays even, not streaky.
Personalization ideas include choosing a jewel tone like emerald, a sunny tone like sunshine yellow, or even a rich red that feels classic. Hardware matters here too—brass or gold-toned pulls can look stunning. Cost considerations: glossy paint can require more prep and more coats, so budget for time and quality tools.
-
8. Chalky Painted Cabinets With Soft, Cottage Vibes
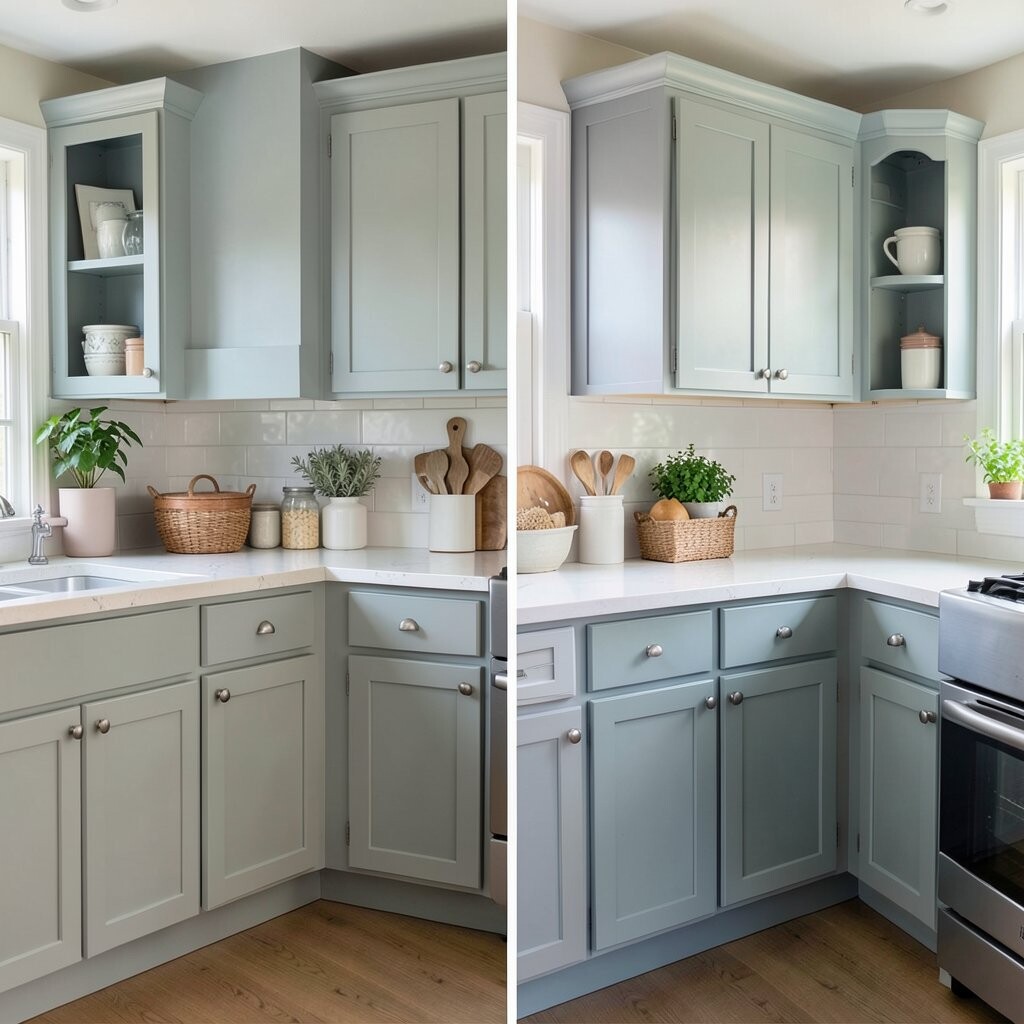
Chalky Painted Cabinets With Soft, Cottage Vibes If you want a gentle, cozy feel, chalky paint can create that dreamy cottage look. Before, cabinets may appear flat or lifeless, while after looks velvety and inviting.
The visual effect is a soft, matte surface that makes the kitchen feel warm even on cloudy days. A key benefit is that chalky finishes can hide small surface flaws. Tips: seal it well with a protective topcoat and test your paint on a small door first.
Personalize with rounded knobs, vintage-inspired pulls, and a mix of open shelving above. For a budget approach, focus on doors and hardware while leaving the cabinet boxes if they’re in good shape. Cost considerations are manageable, but sealant quality matters for stains and daily cooking splashes.
Current trend: soft neutrals and antique textures, not overly distressed. If you bake often, keep the finish away from heavy water splash zones or seal more thoroughly there. Add simple under-cabinet lighting to make the matte texture glow.
-
9. Farmhouse White With Black Hardware Contrast
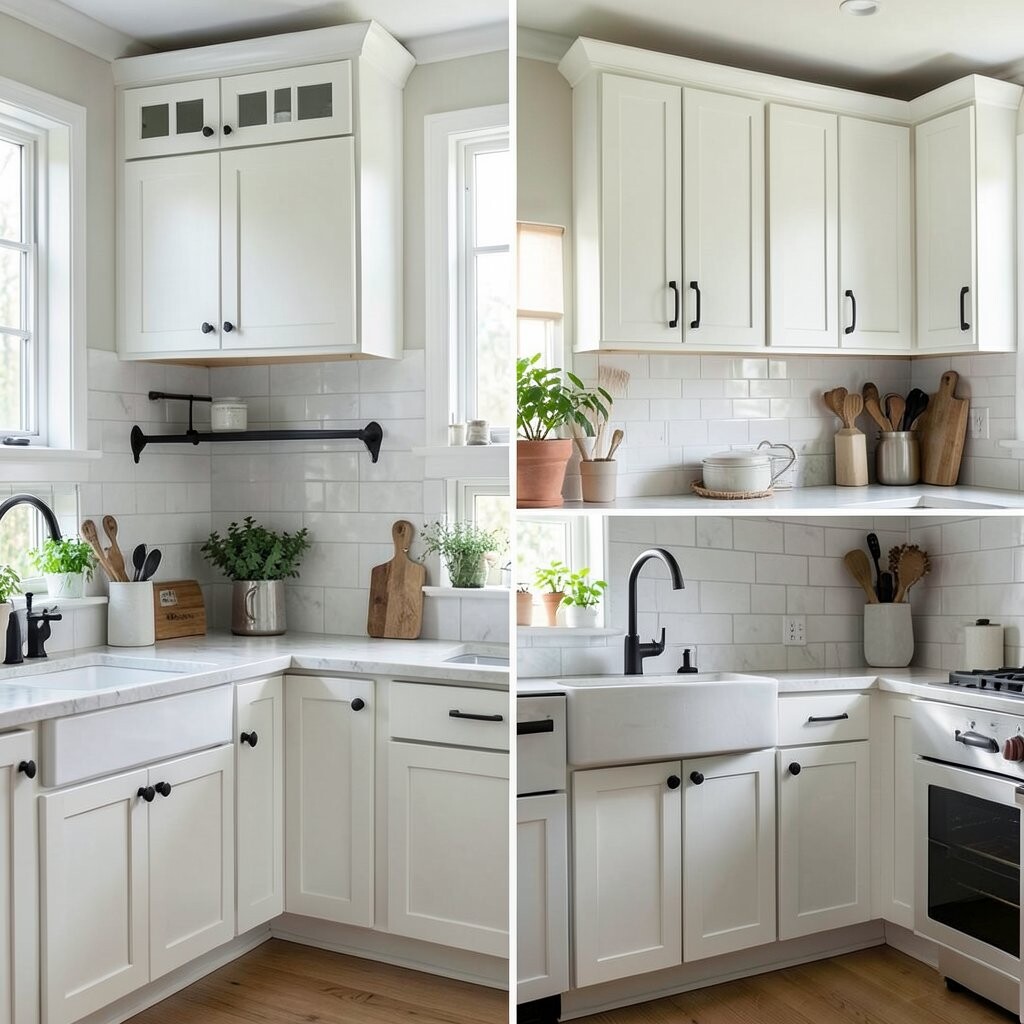
Farmhouse White With Black Hardware Contrast Contrast is a quick way to make cabinets look intentional and modern. Before, a light cabinet might look plain, but after adding black hardware makes it pop.
You’ll see sharp lines and a confident style, especially when your backsplash and countertops are neutral. This makeover is beneficial because it’s easy to maintain and looks strong against everyday cooking messes. For tips, use a durable finish on the hardware so it doesn’t chip quickly.
Personalization ideas include mixing pull lengths—long pulls on drawers, shorter knobs on doors. If you want a softer look, choose matte black instead of shiny black. Cost considerations: hardware updates are often one of the least expensive ways to get a big “after” look.
Trend-wise, black accents keep showing up in kitchens because they work with many styles. If you have stainless appliances, matte black still pairs nicely and adds warmth. Consider updating lighting fixtures too so the black theme feels consistent.
-
10. Rustic Wood Cabinets With Stain and Clear Finish
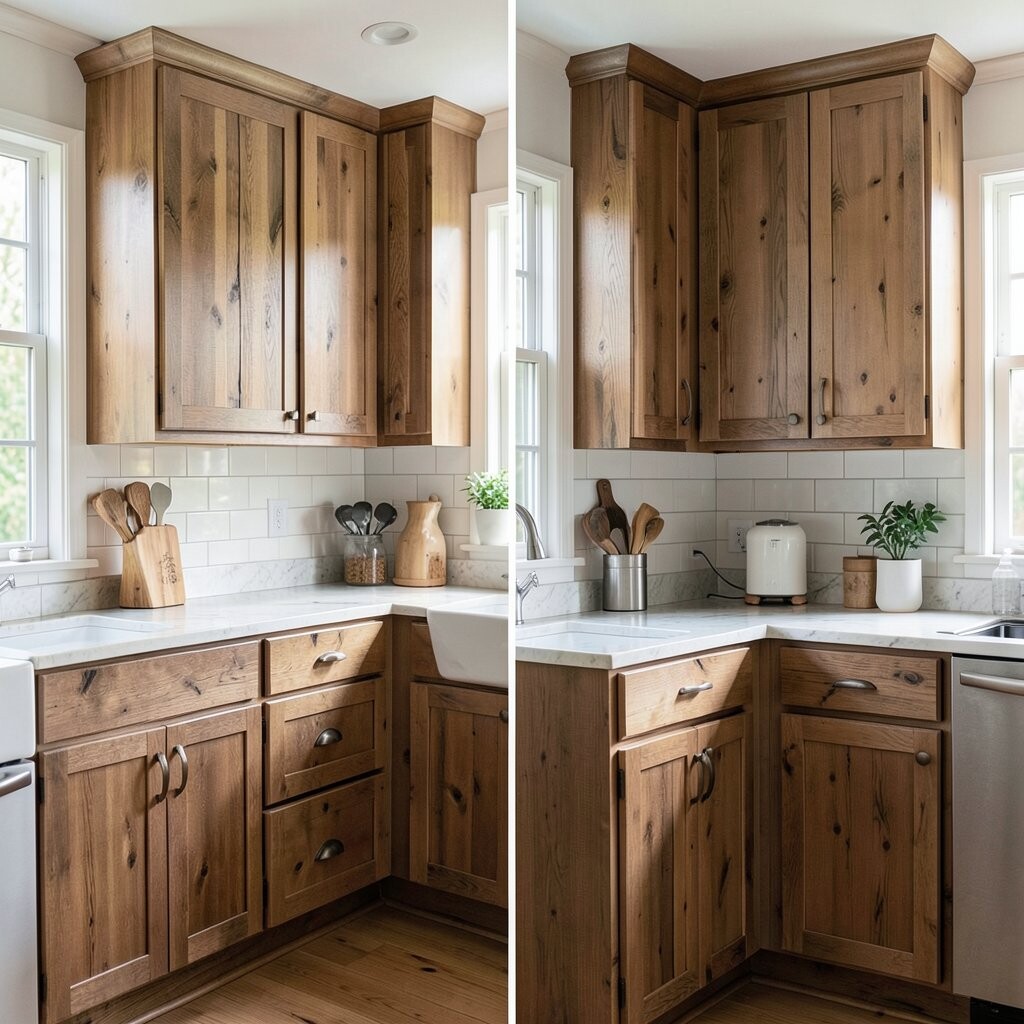
Rustic Wood Cabinets With Stain and Clear Finish Some kitchens start with cabinets that have the right wood soul, but the stain is faded or uneven. Before, you might see worn areas, while after reveals warm grain and rich color.
The visual benefit is real wood character: you can highlight swirls, knots, and natural patterns. This makeover can also make your kitchen feel more connected to nature and less “painted.” Tips: strip old finish carefully, sand evenly, and stain in controlled layers for consistent tone.
Personalization ideas include choosing a lighter honey stain for airy vibes or a deep walnut for dramatic warmth. Add a clear protective topcoat so the wood can handle grease and cleaning. Cost considerations: staining and sealing can be budget-friendly compared to replacements, but prep time is part of the real cost.
-
11. Modern Gray Cabinets With Clean Silver Pulls
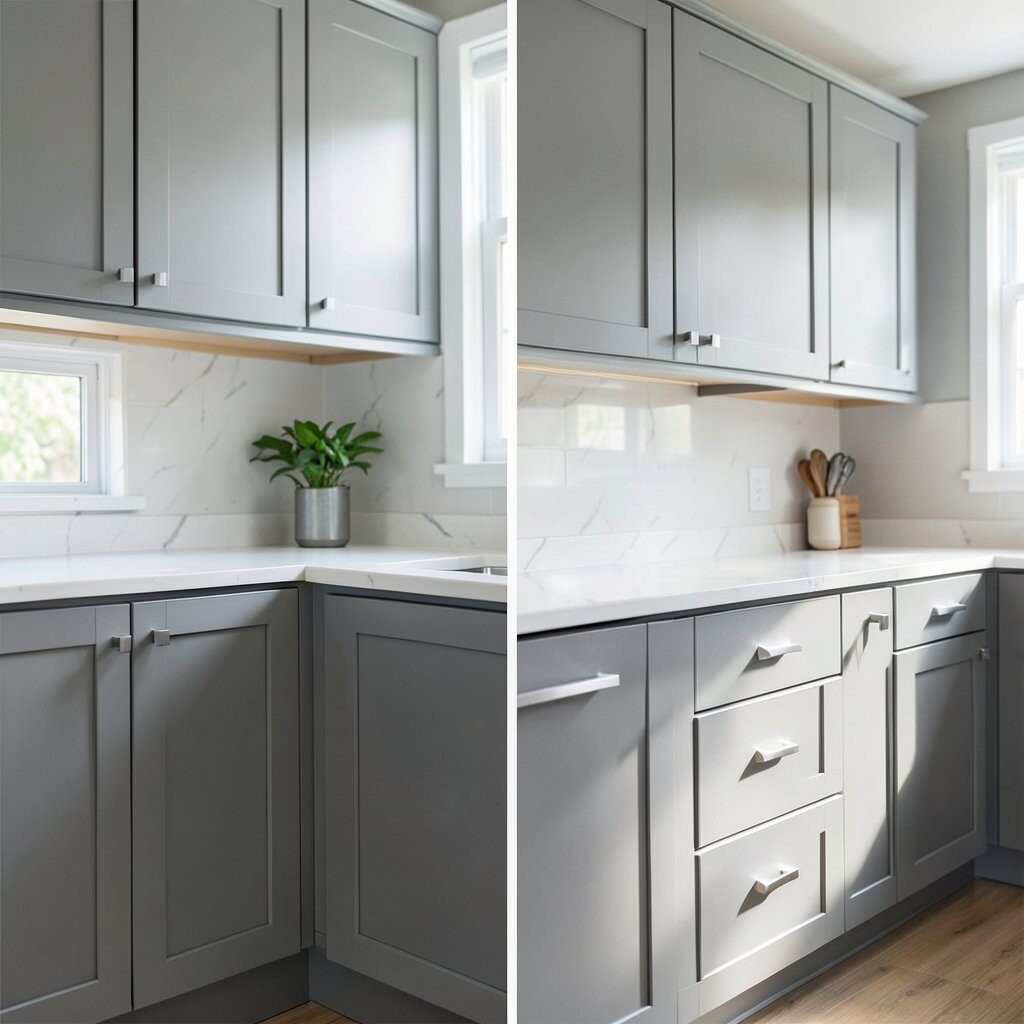
Modern Gray Cabinets With Clean Silver Pulls Gray can feel sleek and steady, especially when your kitchen wants a modern edge. Before, cabinets might look dated, but after gray paint and tidy hardware feels fresh.
The visual shift is calm and stylish, and it pairs well with many countertop colors. This makeover helps your kitchen look organized and helps stains show less than some lighter shades. Tips: choose a gray with the right undertone, like warm gray for cozy rooms or cool gray for airy spaces.
Personalize by using slab drawer fronts for a very clean look, or keep traditional doors if you want classic charm. Cost considerations are similar to painting cabinets: plan for primer, paint, and a tough topcoat.
A current trend is “cool modern” finishes with matte or satin surfaces, not heavy shine. Add subtle backsplash texture and simple pendant lights to keep the look from feeling too cold. If you’re unsure about undertones, compare sample swatches in your kitchen’s actual lighting.
-
12. Ombre Cabinet Doors for a Soft Color Shift
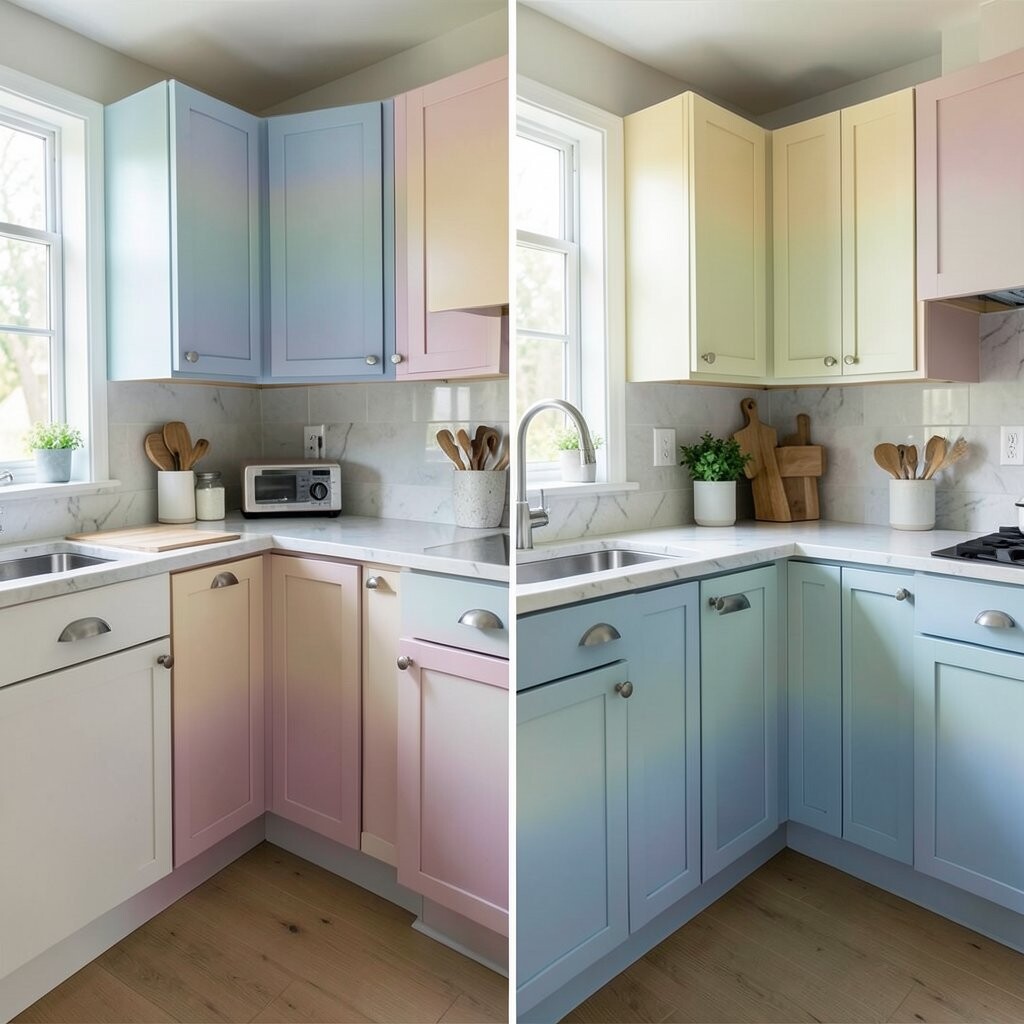
Ombre Cabinet Doors for a Soft Color Shift Ombre cabinets can look artistic and fun without needing a full remodel. Before might show flat, single-color doors, while after has a gentle fade from one tone to another.
Visually, the color shift draws the eye and makes the cabinet fronts feel like a custom design. The benefit is that it feels unique and personal, like you chose something no one else has. Tips: practice on one spare door or cardboard panel first so you nail the blend.
Personalization ideas: start with white at the top and blend into pale blue for a beachy mood, or blend into sage green for a calm herb garden feel. Hardware should be simple so it doesn’t compete with the art-like effect. Cost considerations: you’ll need extra paint colors and time for careful blending, but you can still stay within a paint-based budget.
-
13. Cabinet Makeover With Raised Panels and Painted Trim
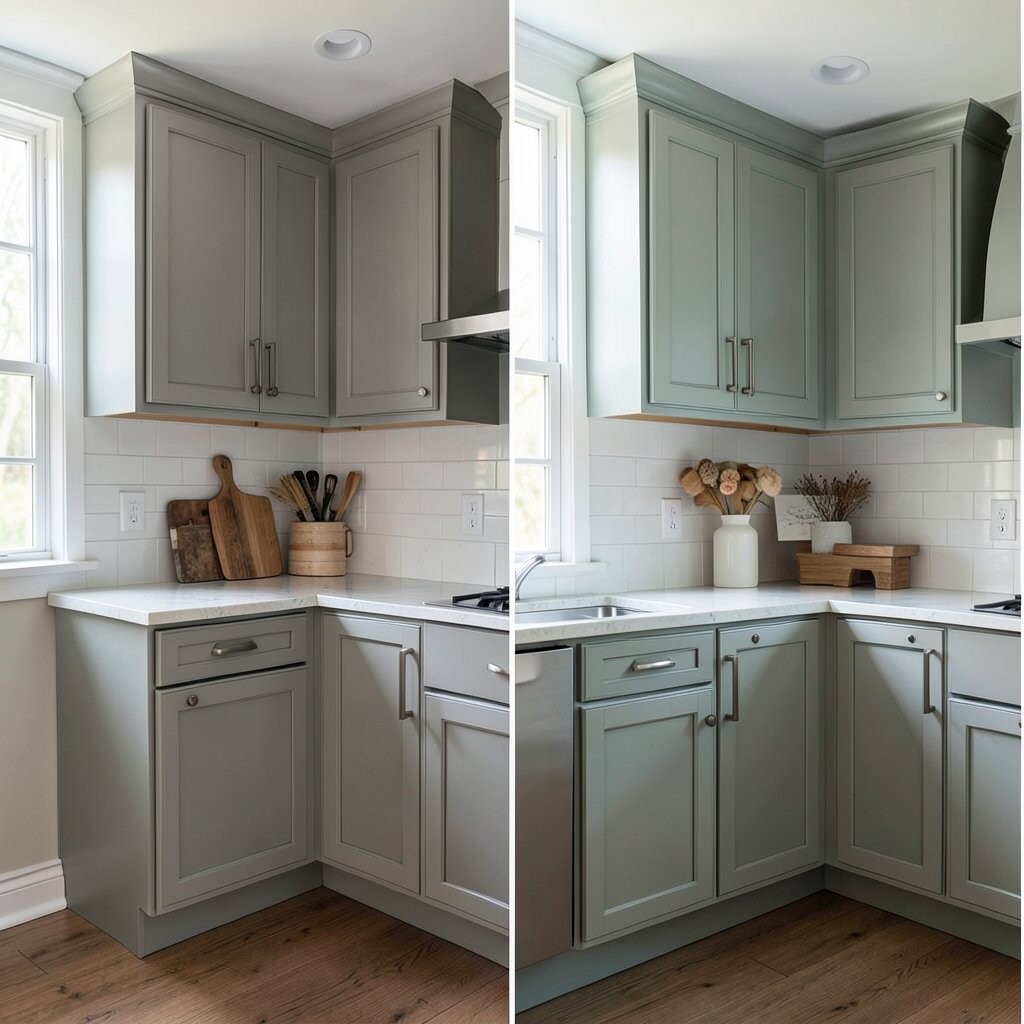
Cabinet Makeover With Raised Panels and Painted Trim If your cabinets look a bit flat, adding raised panels can create instant dimension. Before may show simple doors with little depth, while after adds shadows and a more tailored feel.
The visual benefit comes from how light hits the raised edges, making the kitchen feel more expensive. This makeover also helps hide minor dents because the raised trim changes how surfaces read visually. Tips: choose durable trim pieces and sand the edges smoothly before paint.
For personalization, match the trim color to your cabinets for a seamless look, or contrast slightly for a gallery-style effect. Pair it with elegant knobs to complete the upgrade. Cost considerations: trim and panel additions can add some expense, but it’s still often cheaper than a full replacement.
Trend-wise, homeowners keep leaning toward “architectural” details like raised moldings and framed door looks. If you want a smooth finish, invest in quality sanding tools and high-quality primer. Keep track of measurements so panels align evenly across all doors.
-
14. Painted Cabinets With Warm Wood Interiors
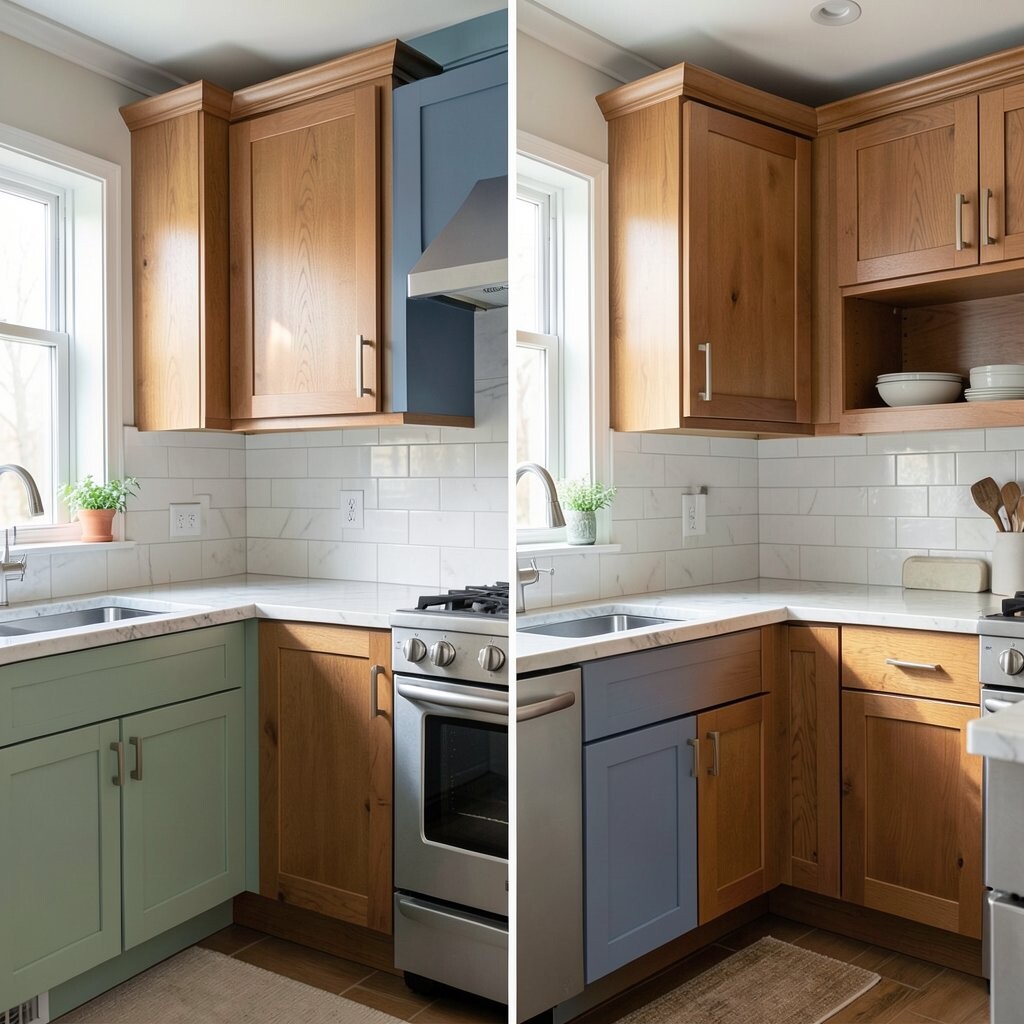
Painted Cabinets With Warm Wood Interiors A small twist with big payoff is upgrading the inside of cabinets, not just the fronts. Before, the inside shelves may look outdated or unfinished, while after adds warmth when doors open.
The visual benefit is a hidden “wow” moment every time you reach in. You’ll also enjoy better organization because you’ll want to keep items neat in the upgraded space. Tips: line shelves with durable contact paper or paint the interior frames in a coordinating warm shade.
Personalize by using a wood-tone liner, then add matching pull-out drawers or labeled bins. This can make daily cooking feel easier. Cost considerations: lining and painting interiors are often lower cost than major cabinet replacement, and you can do them in stages.
Current trend: people are investing in inside storage because it makes kitchens feel calmer. Choose liners that can handle spills and wiping. If you want a cohesive look, match the interior tone to your countertop or flooring undertones.
-
15. Glossy Black Cabinets With Brass Hardware Glow
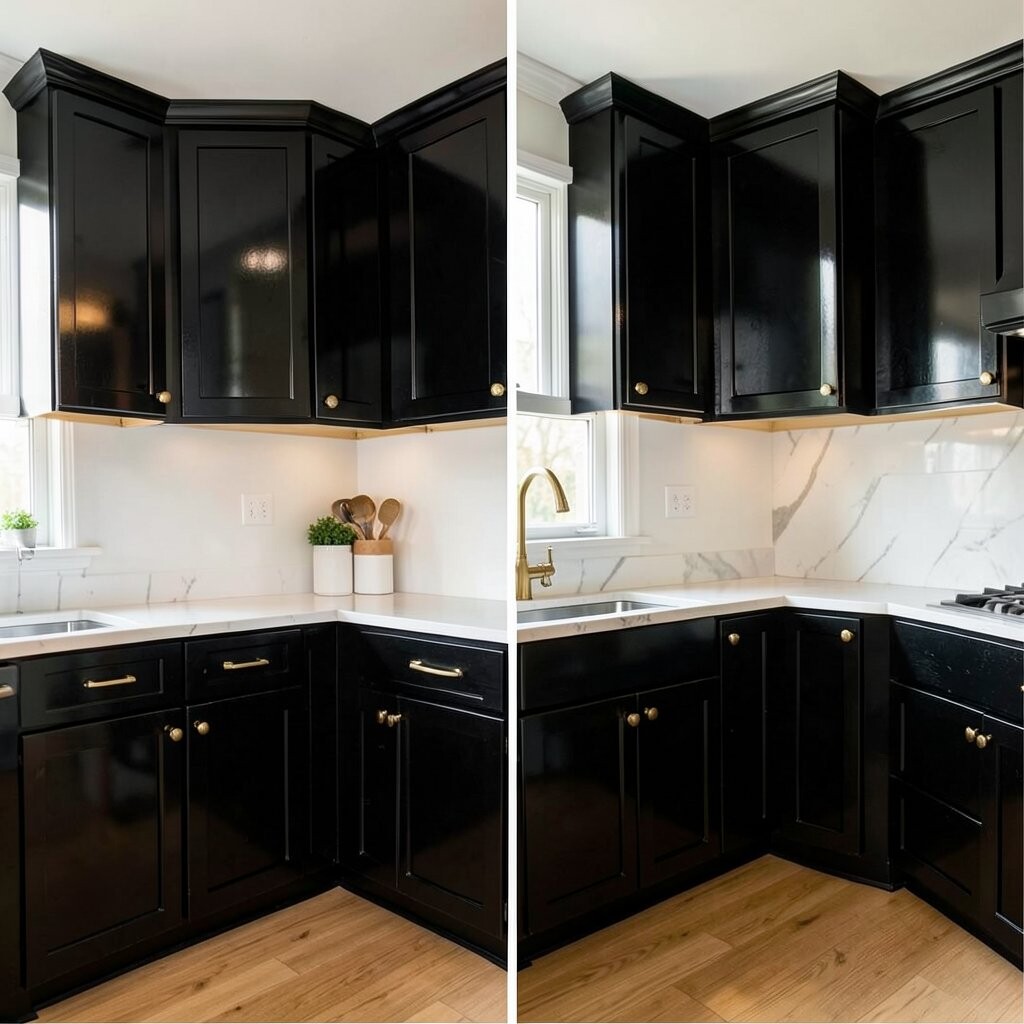
Glossy Black Cabinets With Brass Hardware Glow Dramatic black cabinets can make a kitchen feel like a modern showroom. Before, your cabinets may feel too light or too busy, while after creates a sleek, bold look.
The visual benefit is striking contrast, especially with brass or gold hardware that catches light. This makeover also feels classy and can hide some daily wear. Tips: glossy black shows dust and fingerprints more, so plan for easy-clean habits and a quality topcoat that resists grime.
Personalization ideas include pairing black cabinets with warm white walls and a light countertop for balance. Choose hardware with rounded edges for a softer touch. Cost considerations: glossy paint can take time, and brass hardware can raise cost, but you can focus hardware upgrades on the most visible areas first.
Trend-wise, the black-and-brass combo keeps trending because it feels timeless and modern. If you’re worried about maintenance, choose satin black instead of full gloss for a calmer finish. Also, consider updating faucets and light fixtures so the metal tones match.
-
16. Light Beige Cabinets With Soft Gold Details
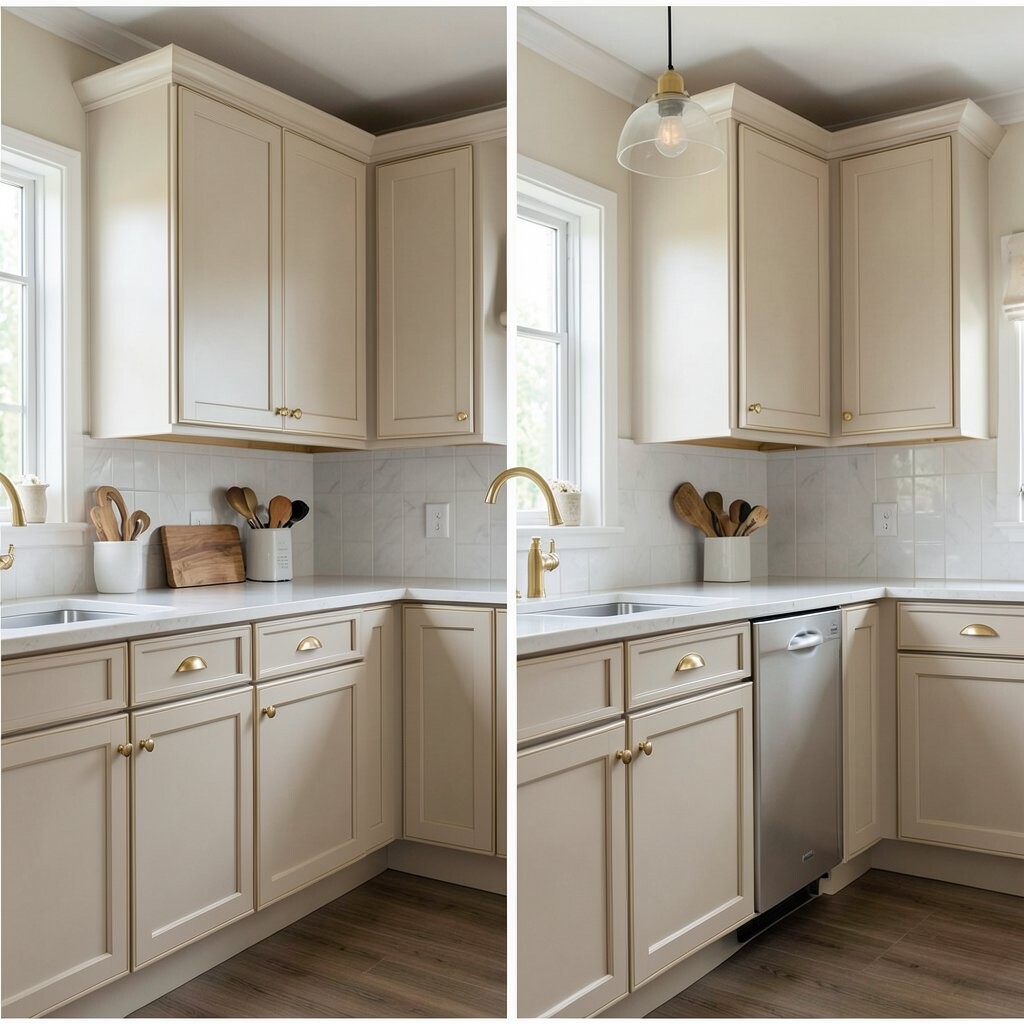
Light Beige Cabinets With Soft Gold Details Neutral beige can create a warm, lived-in kitchen that still feels clean. Before, cabinets might look too stark or too dark, while after brings softness and everyday comfort.
Visually, the beige tone smooths out the room and works with many styles of countertops and backsplashes. The benefit is flexibility: you can change your decor later without needing to repaint cabinets. Tips: select a beige that won’t look too pink or too gray in your specific lighting.
Personalization ideas include soft gold hardware and warm lighting temperatures. If you love a classic look, use cup pulls on lowers and matching knobs on uppers. Cost considerations: beige paint is similar in cost to other painted finishes, but sample testing helps avoid expensive mistakes.
-
17. Cabinet Refresh With Color-Blocked Backsplash-Style Paneling
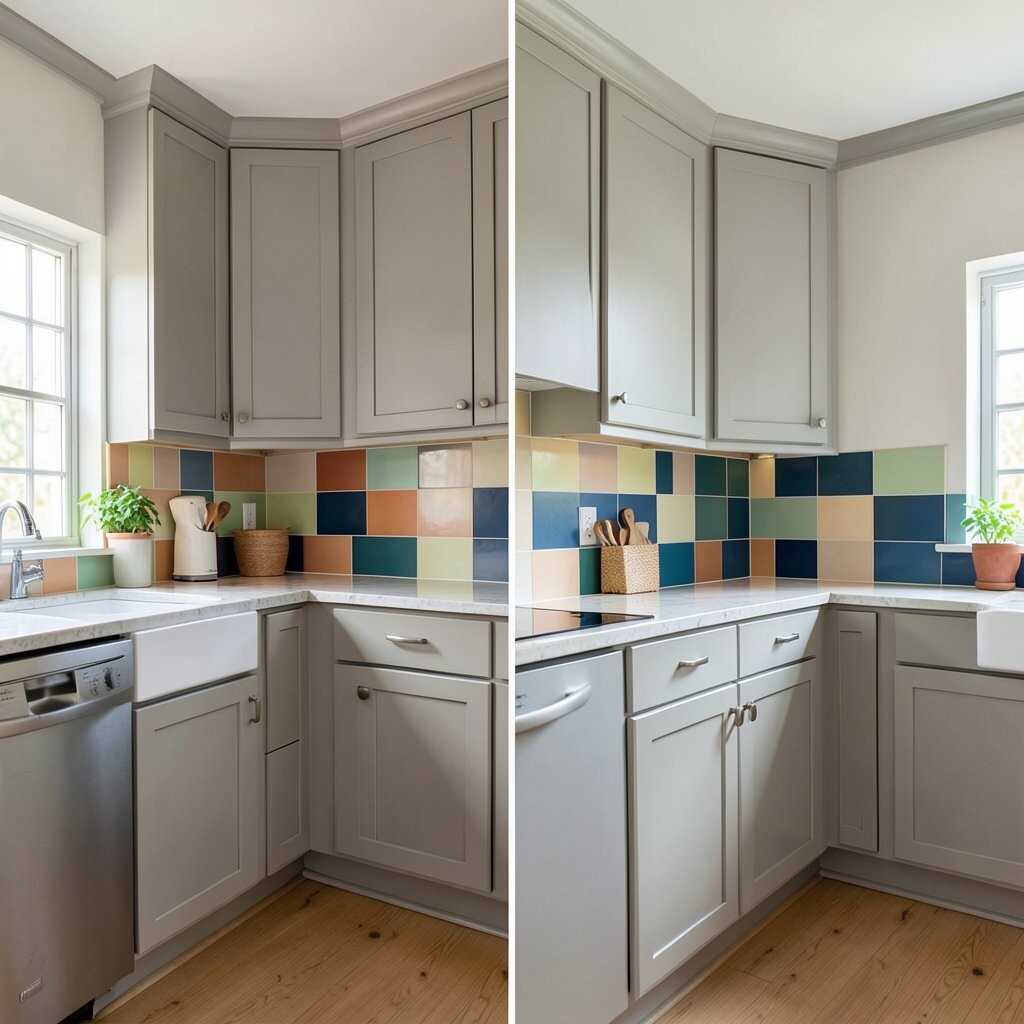
Cabinet Refresh With Color-Blocked Backsplash-Style Paneling Color-blocked looks can appear custom even when you keep the overall cabinet layout. Before, your doors may look uniform, while after adds a design pattern that resembles backsplash styling.
The visual benefit is a creative frame around the kitchen’s main work area. You also gain the satisfaction of a makeover that looks like design work, not just a coat of paint. Tips: plan your blocks with painter’s tape and keep edges crisp using a steady hand or a guide tool.
Personalization ideas: use a two-color block like cream and muted teal, or keep it classy with off-white and charcoal for a graphic look. Cost considerations include extra masking time and possibly extra paint colors, but the cabinet boxes can stay the same.
-
18. Mirrored or Metallic Cabinet Accent Panels
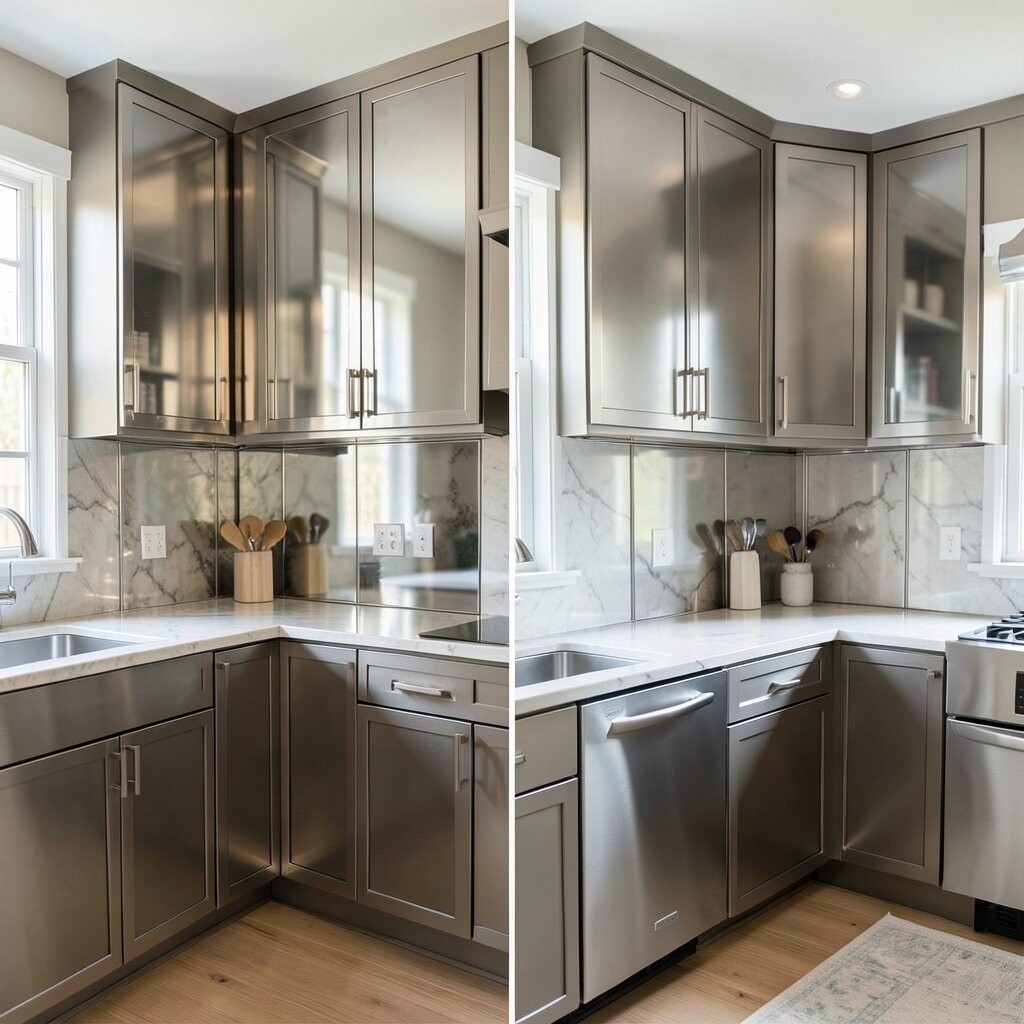
Mirrored or Metallic Cabinet Accent Panels For a bold twist, metallic accents can add shine without repainting everything. Before, cabinets may look flat, but after adds sparkle on selected door fronts or trim pieces.
Visually, metallic details catch light and make your kitchen feel brighter and more glamorous. The benefit is that you can create “after” impact with fewer changes than a full paint job. Tips: choose a metallic finish that matches your other metals and seal it well so it stays easy to clean.
Personalization ideas include metallic inserts on upper cabinets only, so the lower space stays calm. Pair with simple black or brushed nickel hardware. Cost considerations: metallic panels and specialty finishes can cost more, but using them as accents helps manage the budget.
-
19. Pull-Out Storage Upgrades for Better Daily Use
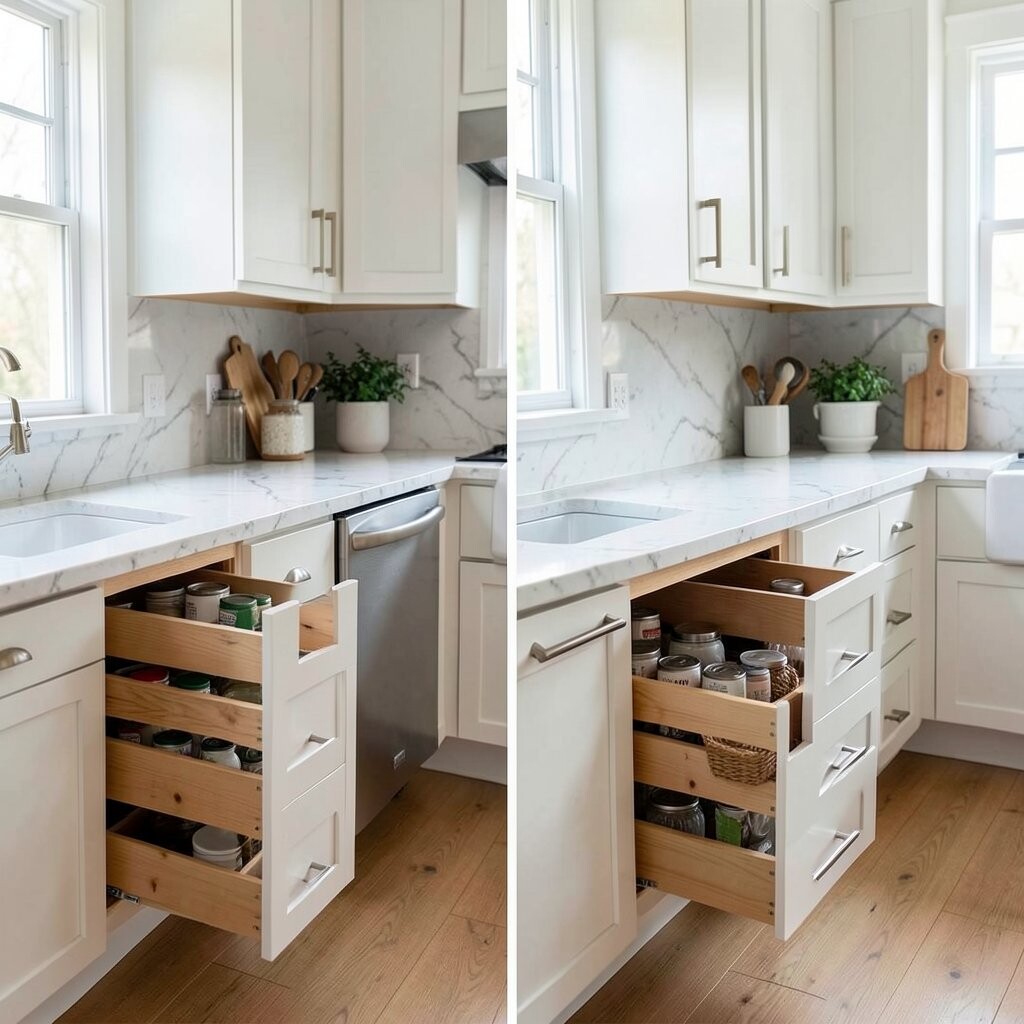
Pull-Out Storage Upgrades for Better Daily Use Some makeovers don’t focus on looks first, and that’s okay. Before, your cabinets might be hard to use because items get lost in the back, while after adds pull-out features that make everything easier.
The visual benefit is cleaner interior space, and the practical benefit is easier cooking. You’ll also notice fewer clutter piles because you can store things where you can actually reach them. Tips: start with the most used cabinets, like spices, utensils, and pots.
Personalization ideas include choosing drawer dividers that fit your cooking tools and labeling sections for quick mornings. Cost considerations: organizers can range from budget-friendly to premium, so pick one area first and expand later. If you’re painting anyway, install organizers after the finish cures so they don’t scratch new surfaces.
Trend-wise, kitchens are shifting from “pretty only” storage to “pretty and functional” storage. For a balanced look, match the drawer hardware finish with your cabinet hardware. Also, measure opening sizes twice so the organizers fit perfectly.
-
20. Cabinet Makeover With Updated Lighting and Under-Cabinet Glow
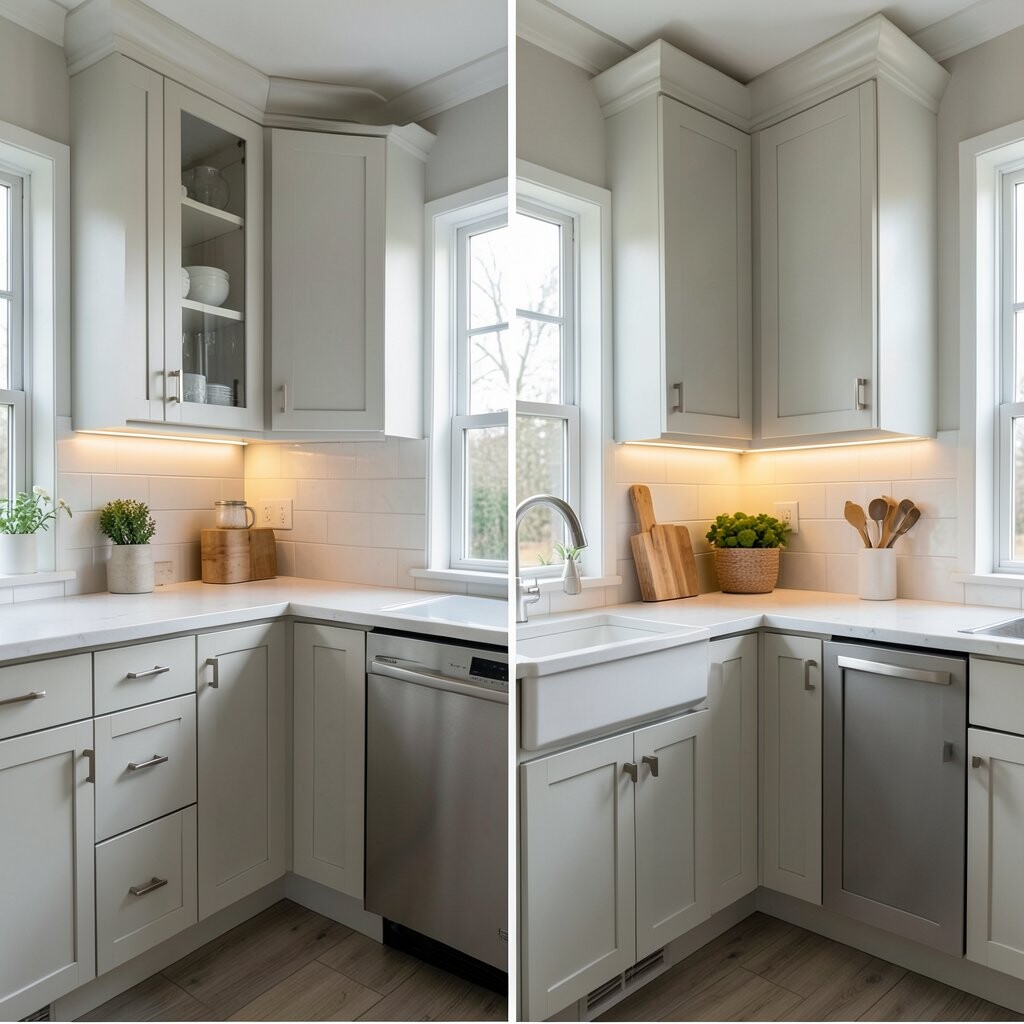
Cabinet Makeover With Updated Lighting and Under-Cabinet Glow Lighting can change how cabinet color looks more than you might think. Before, cabinets may seem dull because the kitchen lacks strong, focused light, while after shows crisp shadows and smooth finishes.
The visual benefit is clarity: you can see the cabinet grain, the paint tone, and the hardware shine. The practical benefit is safety too, because cooking feels easier when tasks are well lit. Tips: choose warm white LED strips for a cozy glow, and place them so they illuminate shelves and counters evenly.
Personalization ideas include adding a dimmer switch so you can set the mood for dinner prep. If you want a clean style, hide wires using channels behind the cabinet trim. Cost considerations: lighting upgrades can be moderate, and you can start with one run under the most-used cabinets.
-
21. Partial Cabinet Replacement With Matching Painted Door Sets
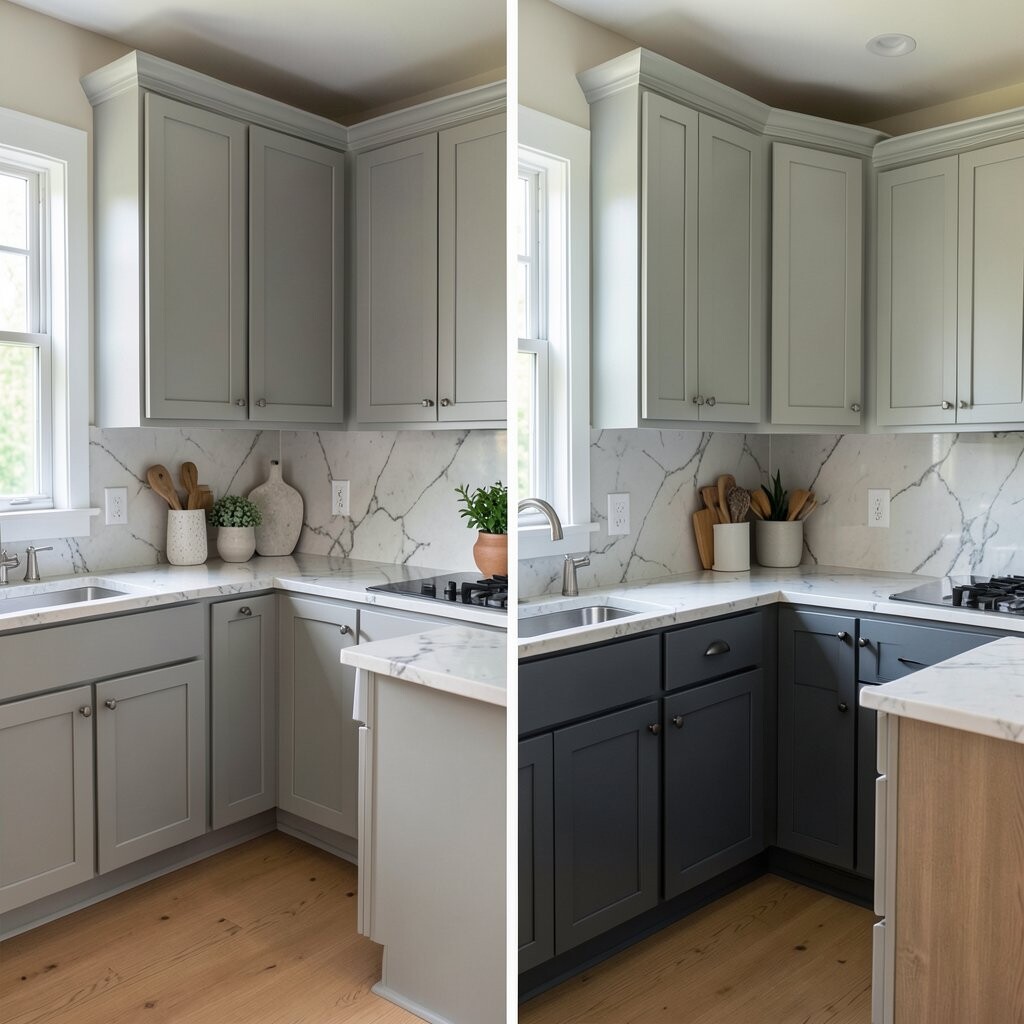
Partial Cabinet Replacement With Matching Painted Door Sets When some cabinets are worn beyond repainting, selective replacement can still keep your budget under control. Before, mismatched doors or damaged panels can make the whole kitchen feel uneven, while after uses matching door sets for a smoother look.
Visually, you’ll feel the kitchen “click” into place because the cabinet fronts look consistent again. The benefit is that you get a refreshed style without replacing the entire cabinet layout. Tips: measure openings carefully, and bring home samples of paint colors so the new doors match closely.
Personalization ideas include upgrading just the most visible cabinet doors to a new style, like shaker or glass fronts, while keeping the rest classic. Cost considerations are important here: partial replacement costs more than painting alone, but it can be cheaper than full cabinet replacement. If you’re doing DIY, plan extra time for hardware drilling so doors align correctly.
Trend-wise, homeowners are mixing upgrade styles within the same kitchen to meet both beauty and practicality goals. To make the match look seamless, use a clear, even topcoat across all new and old pieces. Also, keep door gaps consistent by adjusting hinges after everything is installed.