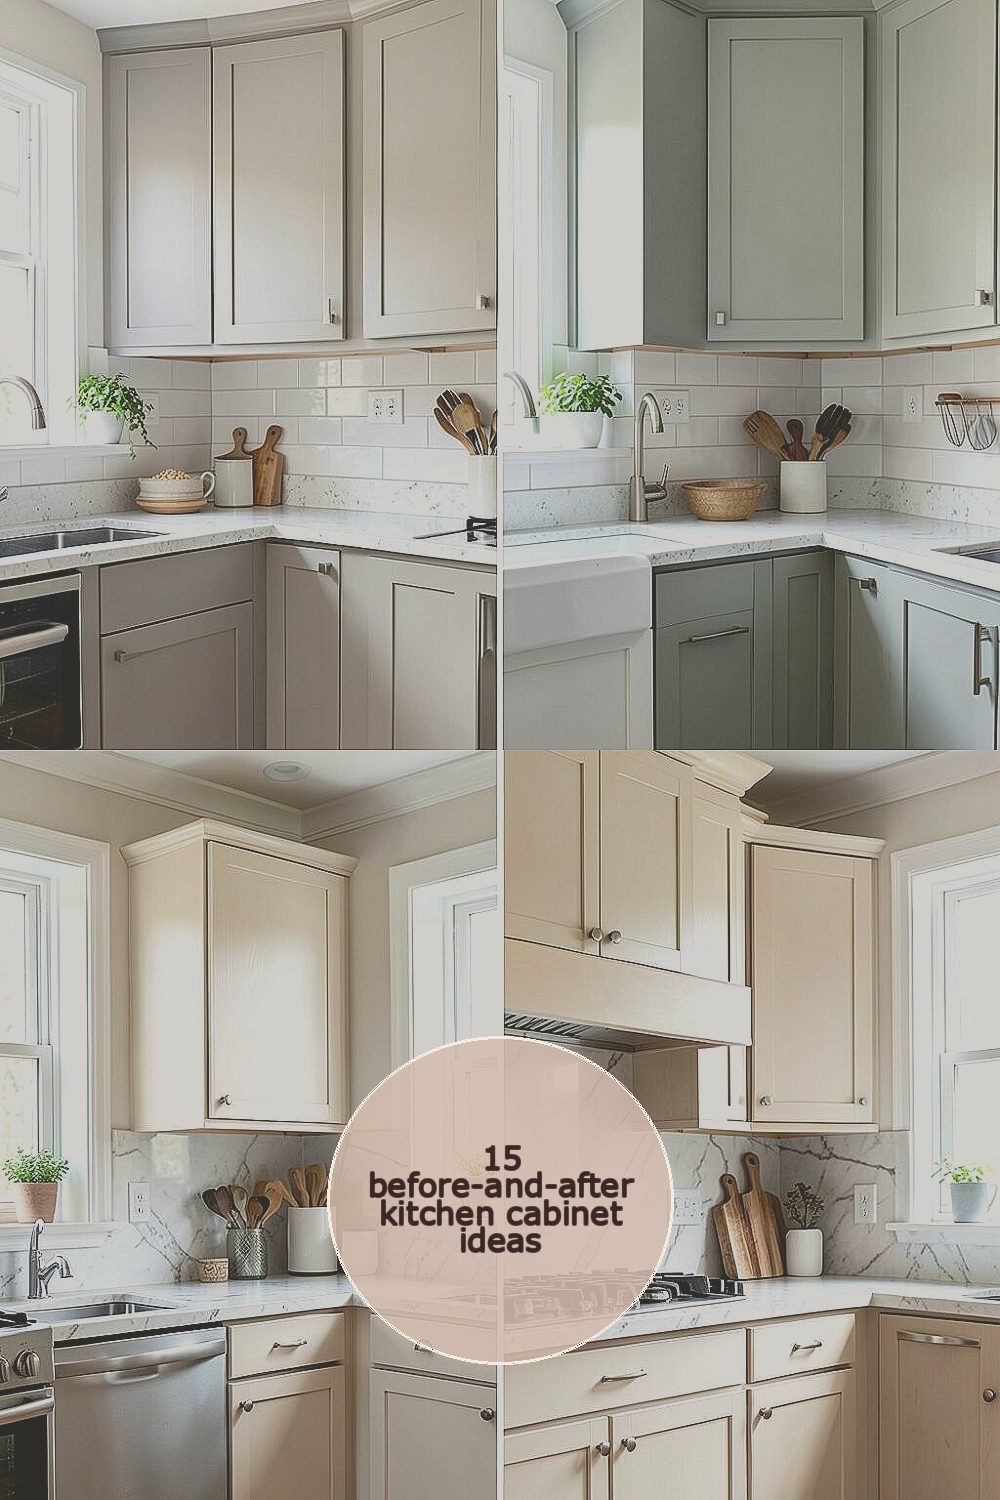
Your kitchen cabinets hold a lot of everyday story. A few smart upgrades can make that story feel brand new.
Watch how small changes can bring big comfort, style, and pride into your home.
-
1. Paint With a Softer Color Instead of Harsh White
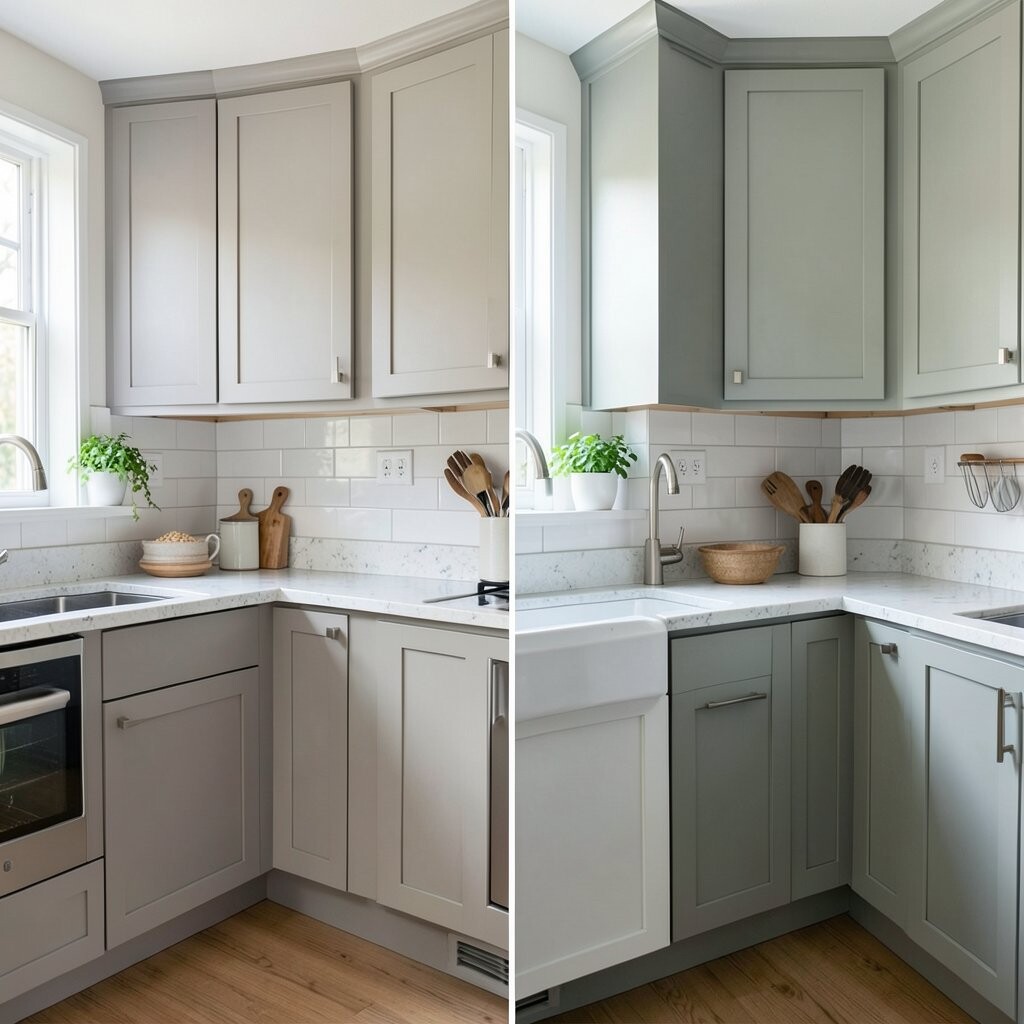
Paint With a Softer Color Instead of Harsh White Before, your cabinets may look flat and a little tired in the morning light. After, a warm, softer color can make the whole room feel calmer and brighter.
Try a creamy off-white, light greige, or even a gentle sage for a fresh kitchen vibe. You will also love how fingerprints show less on certain finishes, which helps day to day cleaning. For best results, clean well, sand lightly, and use a primer made for cabinets.
If you want a unique twist, pair the painted cabinets with darker hardware for contrast. Consider sample jars first, because cabinet colors can look different in your lighting. Budget-wise, paint is usually cheaper than replacing cabinets, and it can look high-end when done carefully.
-
2. Add New Hardware for an Instant Upgrade
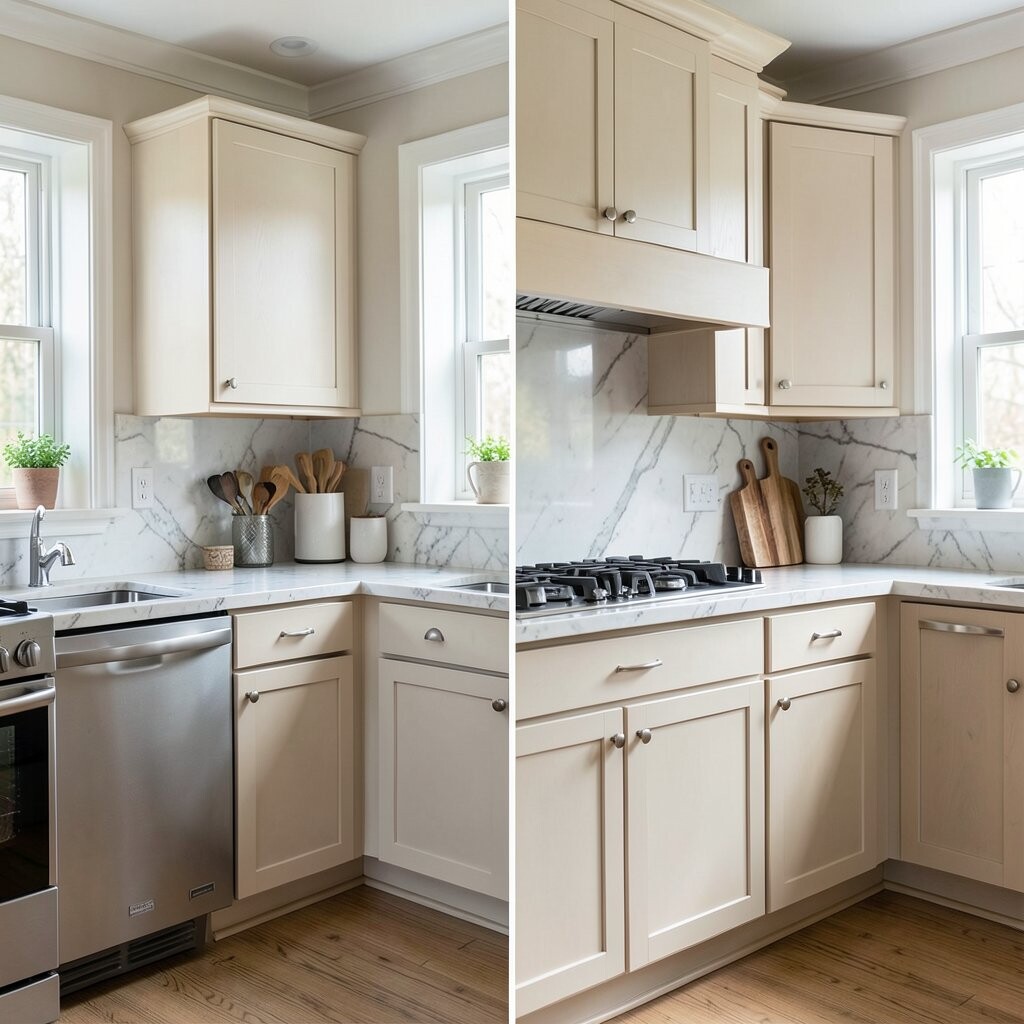
Add New Hardware for an Instant Upgrade Before, old knobs and pulls can make cabinets feel dated even when the wood is fine. After, crisp new hardware can give your kitchen a cleaner, more modern look.
Choose finishes that match your faucet and lighting, like brushed nickel, matte black, or warm brass. This upgrade is unique because hardware can change the “mood” without changing the cabinet itself. It also helps you grip doors easily, especially for heavy drawers.
For personalization, mix styles in the right places, such as matching pulls on drawers and smaller knobs on doors. To stay on budget, buy a few sample finishes and check the price at big box stores and local hardware shops. If you re-drill holes, measure twice so everything lines up beautifully.
-
3. Refresh Cabinet Doors With Glass Inserts
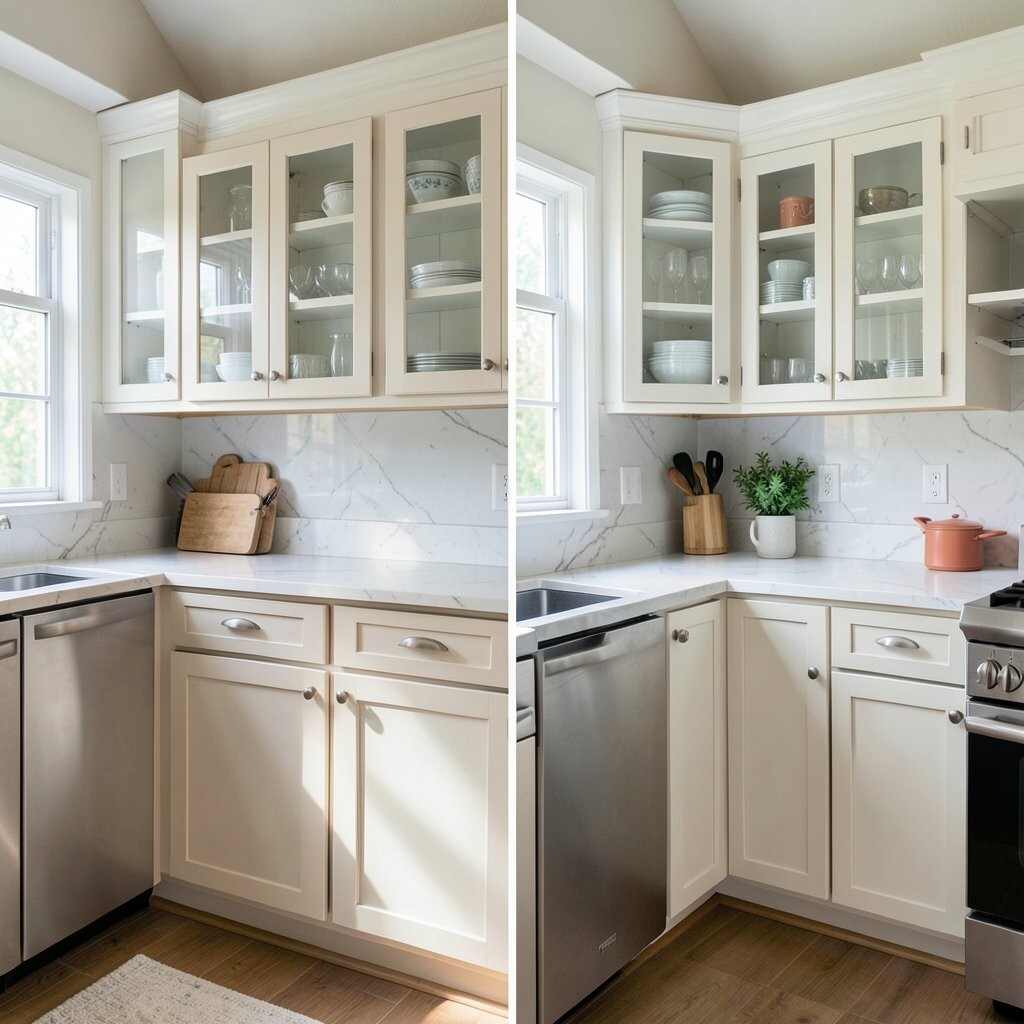
Refresh Cabinet Doors With Glass Inserts Before, your cabinets may hide everything with closed panels. After, glass inserts can show selected dishware and add an airy look.
You get a visual upgrade that feels both stylish and practical. It also makes the room feel more open, especially in kitchens with less natural light. Many people love how glass inserts help create a “curated” look without adding clutter.
For tips, start with only a few doors so it does not look too busy. Choose clear glass for brightness, or use frosted glass for a softer, private feeling. Cost can vary, so plan your budget by deciding how many doors will get the insert.
If you want uniqueness, add decorative muntins or a subtle color tint. Make sure your cabinet frame can support the insert, or hire a pro for a clean, safe install. This kind of upgrade often feels like a major before and after change while staying within a reasonable budget.
-
4. Replace Old Hinges With Soft-Close Hinges
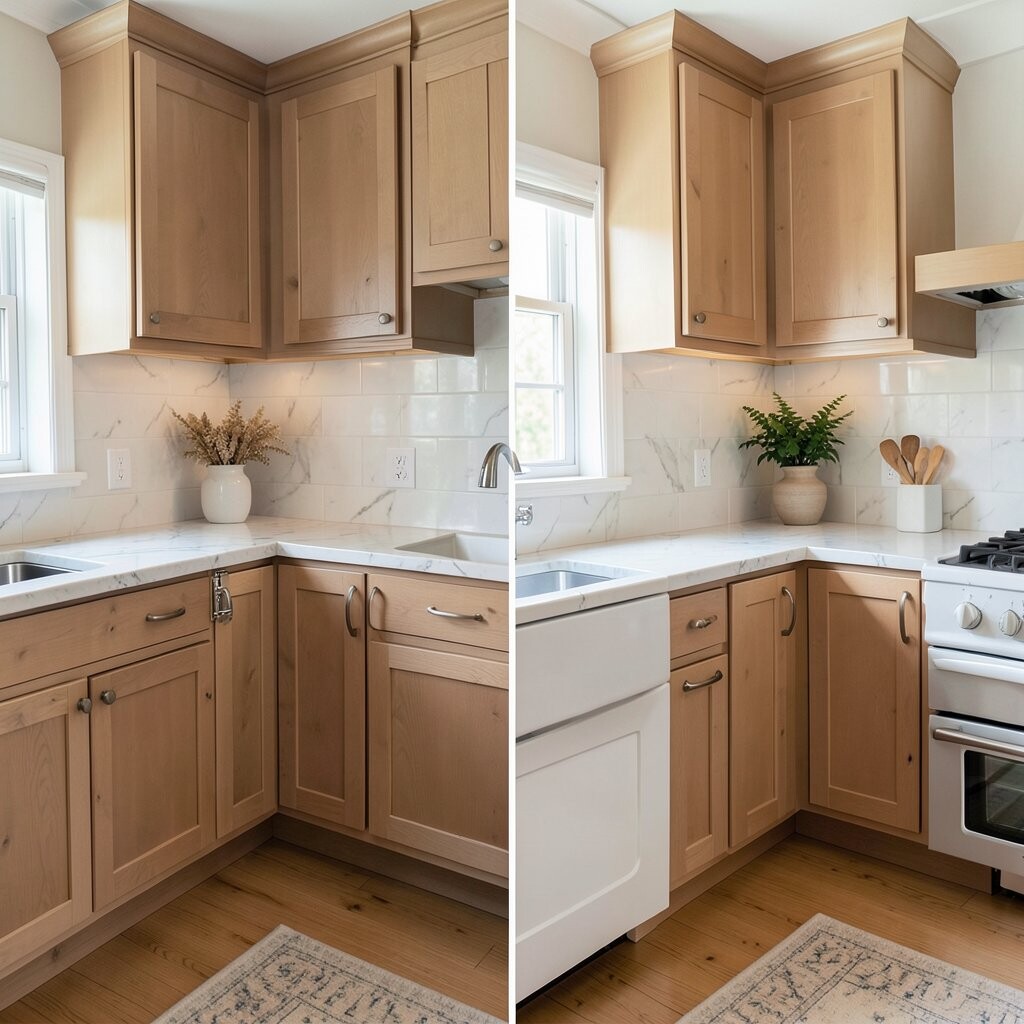
Replace Old Hinges With Soft-Close Hinges Before, doors may slam or bounce when you shut them quickly. After, soft-close hinges make every closing sound smooth and calm.
This upgrade is great for everyday comfort, especially in busy homes. You also protect your cabinet frames because soft-close hardware reduces wear and tear. Many homeowners say they feel the difference right away.
For personalization, pair soft-close hinges with upgraded drawer slides so everything matches. If you are doing a budget-friendly approach, replace hinges first and handle other parts later. Expect the cost to be moderate, but it is usually worth it for the quieter, safer feel.
-
5. Style the Inside With Matching Shelf Liners
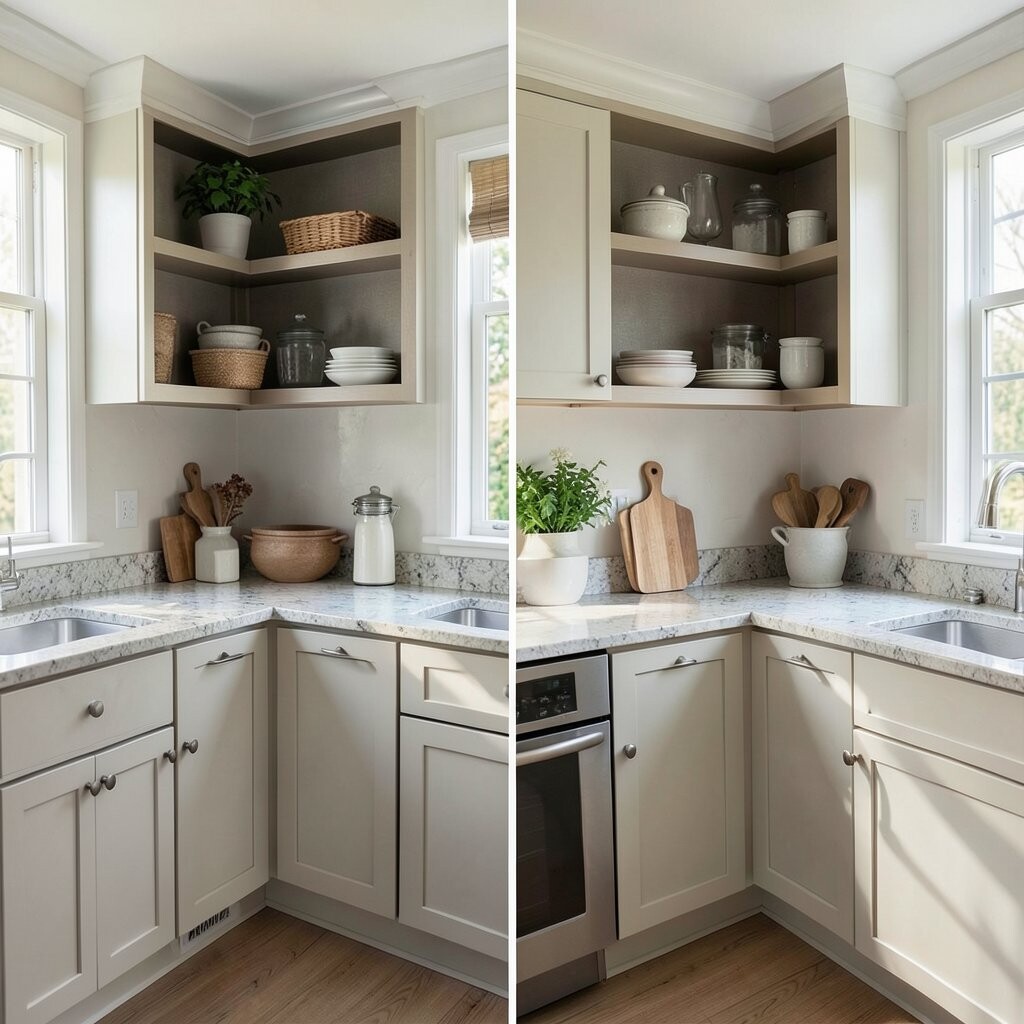
Style the Inside With Matching Shelf Liners Before, cabinet interiors may look messy from stains, scratches, or uneven cleaning. After, a neat shelf liner makes everything feel organized and intentional.
You will love the wipeable surface and the clean look every time you open a door. Liner color can also help your cabinets look brighter and more inviting. It is a simple upgrade that can still look “designer.”
To make it unique, choose a subtle pattern that matches your kitchen style, like light dots or soft stripes. Measure carefully and trim with a utility knife for clean edges. This is usually low-cost compared to bigger projects, and it is easy to redo if you change your mind later.
-
6. Add Under-Cabinet Lighting for a Warm Glow
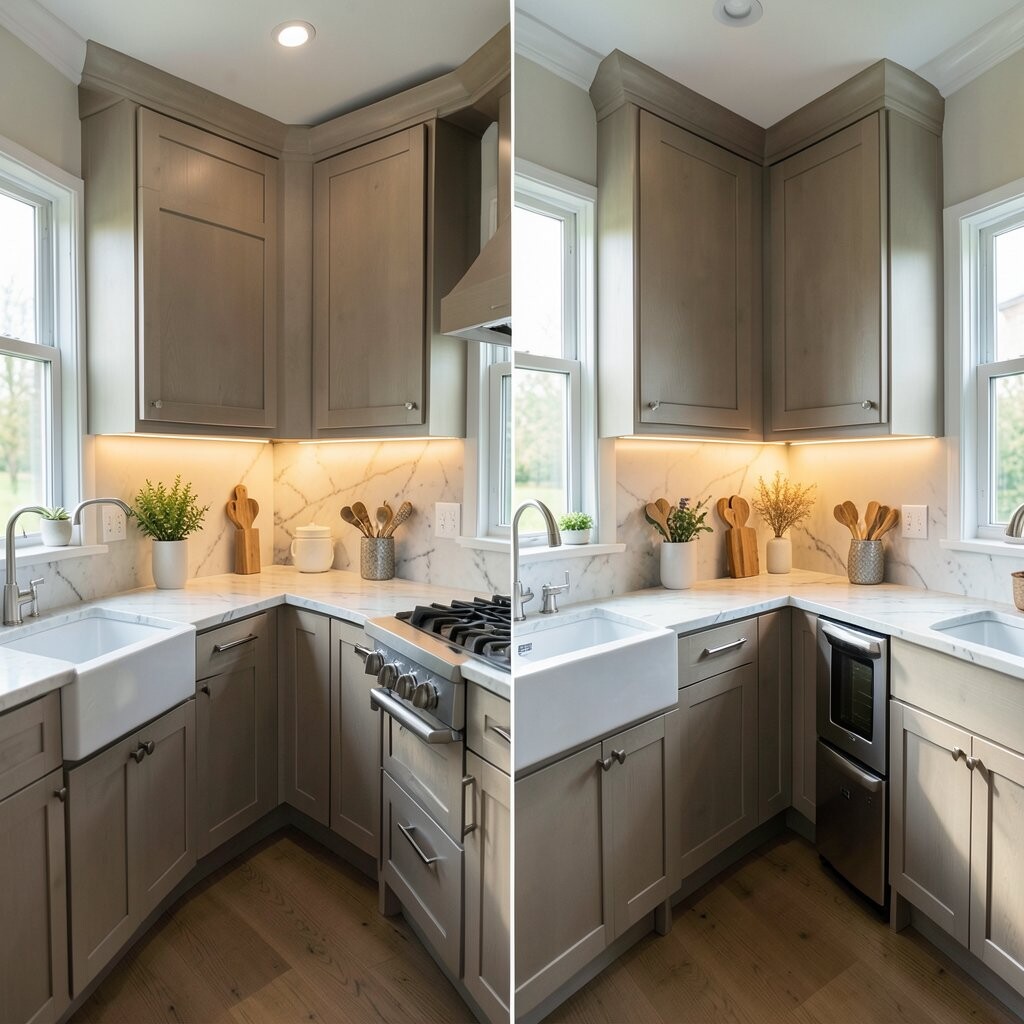
Add Under-Cabinet Lighting for a Warm Glow Before, your counters might look a bit dim, and shadows hide messes. After, lighting under the cabinets brightens your work space and makes finishes look richer.
This upgrade is visually powerful because it changes how your cabinets “read” during the day and at night. It also helps you spot crumbs and spills faster, which can keep your kitchen cleaner. Many people choose LED strips because they are energy efficient.
For tips, place the lights evenly so you avoid dark spots along the wall. Use warm light bulbs if you want cozy evenings, or neutral light if you prefer true color. Cost depends on wiring, but plug-in options can help keep expenses lower.
Personalize by adding a dimmer switch so your kitchen can feel bright for cooking and soft for relaxing. If you want a modern look, choose aluminum channels for a sleek finish. This upgrade often feels like you upgraded the whole kitchen without changing cabinets at all.
-
7. Replace Cabinet Faces With Slab Doors for a Sleek Look
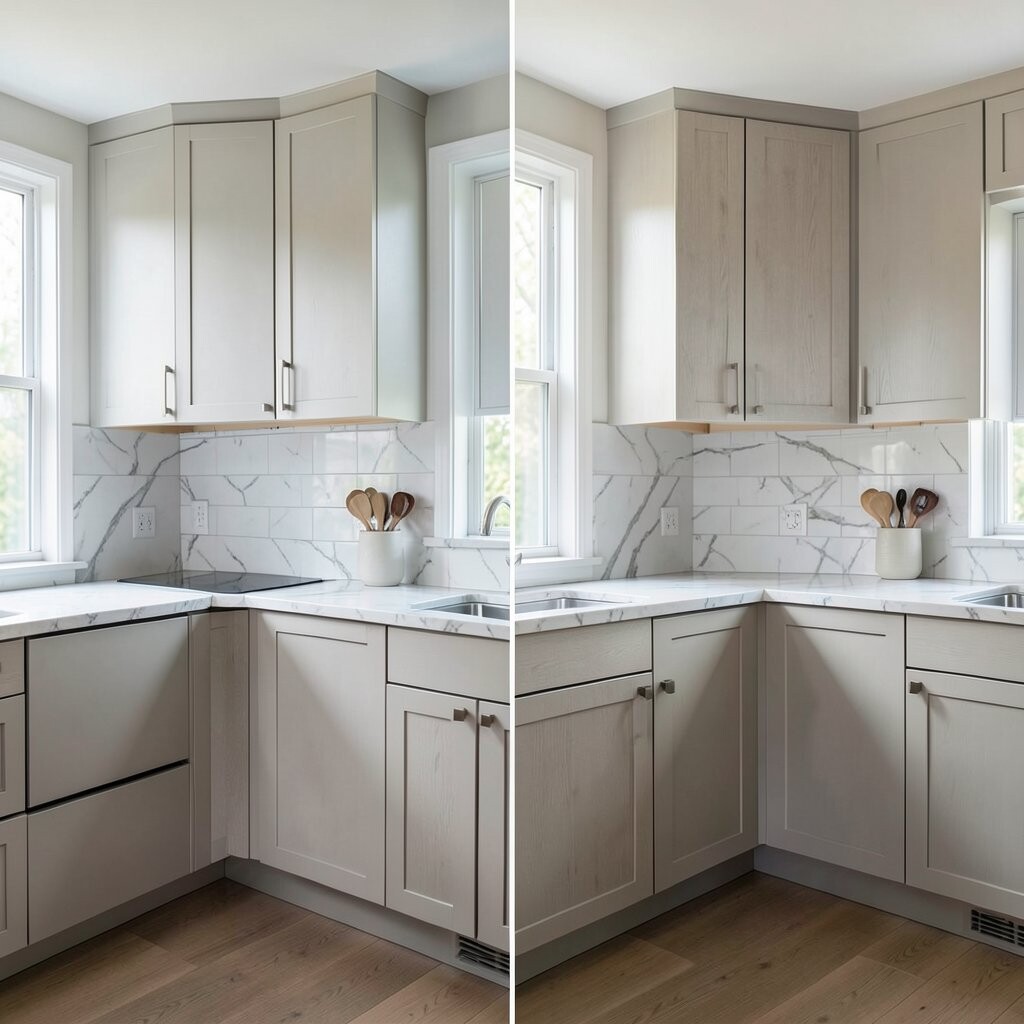
Replace Cabinet Faces With Slab Doors for a Sleek Look Before, raised panels can look busy or old-fashioned to some people. After, slab-style doors create a clean, flat look that feels modern and fresh.
You keep the cabinet boxes but change the front style, which is a smart money move. The benefit is a bold visual shift with less demolition. Many kitchens feel instantly more updated when the door style becomes simpler.
To personalize, choose a finish that fits your home, like matte paint, satin lacquer, or a warm wood veneer. If your kitchen has strong counters, pick a cabinet finish that balances that tone. Costs vary based on whether you buy pre-made doors or custom sizes, so check measurements first.
Trend-wise, simple flat doors and minimal lines are popular because they pair well with lots of design themes. Hiring a local cabinet shop can help ensure smooth alignment and clean edges. If you want a smoother timeline, order doors in bulk so the project stays organized.
-
8. Convert Some Upper Cabinets Into Open Shelves
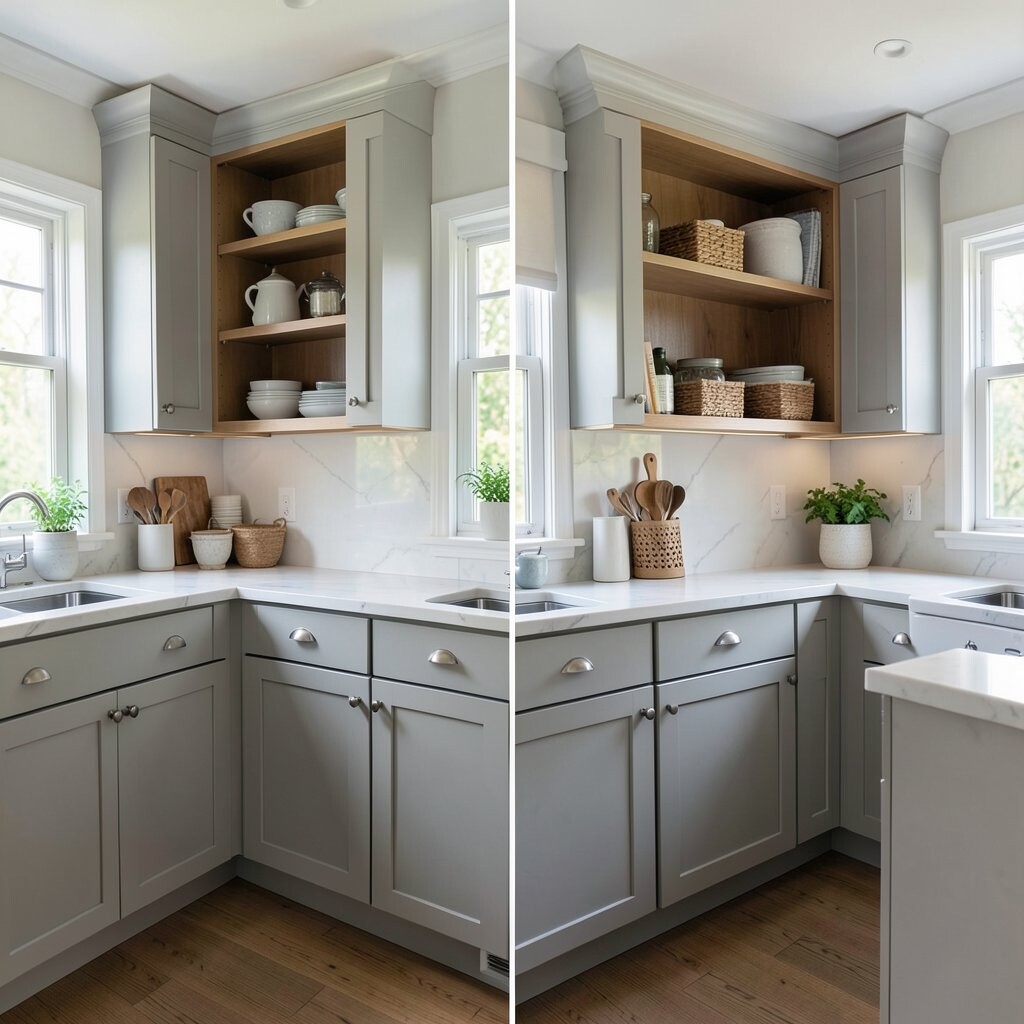
Convert Some Upper Cabinets Into Open Shelves Before, everything might look closed off and heavy. After, open shelves can make your kitchen feel lighter and more welcoming.
This upgrade helps you show off beautiful mugs, jars, and cookbooks. It can also make daily routines easier because you reach for items faster. Just remember that open shelves need a little more styling and regular tidying.
For a unique look, use brackets that match your hardware and keep shelf spacing consistent. Choose a finish for the shelf that matches cabinet tone or intentionally contrasts. Cost can be moderate, depending on whether you keep the cabinet frame or remove doors entirely.
For personalization, mix store-bought items in uniform containers, like glass jars and matching canisters. If you cook often, open shelving near your most-used items is a real practical win. This before and after change can feel huge, even when you only convert a few cabinets.
-
9. Paint the Cabinet Frames and Leave Doors Slightly Different
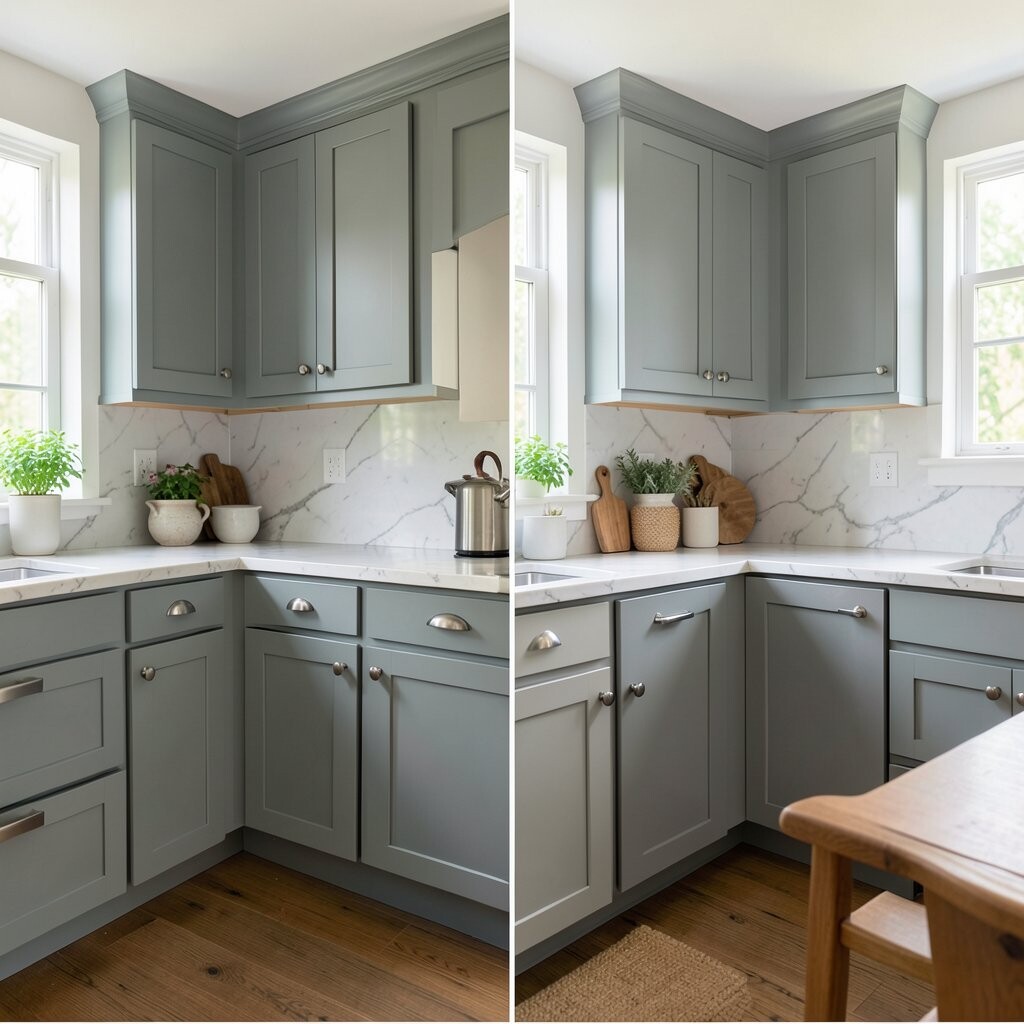
Paint the Cabinet Frames and Leave Doors Slightly Different Before, your cabinets might look like one long block of the same color. After, a two-tone approach can add depth and make your kitchen feel custom.
You get a benefit that is both visual and functional, because contrast can make the layout easier to read. It also makes cabinet doors feel lighter even when the room is full of storage. Many homeowners love how this style looks with natural stone counters.
Try painting the cabinet frames one color and the doors another, or paint the inside trim a complementary shade. For a trend-friendly look, use a darker tone on lower cabinets and a lighter tone on uppers. Cost can still stay reasonable because you are only buying paint and supplies.
To personalize, match the door color to your backsplash colors. Use painter’s tape and take your time with cutting edges so you get sharp lines. If you are worried about durability, use a high-quality cabinet paint and a protective topcoat.
-
10. Install Crown Molding for a More Finished Ceiling Look
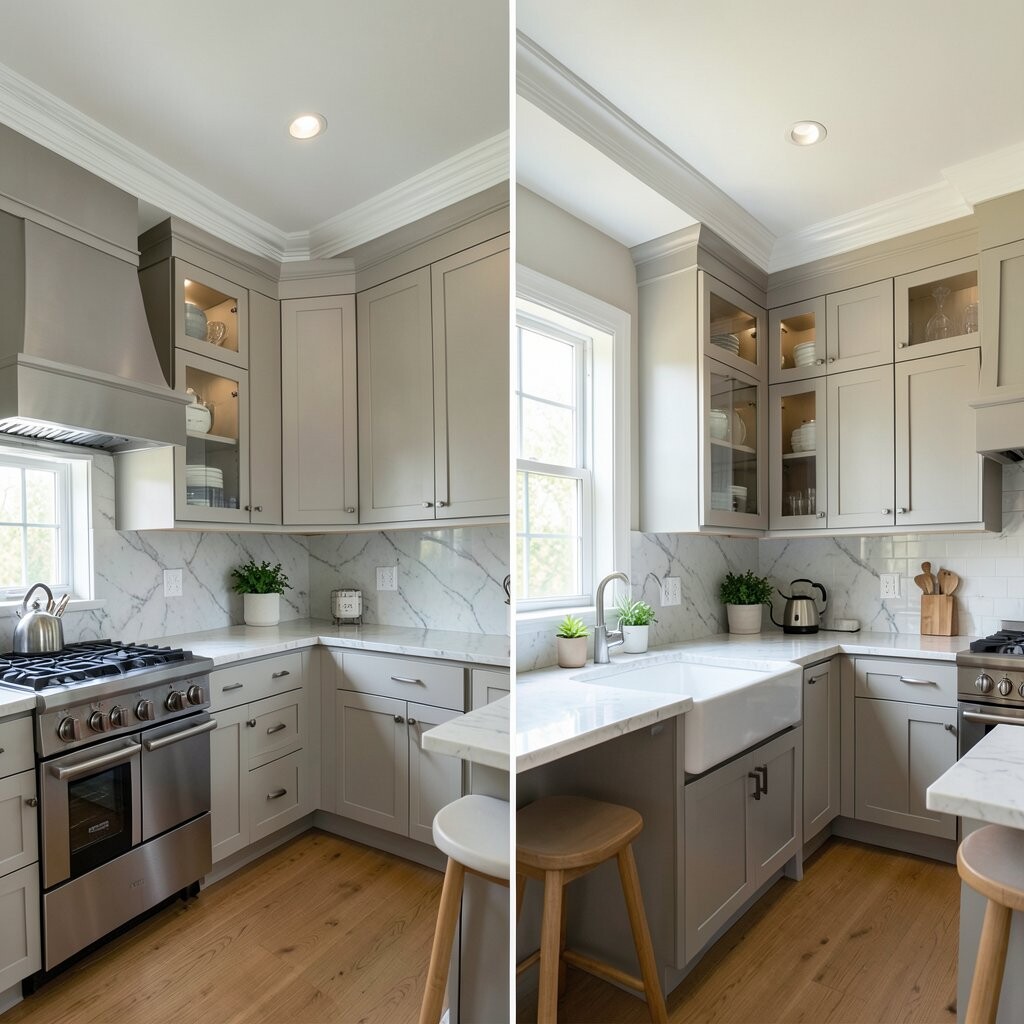
Install Crown Molding for a More Finished Ceiling Look Before, the top gap above cabinets can make the room feel unfinished. After, crown molding gives your kitchen a built-in, polished appearance.
This upgrade adds a classic touch, and it also visually “lifts” the cabinets toward the ceiling. When done right, it can make even older cabinetry look upgraded. Many people feel the difference is like styling your outfit with the right finishing details.
For tips, measure carefully and choose a profile that matches your kitchen style. If you have tall cabinets, molding can help balance the proportions. Costs can vary, but many molding options are affordable, especially compared to a full cabinet replacement.
If you want uniqueness, paint molding the same color as cabinets for a smooth blend, or choose a contrasting white for bold definition. Caulk and paint for a clean edge where molding meets the cabinet. This project takes patience, but the before and after impact is huge.
-
11. Upgrade Drawer Pulls With Long, Modern Handles
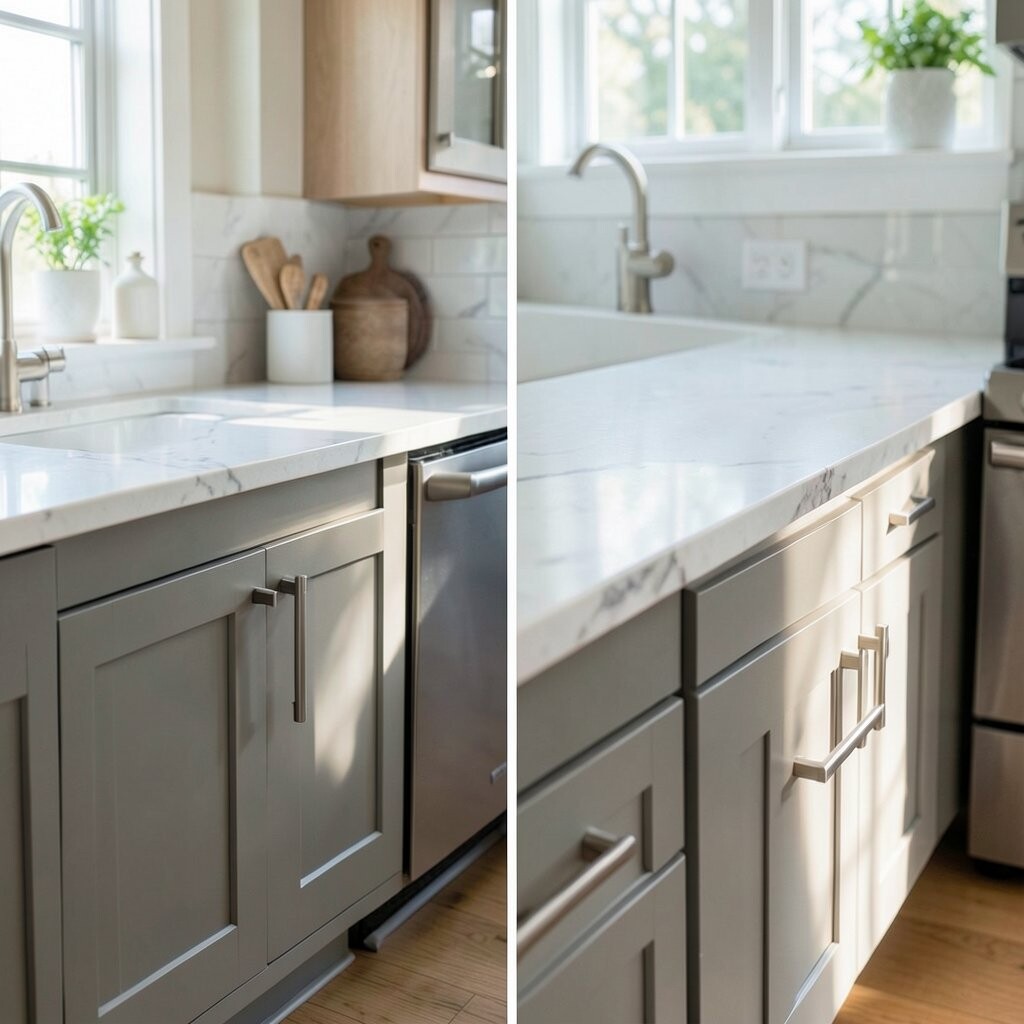
Upgrade Drawer Pulls With Long, Modern Handles Before, smaller pulls can make drawers feel awkward to open. After, longer handles help you pull smoothly and look more stylish.
This upgrade is a visual win because drawer hardware is very noticeable in a kitchen. It also offers a practical benefit by improving grip and comfort. When handles match the cabinet finish, the whole layout looks more intentional.
For personalization, choose handle spacing that matches your cooking habits, like placing extra-long handles on utensil drawers. Try a satin finish for a modern look that resists glare. Cost is usually moderate, and you can find good deals online or in home improvement stores.
Before drilling, test one drawer first to ensure the layout looks right. If you want minimal change but big style, keep the same hole spacing and switch to compatible pull styles. This is one of those upgrades that can feel like a boutique kitchen on a smaller budget.
-
12. Add a Filler Strip and New Toe-Kick Styling for Clean Lines
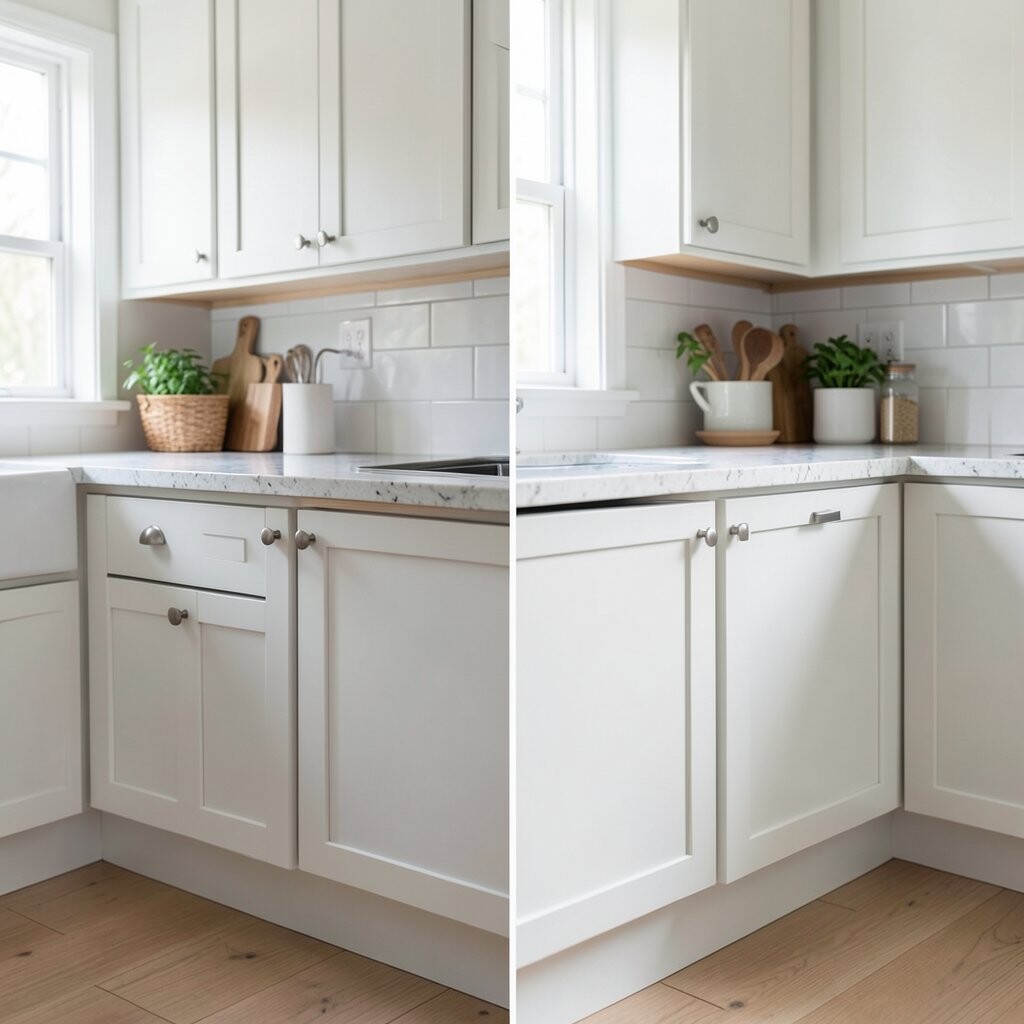
Add a Filler Strip and New Toe-Kick Styling for Clean Lines Before, small gaps at corners or the base can make cabinets look uneven. After, a neat filler strip and updated toe-kick style create a smooth, finished edge.
This upgrade helps your kitchen look carefully planned instead of “almost done.” It also makes cleaning easier because there is less weird crevice space. Many homeowners notice the change when they walk in and see the bottom line looks straight.
For tips, check the wall and floor level so filler strips sit nicely. You can also paint the toe-kick for extra style. Cost can be low to moderate depending on materials, and it often requires basic carpentry skills.
To personalize, align the toe-kick color with your hardware or lower cabinet finish. If you want a trend touch, keep the base crisp and minimal rather than adding heavy decoration. This kind of detail upgrade is a secret weapon for a high-end look.
-
13. Install a Cabinet Refinishing Kit for a Fast Makeover
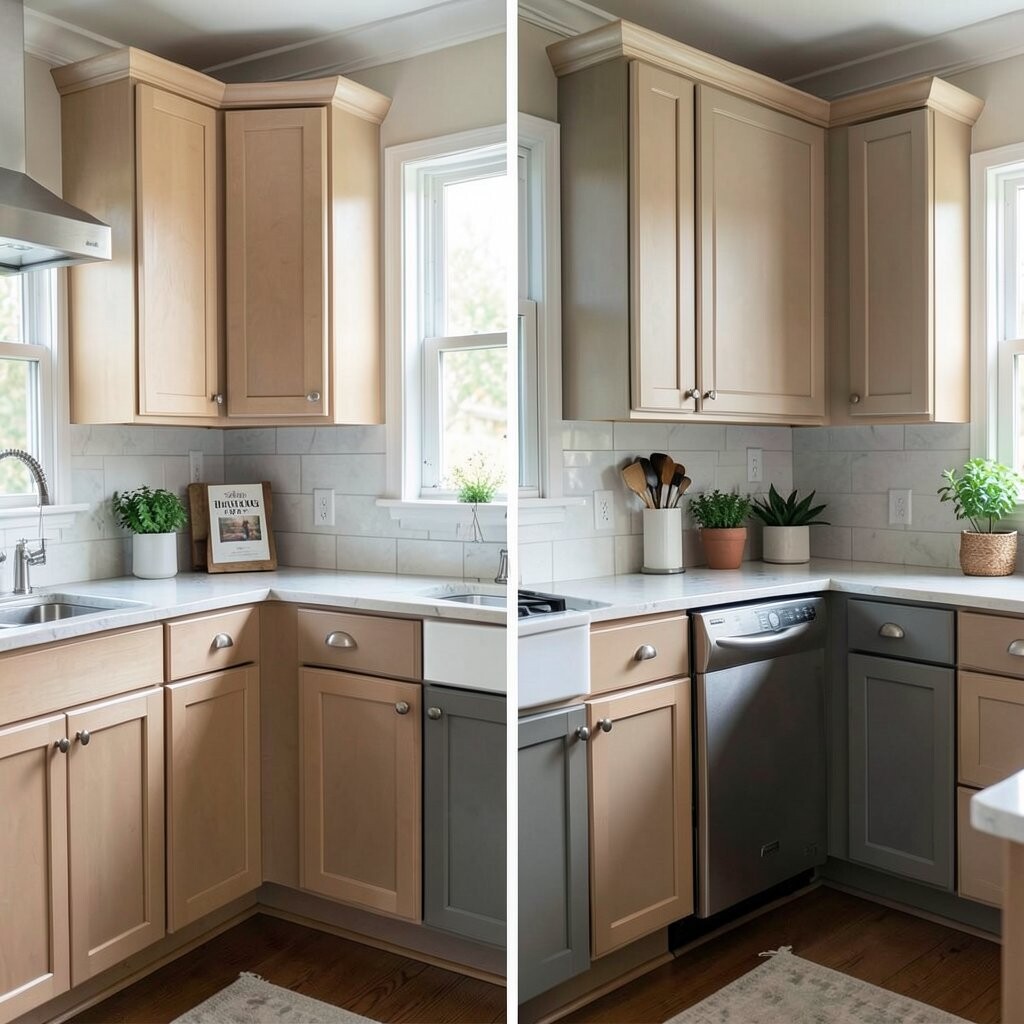
Install a Cabinet Refinishing Kit for a Fast Makeover Before, cabinets may have rough spots, scuffs, or dull sheen that catches the eye. After, a refinishing kit can restore a clean, refreshed surface.
You get a clear benefit: cabinets look newer without waiting for a long full replacement. Many kits include sanding, bonding, and topcoat steps that help the finish last longer. The look can range from satin to glossy, depending on what you choose.
For uniqueness, pick a finish tone that matches your kitchen’s mood, like soft matte for modern calm. Always follow the instructions closely, because cabinet surfaces need proper prep. Budget-wise, kits can be a smart middle ground when the cabinets are still solid.
For personalization, update the sheen around high-use areas, like adding a durable topcoat in spots that take the most wear. Consider testing a small hidden panel first so you can feel confident in the final color. This upgrade is actionable when you want a noticeable change without major remodeling.
-
14. Swap in a New Backsplash and Match Cabinet Color Details
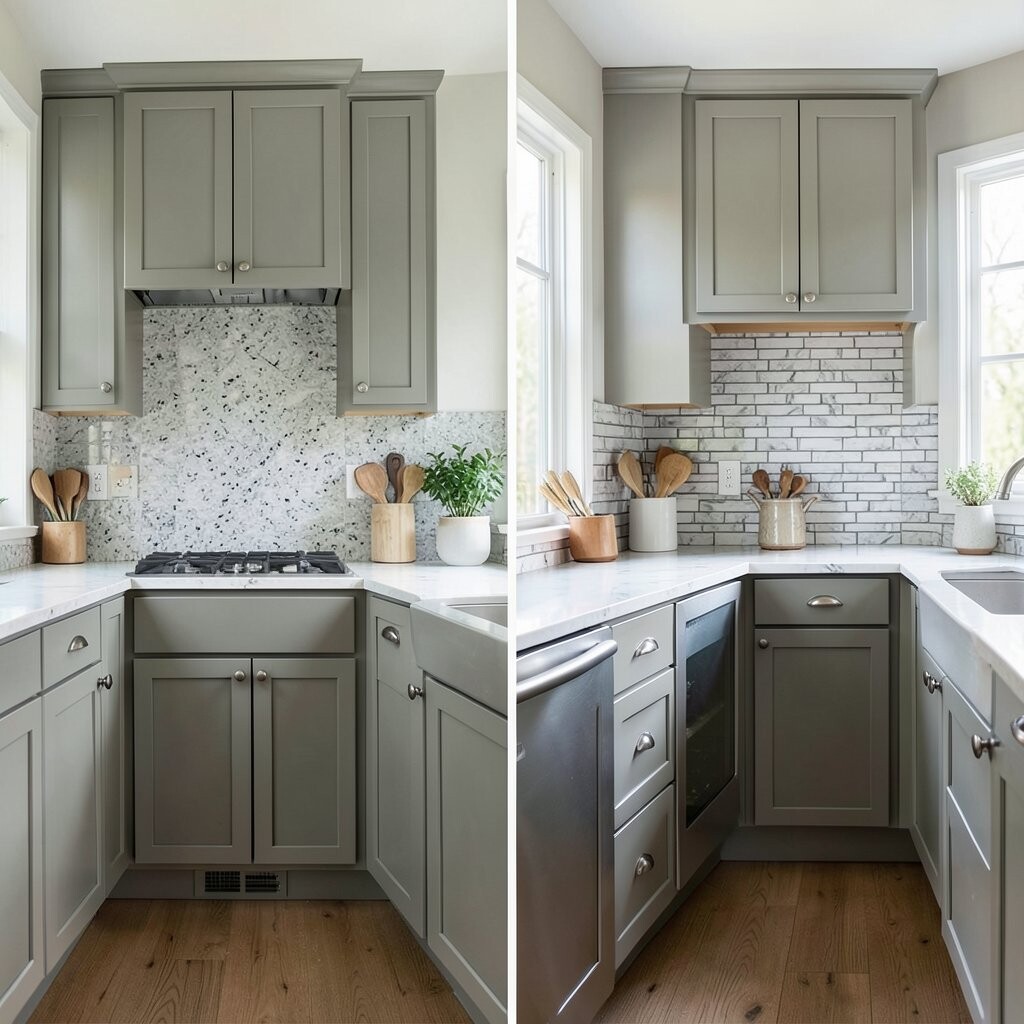
Swap in a New Backsplash and Match Cabinet Color Details Before, cabinets and backsplash might not “agree,” so the kitchen can feel disconnected. After, matching color details tie the room together and make cabinets look more intentional.
This upgrade is great for visual balance because the cabinet fronts and backsplash colors work as a team. You can pick a backsplash that echoes cabinet tones, like warm whites, soft grays, or natural wood vibes. It also gives you a chance to bring in texture where cabinets can be smooth.
For tips, take paint swatches and backsplash samples and place them near the cabinets. Lighting matters, so check how the colors look at different times of day. Cost depends on tile type and installation, but you can lower expenses by choosing simpler patterns or hiring help only for the hardest steps.
-
15. Add Decorative Panels or Beadboard Inserts for Cozy Character
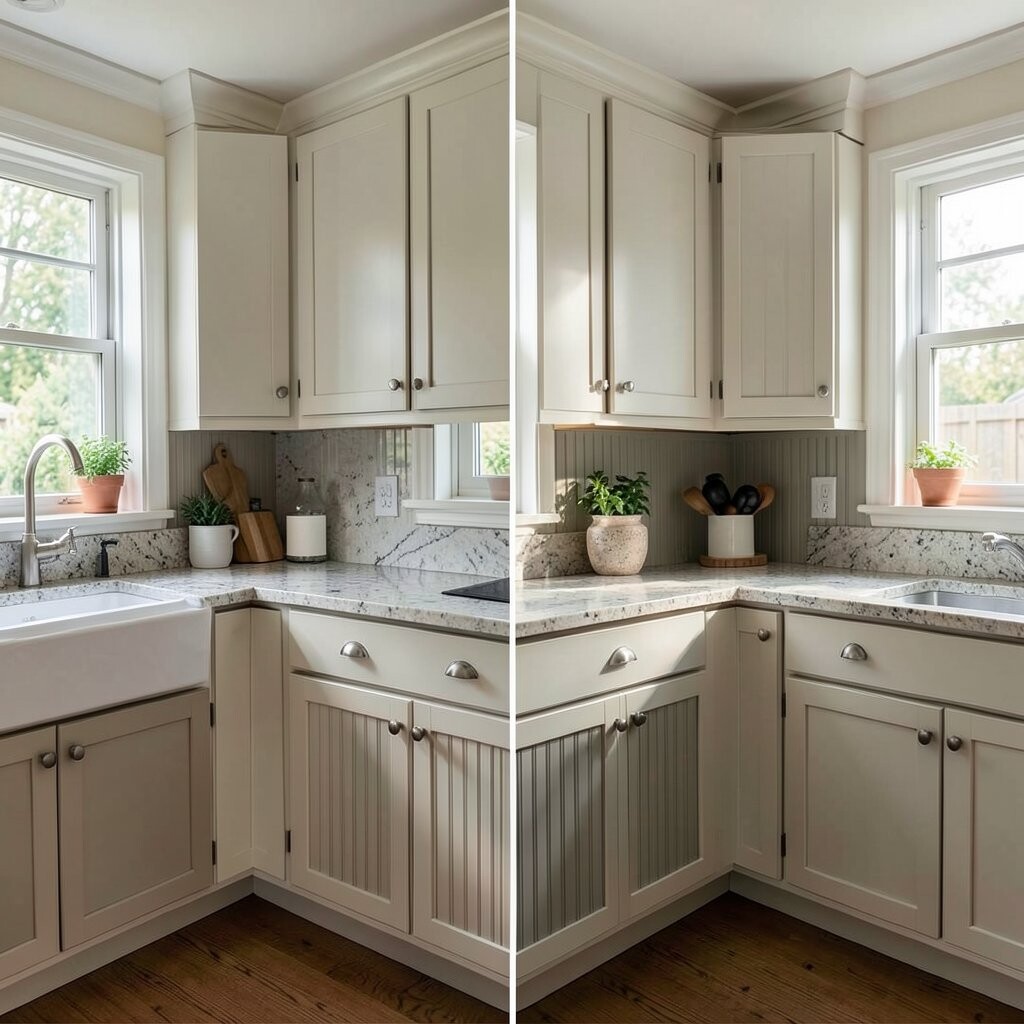
Add Decorative Panels or Beadboard Inserts for Cozy Character Before, plain cabinet doors can feel too flat for a cozy kitchen. After, decorative panels or beadboard inserts add texture and a friendly style.
This upgrade gives your cabinets personality and helps your kitchen feel like your own. It also benefits organization because textured inserts can make the design look richer even when cabinets are mostly closed. Many homeowners love how this style pairs with warm lighting and natural wood accents.
To personalize, choose beadboard for a cottage vibe or use decorative panels for a more tailored look. You can paint the inserts the same color as the doors or use a slightly lighter shade for depth. Cost can vary, but because you are adding panels to some doors, it often stays within a practical range.
For a trend-relevant twist, keep the rest of the kitchen modern while the panels bring warmth. Add simple hardware that matches your overall finishes, and keep the color palette calm. This before and after change can feel irresistible because the texture makes everything look more inviting.