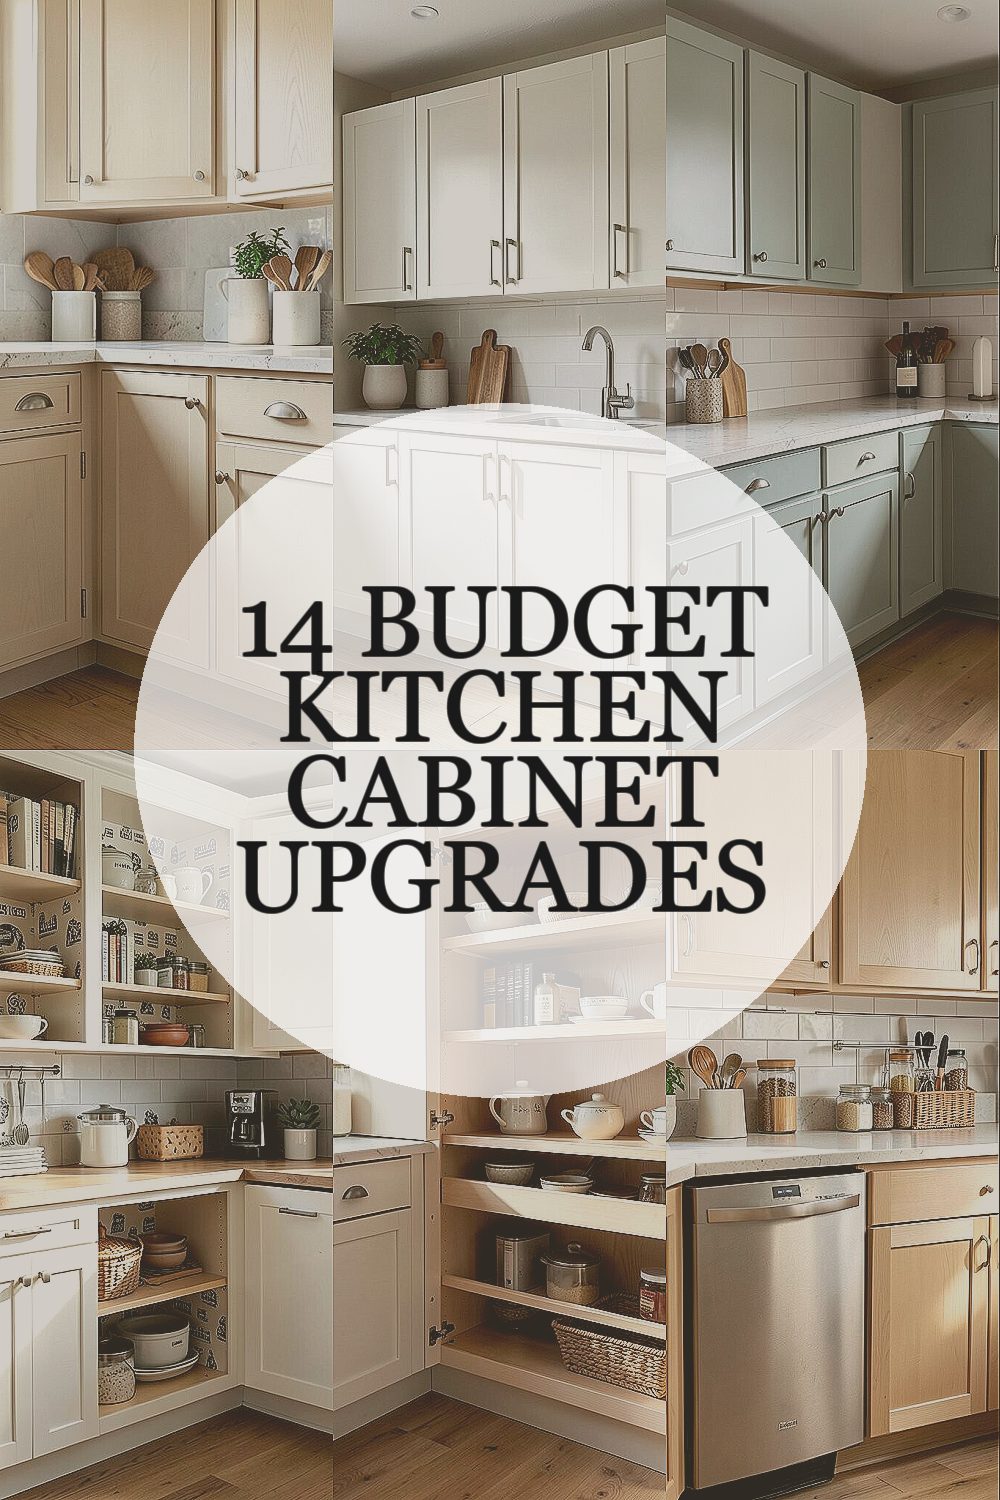
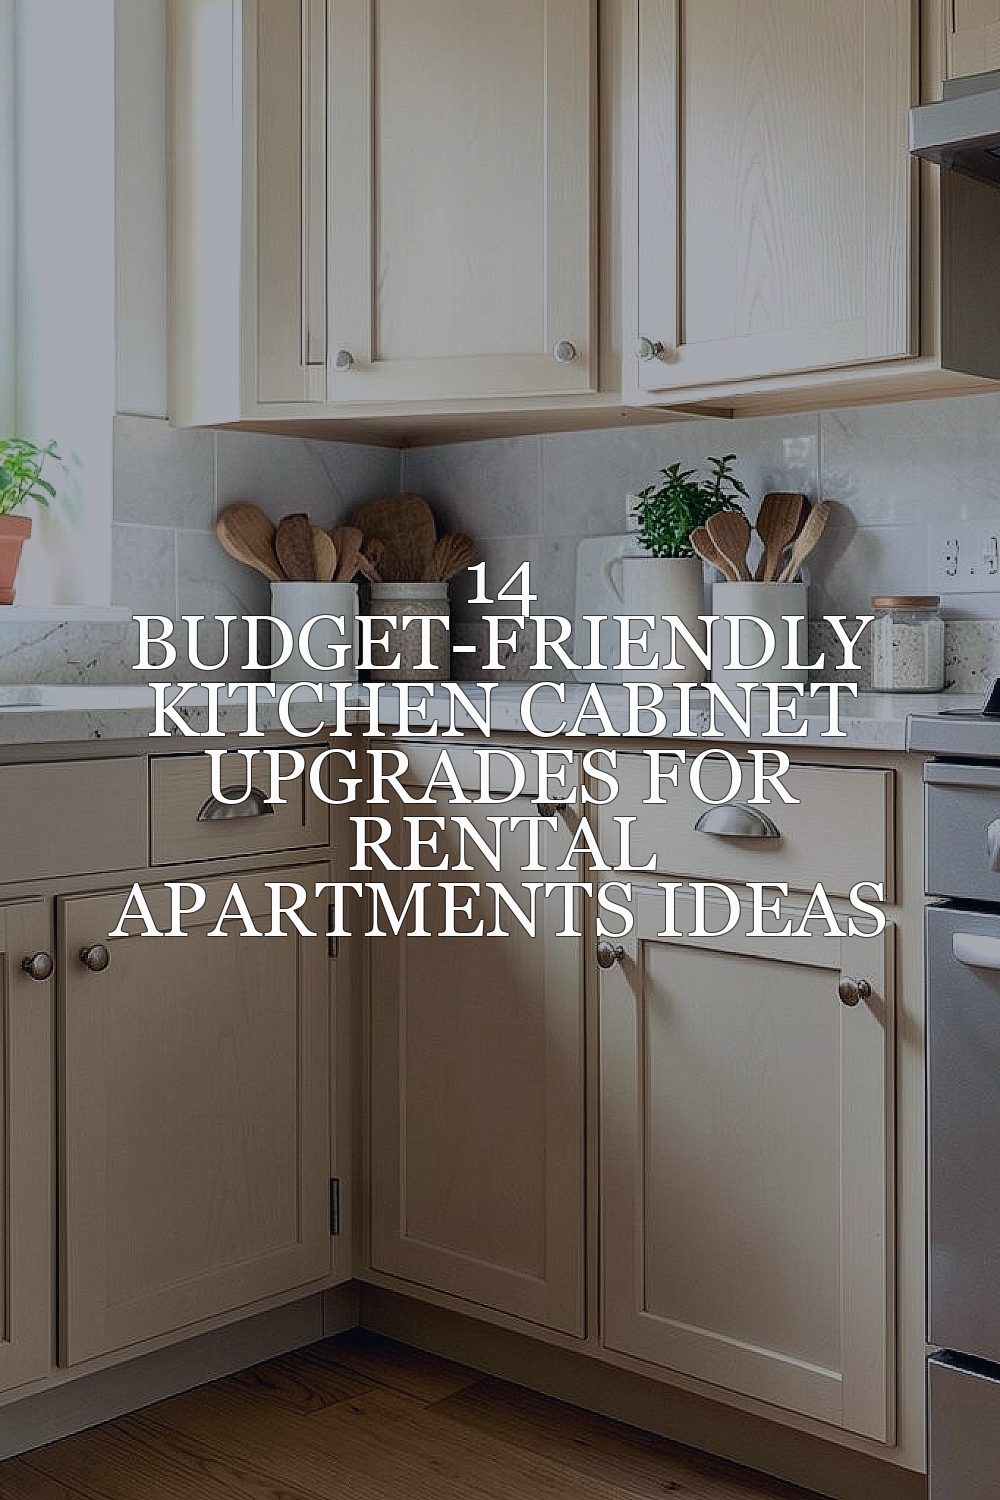
Small changes can make your cabinets look brand new. The best part is you can do it without upsetting your landlord.
You’ll notice the kitchen feels brighter, cleaner, and more “you” with upgrades that don’t cost a fortune. Keep reading for practical ideas that still look great in rental spaces.
-
1. Swap Cabinet Hardware for a Fresh Look

Swap Cabinet Hardware for a Fresh Look New knobs and pulls can instantly change the feel of your kitchen. They catch the light and give your cabinets a neat, finished look.
Pick a style that matches your home, like matte black for a modern vibe or brushed nickel for a classic look. For an easy win, stick to one metal finish across all doors and drawers. If your rental allows it, remove the old hardware and save the original pieces so you can reinstall them later.
To keep costs low, shop during sales and check resale apps or big-box clearance sections. You can also choose “universally sized” pulls so you don’t need extra drilling tools. Measure the distance between screw holes first, and test-fit one pull before committing.
Personalize by mixing lengths, using long pulls for drawers and shorter knobs for doors. This small detail makes your cabinetry look intentional instead of random. A popular trend right now is warm finishes, like brushed brass or satin bronze, because they look cozy and not too shiny.
-
2. Add Peel-and-Stick Cabinet Liner for Clean Edges

Add Peel-and-Stick Cabinet Liner for Clean Edges Cabinet liners make shelves look tidy and protected. When you open the door, everything feels brighter and more organized.
Choose liner sheets with a grip backing so they stay in place. Look for styles that mimic marble, wood grain, or woven textures. This is great for renters because you can remove it later without damage.
Cut the liner slightly larger than the shelf and trim it with a sharp craft knife. Use a soft cloth to clean the surface before sticking, since dust can cause bubbles. If your cabinets get a lot of use, consider a liner that resists moisture and is easy to wipe.
For personalization, match the liner to your dish color or countertop look. Try a subtle pattern for a calm feel or a bolder design if you like a playful kitchen. A trend that stays popular is “textured neutrals,” which makes everything look more high-end.
-
3. Paint Small Areas with a Repair-Friendly Cabinet Color

Paint Small Areas with a Repair-Friendly Cabinet Color A cabinet refresh doesn’t have to cover every door. Painting just the inside frames or a few accent doors can still look big and bold.
Use painter’s tape carefully and choose a cabinet paint or bonding primer made for kitchen surfaces. If you are worried about damage, do a test spot first on a hidden area. This upgrade can hide old stains and make your kitchen feel newer.
Pick a color that supports your space, like soft off-white for a light look or gentle sage for a calm vibe. Popular “rental-friendly” style choices include creamy whites and warm greige tones. To keep it budget-friendly, buy a small sample can, then go bigger only if you love it.
Personalize with a two-tone idea: paint the cabinet interiors one color and the doors another. This gives your kitchen a designer look without the full project. Keep costs down by using foam rollers for smooth coverage and touching up with a small angled brush.
-
4. Use Contact Paper on the Inside Shelves and Cabinets

Use Contact Paper on the Inside Shelves and Cabinets Contact paper is an easy way to make worn shelves look fresh. You can see the difference the moment you open the cabinet door.
Pick a design that fits your style, such as faux wood for warmth or a simple solid tone for calm. Cut carefully and press down slowly to avoid wrinkles. Since it’s removable, it’s often a renter-friendly choice.
For the best results, clean the surface well and smooth the paper from one side to the other. If your shelves are slightly uneven, use a heat tool on low or a hair dryer to help it lay flat. This also helps edges stick better for everyday use.
Personalize by matching contact paper to your kitchen towels or placemats. A trending option is subtle, matte patterns that do not look flashy but still add depth. If you want a “boutique” feel, choose a stone or tile-style print.
-
5. Install Removable Cabinet Shelf Risers
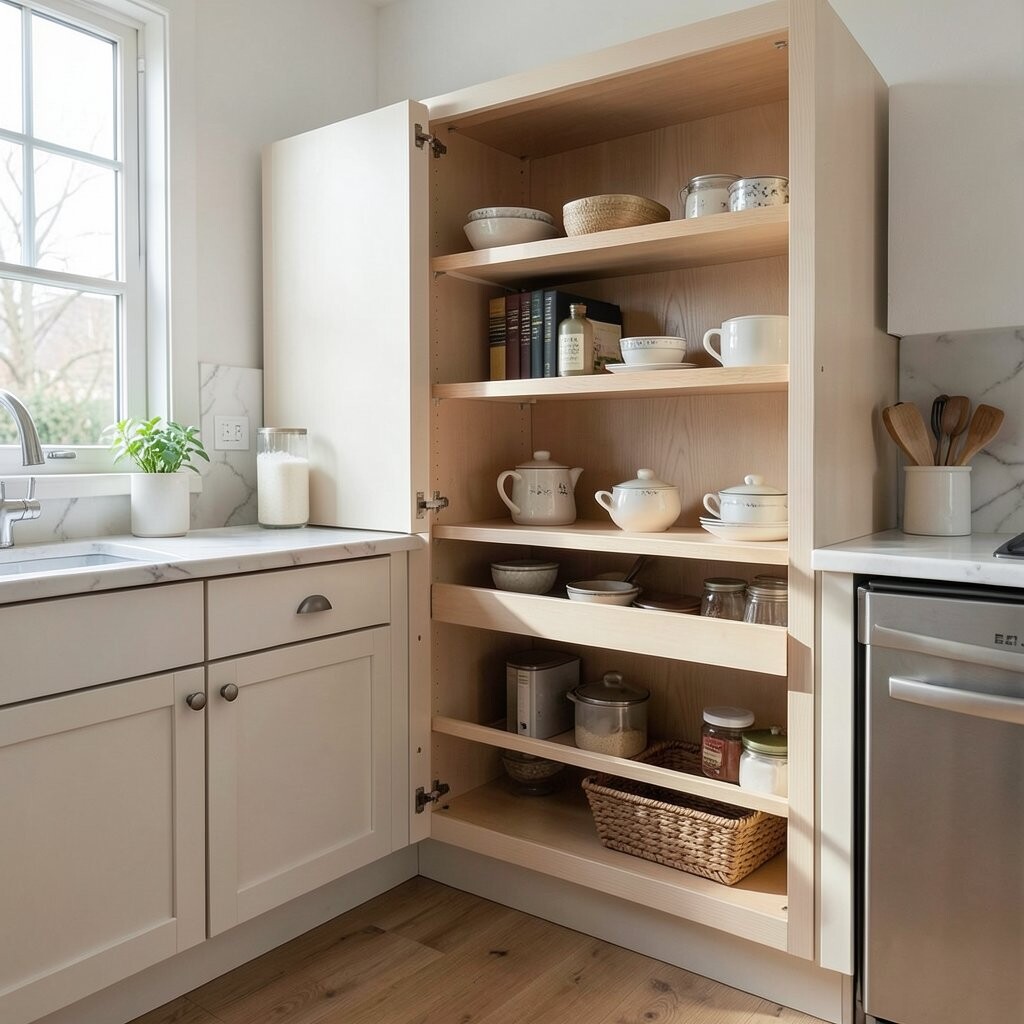
Install Removable Cabinet Shelf Risers Shelf risers bring instant order to a messy kitchen. They create “zones” for mugs, cans, and jars, so your cabinets look more organized.
Choose risers that fit your shelves tightly so they don’t wobble. Look for clear options if you want a lightweight, airy feel, or wood-tone pieces for warmth. This helps you see what you have, which cuts down on duplicate items.
To keep it budget-friendly, measure before buying and use what you already own. You can also repurpose sturdy risers from other rooms if they fit your shelf width. A small upgrade like this can also reduce cabinet clutter and make cooking feel easier.
Personalize by labeling baskets with chalk markers or cute stickers. Pair the risers with matching containers so the inside looks calm and tidy. A current trend is “pantry-style cabinetry,” where cabinets look like organized stores rather than storage bins.
-
6. Add Magnetic Knife Strips or Spice Rails (No Wall Drilling)

Add Magnetic Knife Strips or Spice Rails (No Wall Drilling) Your kitchen cabinets hold more than dishes. Adding a rail system helps you use space without changing cabinet doors.
Magnetic knife strips and removable spice rails can live inside the cabinet door area or along a shelf edge. They keep items within reach and reduce the hunt that happens during busy meals. This upgrade feels modern and saves time every day.
Look for strong magnets or adhesive options designed for renters. If you use an adhesive rail, clean the surface and test one corner first. For cost control, start with one cabinet and upgrade the items you touch most.
Personalize by grouping spices by cuisine style or heat level. You can label jars with small tags so everything looks neat. A trend people love is “vertical storage,” which makes kitchens feel bigger because you use the height.
When you install, check weight limits so the rail stays secure. Remove it gently later if you need to return the space to its original state.
-
7. Replace Old Hinges with a Soft-Close Kit or Better Alignment

Replace Old Hinges with a Soft-Close Kit or Better Alignment Slow, quiet closing changes how your kitchen feels. Instead of doors slamming, everything moves smoothly and softly.
If your cabinets feel off, start by checking door alignment. Tighten screws, adjust hinges, and fix doors that sag or rub. This can improve the look because doors sit evenly and the gaps look consistent.
For a more noticeable upgrade, consider a soft-close hinge solution made for your cabinet type. Even though it can cost a bit more than knobs, it still may fit a smaller budget if you choose only the most-used cabinets. Always confirm compatibility before buying.
Personalize the experience by upgrading the cabinets near the cooking area first. That way you get the biggest daily comfort. The current trend is “quiet luxury,” and soft-close upgrades match that vibe.
-
8. Add Under-Cabinet LED Lights for a Brighter Cabinet Glow

Add Under-Cabinet LED Lights for a Brighter Cabinet Glow LED lights make your cabinets look like they belong in a showroom. The glow helps you see labels, spills, and corners clearly.
Choose plug-in or battery-powered LED strips to avoid drilling. Stick the light bar to the underside of the cabinets and route the cord neatly along a corner. This upgrade also helps with night cooking and adds a warm atmosphere.
To keep it from looking messy, use small cable clips to guide the wire. If your cabinets are darker inside, add a second strip above or near the shelf line. Budget-wise, LEDs often last a long time, so you save money over frequent bulb changes.
Personalize the mood by choosing warm white for cozy dinners or cool white for a crisp, clean look. A trend that continues is “layered lighting,” where the kitchen feels lit from multiple angles. Even small changes, like one strip, can make cabinets look more expensive.
-
9. Build a Simple Cabinet “Face Lift” with Removable Trim

Build a Simple Cabinet “Face Lift” with Removable Trim Trim can make plain cabinet doors look detailed and custom. It’s like giving the front edges a clean frame.
Use peel-and-stick molding or lightweight trim pieces that won’t require major repairs. Place it along the door edges, then step back and check spacing before pressing fully. This method is renter-friendly and can be removed when you move.
To get a smooth look, measure each door and cut pieces with a careful angle for the corners. If you want a budget boost, reuse trim from other projects and buy only the pieces you need for the cabinet front. Painting the trim after installation can also blend everything together.
Personalize by making one cabinet a “feature door” with extra trim detail. This is a fun trend in kitchens now—one standout element instead of changing everything. Choose a color that matches your walls or counters for a calm, pulled-together look.
-
10. Install Lazy Susans or Corner Organizers for Better Use

Install Lazy Susans or Corner Organizers for Better Use Corner cabinets can become storage black holes. A lazy Susan or corner organizer brings items back into view.
This upgrade is more functional than flashy, but it still makes cabinets look smarter. When shelves are easier to reach, you keep them cleaner and less cluttered. That “clean” look often reads as “updated,” even without major changes.
Look for models that fit your corner space and hold the right weight. Measure the cabinet base width and height before buying. If you need to avoid drilling, choose units that sit securely with non-slip pads.
Personalize by using clear bins for small items like packets, snacks, or baking supplies. Labels help you return things to their spot, which keeps the cabinet looking fresh. A trend is combining functional organizers with pretty containers for a balanced style.
Cost considerations matter here, so focus on one corner cabinet first. That way you get the biggest daily benefit without overspending.
-
11. Add Cabinet Door Liners or Felt for a Softer Interior

Add Cabinet Door Liners or Felt for a Softer Interior Your cabinet doors can hide scratches and worn spots. Adding liners to the inside can protect surfaces and make everything feel softer.
Felt liners are especially good for delicate items, like glassware and small jars. They help reduce noise when doors close and keep items from sliding. Choose colors that match your kitchen mood—cream, gray, or warm taupe look great in most spaces.
To install, cut the liner to size and use adhesive that’s meant for removable installs. Press the liner flat and trim edges so they look neat. This upgrade can be surprisingly affordable compared to painting or full replacement.
Personalize by adding a contrasting strip at the bottom so the inside looks styled. A trend right now is mixing textures, like pairing smooth contact paper with soft felt liners. This makes the inside feel intentional, not improvised.
-
12. Use Cabinet Wrapping Film on the Doors (Rent-Friendly Style)

Use Cabinet Wrapping Film on the Doors (Rent-Friendly Style) Wrapping film can give cabinets a new surface without traditional painting. It’s a popular choice because it can be removed later.
Look for high-quality vinyl film meant for cabinets or furniture. Choose finishes like matte, satin, or “wood look” patterns that mimic real grain. Matte films hide fingerprints and small smudges, which is great for daily life.
For best results, clean the doors well and work slowly, smoothing as you apply. Remove air bubbles by gently pressing or using a plastic smoothing tool. If your cabinets have shiny clear coats, make sure the film is compatible before committing.
Personalize by pairing wrapped doors with updated hardware in a matching metal tone. This combo usually looks like a full remodel, but it’s much more budget-friendly. A trend that keeps showing up is warm white with subtle texture, which makes cabinets feel clean and calm.
-
13. Create a Statement with One Accent Cabinet or Glass Insert Look

Create a Statement with One Accent Cabinet or Glass Insert Look One eye-catching change can make the whole kitchen feel updated. You don’t need to redo every door to get a “wow” moment.
Pick one cabinet to style differently, like the one near coffee or snacks. You can add a faux glass effect using decorative film on the inside back panel. Or you can style the inside with uniform bins and a clear view so the cabinet looks like a display shelf.
For personalization, match the accent to your personality: a simple black accent looks modern, while a light wood pattern feels cozy. This approach helps you spend money where it matters most. It also fits rental life because you can keep the changes reversible.
Cost-wise, focus on one area to avoid paying for materials you won’t use. Trends favor “intentional asymmetry,” where one element stands out and the rest stays simple. It looks curated, not accidental.
-
14. Organize with Drawer Inserts and Clear Containers for a Premium Feel

Organize with Drawer Inserts and Clear Containers for a Premium Feel Even the most basic cabinets can look high-end with great organization. When drawers are neat, everything looks calmer and more cared for.
Use drawer inserts for cutlery, dividers for utensils, and small bins for baking tools. Clear containers work well because you can see what you need without pulling everything out. This upgrade also reduces time during cooking, which is a daily win.
To keep costs low, start with your top-used drawer and build from there. Reuse containers you already own, then add inserts that match their size. If your drawers are uneven, choose flexible inserts or modular sets that can adjust.
Personalize the look with matching colors or simple labels. A popular trend is using neutral bins with handwritten tags for a warm, homey style. This kind of setup makes renters kitchens look “designed,” even when the cabinets stay the same.