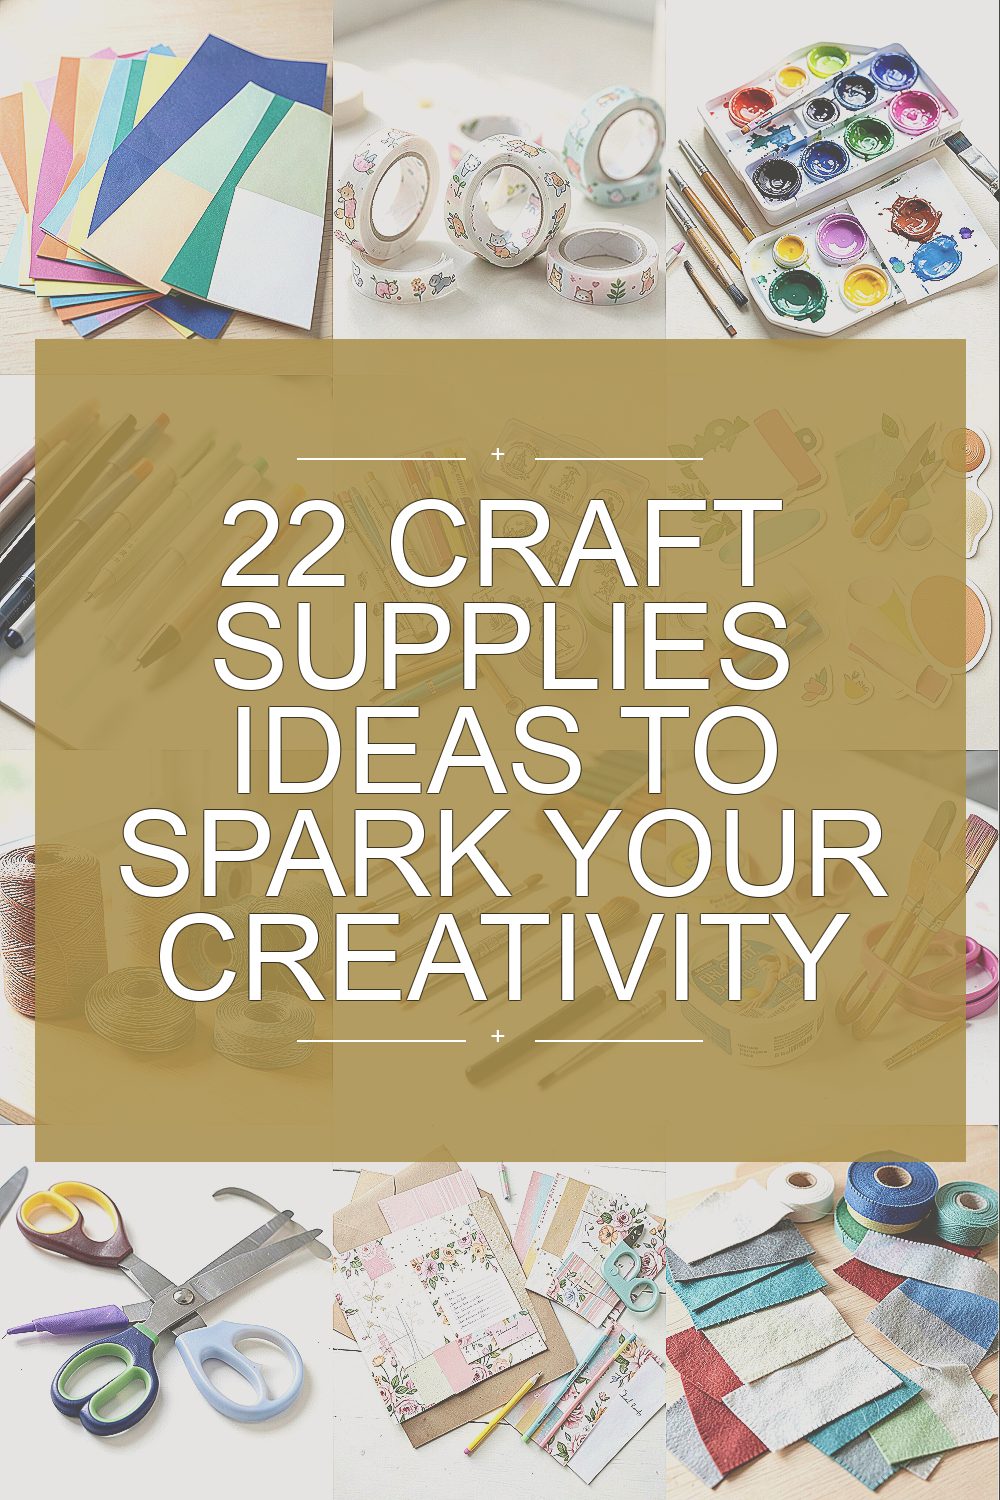
Colorful ideas wait inside everyday things. Grab a few supplies and your imagination will start talking back.
Today’s list is full of creative tools you can use right away. Each pick has practical tips, budget thoughts, and fun ways to make it yours.
1. Colored Cardstock Pack
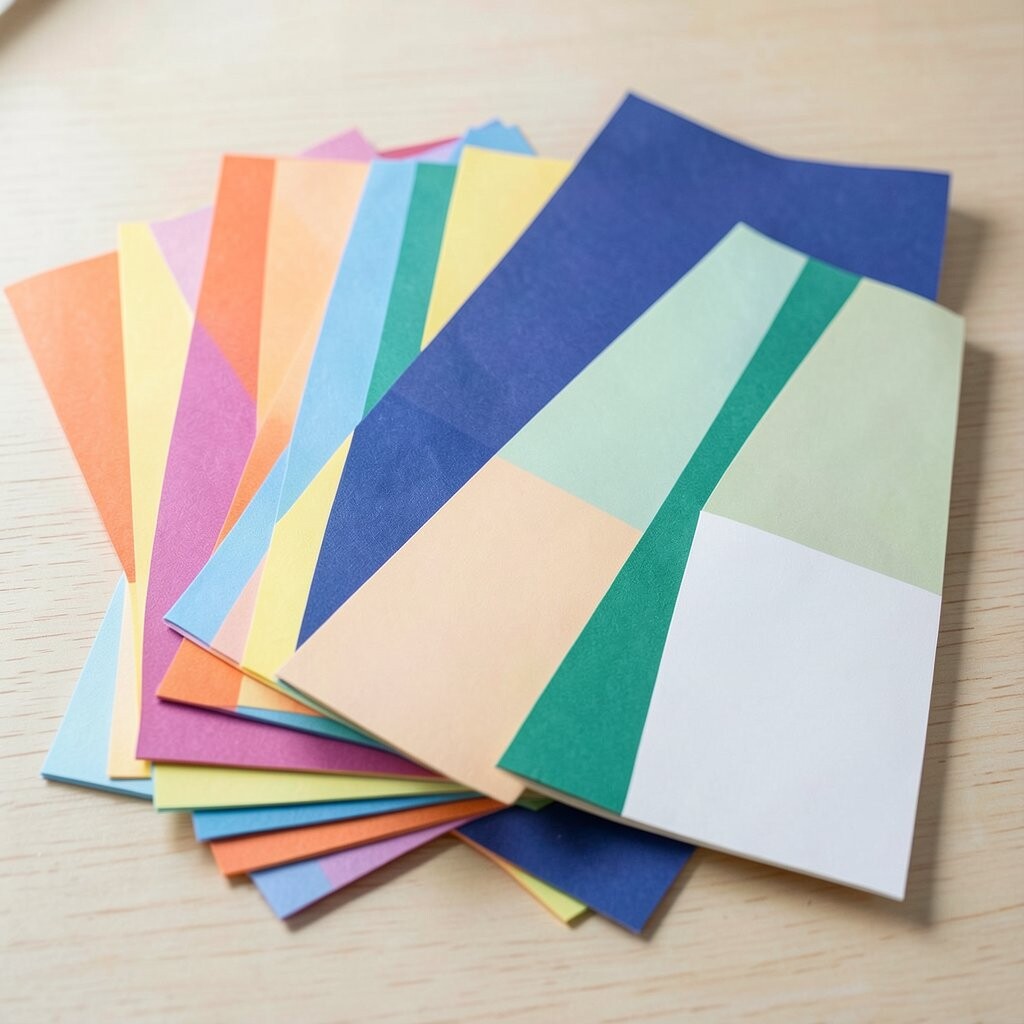
Colored cardstock feels smooth and sturdy when you hold it. It comes in lots of shades, like sunset oranges and ocean blues.
Use it for greeting cards, simple book covers, and collage backgrounds. The thicker paper helps your art look clean instead of droopy. If you want extra fun, cut shapes and layer them for a “sticker” look without buying stickers.
2. Washi Tape With Cute Prints
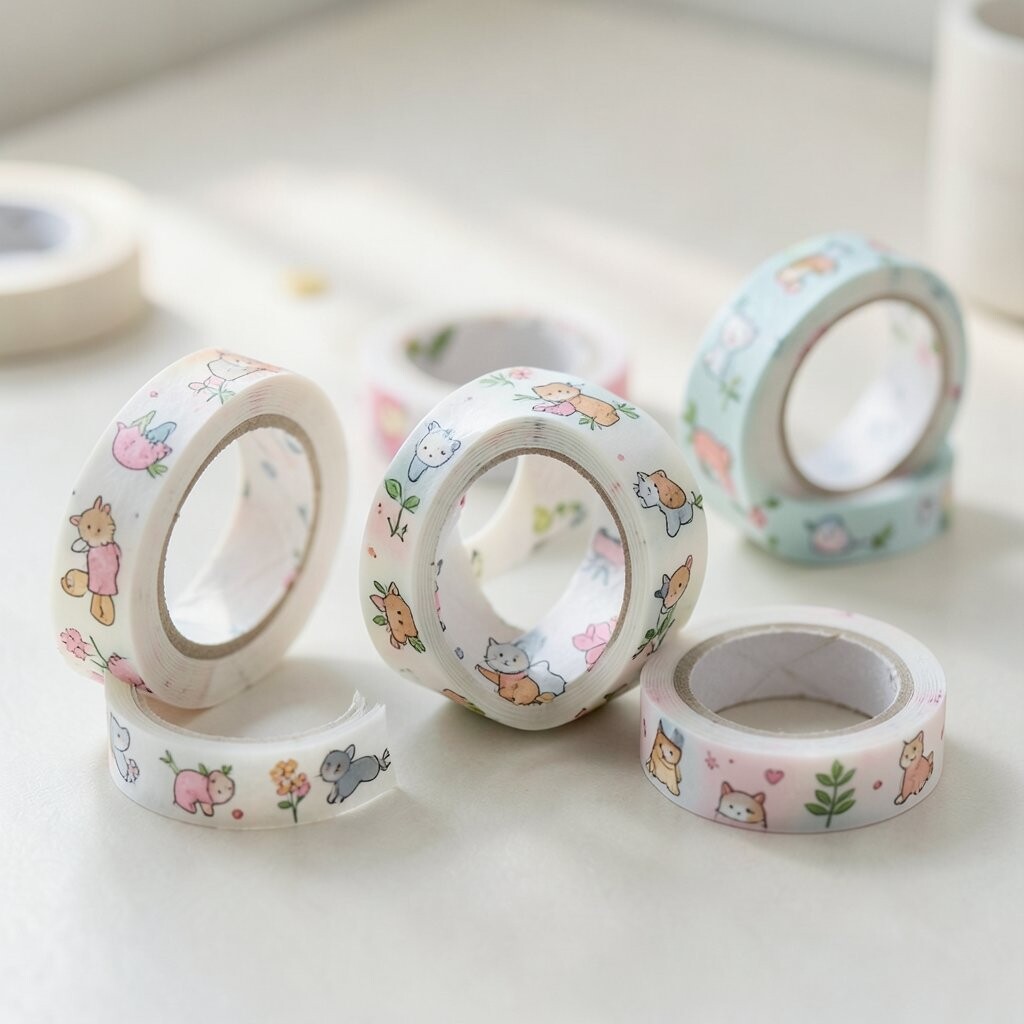
Washi tape looks like thin ribbon made of paper. It comes in tiny patterns that instantly make crafts look playful.
Try using it to decorate jars, label storage boxes, or frame a small drawing. It sticks gently, so it’s friendly for kids and beginners. For personalization, combine a few tapes to match your favorite colors or theme, like stars, fruit, or vintage stripes.
Budget tip: you can buy one small roll and use it as a “border” on many projects. In current trends, people love tidy, tape-framed layouts for journaling and handmade planners.
3. Acrylic Paint Set
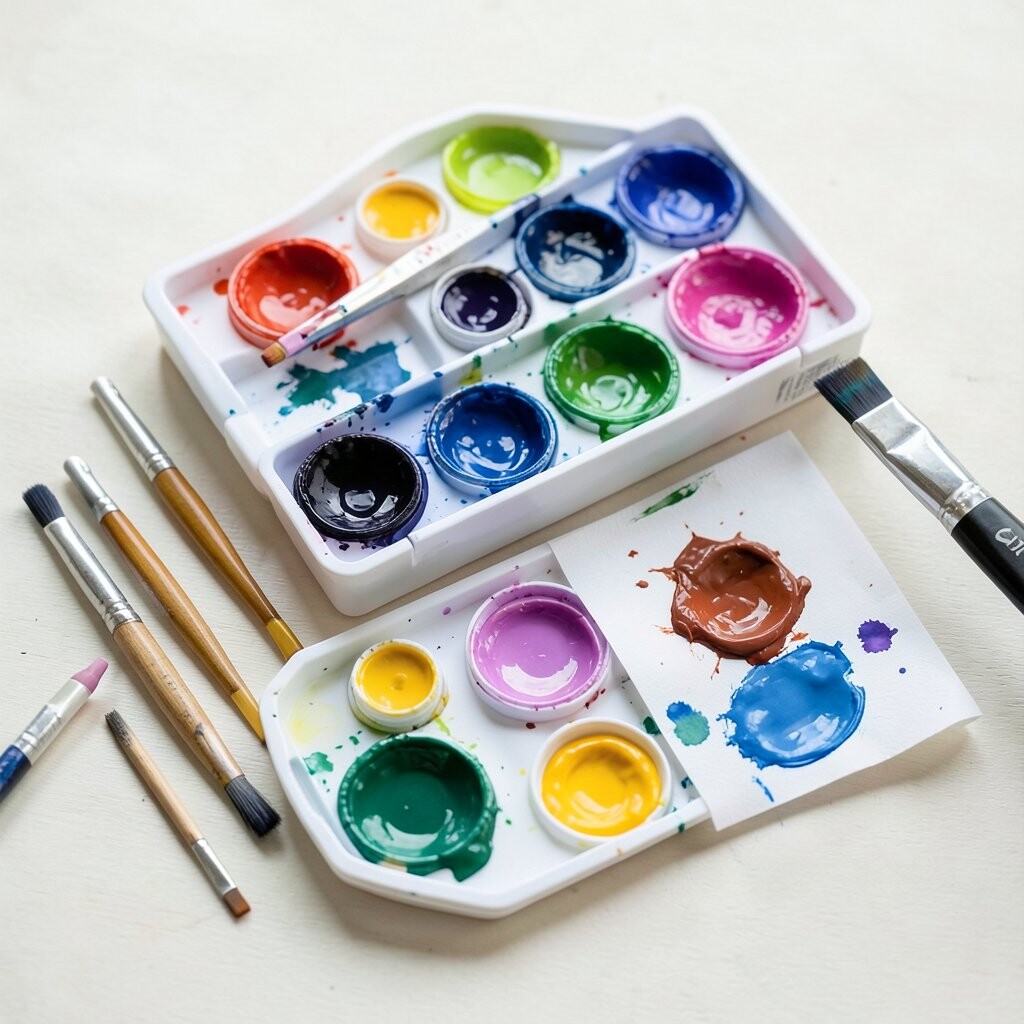
Acrylic paint is bold, creamy, and quick to dry. When it spreads on paper, it makes crisp shapes that feel satisfying.
Use a small brush for details and a bigger brush for smooth backgrounds. It works on canvas, wood, and cardstock, so you can make lots of different things. If you want uniqueness, mix paint with a tiny bit of water to make soft washes, then add thick strokes on top.
For cost, start with a basic set and focus on mixing colors you need. Many artists now paint “texture first,” layering thick marks, then sanding lightly for a cool finish.
4. Gel Pens for Smooth Lines
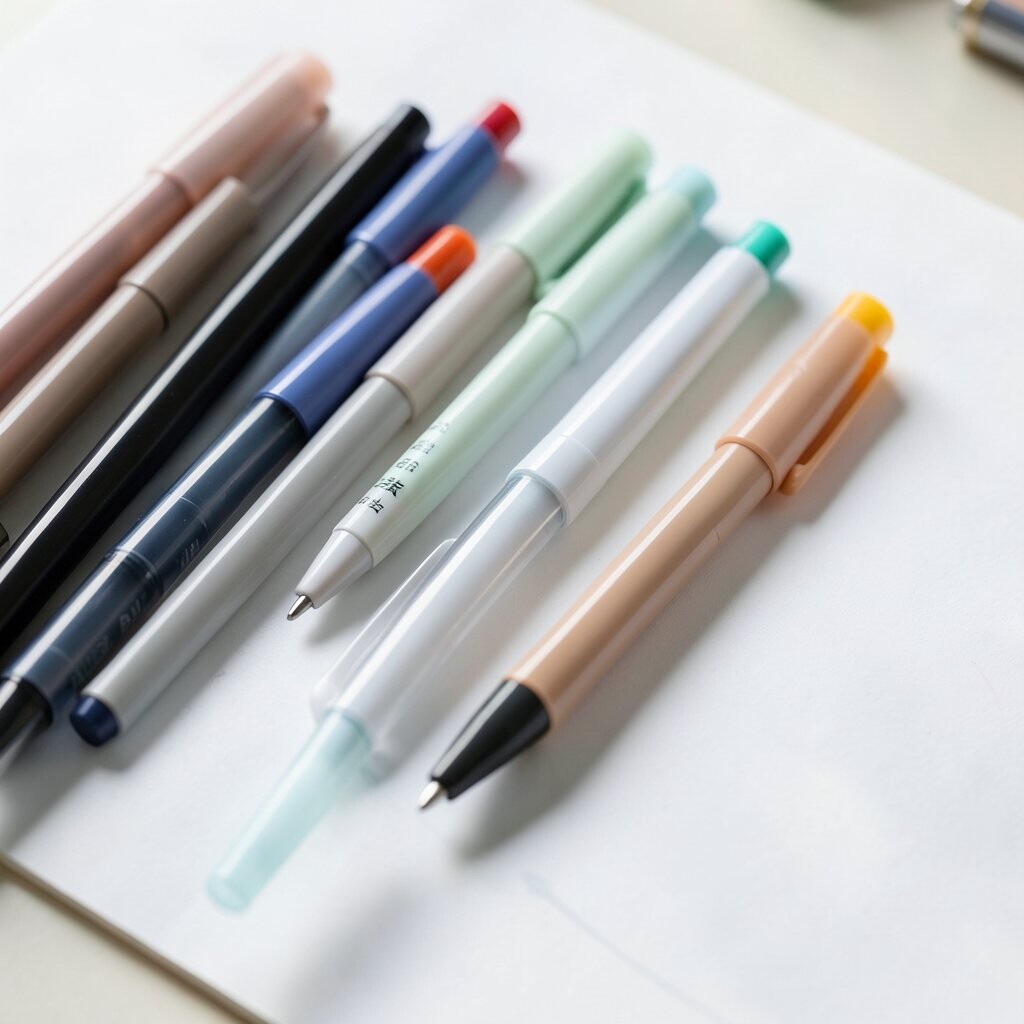
Gel pens glide across paper and leave bright, shiny ink. The lines look neat, even when you write fast.
They’re great for doodling, lettering, and adding highlights to drawings. Try pairing a gel pen with colored pencil so your sketch gets both soft shading and sharp outlines. Personalize by picking one pen color for a “signature” mark on every page.
Cost idea: buy a small set and use them for accents rather than covering full pages. A current trend is “shine details,” where tiny gel-pen stars or sparkles make art feel magical.
5. Stamps and Stamp Pads
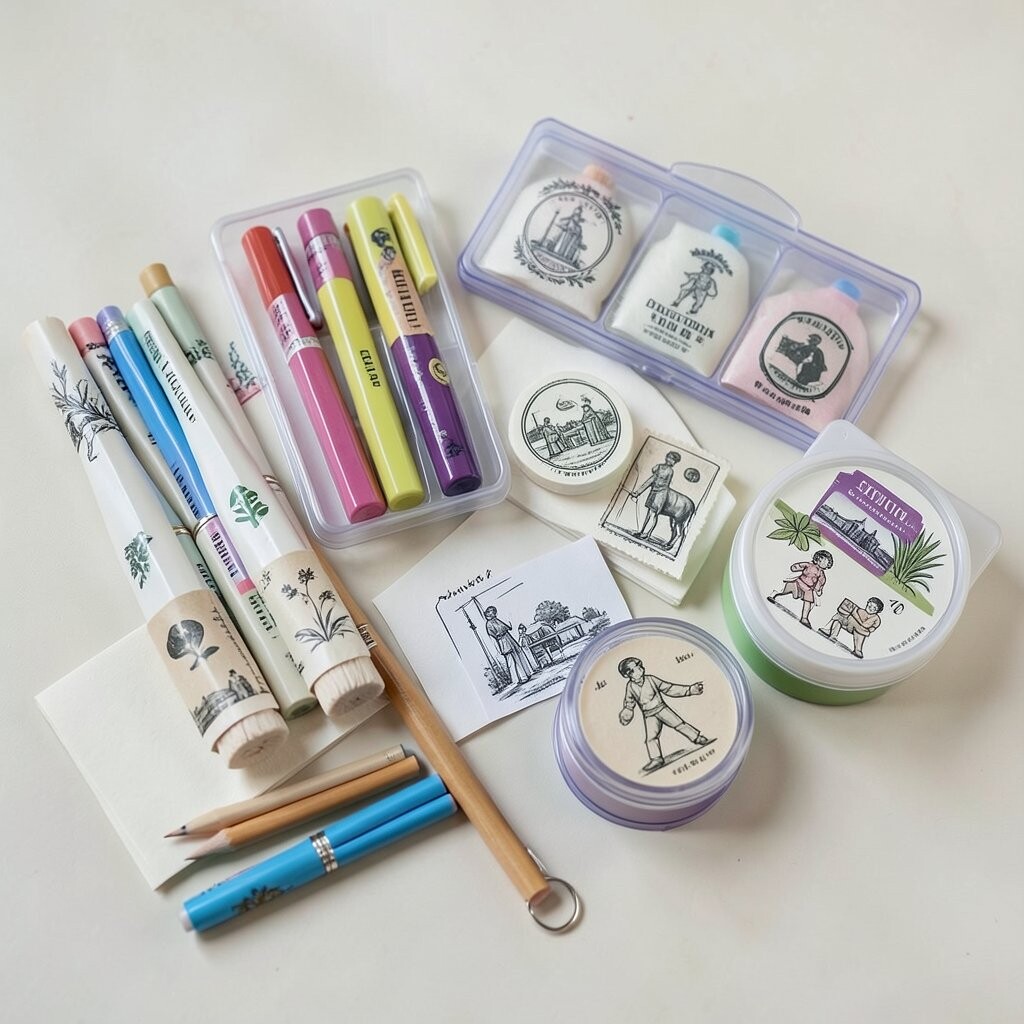
Stamps turn simple paper into something patterned and alive. The shapes can be hearts, leaves, animals, or tiny icons.
Use stamps on cards, gift wrap, and handmade labels. They help you make repeat patterns without drawing everything from scratch. Personalization tip: create a “stamp playlist” by using the same stamp style across a whole series of art pieces.
Budget thoughts: many stamp sets are cheap, and you can share supplies with friends. Right now, small “texture stamping” is popular in scrapbooking and journaling.
6. Self-Adhesive Vinyl Stickers
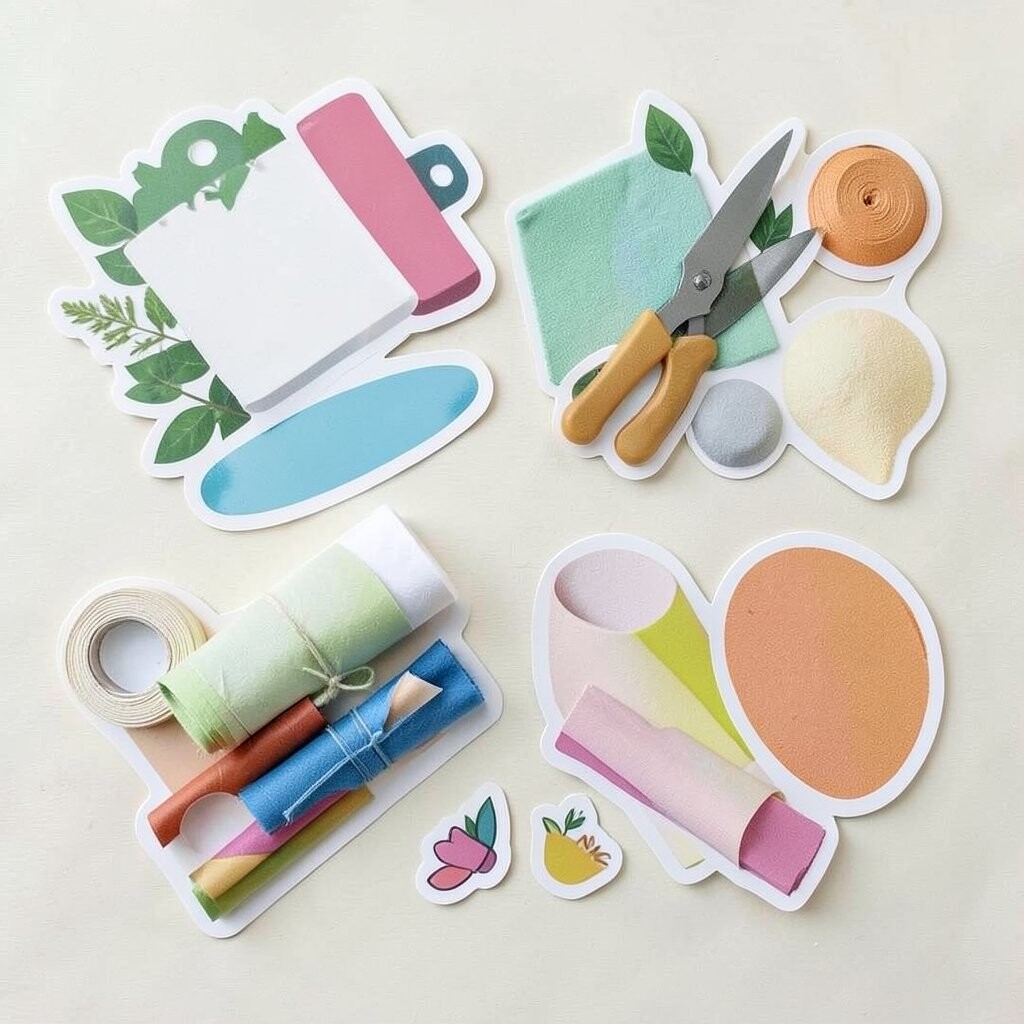
Self-adhesive vinyl stickers look glossy and durable. They stick firmly, so your projects can last longer.
You can decorate water bottles, folders, and notebooks with these. They’re also useful for making stencils, especially if you cut them carefully. For a unique touch, design your own shapes like tiny suns or your initials and place them in a repeating pattern.
7. Craft Wire Rolls
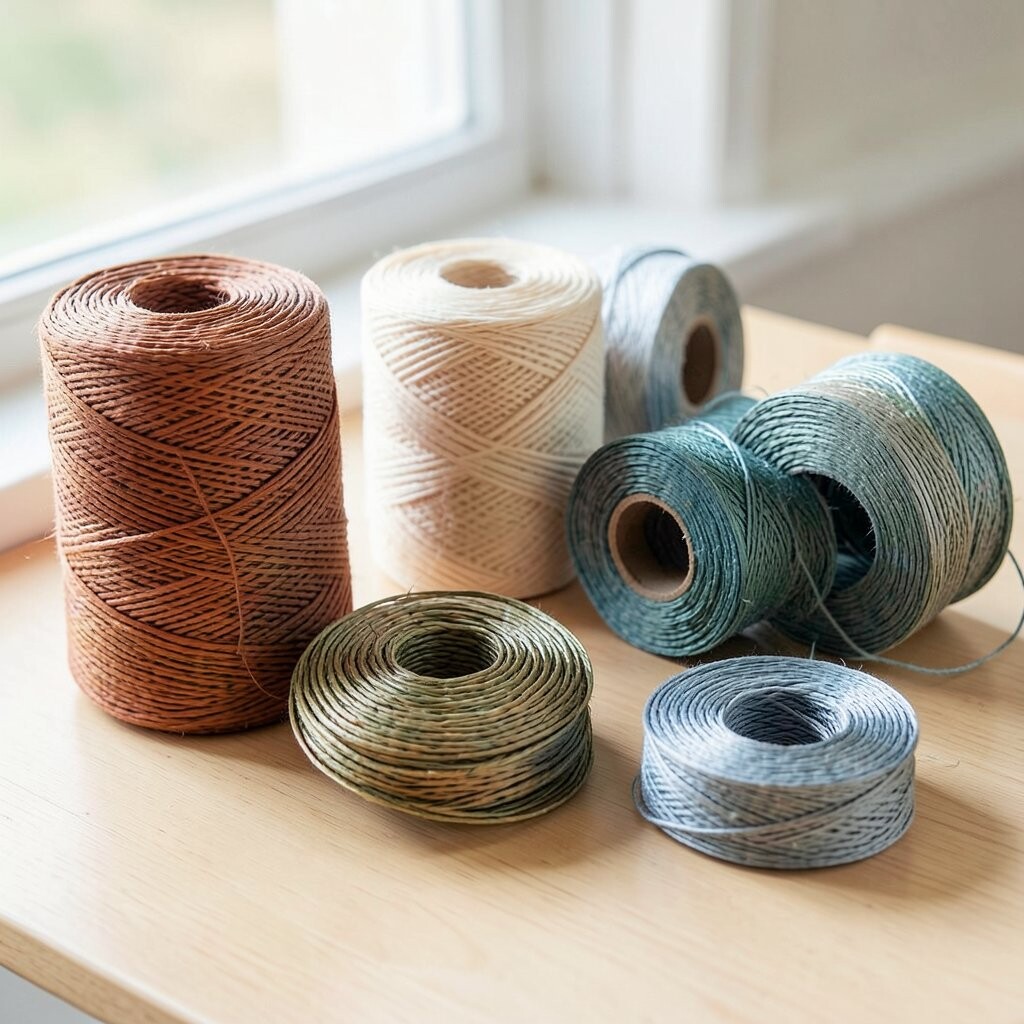
Craft wire is thin, bendable, and full of possibilities. You can shape it into curves that look like lines of music.
Use wire to make jewelry, plant hangers, or small sculpture frames. It’s strong enough to hold shape, and it lets you create airy designs. Personalize by twisting different thicknesses together or bending wire into letters.
Cost considerations: start with one roll and use it for small projects. A trending idea is “wire line art,” where simple wire outlines form portraits, animals, or abstract waves.
8. Miniature Brushes and Tools
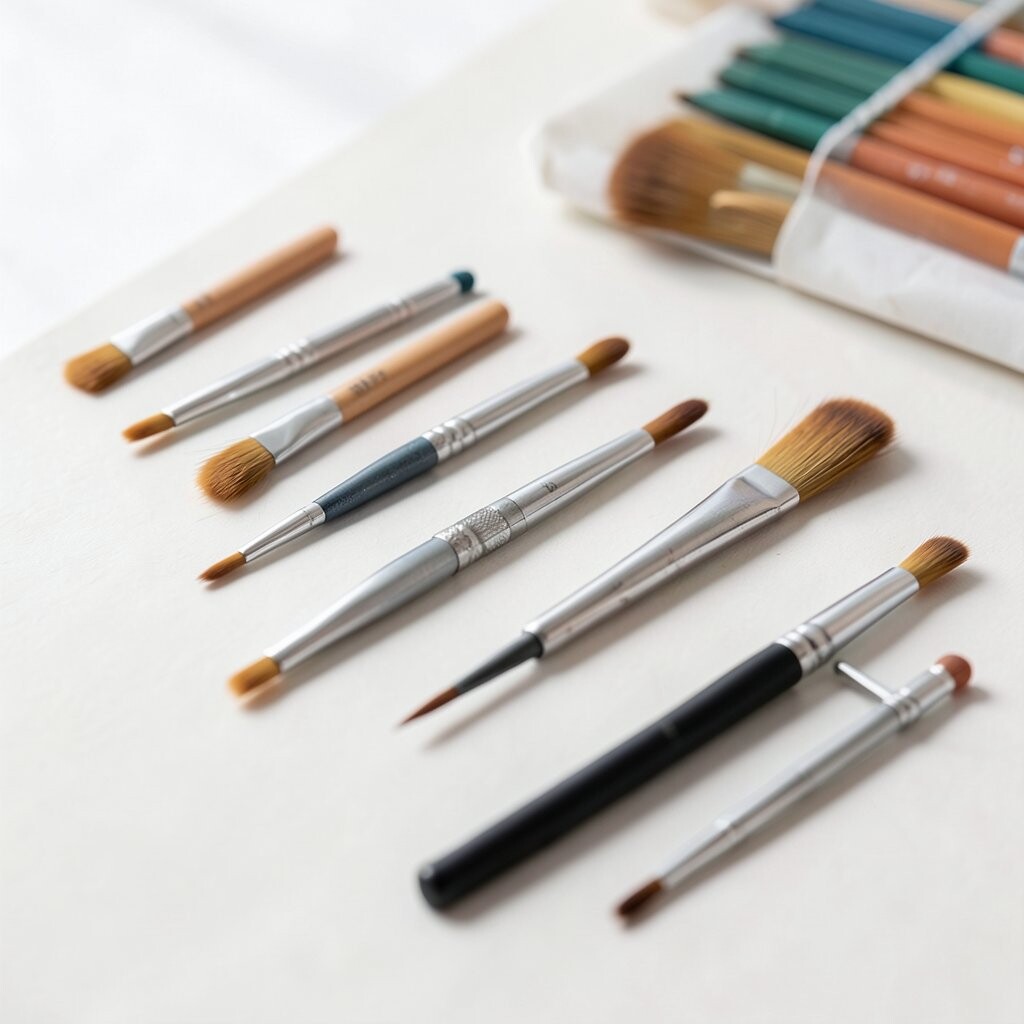
Small brushes feel precise in your hand. They help you paint tiny details like eyes, petals, or texture dots.
Try them for dot art, watercolor-like effects with acrylic, or fine writing. If you do crafts with resin or glue, mini tools help you spread products without mess. For personalization, keep one brush just for highlights so your projects always have a consistent style.
Budget tip: buy one set of good sizes instead of many random tools. Current trend: crafters love micro-detailing, because tiny touches make big art feel special.
9. Mod Podge or Glossy Craft Medium
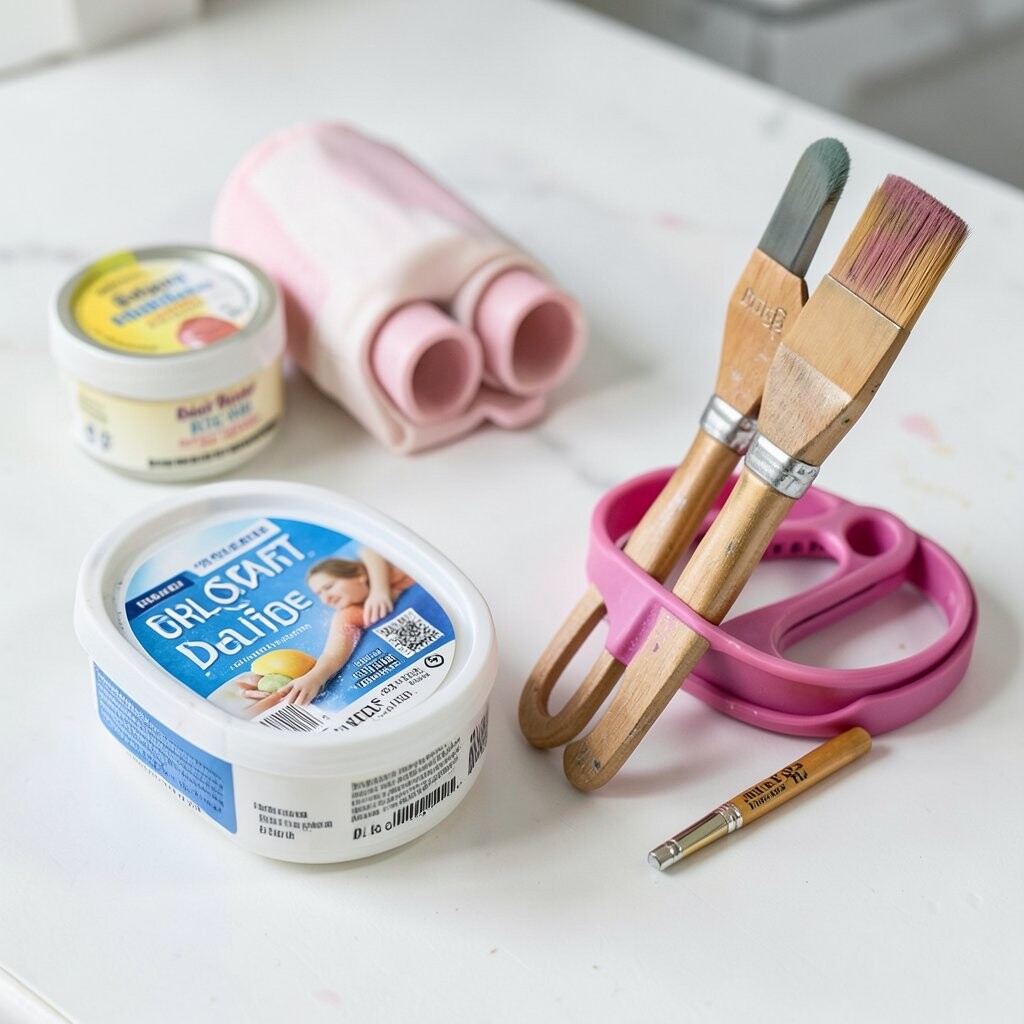
Craft medium turns plain surfaces into shiny, finished works. It looks milky at first, then dries clear.
Use it for decoupage on boxes, trays, and picture frames. It also works as a top coat to protect collages. Personalize by mixing in tissue paper colors, magazine cutouts, or fabric scraps to match your vibe.
10. Scissors With Comfort Handles
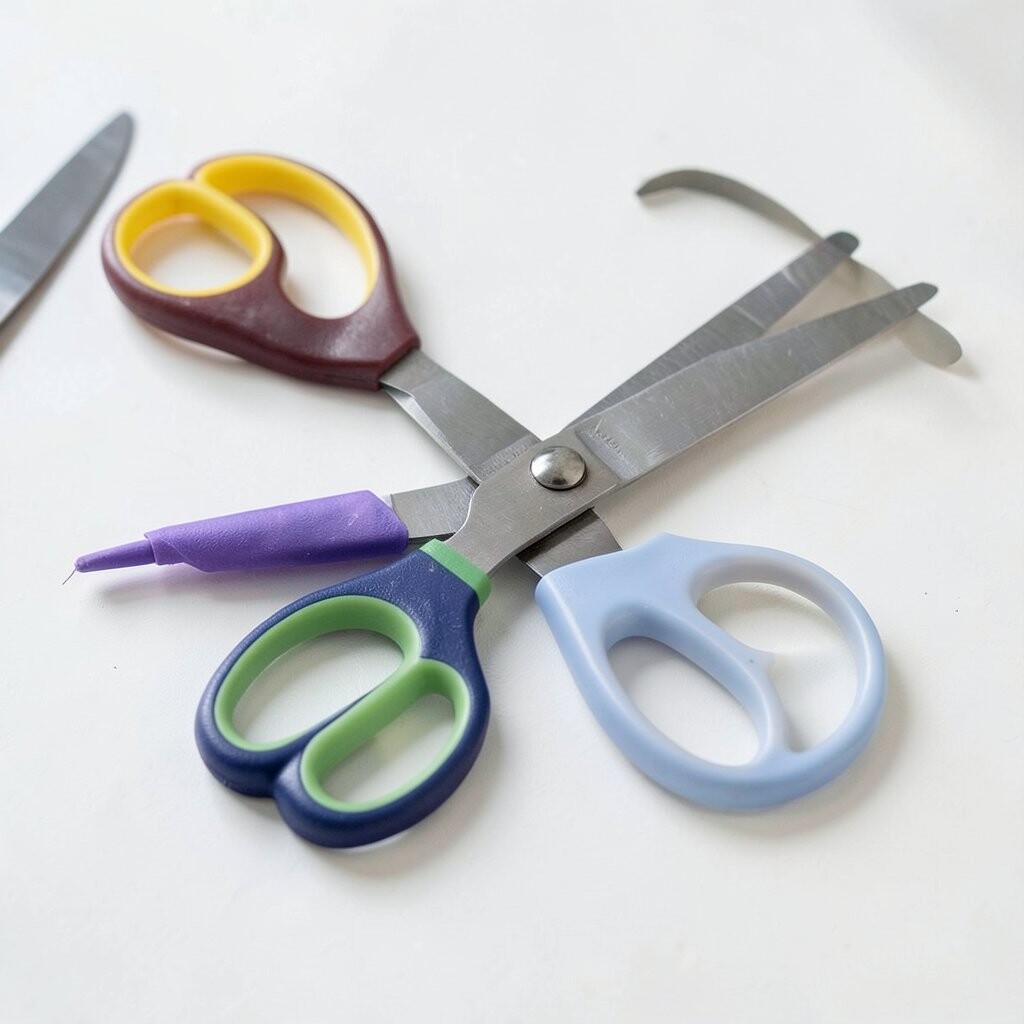
Comfort-handled scissors feel easier to control. Clean cuts make every craft look more professional.
They help for paper crafts, fabric trimming, and even vinyl cutting. Use a sharp blade for neat edges, and try cutting along printed guides for crisp shapes. For personalization, label your favorite scissors with a name tag or decorate the handle with washi tape.
Cost note: a mid-range pair often stays sharp longer. Right now, many people use “craft stations” that keep tools ready, and good scissors are part of that trend.
11. Scrapbook Paper Stash
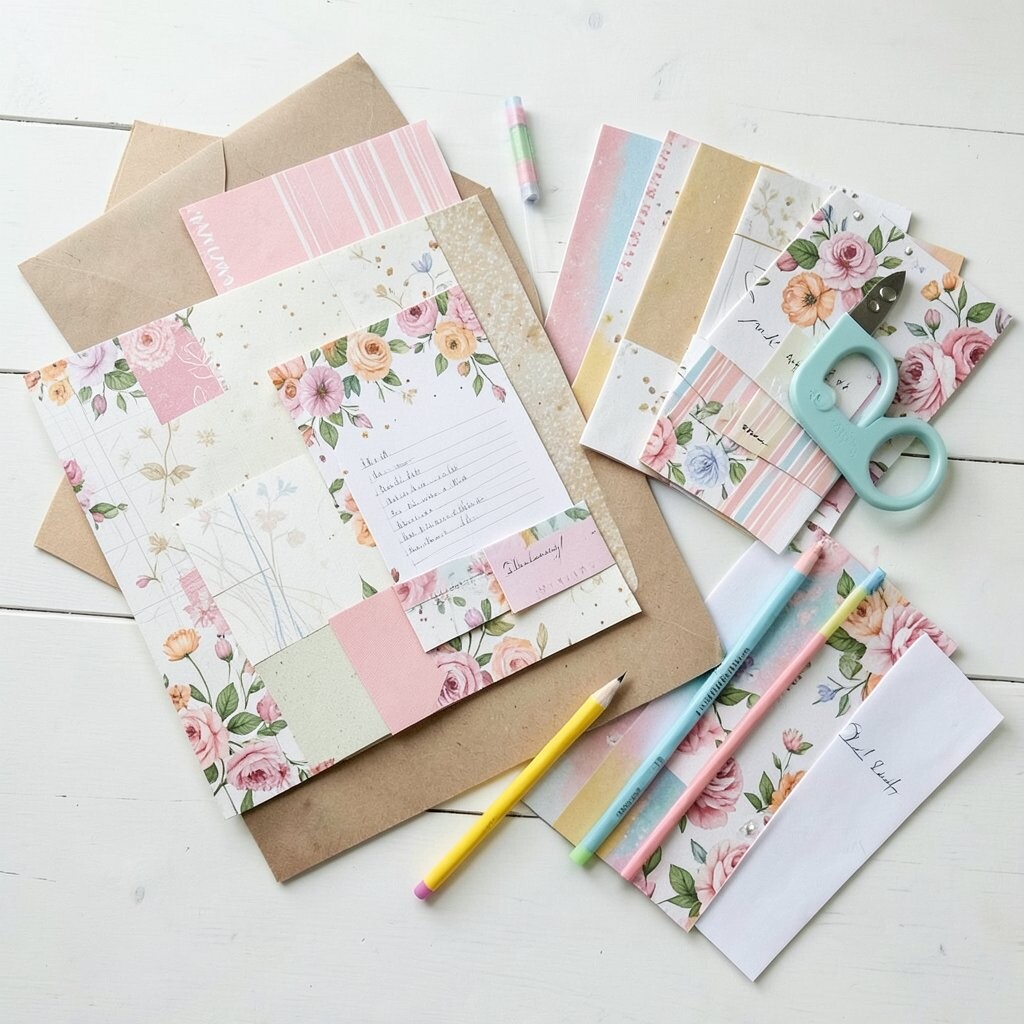
Scrapbook paper feels patterned and ready to use. It brings instant style without you starting from a blank page.
Use it to make mini albums, card layers, and collage backgrounds. The variety helps you match themes like cozy, garden, or holiday. Personalization idea: pick one paper you love and build a whole project around its colors.
12. Fabric Swatches and Felt Pieces
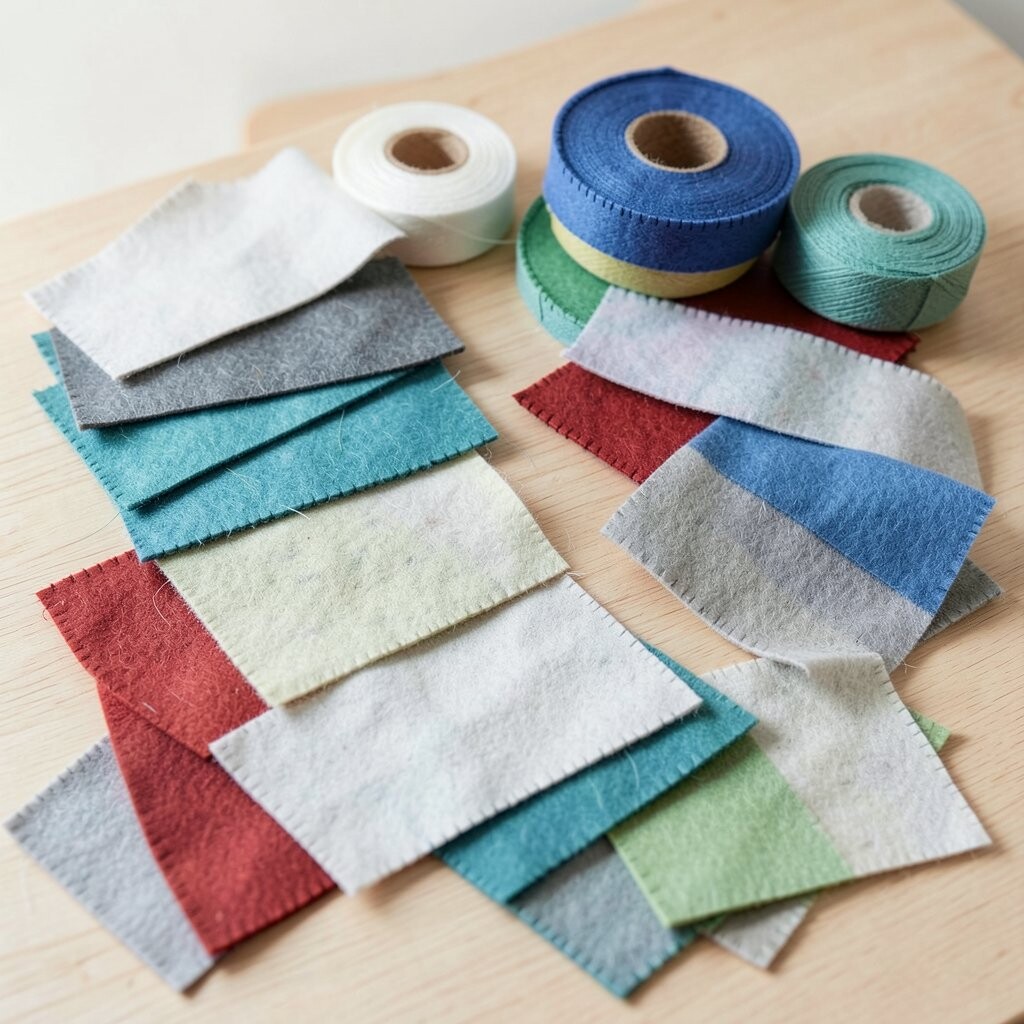
Felt and fabric swatches look soft and inviting. Their textures make crafts feel warm, even on paper projects.
Use felt for simple ornaments, quiet quiet-book pieces, or stitched shapes. Fabric scraps are great for patchwork frames, bookmarks, and tiny pouches. For personalization, choose a color family you love and mix patterns like stripes, dots, and solids.
Cost thoughts: felt is usually affordable, and you can buy small sheets instead of yardage. A current trend is “slow crafting,” where people value fabric texture and handmade stitching over fast, store-bought look.
13. Wreath Forms or Foam Rings

Wreath forms are sturdy circles that give your craft structure. They help you skip measuring and focus on decorating.
Use them with yarn, ribbon, or faux leaves to make a door wreath or wall piece. The ring shape also works for dream catchers or mini hoops. Personalize by adding a small theme, like coastal blues, autumn browns, or winter whites.
14. Yarn in Multiple Textures
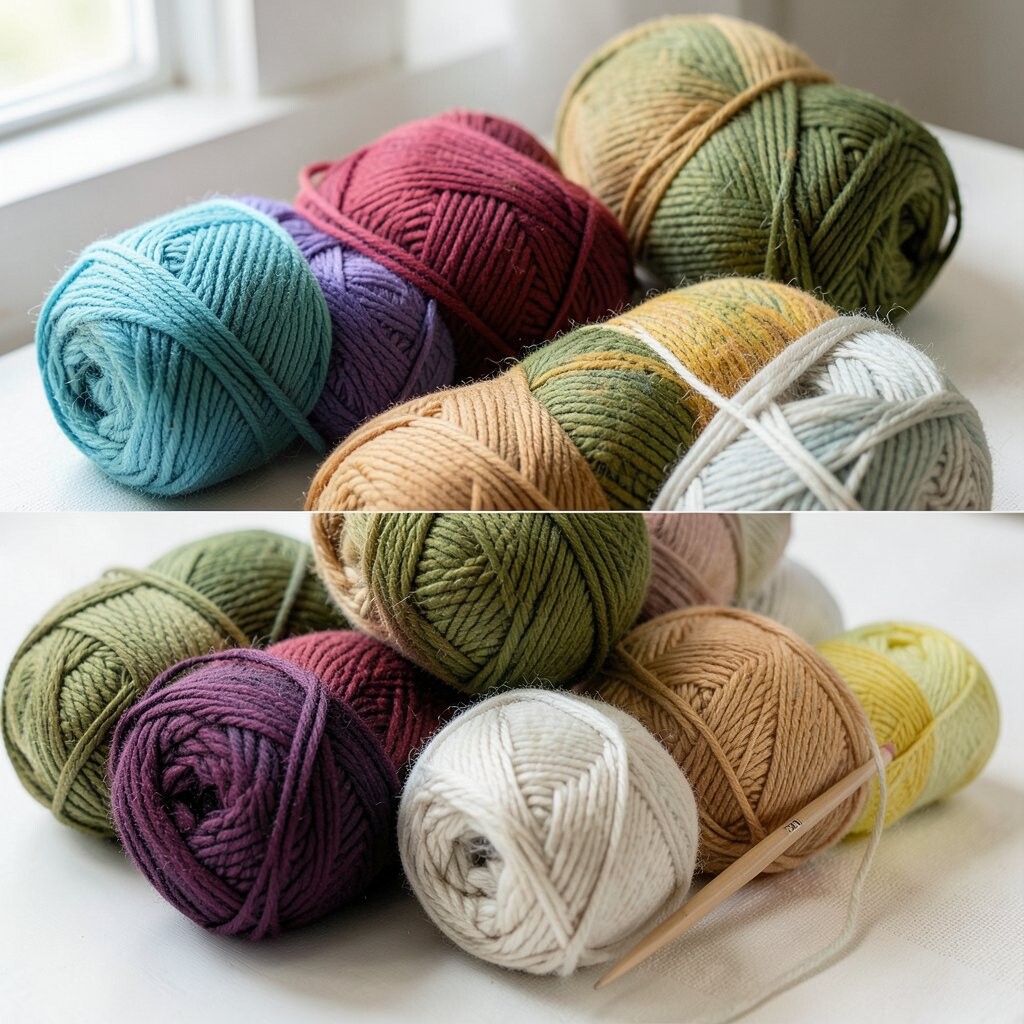
Yarn comes in fluffy, smooth, and bumpy textures. When you wrap it, it creates soft, cozy layers you can see and feel.
Use yarn for pom-poms, wall hangings, and simple string art. It’s also great for covering foam forms or making braided bracelets. For personalization, mix two yarn types, like smooth yarn plus fuzzy yarn, to add contrast.
Budget tip: you can use leftovers for mini projects, so no yarn has to feel wasted. Trends right now include macramé-style hangers and knotted yarn wall décor.
15. Beads and String or Thread
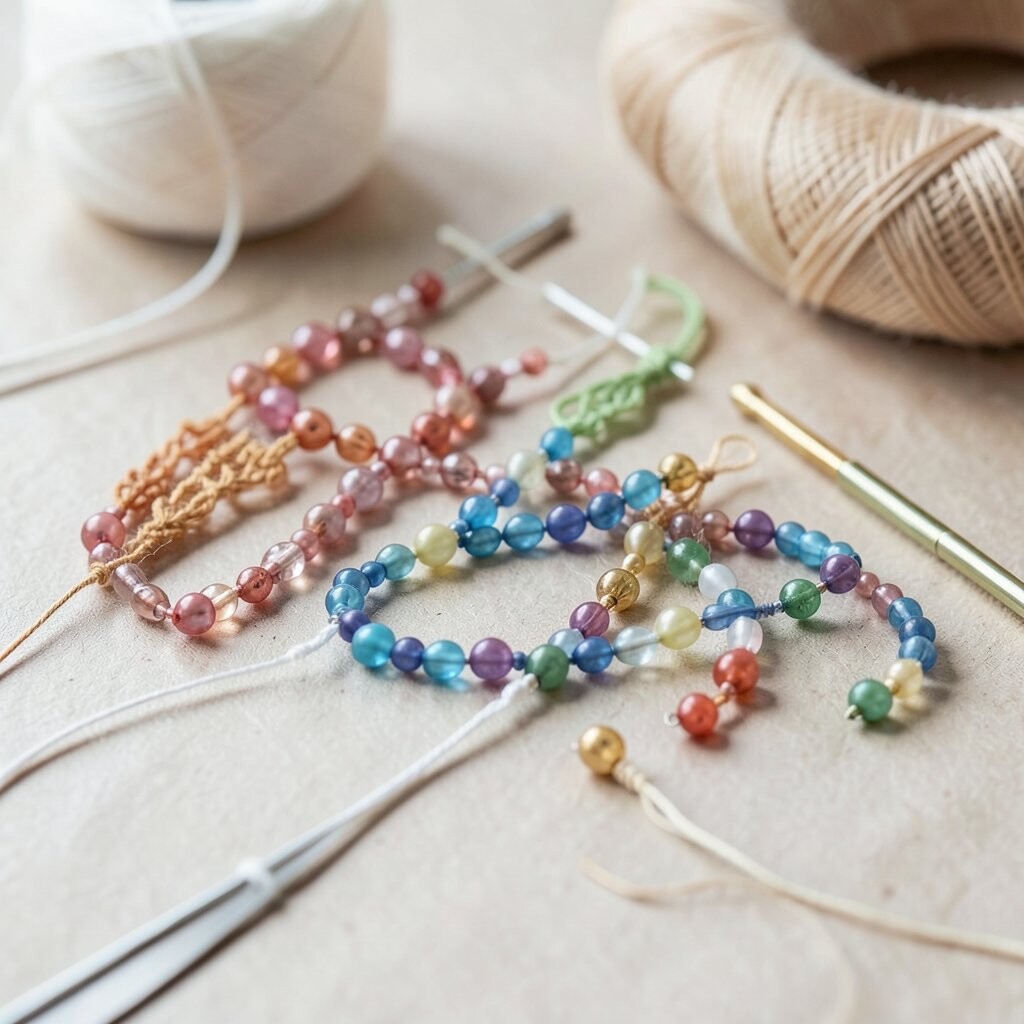
Beads sparkle when you tilt them under light. They can be tiny, colorful dots or big statement shapes.
Use beads to make bracelets, keychains, and charm patterns. String or thin thread keeps it flexible, and it’s easy to fix mistakes. Personalize by selecting a “color code” like your birthstone colors or your favorite sports palette.
Cost considerations: start small with one bead bag and one cord. Many crafters now like “meaning beads,” where each bead represents a memory or goal.
16. Alphabet Stickers or Letter Cutouts
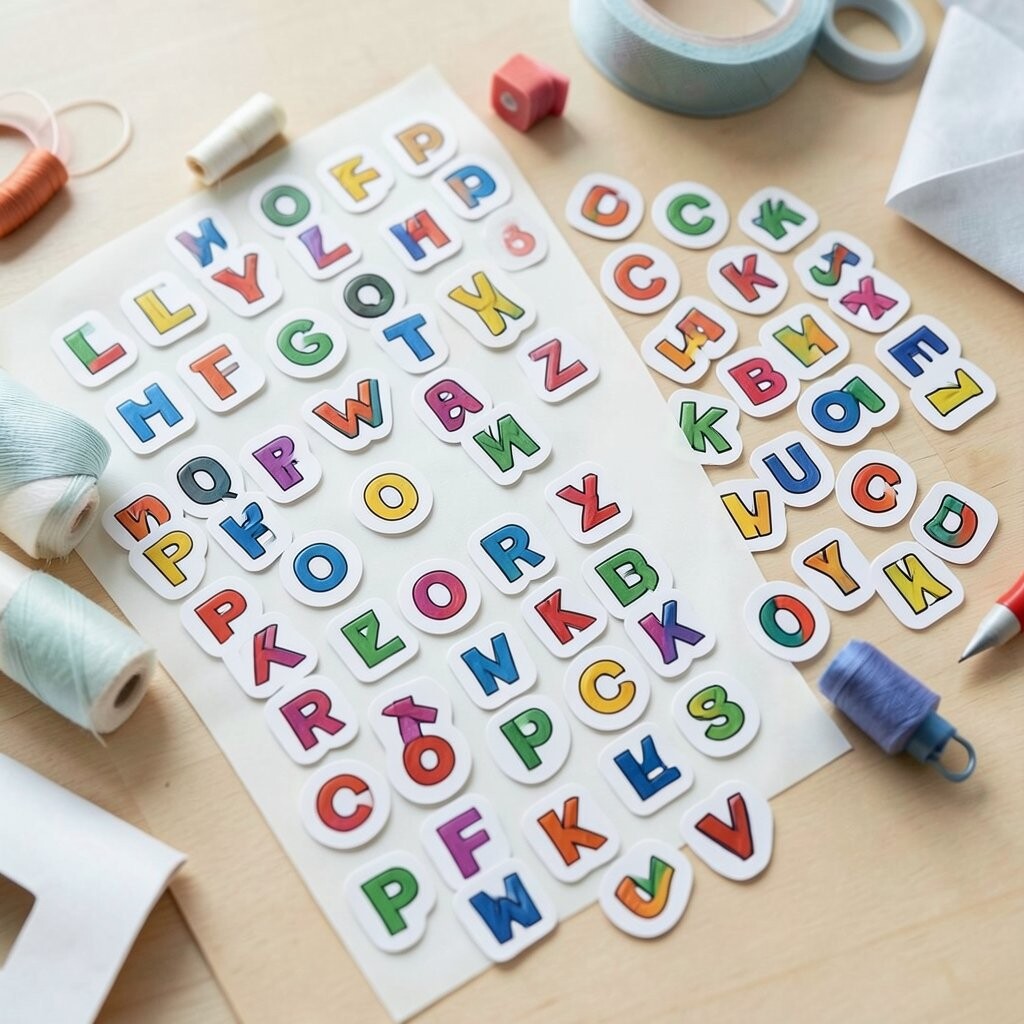
Letter cutouts make your projects look instantly finished. They add personality without needing perfect handwriting.
Use them for labels, card messages, and wall quotes. Choose fonts that match your mood, like playful bubble letters or neat typewriter style. Personalize by arranging words in a curved line or layering letters with a shadow shape.
17. Stencils for Clean Patterns

Stencils feel like reusable guides for your art. You place them down, paint or draw over them, and the pattern pops out clean.
Use stencils on walls, paper, tote bags, and bookmarks. Try paint, ink, or even sponges for different looks. For personalization, use one stencil in many colors, then add your own hand-drawn twist to make it yours.
Budget tip: reusable stencils can last a long time, so they’re worth the upfront cost. A current trend is “one-stencil wonder,” where people keep one design and repeat it across an entire set of crafts.
18. Colored Pencils With a Sharpened Tip
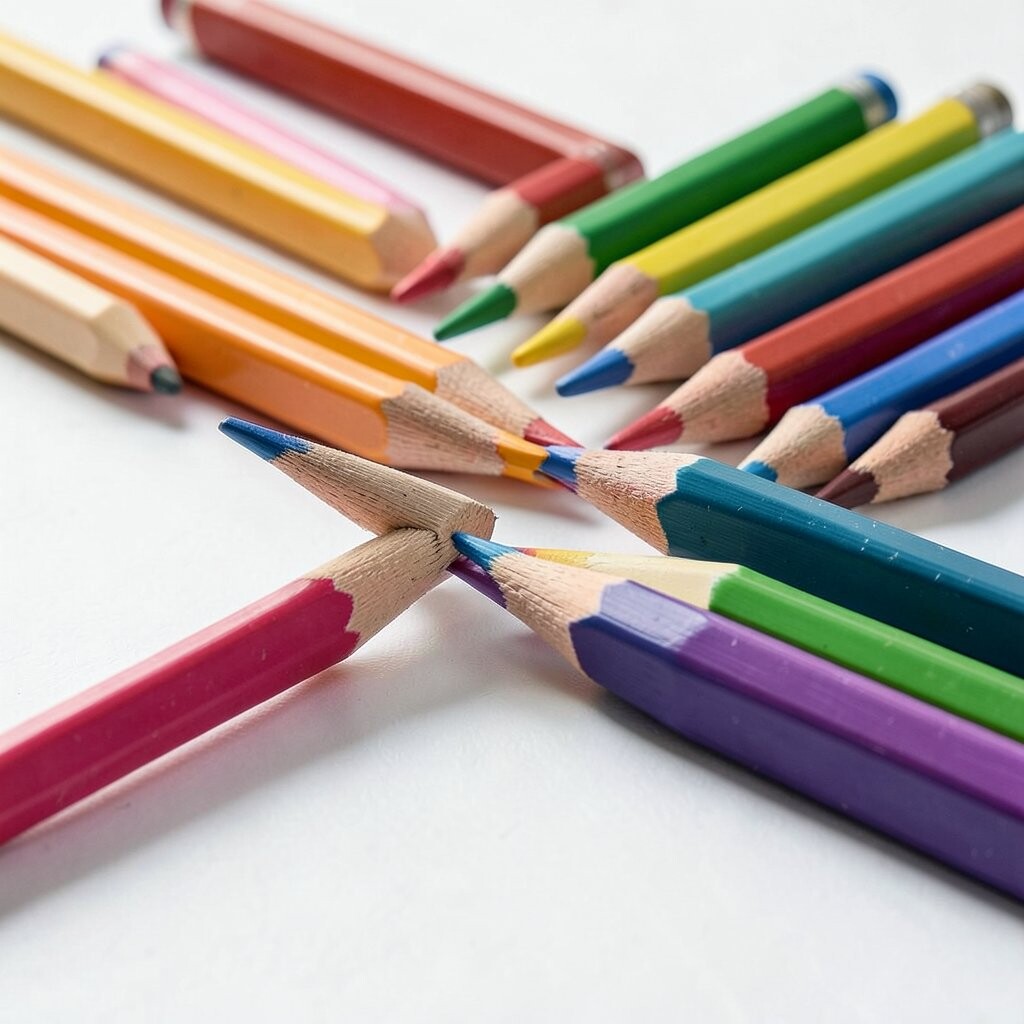
Colored pencils create soft, blendable shading. They’re great for gentle gradients and detailed lines.
Use them for portraits, nature drawings, and simple background textures. Try blending with light layers, then add darker shading for depth. Personalize by building a “favorite palette” and using those same pencil colors in all your art.
Cost considerations: a small set plus careful mixing can go far. Today’s trend is slow drawing, where creators focus on calm shading and tiny details rather than rushing.
19. Acrylic Markers or Paint Pens
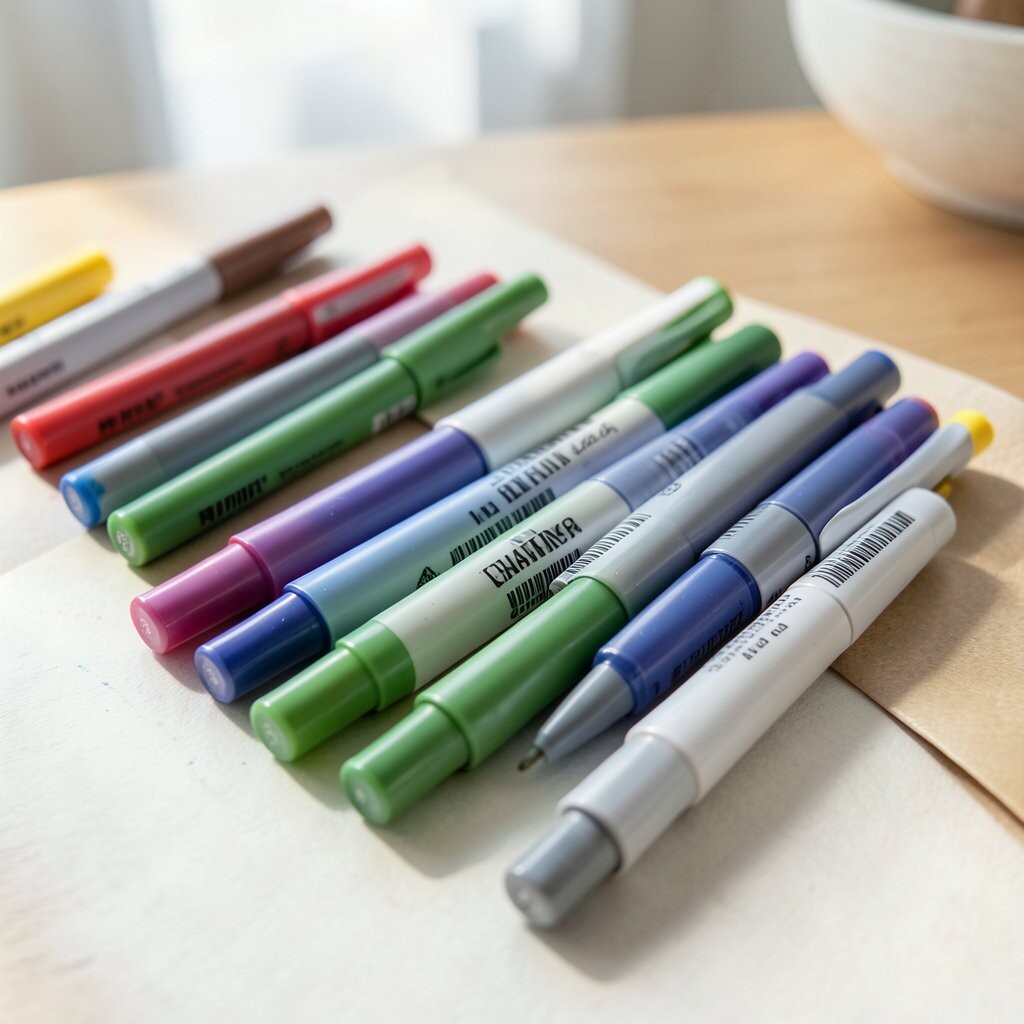
Paint pens look like markers, but they behave like paint. They leave smooth, bright coverage on many surfaces.
Use them on rocks, wood crafts, and cardboard signs. They’re also great for drawing borders and adding bold highlights to mixed-media art. Personalize by writing short messages on plain items, then pairing them with small doodles.
20. Paper Clips, Binder Clips, and Clips
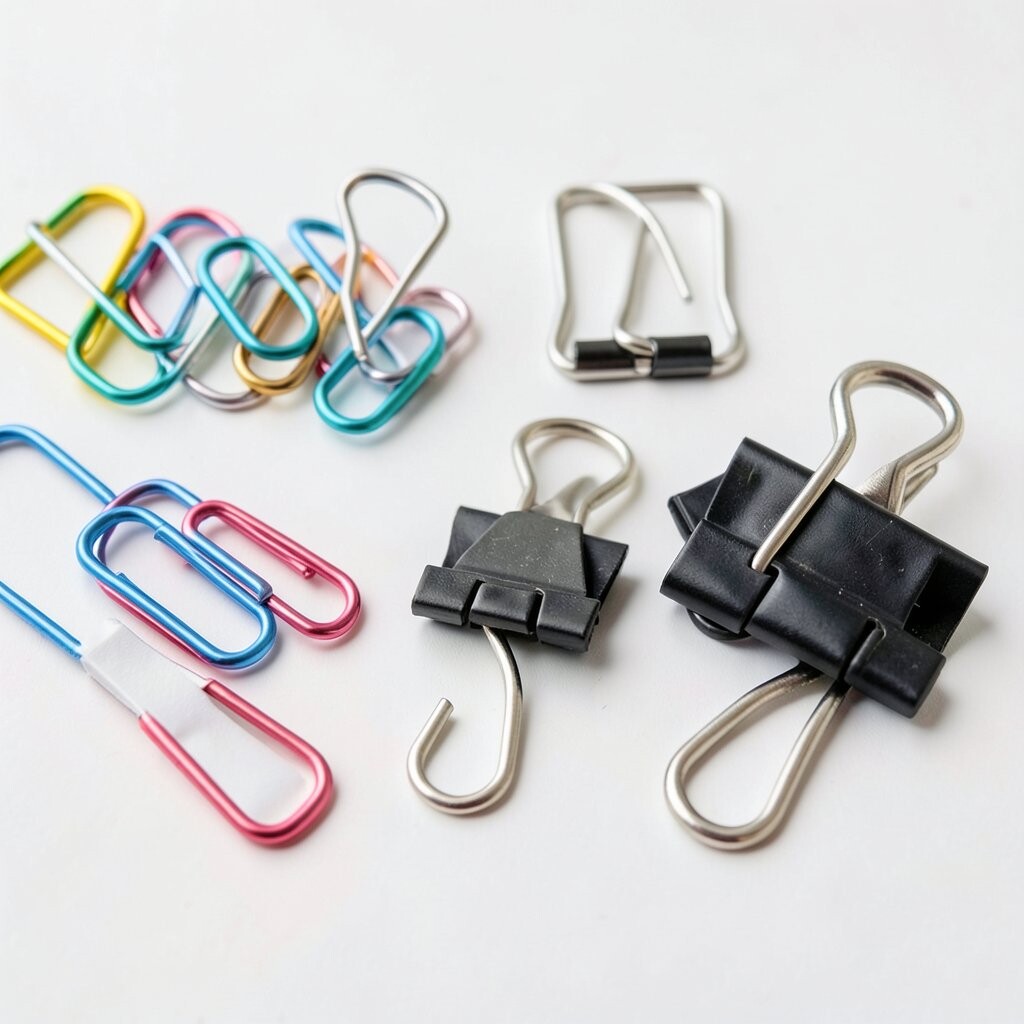
Clips are small tools, but they can become creative building blocks. They hold paper together, and they also make fun shapes for crafting.
Use binder clips to hold stencils in place, organize sketches, or display mini art cards. You can even bend large clips into hooks or small sculpture parts. For personalization, color-code your clips with paint or tape so your craft desk looks tidy and fun.
Budget note: clips are usually very cheap, and one pack lasts a long time. A current trend is “desk-friendly crafting,” where organizing tools help artists create faster and with less stress.
21. Natural Elements: Dried Leaves, Twigs, and Flowers
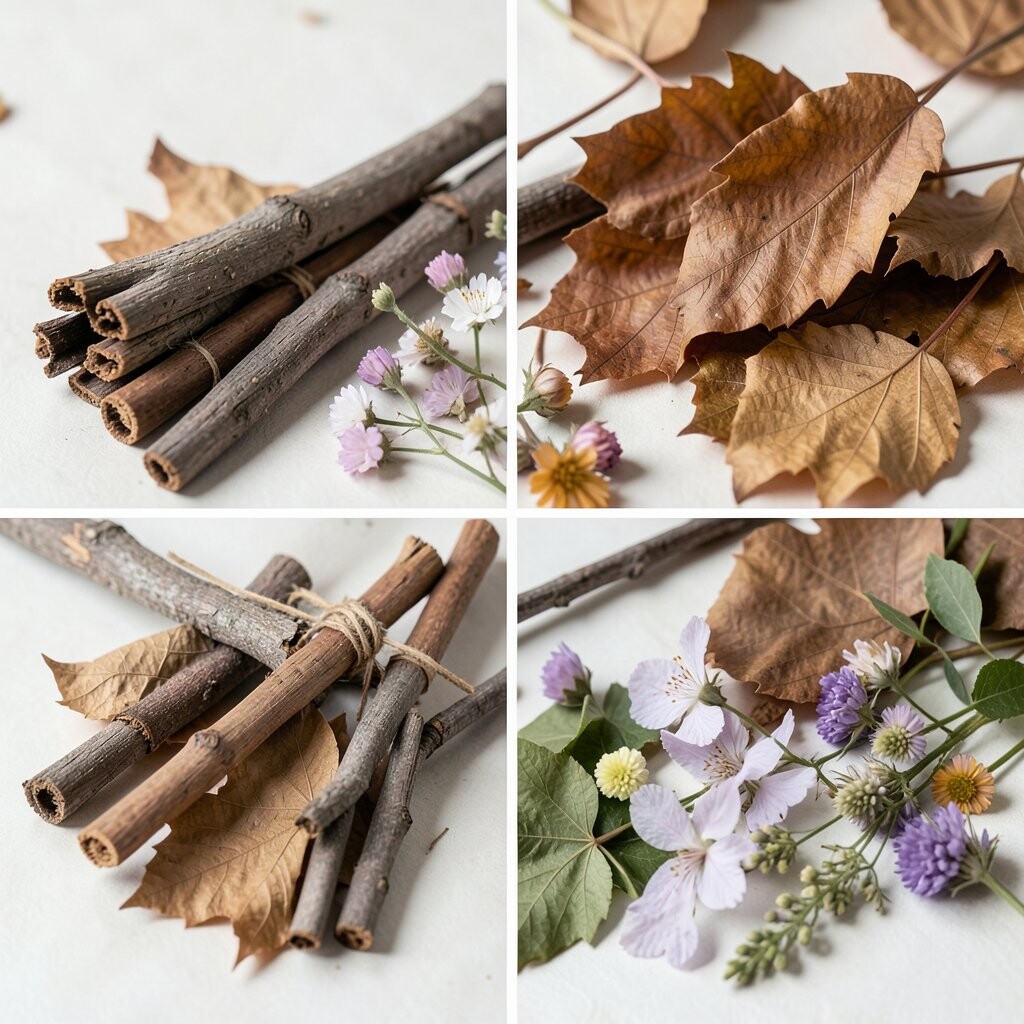
Natural craft items bring real texture into your projects. Dried leaves look crisp, and twigs add earthy lines.
Use them for pressed leaf art, wreath accents, or collage backgrounds. They work beautifully with glue and a clear sealant to protect the final piece. Personalize by arranging natural pieces into patterns like a sunburst, a border, or a simple animal silhouette.
22. Clear Containers for “Pick-Up” Crafting
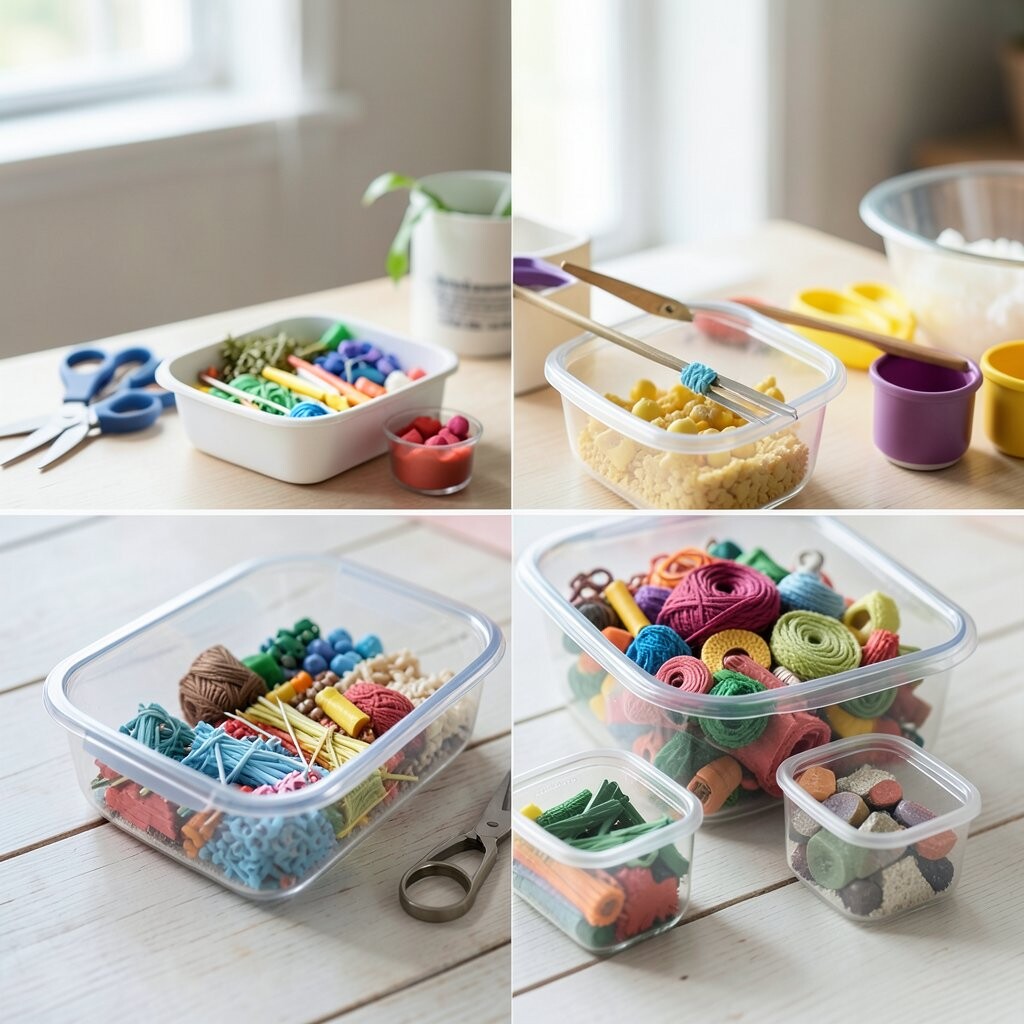
Clear containers make supplies easy to see. When you can spot what you need, you spend less time searching and more time creating.
Use them to store beads, buttons, paper scraps, and buttons in small sections. Label each container so future you can start quickly. For personalization, decorate the outside with your favorite colors and add a tiny drawing that hints at what’s inside.
Cost considerations: try reusing jars and boxes first, then add a few new containers only when you truly need them. Current trend: many crafters love “capsule supply systems,” where everything is visible and ready for quick sessions.