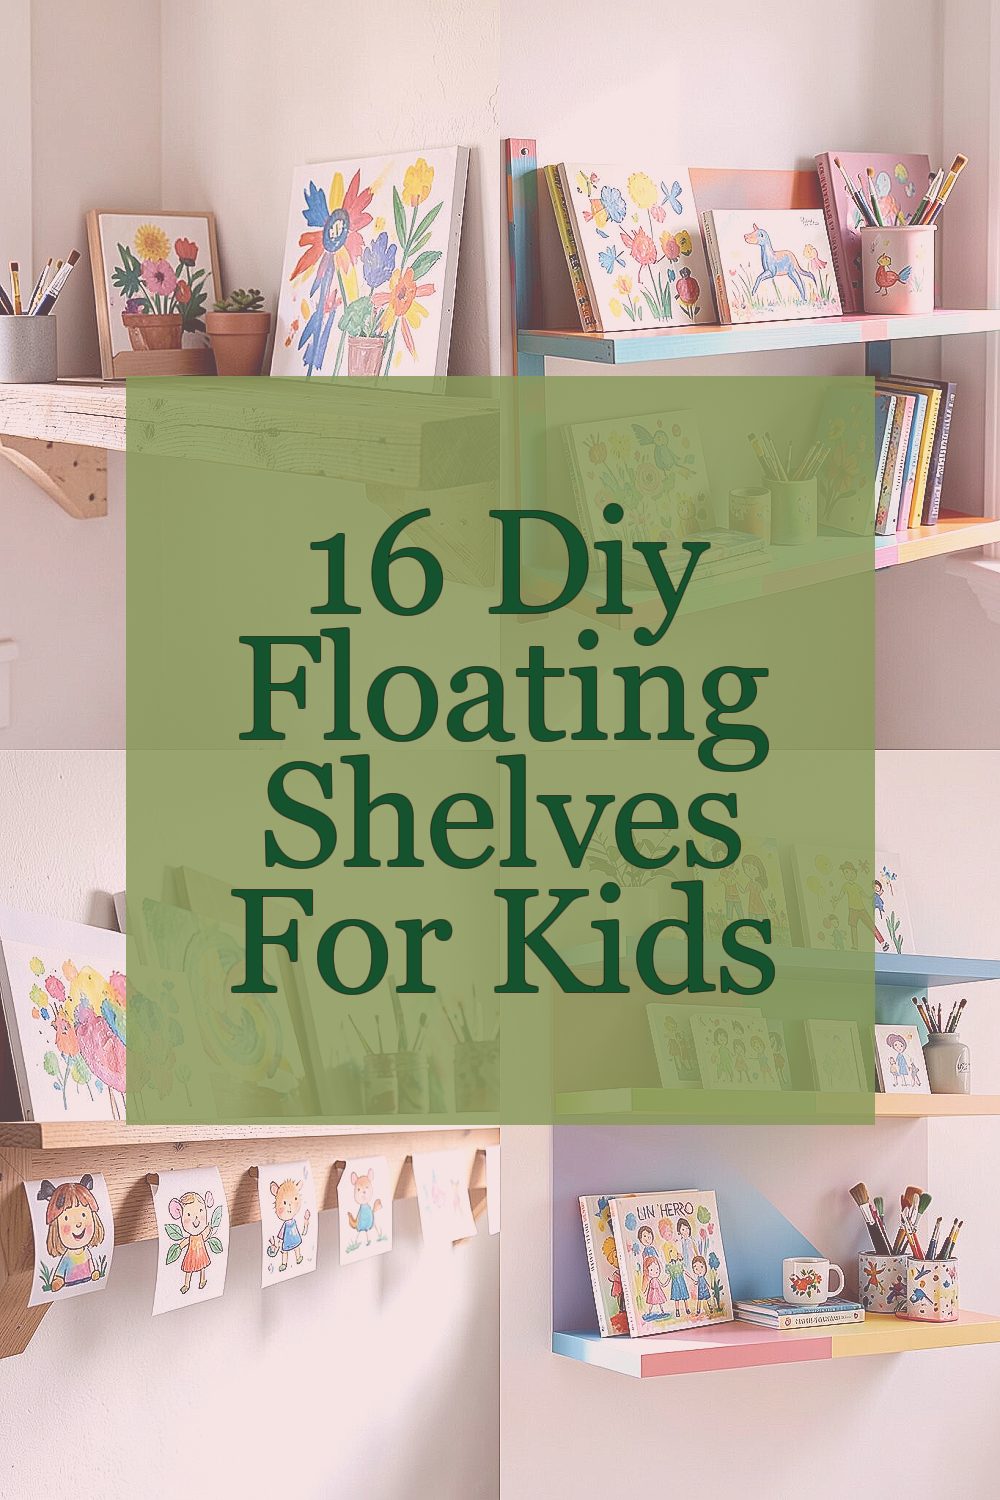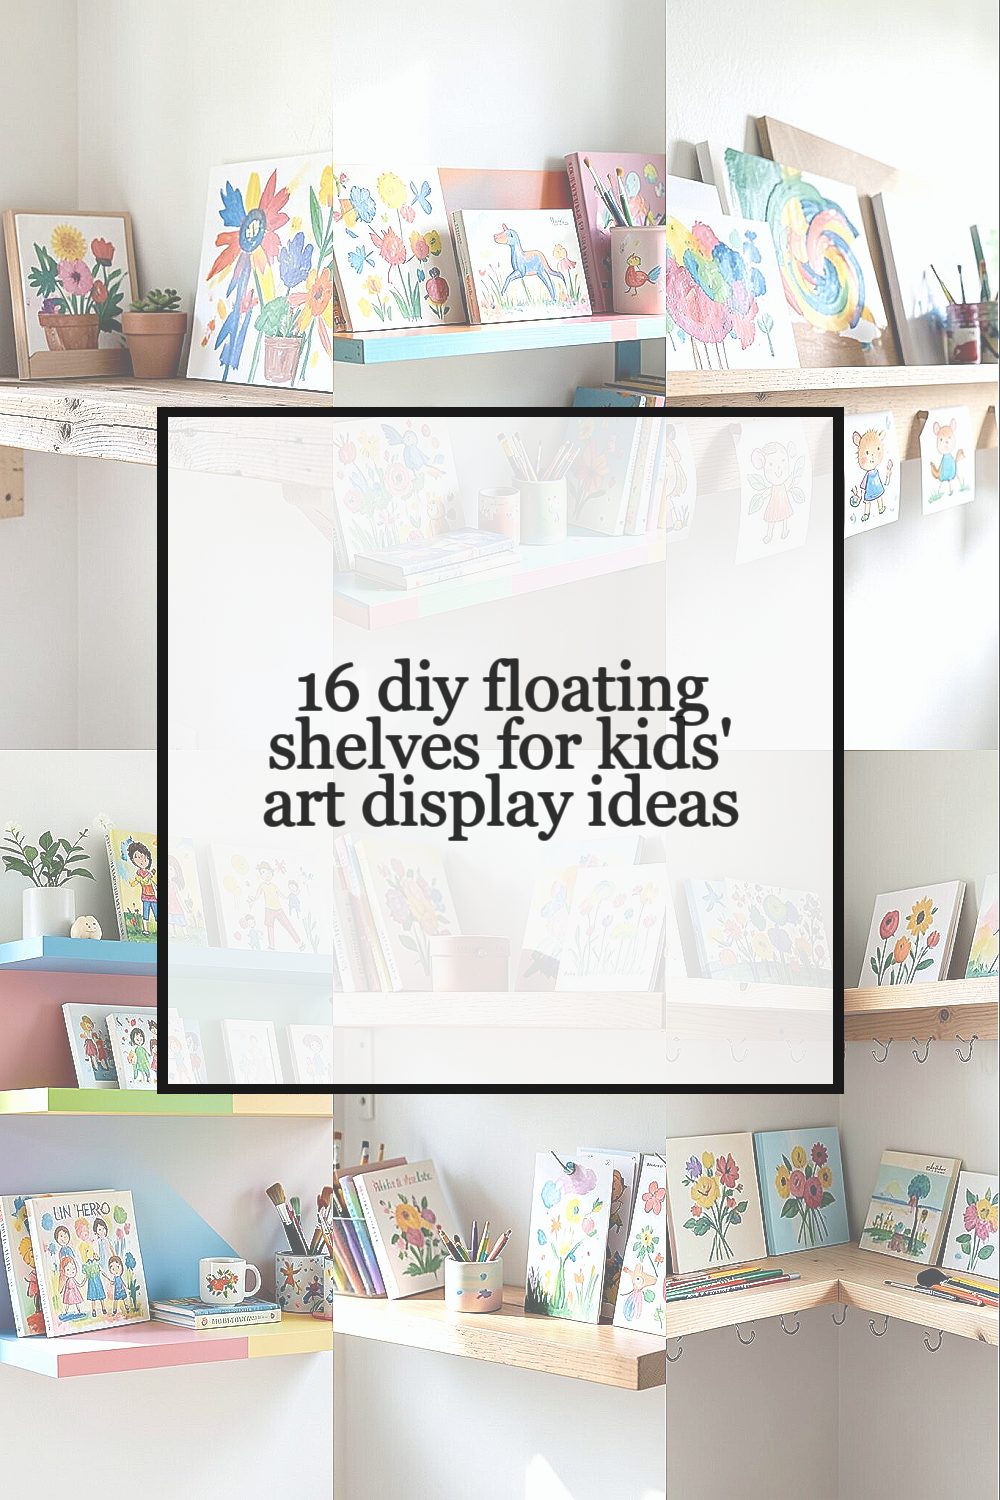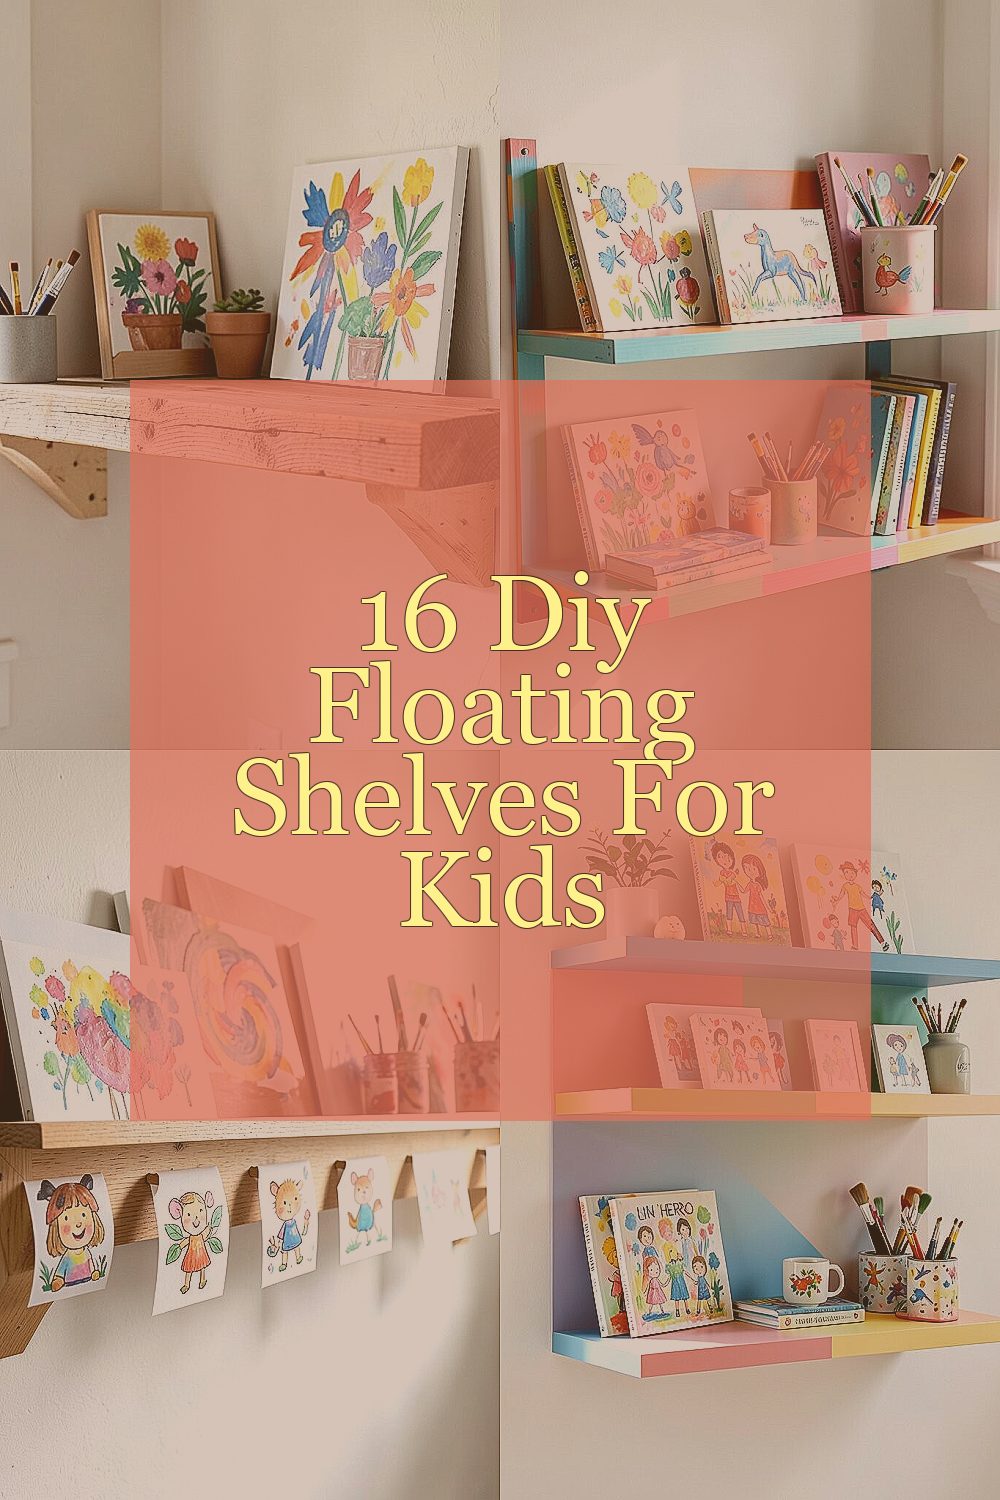
Little hands make big masterpieces, and they deserve to be seen. Floating shelves make that happen in a fun, safe way.
-
1. Scrap-Wood Ledge With Simple Hidden Brackets
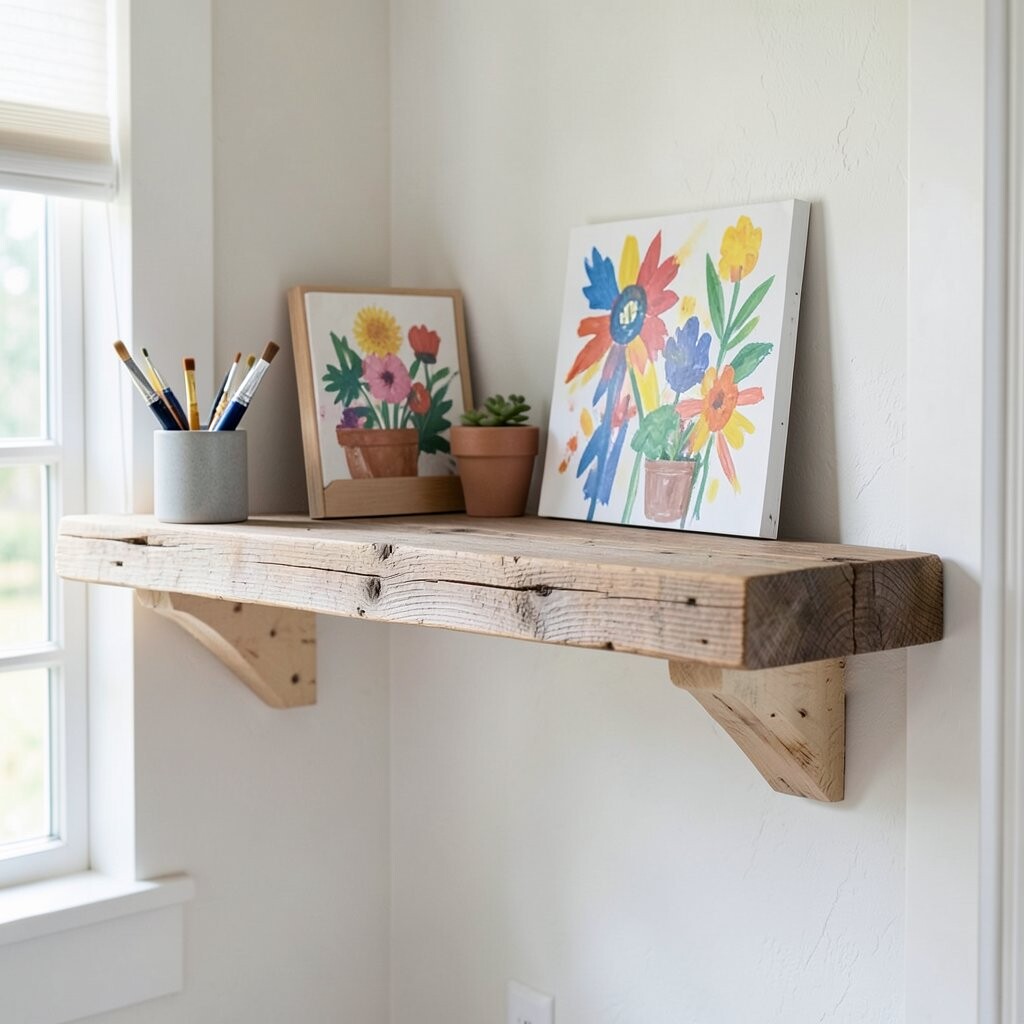
Scrap-Wood Ledge With Simple Hidden Brackets Use a small strip of reclaimed wood and paint it a bright neutral like warm white or soft gray. Mount it so the metal brackets vanish behind the shelf, keeping the focus on the art.
This style looks calm and clean, which helps colorful drawings pop. It is great for hanging up graded school artwork, birthday cards, and seasonal crafts. For personalization, label the shelf edge with your child’s name using paint pens, then swap art whenever you feel proud.
-
2. Painted Ribbon-Mount Shelf for Quick Swap Rotations
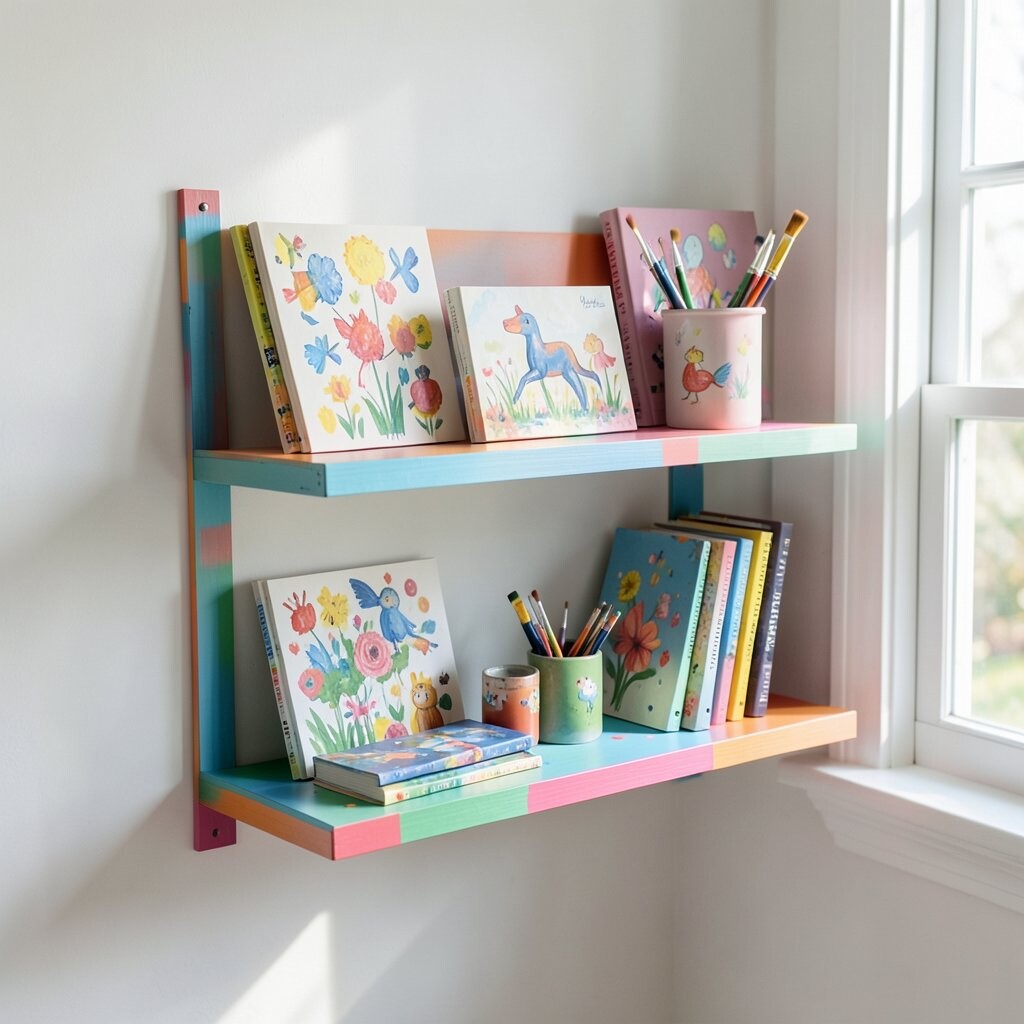
Painted Ribbon-Mount Shelf for Quick Swap Rotations Build a narrow floating shelf and attach small ribbon loops along the bottom edge. The ribbons act like little holders where you can clip artwork with clothespins.
Kids can rotate their own favorite pieces without pulling frames off the wall. It also keeps the display fresh, since you can switch out art in seconds.
For tips, choose a ribbon color that matches your room theme, like mustard, teal, or dusty rose. Add a line of soft clip magnets to hold thicker paper. When cost matters, use a leftover board from a craft store and buy inexpensive ribbon spools during a sale.
-
3. Peg-Ledge Shelf With DIY Washi Tape Art “Locks”
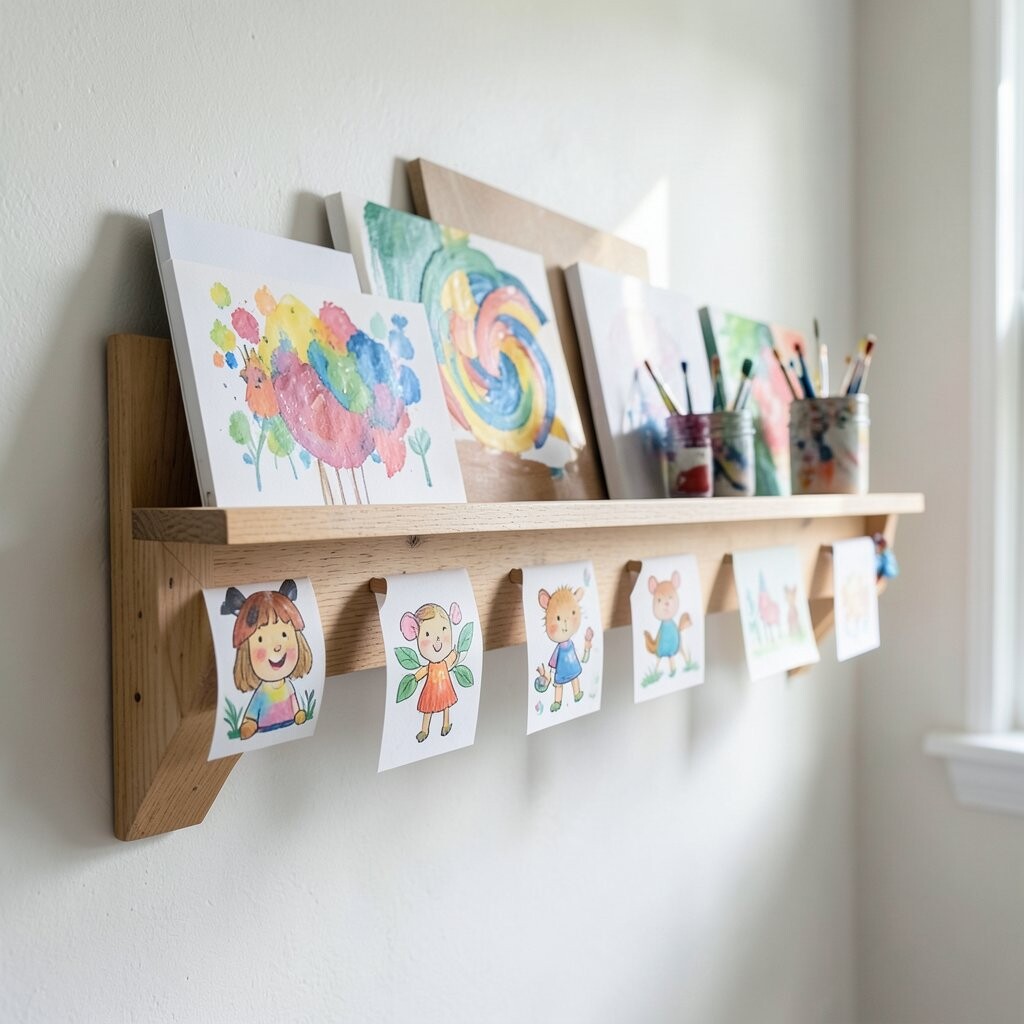
Peg-Ledge Shelf With DIY Washi Tape Art “Locks” Create a floating shelf using a sturdy plank, then glue or screw small pegs underneath where art corners can rest. Finish the shelf with sanded edges so paper stays safe.
The pegs make the shelf feel interactive, like a tiny backstage spot for artwork. You can display smaller drawings, folded cards, and photos without them sliding. It is unique because the “locks” are not frames, so the shelf stays light and airy.
Try adding short strips of washi tape on the wall behind the pegs as visual guides. When you rotate art, line up each new piece with the tape marks for neat spacing. For personalization, let your child choose one tape pattern to “sign” the display.
This idea can be budget-friendly since pegs can come from craft stores or repurposed closet hardware. For a current look, use minimal colors and one bold accent stripe in a trendy shade.
-
4. Color-Blocked Floating Shelf With One Hero Wall
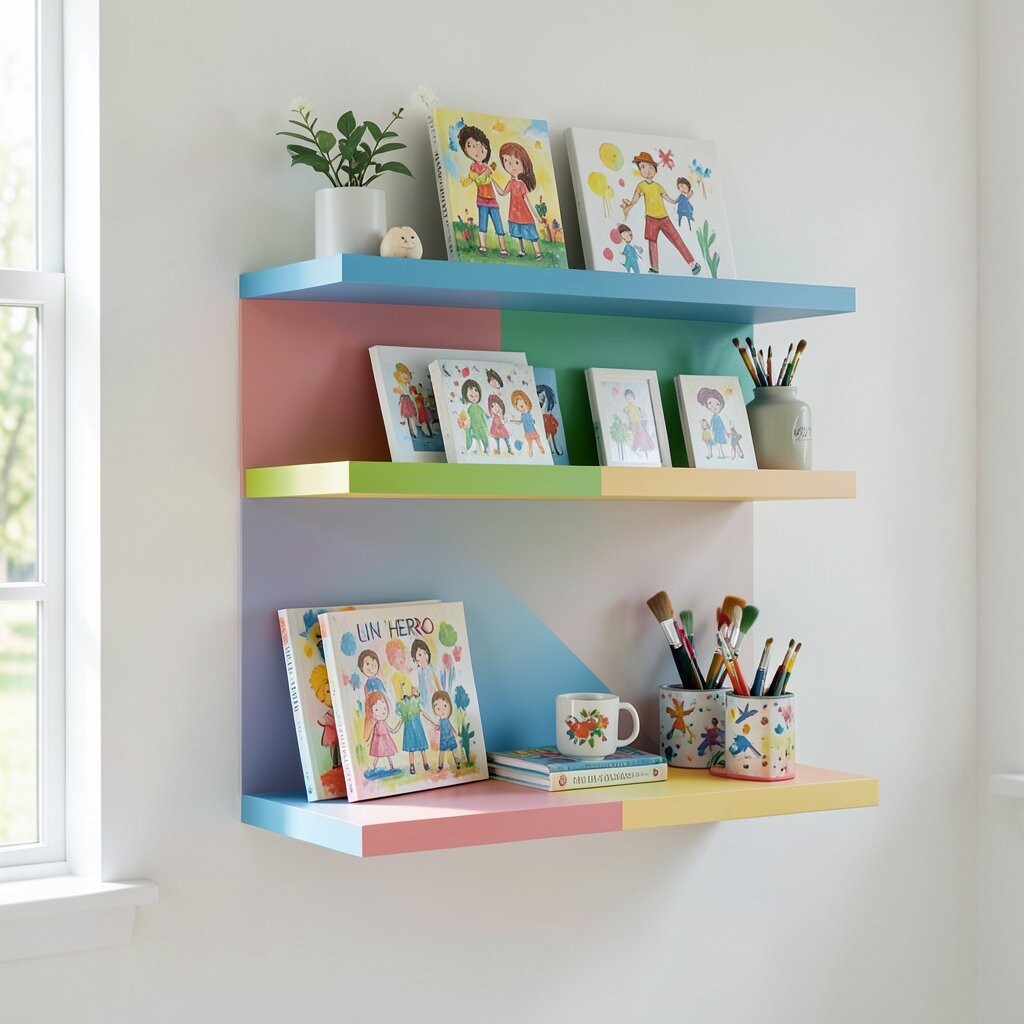
Color-Blocked Floating Shelf With One Hero Wall Paint the back wall or shelf rail in three cheerful blocks—like sky blue, sunny yellow, and mint—then mount the shelf above the color area. Keep the shelf itself simple so the art still feels like the main star.
This method gives every piece a mini “stage” with a consistent background. The benefits are clear: your child’s art looks brighter, and the wall feels organized. It is especially helpful when you have mixed sizes of paper and want them to look tidy.
For personalization, add a small sticker icon set near the blocks, such as a star for “my best,” a heart for “my favorite,” and a rainbow for “group project.” Cost stays reasonable because paint is often cheaper than specialty organizers.
As for trends, color blocking is still popular and works well with kids’ rooms because it feels playful but not messy.
-
5. Mini Photo-Track Shelf With Clip-On Display Cards
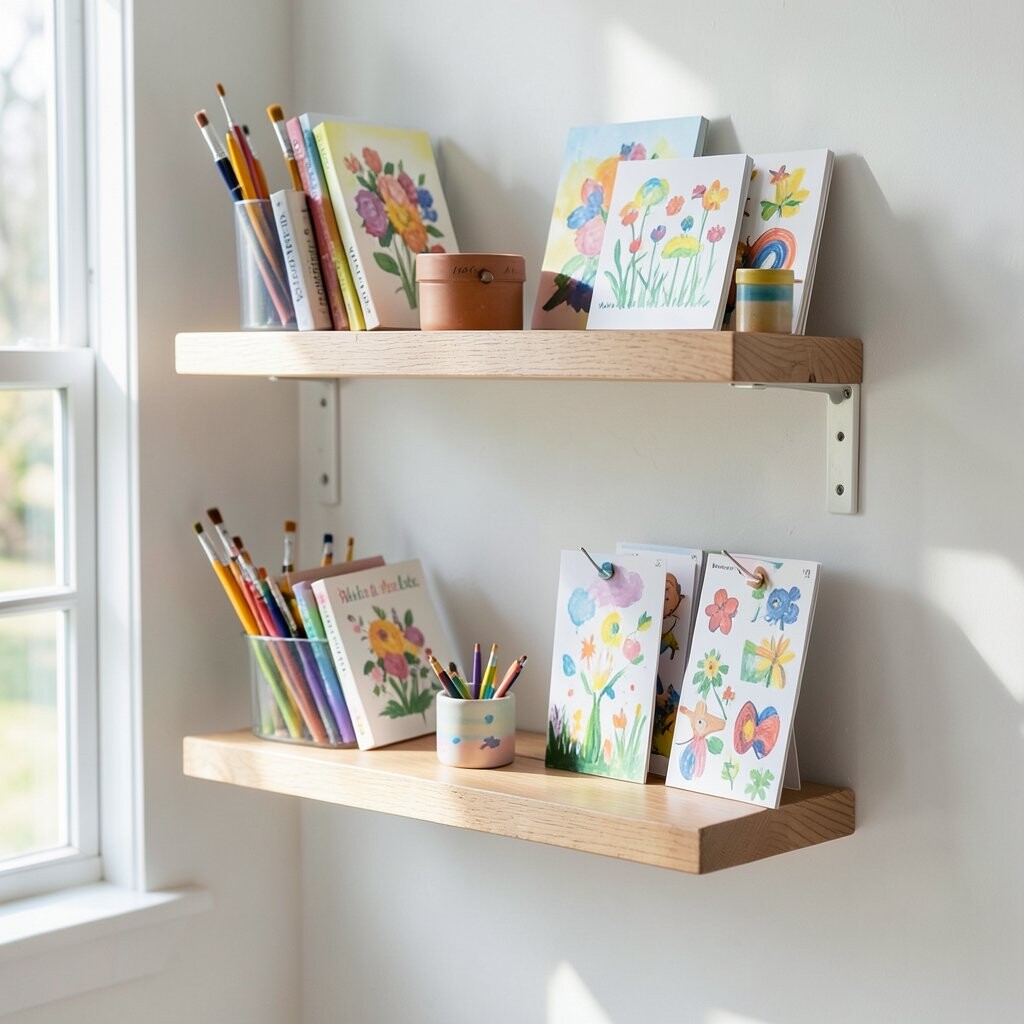
Mini Photo-Track Shelf With Clip-On Display Cards Build a floating shelf and add a slim metal picture ledge or track along the front. Use small binder clips or spring clips to attach cards that label the artwork, like “Ocean Week” or “My Monster.”
This setup looks sleek and modern, while still being kid-friendly. Kids love seeing names next to their creations, and parents love the easy swap.
To personalize, write label prompts that guide creativity, such as “Best Shape,” “My Coolest Idea,” or “Story Title.” Keep costs low by using scrap wood for the shelf and buying a basic clip kit. If you want a current vibe, use clean typography with black ink and one tiny accent color.
-
6. Corner Floating Shelf With “Gallery Hook” Strings
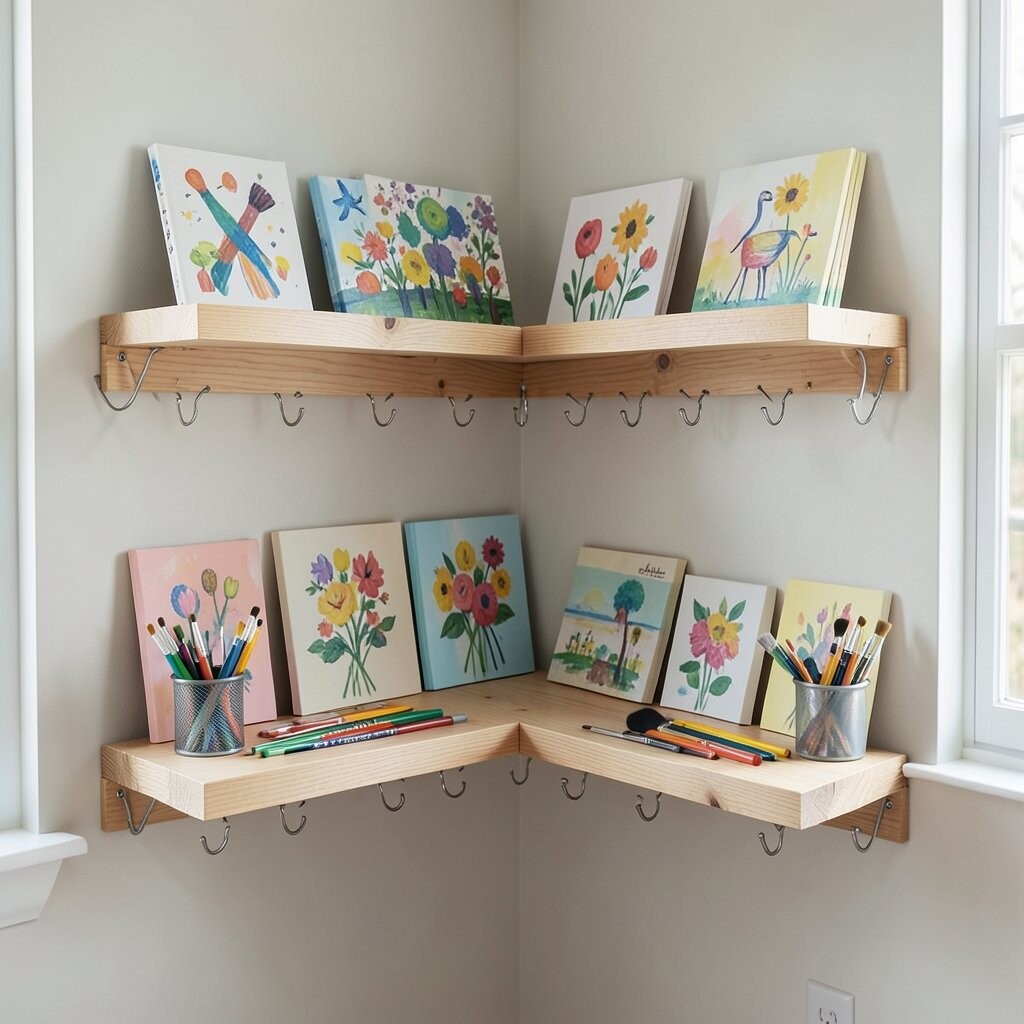
Corner Floating Shelf With “Gallery Hook” Strings Make a floating shelf that sits near a corner and add a string line of small hooks along the side. Hang art from the hooks with clear washi strips or mini clothespins.
The visual effect is like a light, floating gallery that feels airy. It keeps paper from crumpling because the hooks support corners instead of letting sheets droop. For tips, keep strings taut and use evenly spaced hooks for a neat look.
Personalize by adding a tiny charm to the end of the string that matches your child’s favorite theme. Cost can be low when you use twine, craft hooks, and a single board, especially if you already have a drill. A current trend is “vertical art moments,” and this corner setup fits that style perfectly.
-
7. Rounded-Tip Shelf With Stacking Tray Inserts
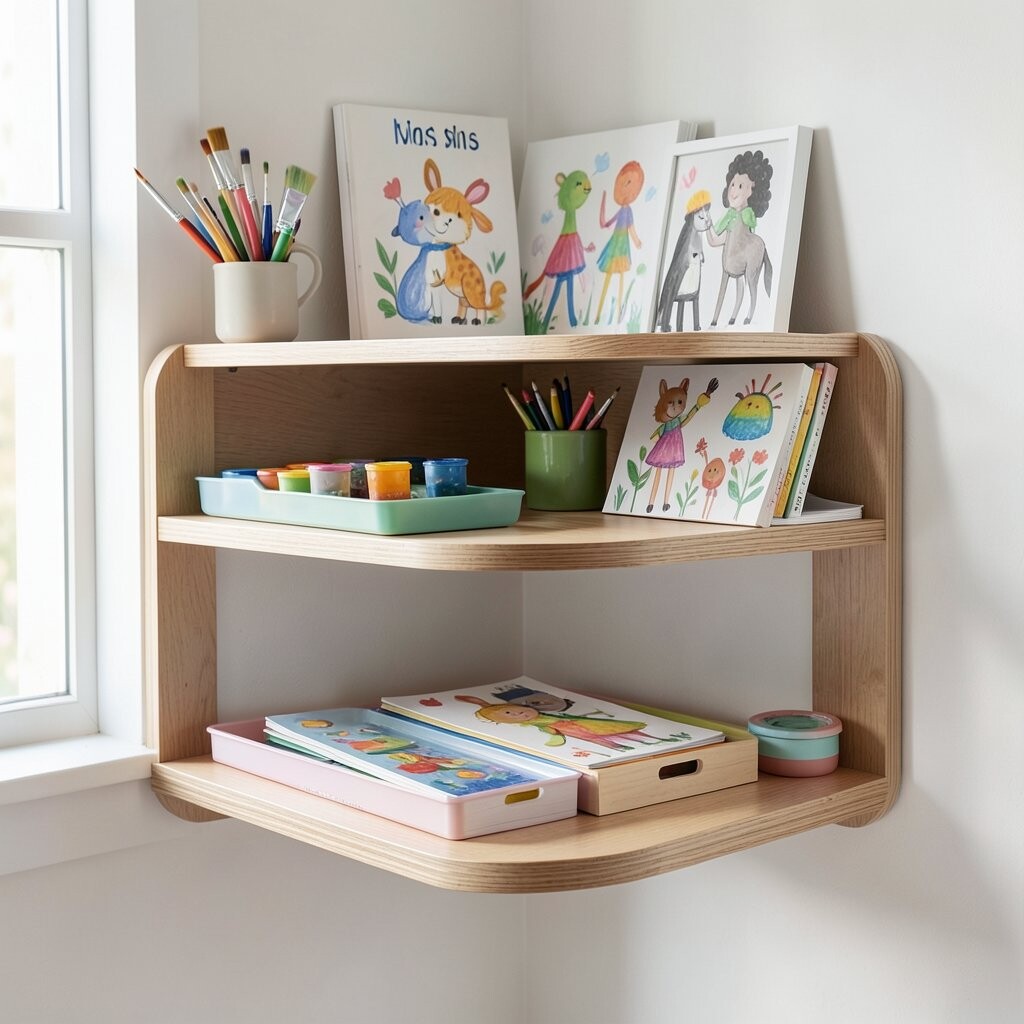
Rounded-Tip Shelf With Stacking Tray Inserts Choose a plank with softened corners or sand it carefully, then finish it with child-safe varnish. Create a second layer using a shallow tray insert that slides into place.
This is great for holding flat pieces and also for stacking small 3D art like clay creations on a safe base. The shelf looks gentle and friendly, not sharp or “hardware-y.”
For personalization, paint tiny dots on the tray for placement markers, then match dot colors to your child’s art folders. Keep costs in check by reusing old trays or foam board cutouts for inserts. Today’s look often mixes wood with soft rounded shapes, and this one nails it.
-
8. Chalkboard Back Shelf for Drawing Rewrites
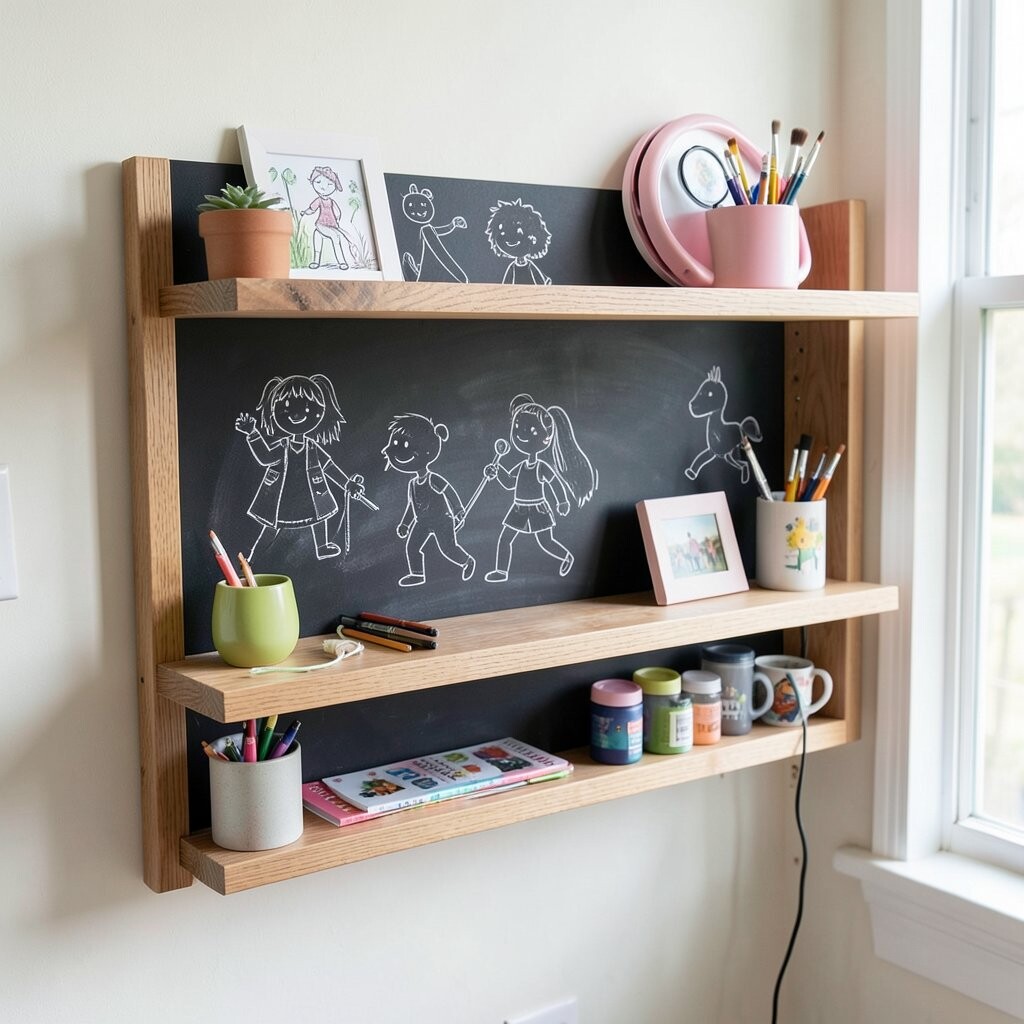
Chalkboard Back Shelf for Drawing Rewrites Mount a floating shelf and paint the wall behind it with chalkboard paint. Add one small lip so drawings and paper sit above the chalk area.
This shelf is unique because it gives you two display ideas in one spot: art above and doodles underneath. The benefits include easy updating, since you can write new titles or dates in chalk. Kids can even add a short caption like “Made with love” right beside their work.
For tips, seal the shelf with a clear coat so chalk dust wipes clean. Personalize by using chalk icons that match the art, like a paintbrush for painting week. Cost is usually affordable because chalkboard paint comes in small cans that last a while.
This also fits current “interactive wall” trends where families love creating flexible spaces rather than permanent art frames.
-
9. Wooden Pegboard Shelf With Removable Art Clips
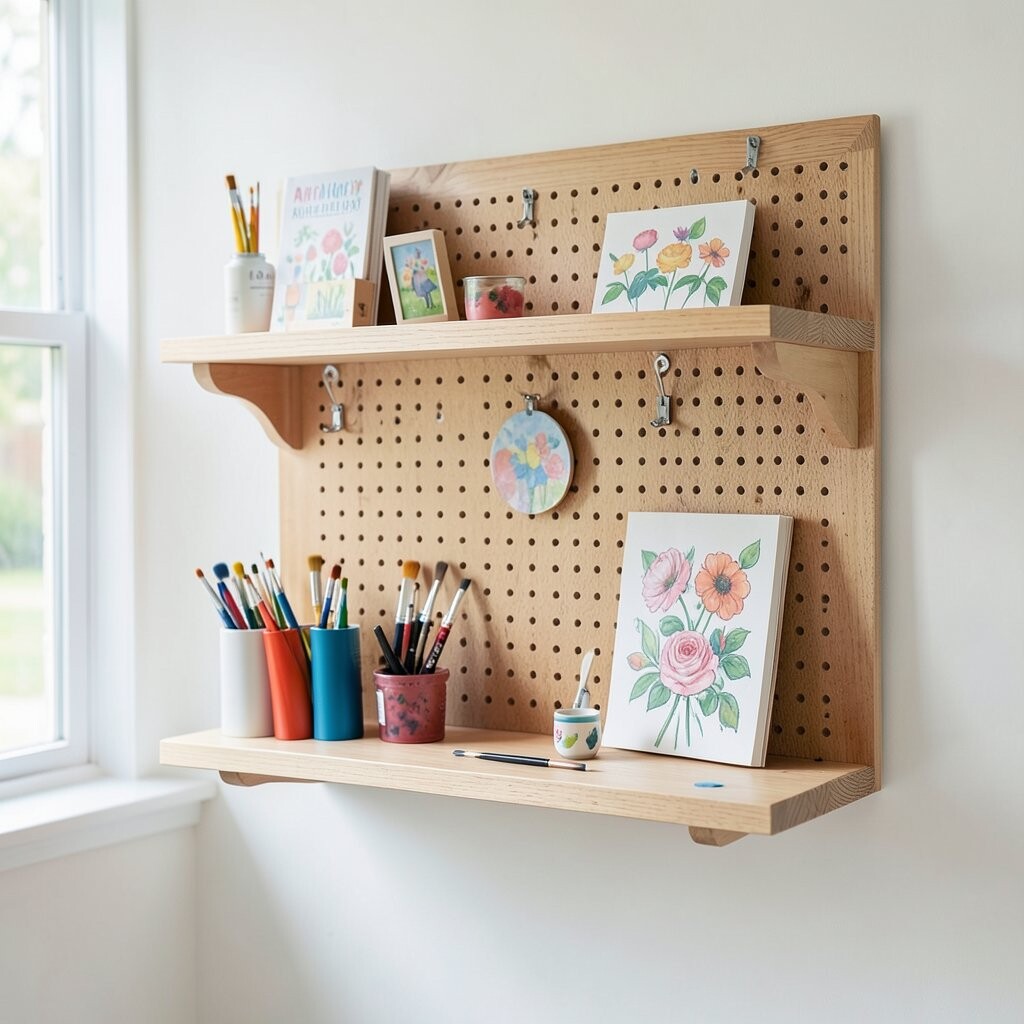
Wooden Pegboard Shelf With Removable Art Clips Turn a small piece of pegboard into the back support and mount it like a floating shelf. Attach a row of removable art clips, then place lightweight artwork on top.
This makes the display feel like a tidy craft station instead of a static shelf. It is helpful when you keep changing styles, because you can move clips to fit new paper sizes.
Personalize by letting your child choose one “signature” color clip for every new art batch. For cost, watch for pegboard scraps at hardware stores and use basic screws you already own. The trend right now is modular organization, and this looks modular without being complicated.
Safety tip: make sure all edges are smooth and that the pegboard is securely anchored.
-
10. Lighted Shelf With DIY LED Back Strip
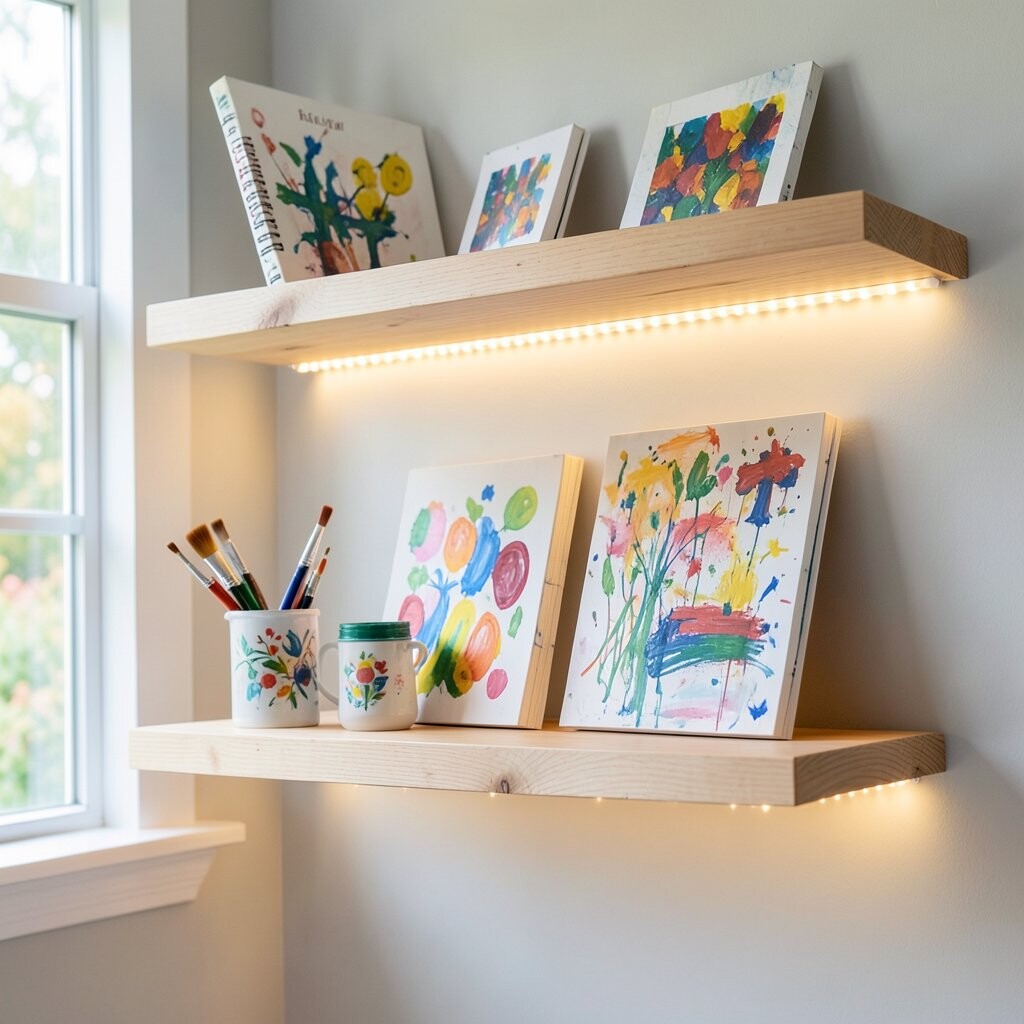
Lighted Shelf With DIY LED Back Strip Mount your floating shelf, then place a battery or plug-in LED strip behind the art area. Choose a warm white light so drawings look cozy and bright, especially in the evening.
The visual effect is amazing, like a mini museum spotlight. Kids feel proud when their art glows, and photos look better too. For tips, use a diffuser strip or translucent tape to soften harsh points of light.
Personalize the vibe by choosing one color filter, such as light blue for ocean art or light green for nature projects. Cost consideration: LEDs can be inexpensive, but buy quality for safer heating and longer life. This is a current trend because “accent lighting” is popular in homes right now.
-
11. Popsicle-Trim Shelf With Playful Border Details
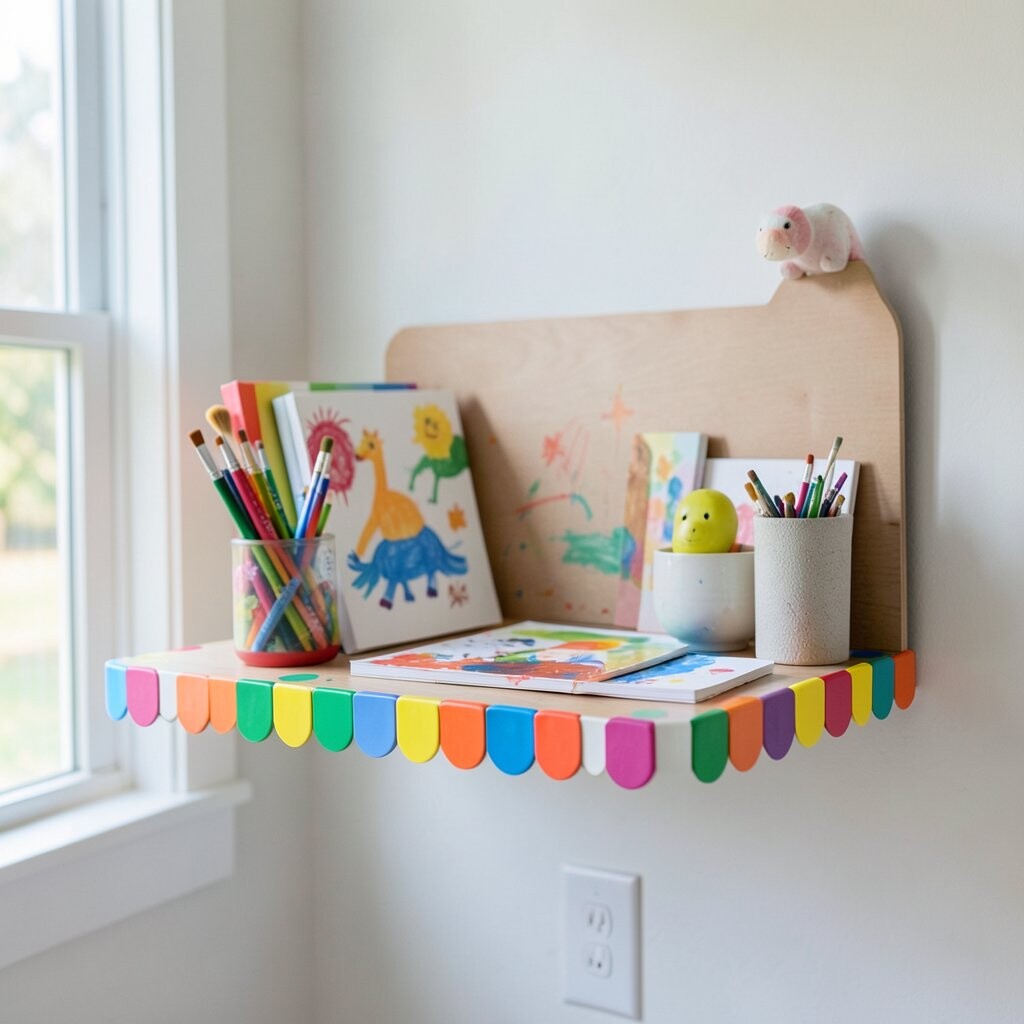
Popsicle-Trim Shelf With Playful Border Details Build a floating shelf with a clean base, then glue on small trimmed pieces along the edges like a gentle border. Paint the border in bright colors and keep the top plain for paper display.
This style is irresistible because it feels sweet and kid-made, even when you help with tools. It also gives the display a consistent look while you rotate art often. For personalization, let your child pick a “theme border,” like safari stripes, rainbow scallops, or tiny stars.
Cost is usually low since trim pieces can come from craft stores or be cut from scrap wood. For a current trend, mix playful trim with simple shelf lines for a balanced “craft chic” feel.
-
12. Clear-Acrylic Corner Shelf With Magnet Holders
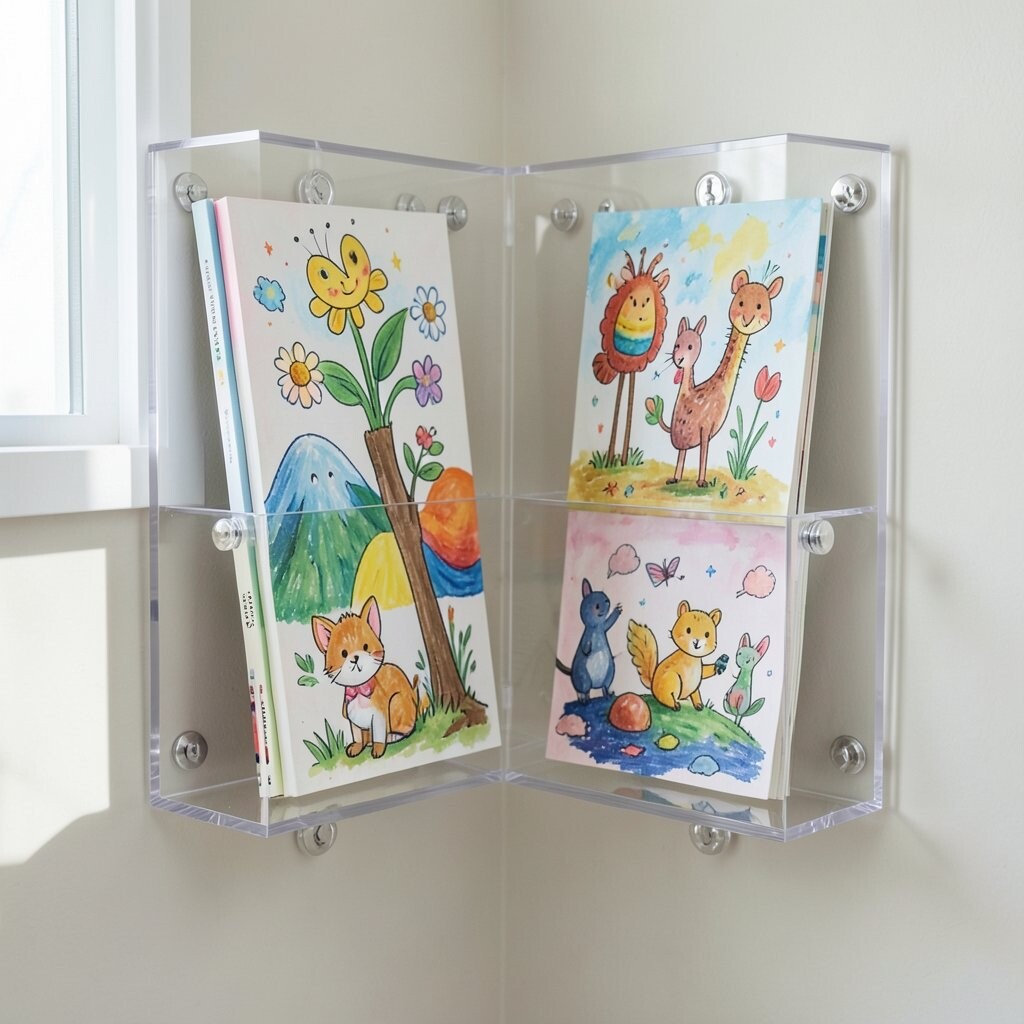
Clear-Acrylic Corner Shelf With Magnet Holders Use a small acrylic shelf or a clear plastic organizer panel cut to size, then mount it with secure hidden hardware. Attach magnets to small photo corners so paper sticks neatly in place.
The clear look makes the display feel modern and airy, and it keeps the art floating visually. This is great for glossy prints, photos, and laminated art sheets that you want to protect.
For tips, place a thin backing cardstock color behind the shelf so the display still pops. Personalize the background color based on the season, like red and green for holidays. Cost can be higher than wood, but you can keep it reasonable by using small clear pieces and magnet strips instead of buying full acrylic shelves.
-
13. Vertical “Shadowbox” Shelf Using Thin Ledges
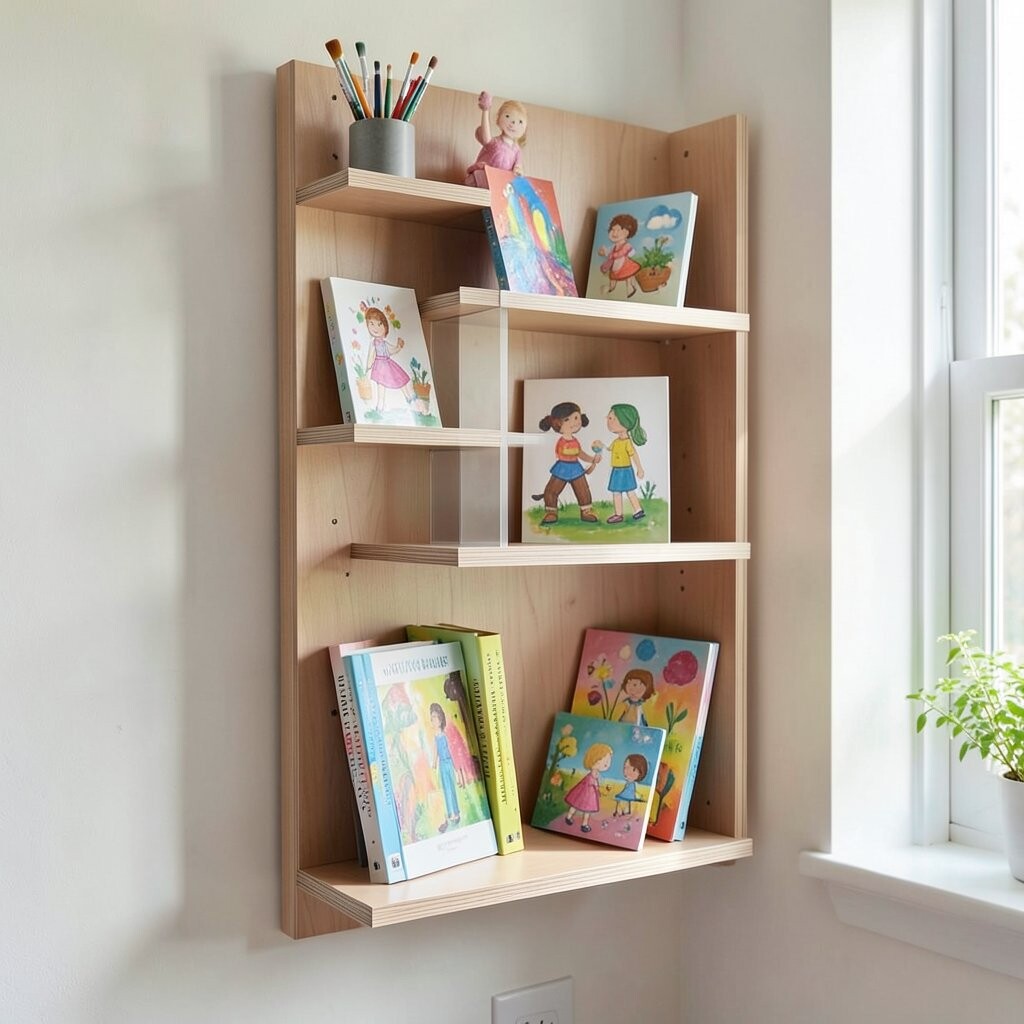
Vertical “Shadowbox” Shelf Using Thin Ledges Create a floating shelf with thin side rails that act like a mini shadowbox. Slide artwork in from one end and let it rest against the rails.
The benefits include better protection from dust and fewer paper bends. It also looks extra special because it frames art in a subtle way without needing a full frame. Uniqueness comes from the shadow-like space that makes each piece feel layered.
Personalize by adding a small badge on the side rail that says things like “Kid Curated” or “School Art.” For cost, use inexpensive wood strips and skip fancy glass. A current trend is layered display, and this gives that effect in a simple DIY way.
Tip: label the back with the year so you can keep a “best of” collection over time.
-
14. Fabric-Tape Back Shelf With Hanging Bunting Pieces
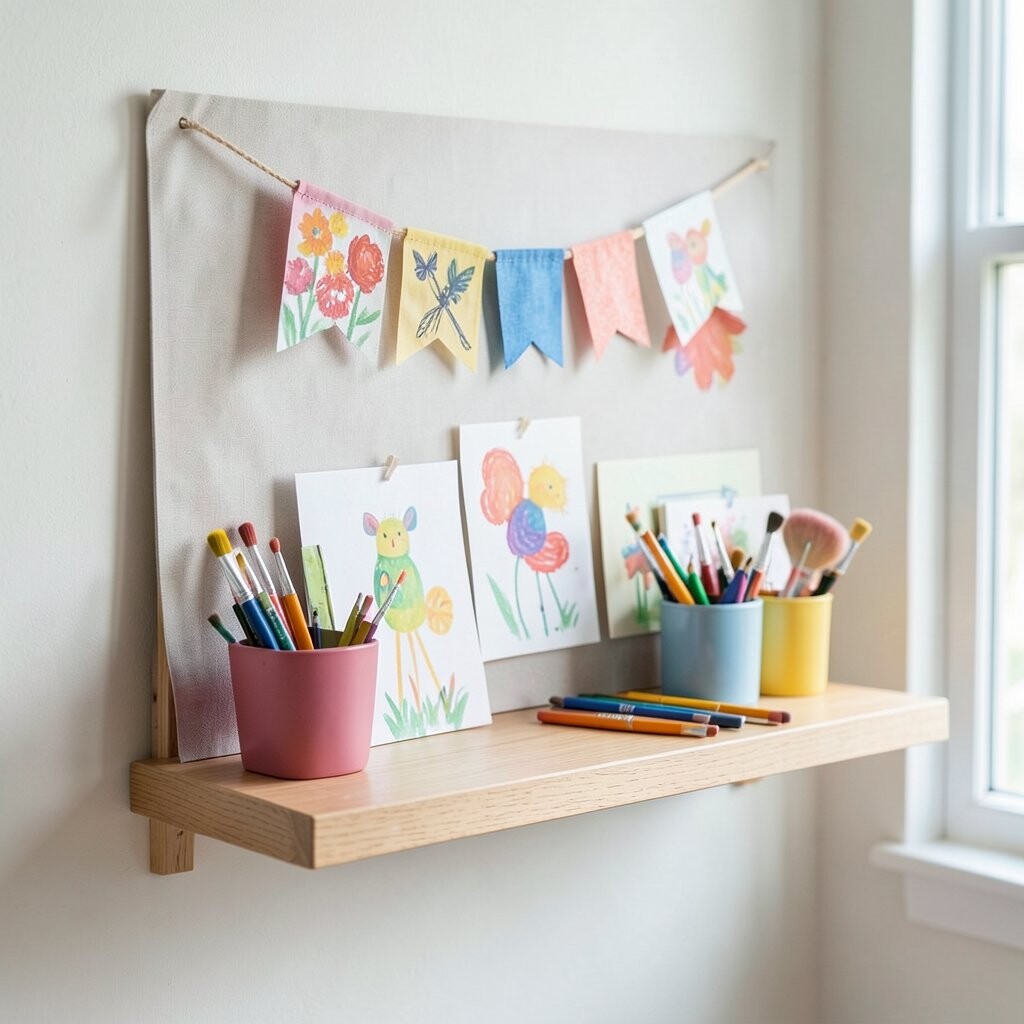
Fabric-Tape Back Shelf With Hanging Bunting Pieces Mount a floating shelf, then attach fabric tape or patterned ribbon across the wall behind it. Use tiny clips to hang small pieces like mini drawings, postcards, and die-cut art.
This is a cheerful idea that feels soft and cozy, not rigid. Kids love the movement when pieces shift slightly, and you get an easy way to change displays.
For personalization, let your child choose a fabric theme, such as space stars or jungle vines, and repeat it across the shelf and wall. Keep costs low by using scrap fabric strips and leftover ribbon. This matches current “textile wall” trends where rooms feel warm and handmade.
Be sure to use light materials so the wall stays safe and the shelf stays stable.
-
15. Wood Slat Shelf With Clothespin Photo Line
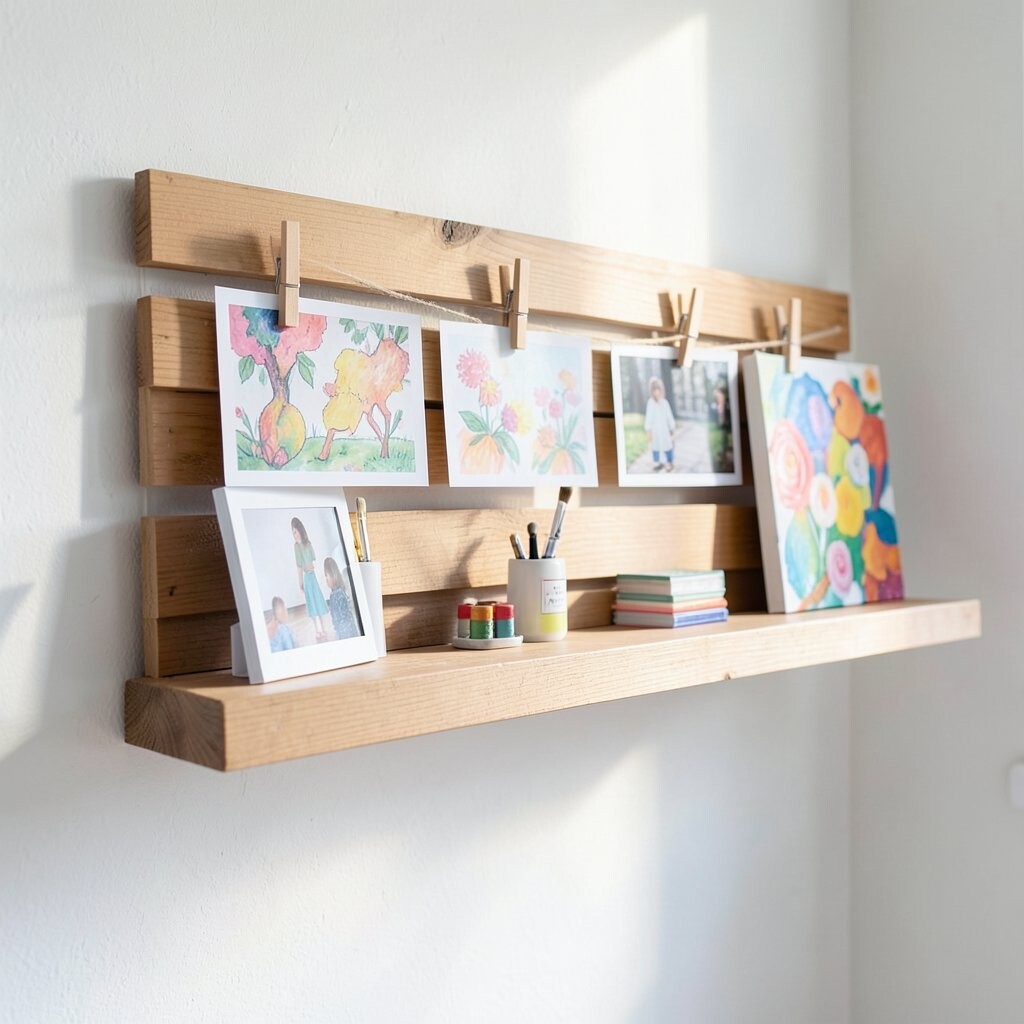
Wood Slat Shelf With Clothespin Photo Line Make a floating shelf with a few slats or a lattice-like front, then hang a thin photo line under it. Clip artwork with clothespins so it resembles a tiny outdoor clothesline, but indoors.
This style is playful and gives instant variety, because you can mix sizes and swap quickly. The benefits also include better air space, so paper lies flatter without bunching.
Personalize by adding mini clothespin stickers on each clip, like a paintbrush, a star, or a heart. Cost considerations are friendly because clothespins are inexpensive and wood slats can come from scrap. For a trendy touch, use neutral shelf color and one bold line color for the photo rope.
-
16. Numbered “Art Steps” Shelf That Grows With Them
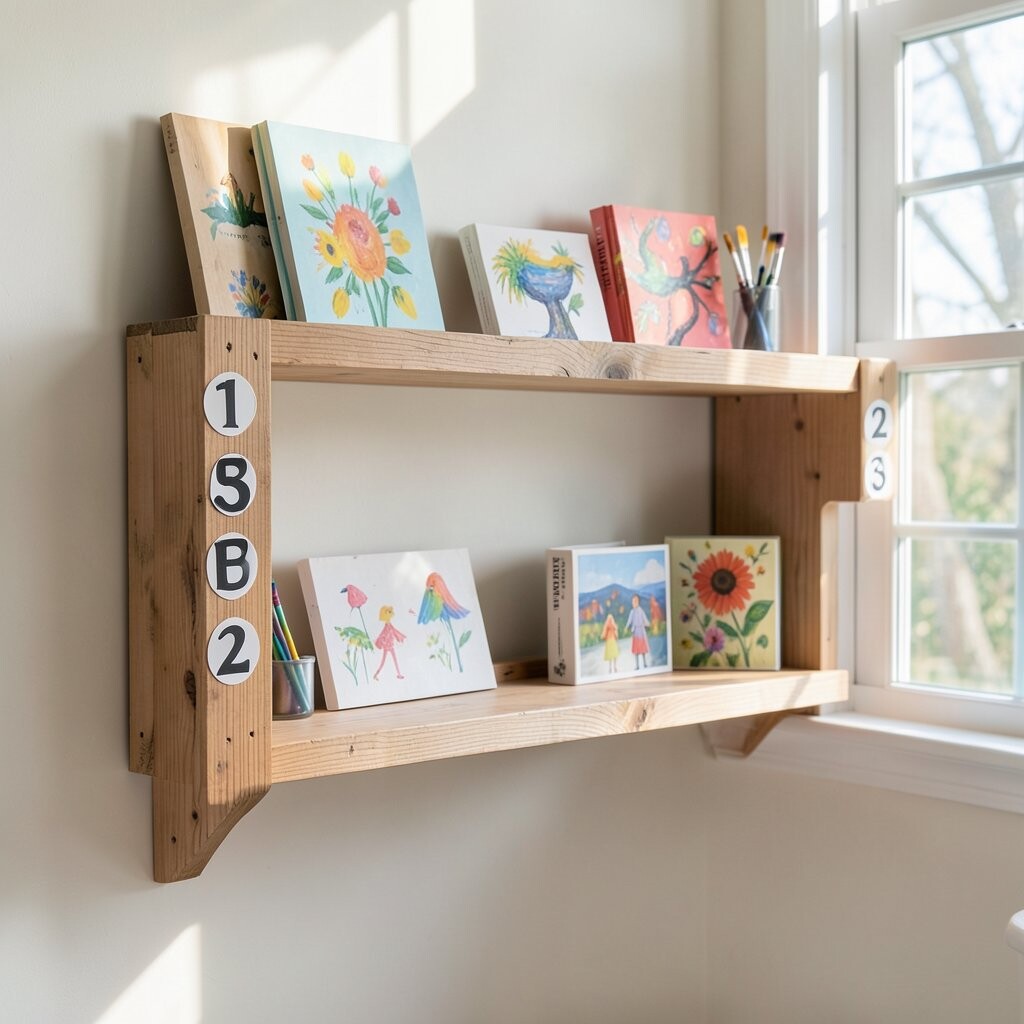
Numbered “Art Steps” Shelf That Grows With Them Build a floating set of shelves that look like steps, even if you make only one shelf at a time. Paint or stain each shelf with a consistent finish, then add small numbers or icons for each level.
This concept works beautifully for growing collections, and it feels structured without being boring. The benefits include easy viewing from different spots in the room, and it helps kids remember which pieces are on display right now. Uniqueness comes from the “steps” style that turns art storage into a visual game.
For personalization, let your child choose icons instead of numbers, like a rocket for “level one” or a crown for “featured art.” Cost can be managed by starting with the first step shelf, then adding more later. A current trend is flexible display setups, and this idea lets you expand slowly as your art grows.