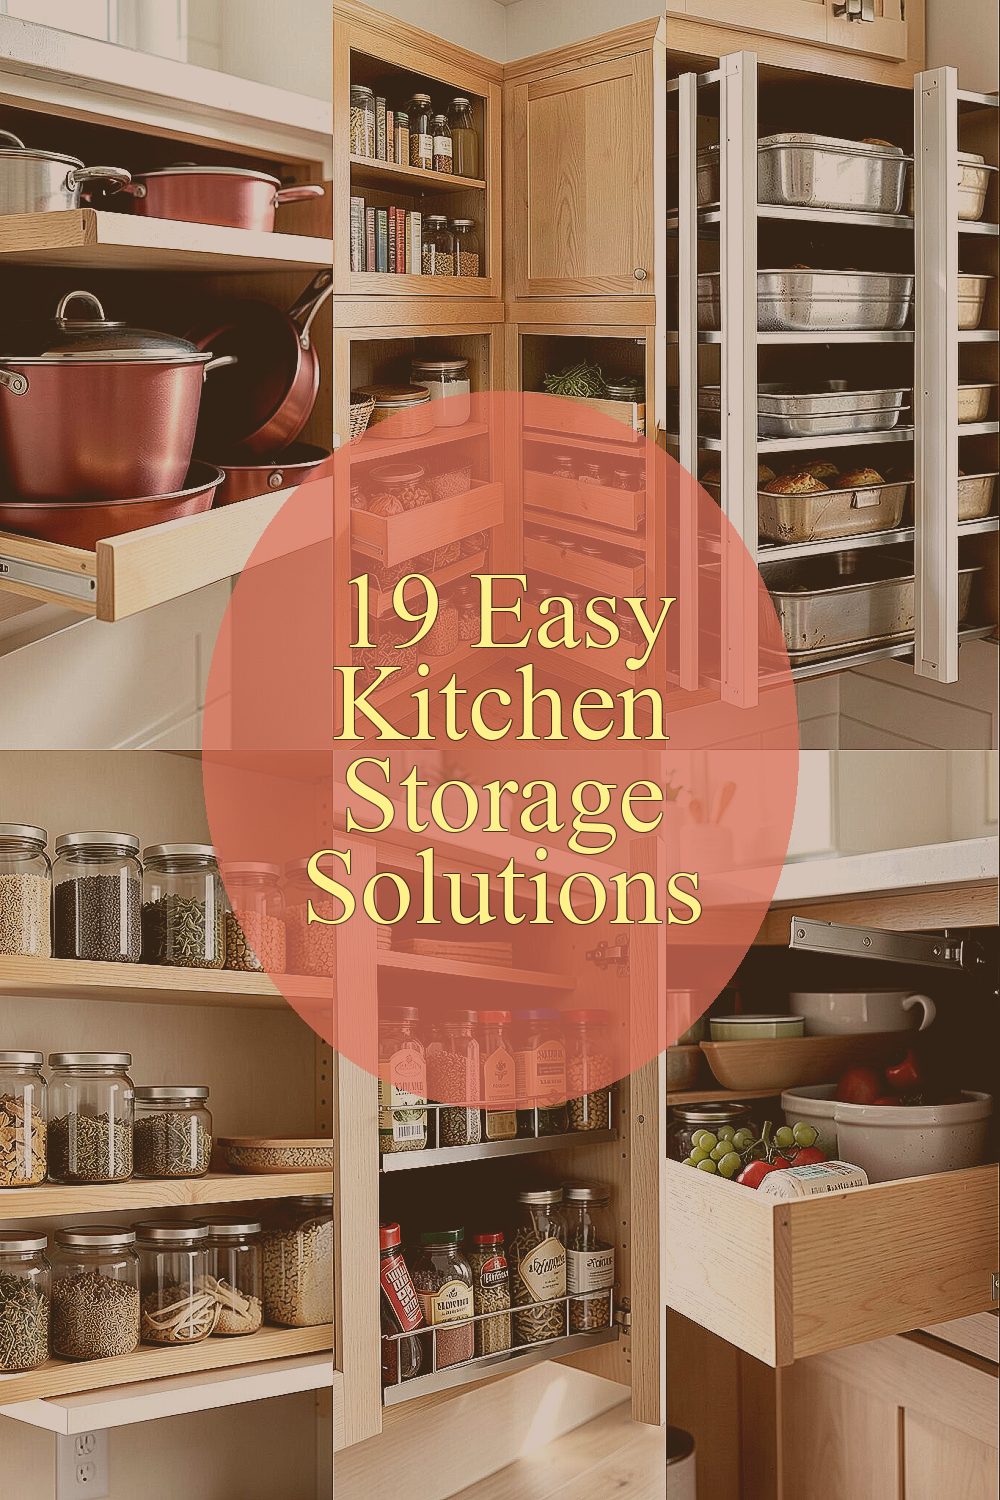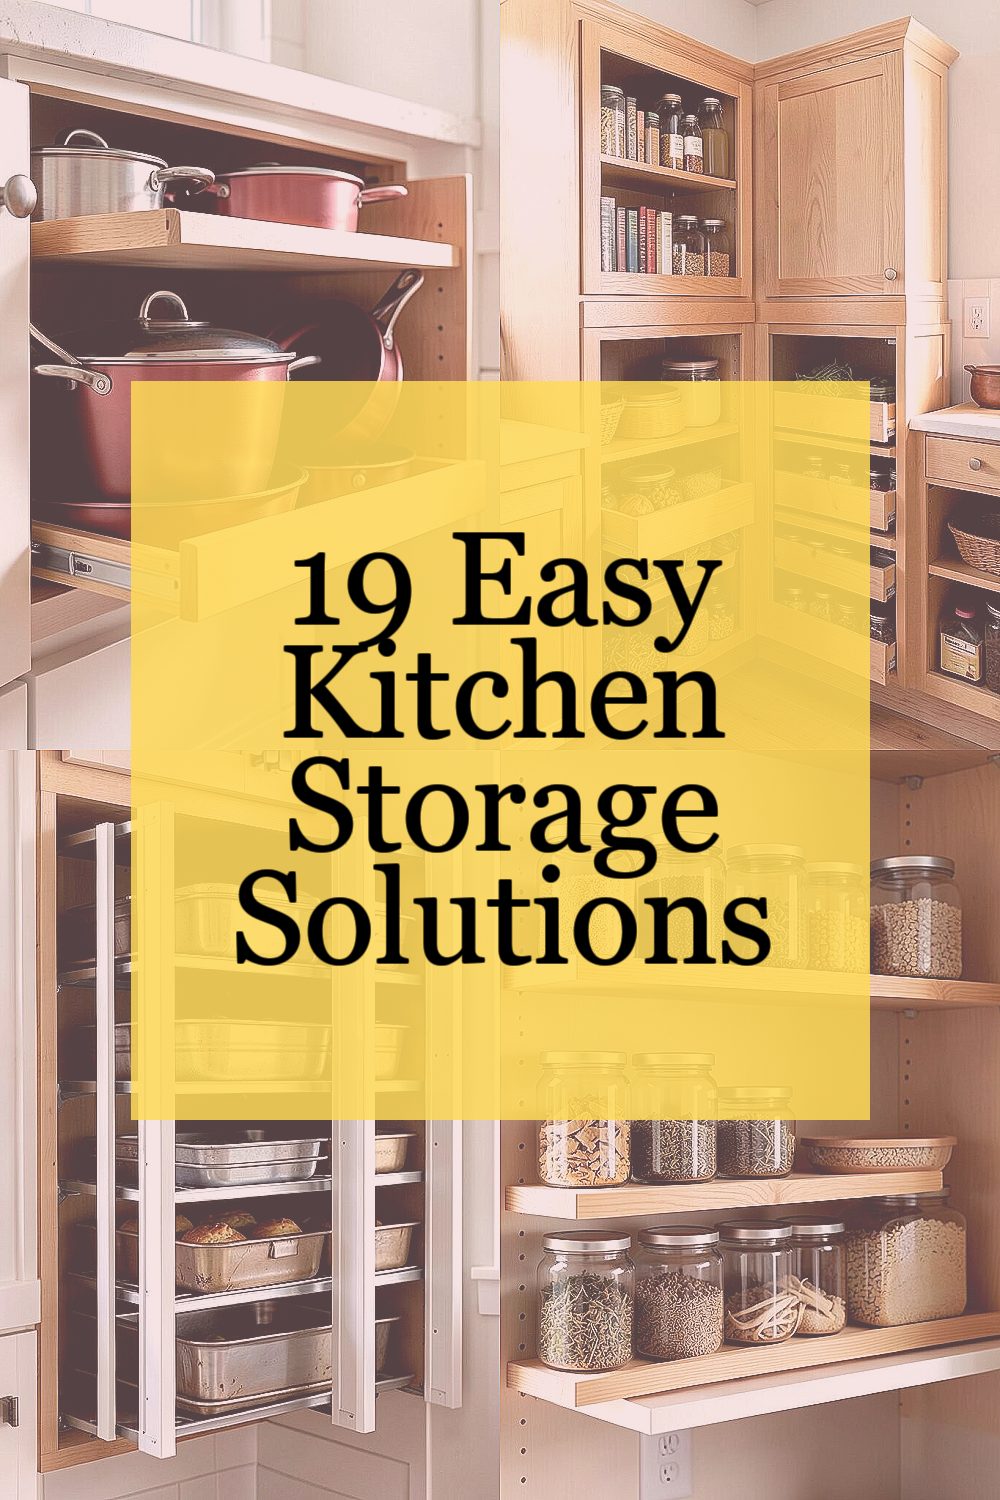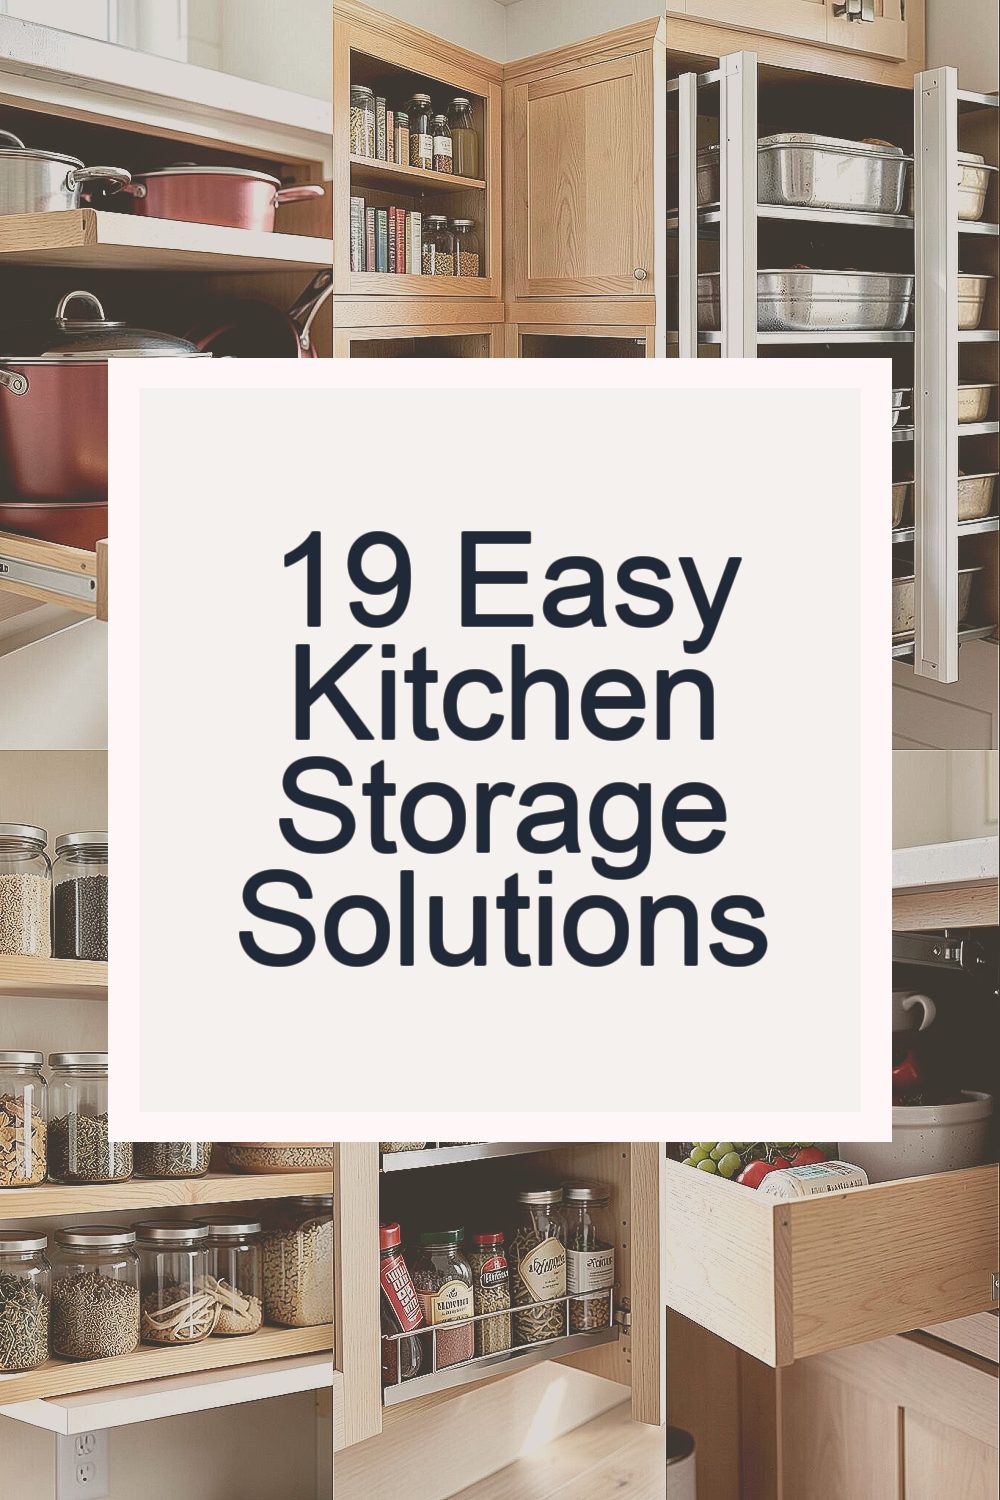
Everything feels calmer when cabinets work like a well-made system. Small changes can turn clutter into clean, easy routines.
1. Add a Soft-Look Pull-Out Shelf for Pots and Pans

Picture a cabinet door opening to a shelf that glides out smoothly like a drawer. Pots sit in neat rows instead of stacked in messy towers.
This makes cooking faster because you reach the right pan without digging. Choose sturdy rails so the movement feels steady, not wobbly. For personalization, label the top edge with simple words like “skillet” or “saucepot.”
2. Use Lazy Susans Inside Corner Cabinets
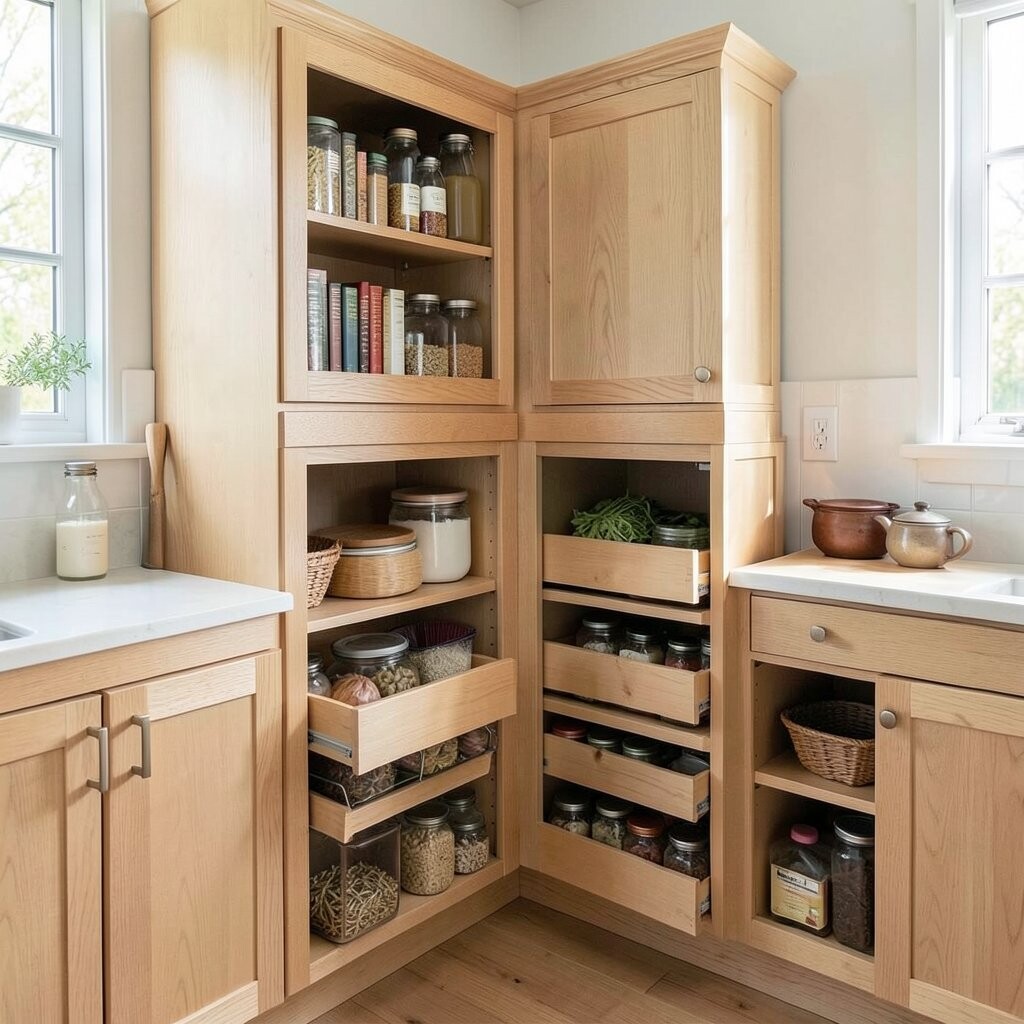
Imagine a round tray spinning in the dark corner, bringing your items into full view. No more reaching past pots that block everything.
Lazy Susans are great for oils, spices, and baking tools. They help you use what you already own, which keeps the cabinet from turning into a mystery box.
Pick a size that fits your cabinet depth and check weight limits for heavier cookware. To make it feel extra tidy, group like with like and add small labels on the shelf or rim. This is a practical choice for mid-range budgets, and you can install many models with basic tools.
3. Install Vertical Dividers for Baking Sheets and Trays

Visualize baking sheets standing upright, like a neat book lineup. Instead of sliding stacks that smear together, each tray has its own space.
Vertical dividers reduce dents and make it easier to grab the correct size. They also prevent tiny items from getting lost behind a big sheet. For a personal touch, match the divider color to your kitchen theme for a clean look.
Start by measuring the widest tray and the cabinet opening, then choose dividers that lock in place well. If you use parchment often, keep a small roll in a nearby bin for quick grabbing. This is usually a low-to-mid cost upgrade compared to replacing cabinets.
To follow current trends, many people now style cabinets like “zones,” so baking gear has its own labeled home. When everything stands visible, you will put items back with less effort.
4. Add Clear Canisters on Shelf Risers

Picture a shelf that looks like a calm pantry display, with clear canisters stacked on risers. You can instantly spot flour, sugar, or cereal without opening every container.
Shelf risers add height and reduce wasted space. For personalization, pick matching lids and add tidy labels with a marker or label maker. Many clear containers are budget-friendly, but the nicer sets can cost more, so set a spending limit based on what you use most.
5. Fit a Spice Rack Insert on the Inside of a Cabinet Door
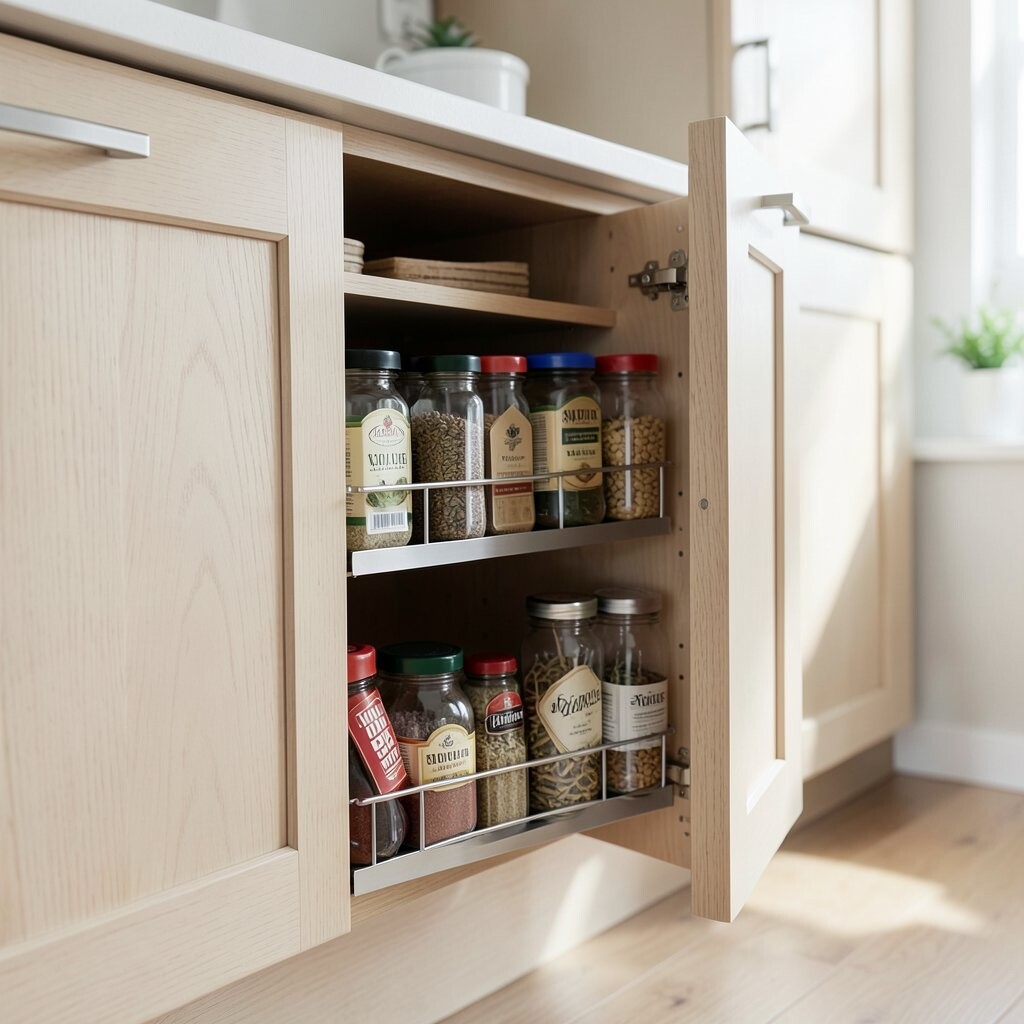
Imagine opening a cabinet door and seeing spice jars lined up like a rainbow. The jars sit flat or slightly tilted, so you can read labels in seconds.
This keeps spices from crowding the counter. It also saves time during cooking because you can find what you need without hunting.
Choose an insert that fits your jar size, and add a small rule: “put back within reach.” For cost control, use adjustable organizers or repurpose smaller racks with a bit of measuring. A popular trend right now is “open-by-need” storage, where the door becomes a mini station for daily cooking.
6. Create a Lid Organizer Using a Tension Rail

Visualize cabinet lids standing upright with space between them, so they do not stick together. You can grab the right size without lifting a whole pile.
Lid organizers make cookware easier to handle, which helps you cook more confidently. Look for systems that use tension rails or adjustable holders to fit many cabinet widths. For personalization, color-code lids by pot size or by cooking style like “pasta” or “stir-fry.”
7. Add Drawer-Style Bins Inside Deep Cabinet Shelves

Picture deep shelves filled with bins that slide in and out. Instead of a bottom shelf full of random items, everything sits in a tidy “drawer” shape.
Bins are helpful for snacks, foil, plastic wrap, and small gadgets. They also protect items from getting crushed at the back.
Choose bins with handles so you can pull them out safely. Use labels on the front and add a quick sorting plan, like “breakfast,” “baking,” and “cleanup.” This option fits many budgets, since you can start with a few bins and grow slowly.
8. Hang Measuring Cups on the Cabinet Side with Hooks

Imagine measuring cups lined up on the inside wall of a cabinet, like little trophies. The handles hang where you can grab them fast.
This uses vertical space and keeps cups from stacking and clanging. It also helps kids and guests find tools without asking. For personalization, arrange them by size and add a small hook for a spoon set you use often.
Make sure the hooks match the weight of your cups and that the cabinet door closes without bumping. If you have a budget, use sturdy adhesive hooks designed for kitchen use. For a trendy look, many people now mix “hidden tools” with “quick grab tools” so the daily items feel effortless.
Try placing your most-used cups near your stove or near where you do baking prep. You will feel the difference when grabbing tools becomes automatic.
9. Install Under-Shelf Baskets for Towels and Bags

Visualize baskets tucked under a cabinet shelf, holding small towels, liners, or even extra bags. They look like neat little pockets that keep items off the counter.
Under-shelf storage helps you use the “in-between” space that often goes unused. Choose baskets with a sturdy build and edges that will not snag. If you want to keep it personal, paint or stain the baskets to match your cabinet tone, and start with only what you use daily so costs stay low.
10. Use Pegboards or Rail Systems for Hanging Small Tools

Picture a cabinet interior with a rail system where spatulas, whisks, and scrub brushes hang neatly. You can see everything clearly, and the tools dry easily.
Hanging storage cuts down on countertop clutter and keeps frequently used items ready. It also gives your kitchen a clean, organized “workshop” feel.
Start by measuring your cabinet depth, then pick a rail size that fits. For personalization, arrange tools in a routine order, like “stir,” “flip,” and “clean.” This can be a mid-range solution depending on materials, but you can keep the cost down by mounting only one section first.
11. Store Food Wraps and Foils in a Vertical Holder

Imagine foil and wrap standing upright in a slim holder, so they never become a tangled mess. Every roll is easy to grab, and the sheet end stays ready.
Vertical holders save time and reduce frustration while cooking. Choose a holder that fits your cabinet height and can handle roll width without bending. For personalization, keep a small drawer label like “wraps” and add a spare roll spot so you never run out at the worst moment.
12. Add a Shelf Liner That Has Grippy Edges

Visualize a cabinet shelf with a liner that feels like it has a gentle grip. Containers stay put, even when you open and close the door.
This is a small change that makes a big difference for jars and small appliances. It also makes cleaning easier because you can wipe the liner instead of scrubbing the cabinet.
Pick a liner that fits your shelf size and has non-slip texture. For customization, trim the edges neatly and use a liner color that matches your cabinet style. The cost is usually low, and it is one of those “quick wins” that makes everything feel more intentional.
13. Keep Snacks in Stackable Containers Inside a Cabinet Zone

Picture a cabinet section where snacks sit in stackable containers, like colorful blocks. Nothing spills to the back, and each type is easy to reach.
Stackable systems help you plan portions and reduce “mystery snacks.” You can rotate items by using older ones first, which is a smart habit. For personalization, use one style of container and label by category like “granola,” “crackers,” or “chips.”
Measure the space before buying so the stacks fit without forcing doors. If you want to keep costs down, start with containers for your top three snack categories. Current trends often focus on “fridge and pantry rhythm,” and visible organization supports that mindset.
Place the most grabbed snacks at eye level inside the cabinet. When the daily routine is easy, the cabinet stays neat longer.
14. Use a Pull-Out Trash and Recycling Bin Under the Sink

Imagine a smooth pull-out bin under the sink that rolls out when you need it. Cleaning feels less messy because liners and trash tools are close by.
This solution keeps odors and clutter contained. Look for bins with easy-release features and stable mounting so they do not wobble. Budget-wise, installation can cost more than simple bins, but it is often worth it because it makes daily cleanup feel tidy and fast.
15. Add a Small Corner Basket for Cleaning Supplies

Picture a small basket tucked into a cabinet corner, holding sponges, scrub brushes, and extra soap. The items stay together, so they do not spread across the sink area.
Corner baskets help you use tight spaces without complicated installs. They also keep supplies dry and easier to find.
Choose a basket that fits your corner angle and is easy to lift out for rinsing. For personalization, store gloves in a matching small pouch inside the same basket. This is usually a low-cost add-on, especially if you start with one basket for your most-used cleaning items.
16. Store Lighter Items in Clear Stackable Drawers

Visualize clear stackable drawers inside a cabinet, so you can see the contents at a glance. A stack of drawers makes it easy to keep small items grouped.
This works well for batteries for timers, kitchen gadgets, and extra utensils. Choose drawers with smooth slides so you can open them without pulling hard. For personalization, place labels on each drawer and set a “return spot” rule so everything goes back in its own box.
17. Make a “First-In” Baking Shelf with a Front Tag System

Picture a baking shelf where the oldest items sit in front with small tags. When you reach in, you naturally pick the front one first.
This reduces waste and keeps pantry items from expiring in the back. It also supports a calmer routine because you are not guessing what you have.
Use front shelf markers or small labels on jars and boxes so the system stays consistent. Personalize by adding a simple month or “use first” note for things like flour and baking powder. This is budget-friendly, and it matches a trend toward smarter home organization that supports food freshness.
18. Install Shelf Rails to Stop Bottles from Rolling

Imagine bottles and spices held by gentle rails so they never roll when you pull something out. The front row stays lined up and easy to grab.
Shelf rails make bottle storage safer and more neat, especially for oils and sauces. They also prevent labels from getting scuffed by constant shifting. For personalization, set rails to create two lanes, one for everyday bottles and one for backup bottles.
Measure the shelf and bottle diameter before you buy to avoid a too-tight fit. Rails are often a mid-cost option, but they are quick to install and give a strong “finished” look. If you want to keep costs low, you can use adjustable rails and only cover the most-used shelves first.
A simple trend to copy is “front-facing organization,” which means labels face outward and everything looks tidy even without rearranging.
19. Add a Turntable for Oils, Vinegar, and Condiments
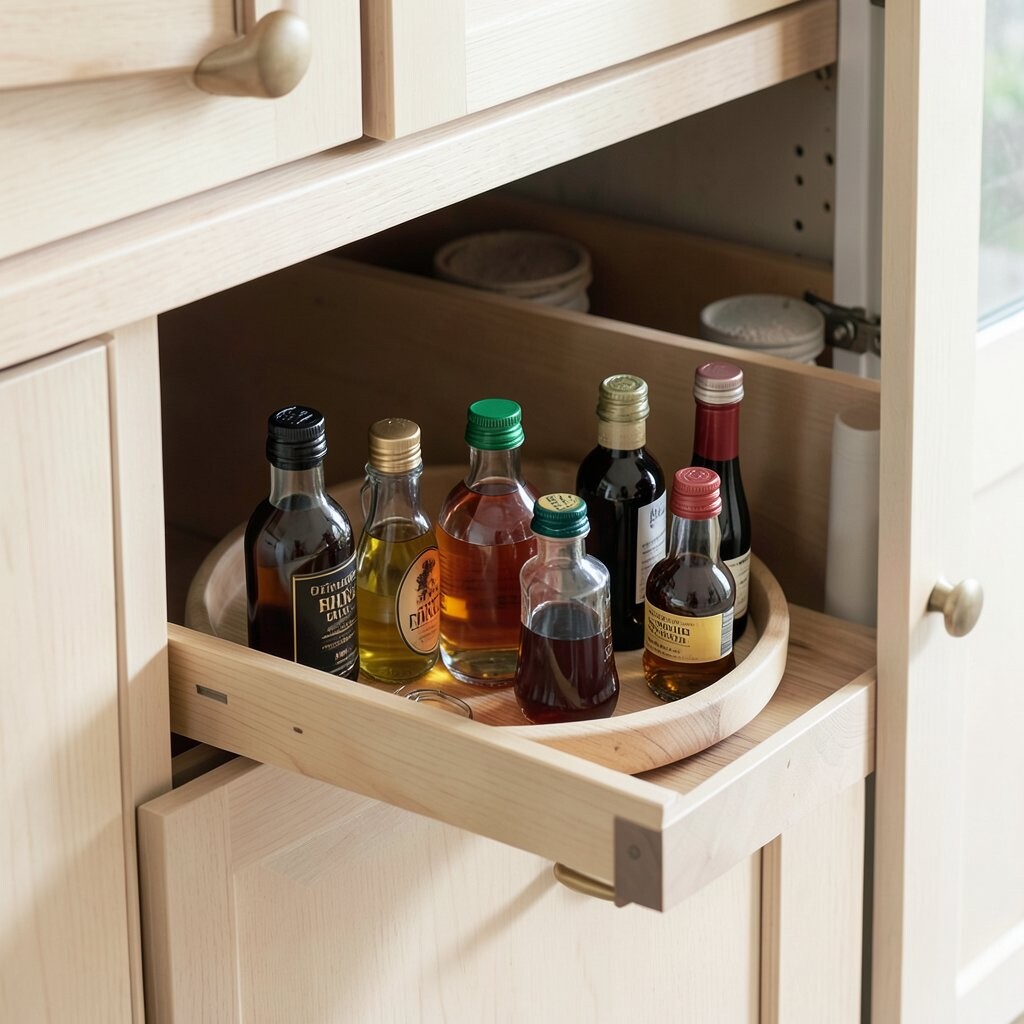
Picture a small turntable inside your cabinet, with oils, vinegar, and sauces spinning into view. Each bottle gets its own spot, and nothing gets shoved to the back.
Turntables are great for condiments because they keep your favorites within reach. They also make it easier to compare sizes and pick what matches your recipe.
Choose a turntable that fits your cabinet width and supports the weight of glass bottles. For personalization, put the daily condiments at the outer edge and keep backups in a nearby bin. This idea can be low-to-mid cost, and it is perfect for people who love quick, clean access.