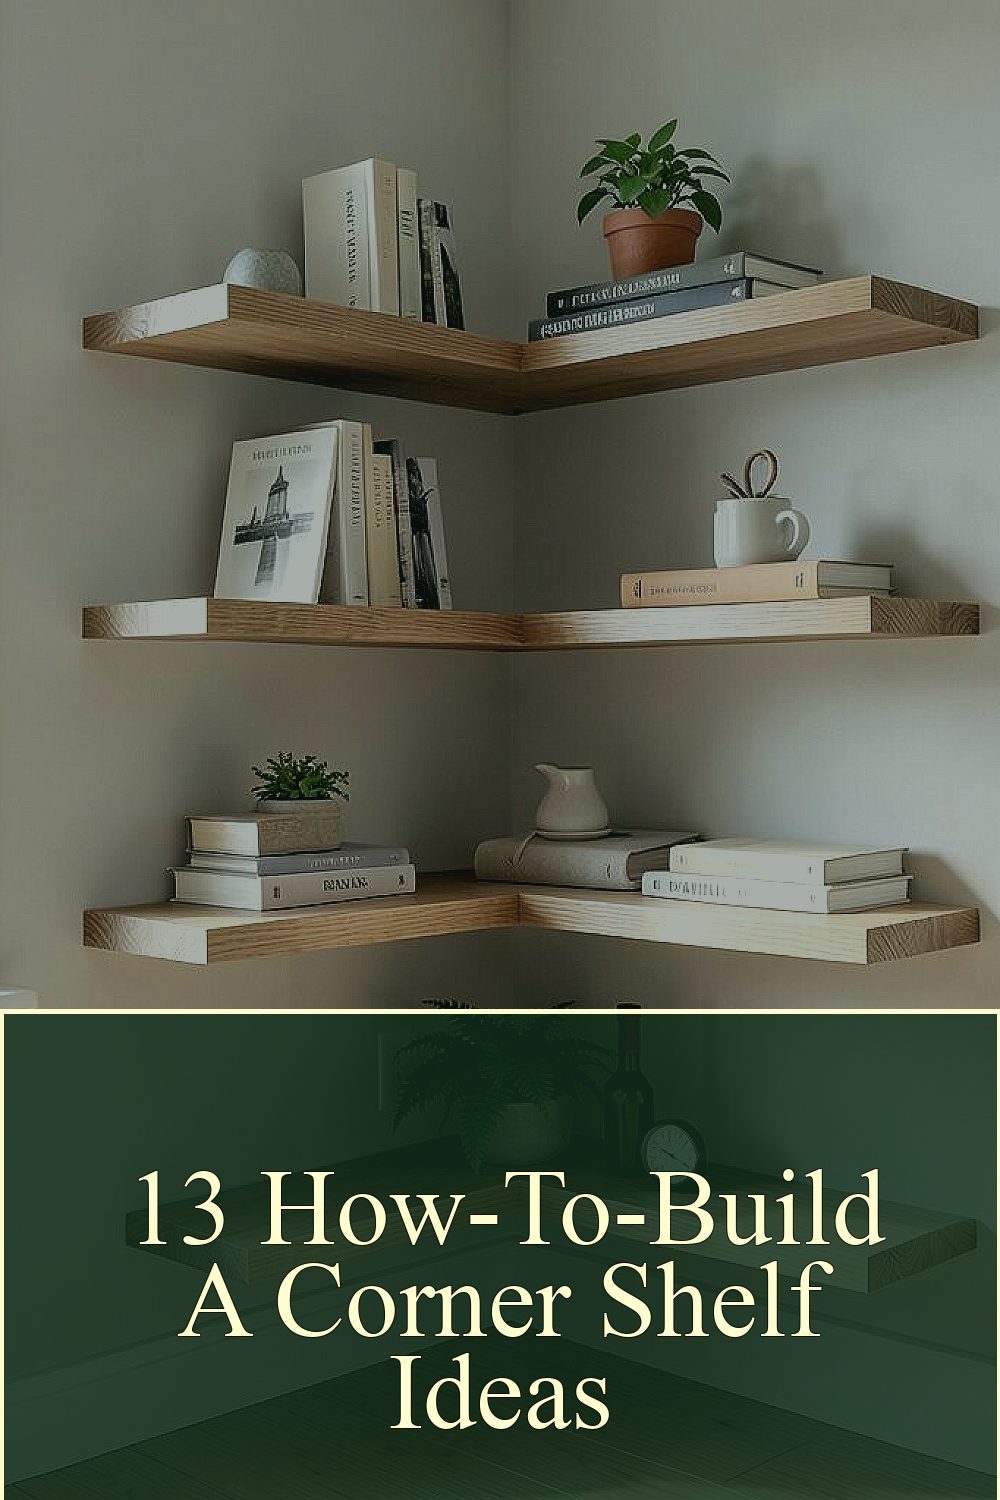
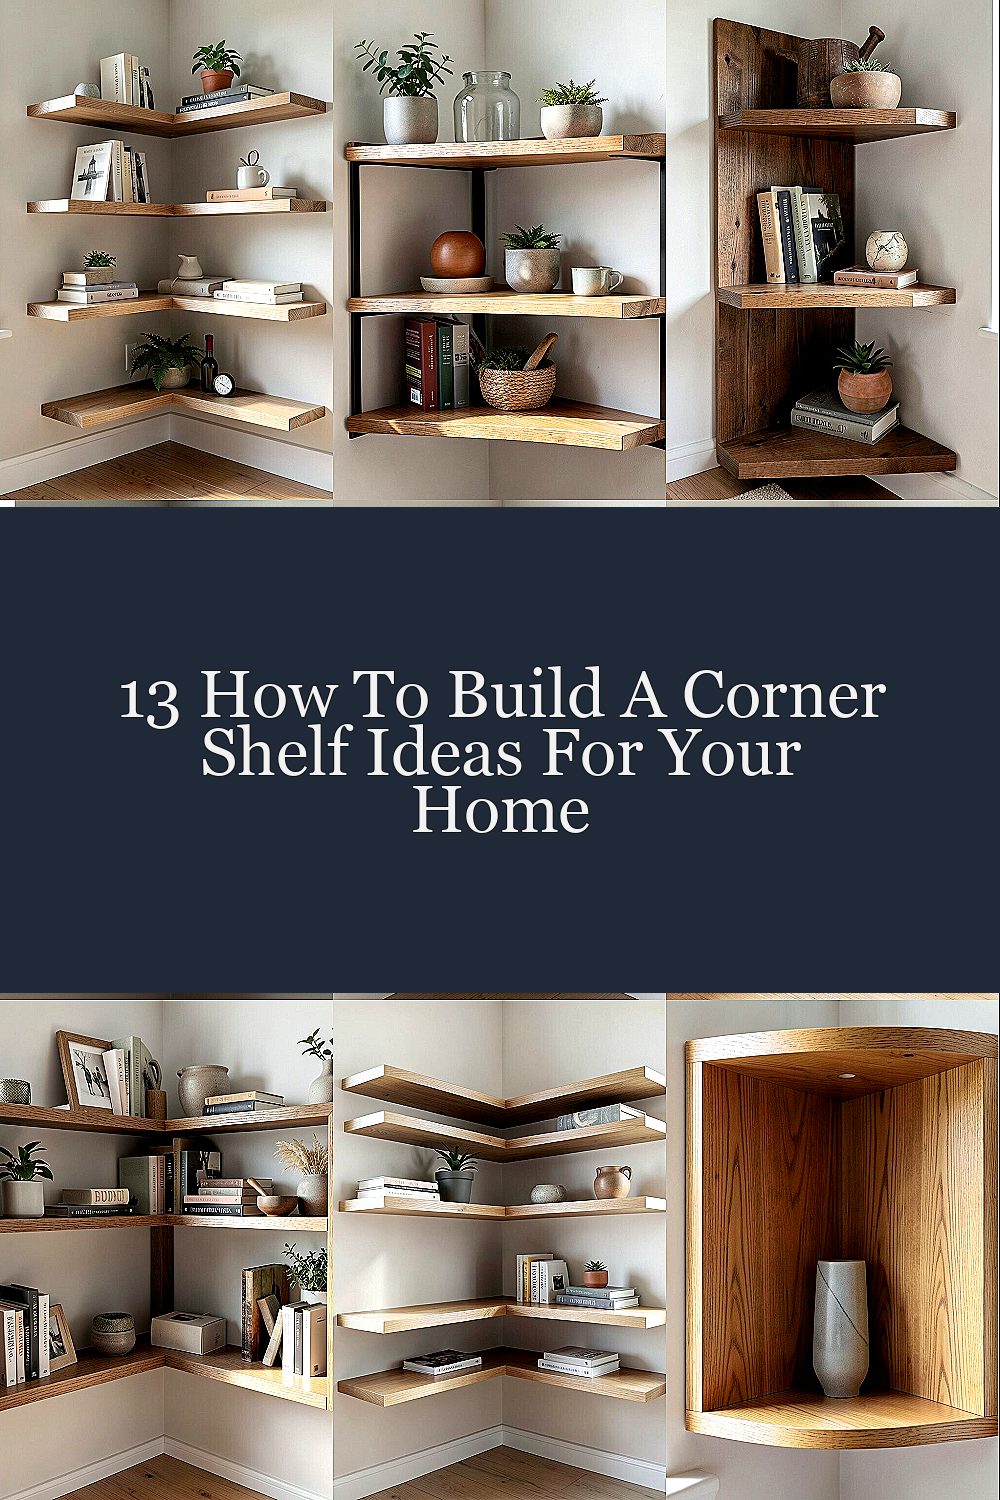
That unused corner in your room is begging for attention. With a little planning, it can become a stylish home feature that feels personal.
-
1. Start with a corner blueprint that fits your space

Start with a corner blueprint that fits your space Before you buy anything, take a careful look at the corner. Measure the wall height, the depth you can spare, and the gap where the shelves will sit.
Sketch a simple shape on paper or on your phone so you can see the layout clearly. Mark where studs might be behind the wall so your shelf feels steady. This step brings calm, because you’ll know what will work before you begin.
Picture the future shelf like a clean triangle in your mind. You’ll enjoy the benefit of fewer mistakes, since the corner shelf will match the room’s shape. For personalization, decide what you want to display first, like books, small plants, or family photos.
-
2. Choose the right shelf style for everyday use

Choose the right shelf style for everyday use Corner shelves come in many styles, and the right one changes how your room feels. You can pick a simple fixed shelf, a floating look, or a small ladder-style stack.
Floating shelves feel modern because the hardware stays hidden. Fixed shelves feel extra sturdy for heavier items. A good tip is to choose the style based on what you plan to hold, not just on looks.
For uniqueness, mix one thicker shelf for decor and one slimmer shelf for books. Current trends often lean toward warm wood tones, matte finishes, and soft neutral colors that blend with everything. Cost can vary a lot, so compare store prices with what you can build from common boards.
-
3. Pick materials that match your home’s vibe

Pick materials that match your home’s vibe Material choice is where style becomes real. A corner shelf made from oak, pine, or walnut can look warm and welcoming.
If you want a lighter look, choose birch or maple. If you love a bold vibe, try dark stained wood or a metal frame with wood shelves. Consider moisture too, especially if the shelf will sit in a kitchen or near a bathroom.
For personalization, paint the shelves in a color that matches your curtains or accent wall. You can also add a clear protective top coat so the surface stays easy to wipe. This brings a big benefit: your shelf stays pretty longer with less effort.
Cost considerations matter here, because solid wood can be pricier than plywood. Still, plywood with good edging and a nice finish can look expensive. Keep an eye out for sales, and you may save money without losing quality.
-
4. Use a safe corner support system for strong shelves

Use a safe corner support system for strong shelves A corner shelf must feel solid the moment you touch it. If it wobbles, it won’t just look awkward, it can become unsafe over time.
For best results, mount supports into studs or use wall anchors rated for the shelf load. You can add a corner bracket plus back support to hold weight better. A helpful suggestion is to test the shelf strength by applying gentle pressure before you load it with items.
Visually, strong supports can still look neat when they match the shelf color. This offers the benefit of peace of mind, because your display won’t slide or sag. For personalization, choose brackets in black for a modern touch or brass for a warmer look.
Depending on the hardware, costs can rise or fall quickly. If you’re on a budget, start with simple brackets and upgrade later. Current trends often favor hidden support, so paint or stain hardware to blend in when possible.
-
5. Build a stepped corner shelf for a clean display

Build a stepped corner shelf for a clean display A stepped design makes the corner shelf feel like a tiny staircase. Each level gives you more room for items and prevents clutter from piling up.
Try making three or four small tiers with even spacing. Use a level to line up every step so the edges look crisp and intentional. This helps your items sit neatly and keeps the shelf from looking crooked.
For personalization, place a plant on the top tier, books on the middle, and a small basket on the bottom. You’ll love the benefit of better organization because each category has its own spot. If you want uniqueness, add a decorative back panel or a subtle wood trim around the tiers.
Cost can be managed by using thinner boards for the tiers while keeping supports strong. Many DIYers save money by cutting parts from plywood sheet stock. Trendy homes often show built-ins, and a stepped shelf gives that custom vibe without the custom price.
-
6. Add back panels for a richer, finished look

Add back panels for a richer, finished look A corner shelf can look extra polished when it has a back panel. Even a small panel gives your items a clear “frame” and stops them from looking lost.
Use wood paneling, plywood, or a peel-and-stick wall covering for a quick effect. Choose a pattern like subtle wood grain, tiny dots, or soft stripes. This brings uniqueness because it turns the corner into a mini feature wall.
For tips, make sure the panel is measured so it fits tight against the walls. Sand the edges, then seal or paint for a smooth finish. The benefit is that dust feels easier to manage too.
-
7. Create an L-shaped corner shelf for maximum space

Create an L-shaped corner shelf for maximum space An L-shaped corner shelf hugs the walls and gives more usable area. You can display more items without needing extra floor space.
To build one, you’ll cut two shelf runs that meet at the corner. Then add supports so the joint stays strong where the shelves connect. A practical suggestion is to build a test fit with clamps before you drill anything permanently.
Visually, an L-shape looks balanced and purposeful. It helps small rooms feel organized, because the shelf lines guide the eye. For personalization, make the shelves different lengths so the arrangement looks natural, not forced.
Cost considerations depend on shelf length and board thickness. Thicker boards cost more but feel sturdier. Current trends often use clean lines and minimal hardware, so consider countersunk screws and a smooth stain to match that style.
-
8. Use floating corner shelves for a modern, airy feel

Use floating corner shelves for a modern, airy feel Floating shelves give a light, open look that works in almost any room. From the side, you can nearly forget the brackets are there.
To achieve this, install hidden support rails or concealed brackets inside the shelf frame. Then make sure the shelf front is clean and straight. This choice brings benefits like easy visual flow and a tidy look even with decorative items.
-
9. Choose a finish that makes your wood look brand-new

Choose a finish that makes your wood look brand-new The finish is what turns simple boards into a shelf you want to show off. A good stain or paint gives depth and makes the grain look richer.
For a warm look, stain and seal with a clear top coat. For a fresh style, paint with a durable finish, like satin or semi-gloss. A helpful tip is to do test swatches on scrap wood so you can see the real color in your room’s lighting.
Personalization is easy here: you can match shelf color to your door trim or switch to a contrasting shade for pop. Cost-wise, stain and sealers vary, but buying quality reduces the chance of peeling later. Current trends like matte finishes can make wood feel calm and modern.
-
10. Build a corner shelf with removable hooks or rails

Build a corner shelf with removable hooks or rails A corner shelf can do more than hold objects. By adding small hooks, rails, or a tray feature, you can store items without stacking everything.
Try a rail for mugs, a small hook strip for keys, or a slim ledge for small decor. This helps you keep daily items close but not in the way. If you want uniqueness, install a tiny row of hooks below a shelf tier like a miniature gallery support.
For tips, keep the add-ons low so they do not block sightlines. Also check weight capacity so hooks do not pull out over time. Cost considerations are usually manageable because hooks and rails are small parts compared to shelves.
-
11. Plan lighting near your corner shelf for extra wow

Plan lighting near your corner shelf for extra wow Lighting can make a corner shelf look like it belongs in a magazine. A small LED strip or puck lights adds sparkle and highlights your items.
Place the light under the shelf edge or along the back panel so it casts a soft glow. Choose warm white light for cozy rooms and brighter cool light for kitchens. The benefit is huge: your decor looks better, and the corner feels more inviting.
For personalization, use dimmable lighting so the mood changes with the day. You can also place a light behind a chalkboard-style back panel for a unique style. Cost can rise if you add wiring, but plug-in options often keep it simpler.
Current trends show warm LED accents in living spaces, especially in reading corners and entryways. If you are aiming for budget, start with a simple battery or plug-in light. Later, you can upgrade if you want a more built-in look.
-
12. Style your corner shelf like a mini gallery

Style your corner shelf like a mini gallery Once your shelf is built, styling is what makes it feel like yours. A corner shelf looks best when you arrange items with intention, not just by placing everything randomly.
Use a mix of heights: place tall items in the back, medium items in the middle, and small items toward the front. Add texture with a woven basket, smooth ceramic, or a wood frame. This brings benefits like a calm look and easier cleanup because you can reach items in one spot.
For uniqueness, rotate seasonal decor, like small pumpkins in fall and bright greens in spring. You can also add a personal photo in a matching frame color to connect the shelf to your everyday life. Cost-wise, decor can stay affordable by using thrifted items or repurposed containers.
-
13. Keep your corner shelf easy to maintain and long-lasting

Keep your corner shelf easy to maintain and long-lasting A shelf is only as great as how long it stays beautiful. Plan for daily life, like dust, fingerprints, and the occasional spill.
Choose a sealed finish that resists moisture and wipe with a soft cloth. Avoid harsh cleaners that can damage paint or stain. A helpful tip is to use felt pads under heavier decor so you do not scratch the surface.
For personalization, add small covers or trays that catch tiny messes. That way, cleanup takes seconds instead of minutes. Cost considerations are worth it here, because buying a durable top coat now can save you from redoing everything later.
Current trends favor practical beauty, so easy-care shelves fit right in. If you want a modern feel, keep surfaces simple and let the items do the talking. Your corner shelf will keep looking sharp, even as your style changes over time.