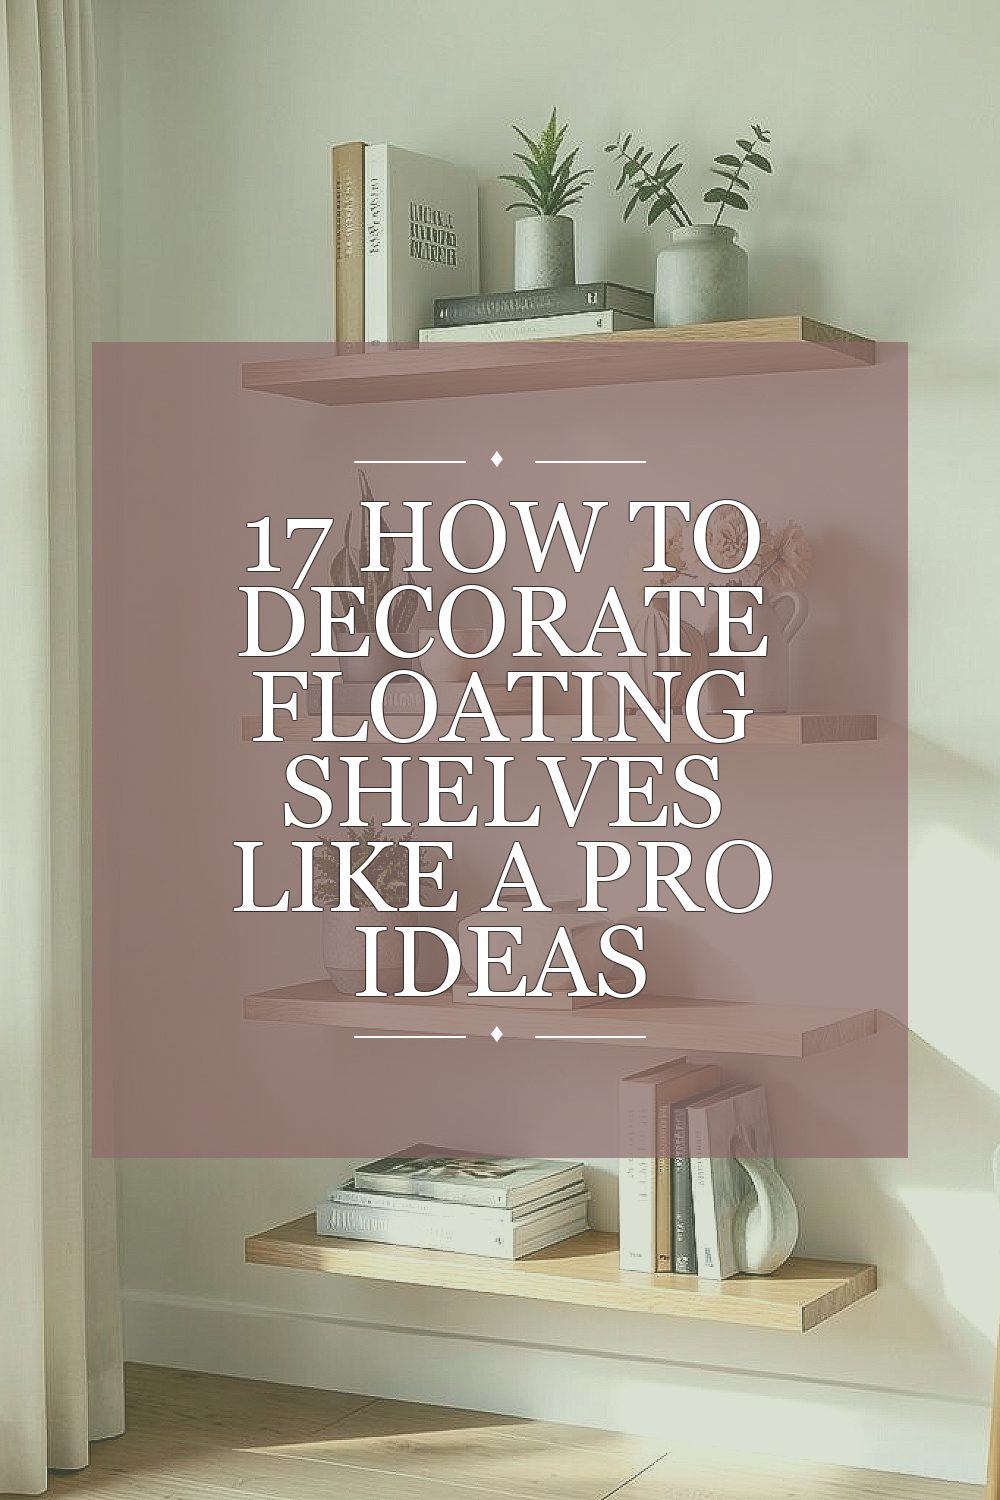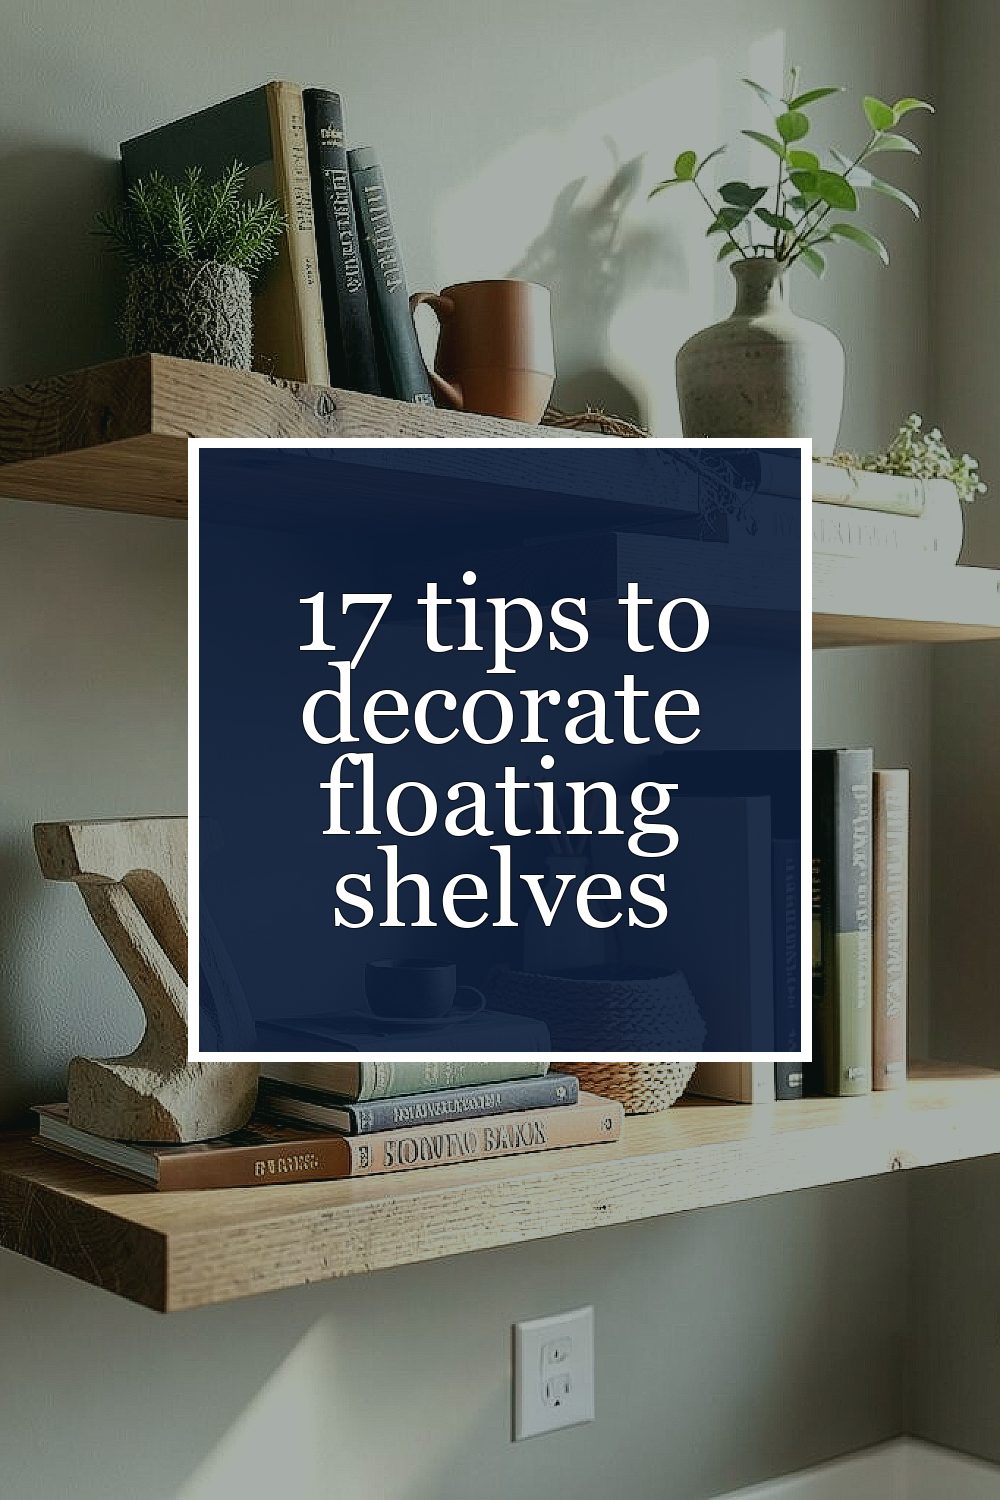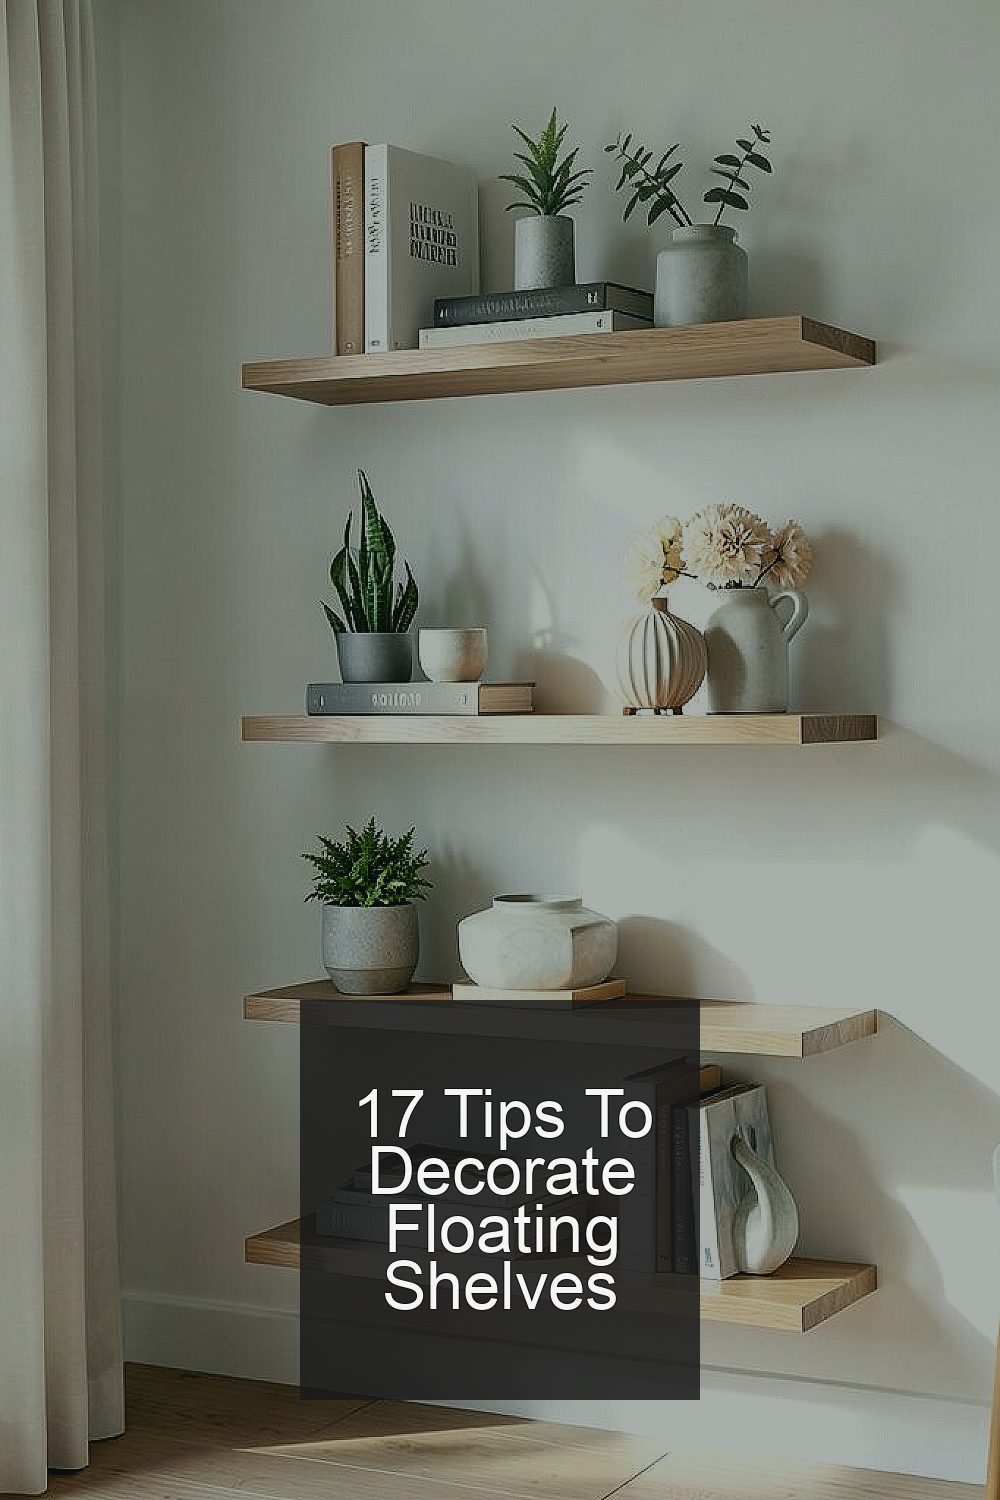
Floating shelves can make a room feel smart and stylish at the same time. When they’re styled well, they look like they belong there forever.
From cozy little nooks to modern showpieces, these shelf ideas will help you plan what goes where, so your space feels warm, tidy, and full of personality.
-
1. Start With a “Home Base” Color Theme
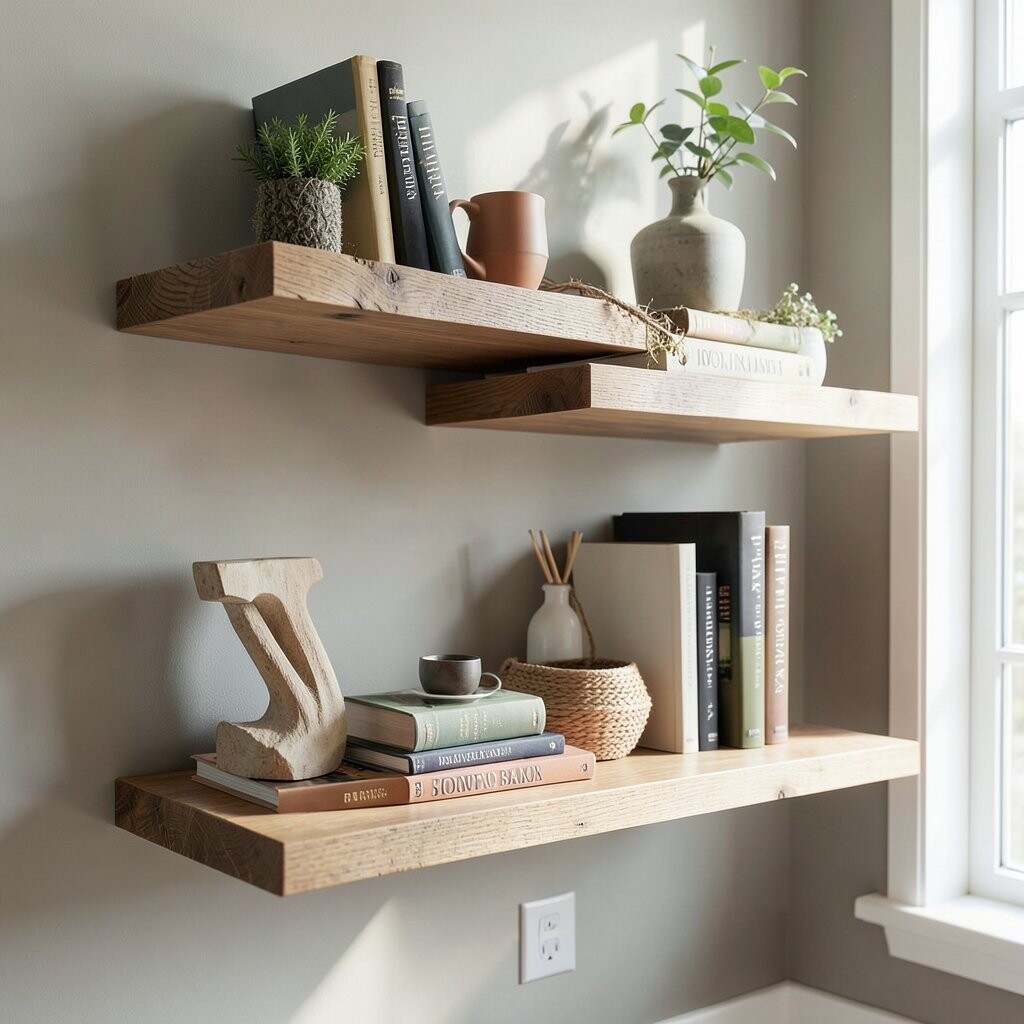
Start With a “Home Base” Color Theme Pick a color story before you set anything on the shelves. Your eye will relax when the objects share similar tones.
Try a soft neutral base like warm white, sand, or light wood, then add small pops of color. A little sage green, muted blue, or terracotta can look amazing without feeling loud. If you have existing wall art, match one of its colors so everything connects.
To keep it pro-level, choose two or three main colors and repeat them. This trick makes the shelves look intentional, not random. You can also use one “metal” color, like black or brass, so the details stay consistent.
-
2. Use the Vertical Mix: Tall, Medium, and Low
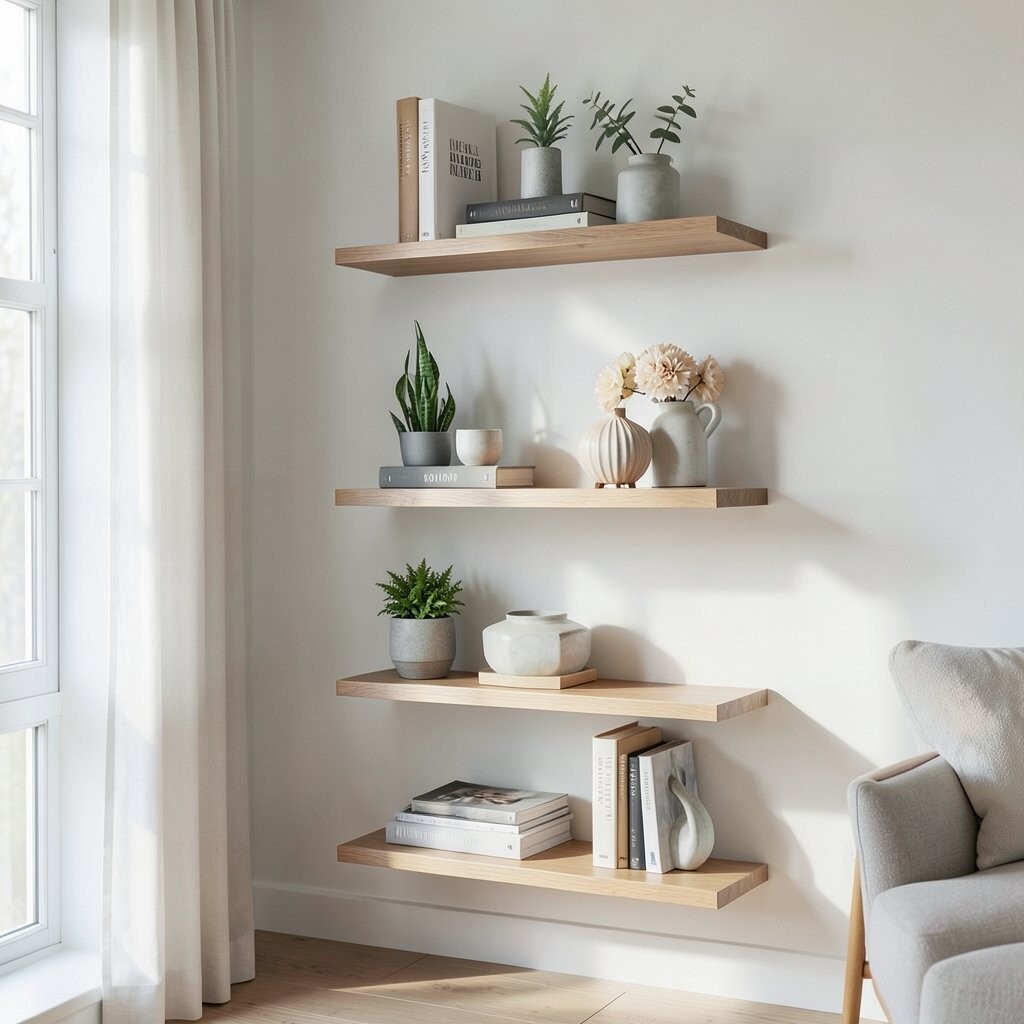
Use the Vertical Mix: Tall, Medium, and Low Decorate with height like you’re arranging a mini skyline. Tall items catch attention first, and the shorter pieces make it feel balanced.
Place a taller vase or candle holder on one end, then add medium frames in the middle. Finish with low books, small bowls, or a tiny plant near the front edge.
Use simple shapes to keep it neat, like a cylinder vase with a square frame. This structure also helps you style faster each time you swap items. Plus, varying heights makes even a small shelf feel full.
-
3. Build a Cozy Layer With Books, Baskets, and a Tray
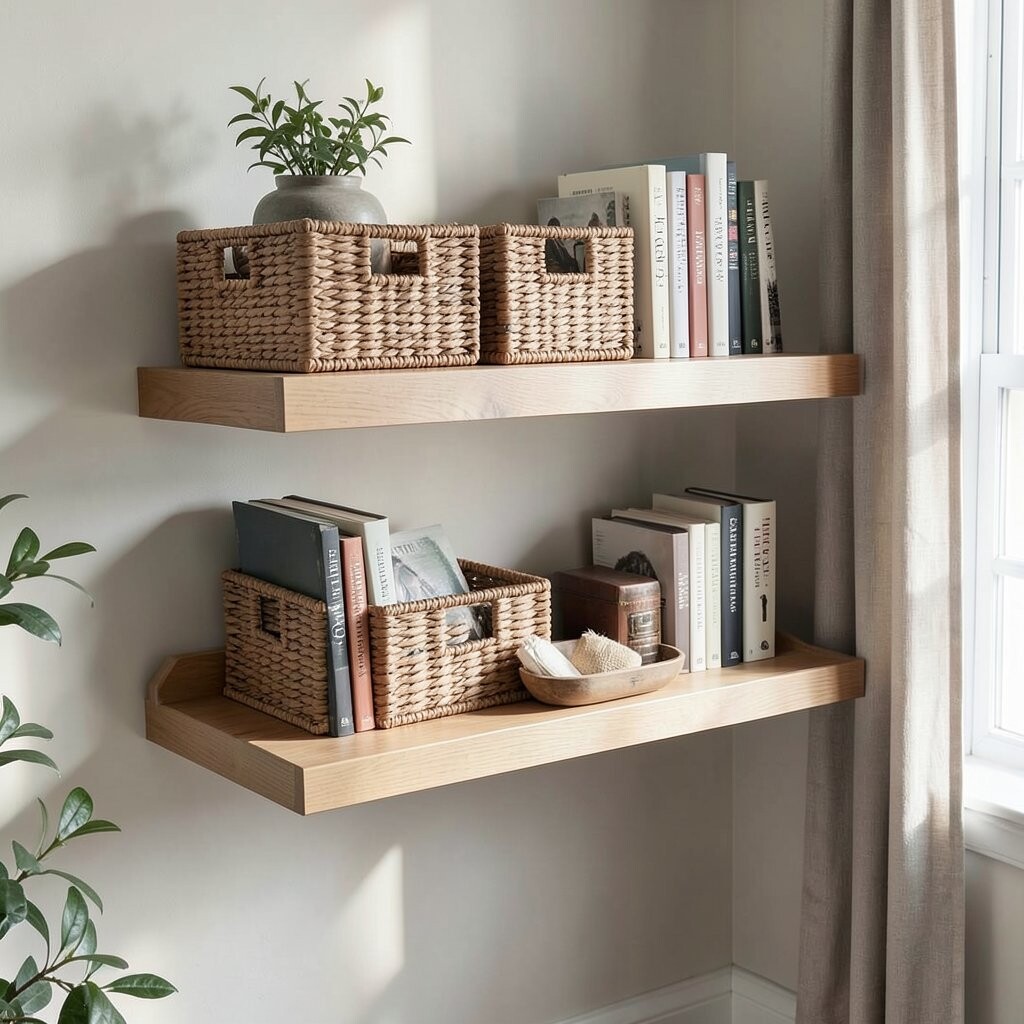
Build a Cozy Layer With Books, Baskets, and a Tray Books are an easy way to add texture and color without spending much. Stand a few up, stack a few flat, and let the spines do the talking.
Add a small tray to “hold” smaller items like candles, coasters, or miniature decor. A tray makes the shelf look organized, even if you change things often. You can also tuck a folded throw corner into a basket below the shelf line for extra softness.
Try mixing book sizes, too, because it creates natural variety. That variety looks designer-ready in minutes. The benefit is big: your shelves look styled, but you still have a simple setup.
For a budget-friendly option, shop your home first. Use old cookbooks, travel books, or notebooks you already own. Then buy only one new “anchor” item like a tray or candle set.
-
4. Go for the “One Statement Piece” Rule
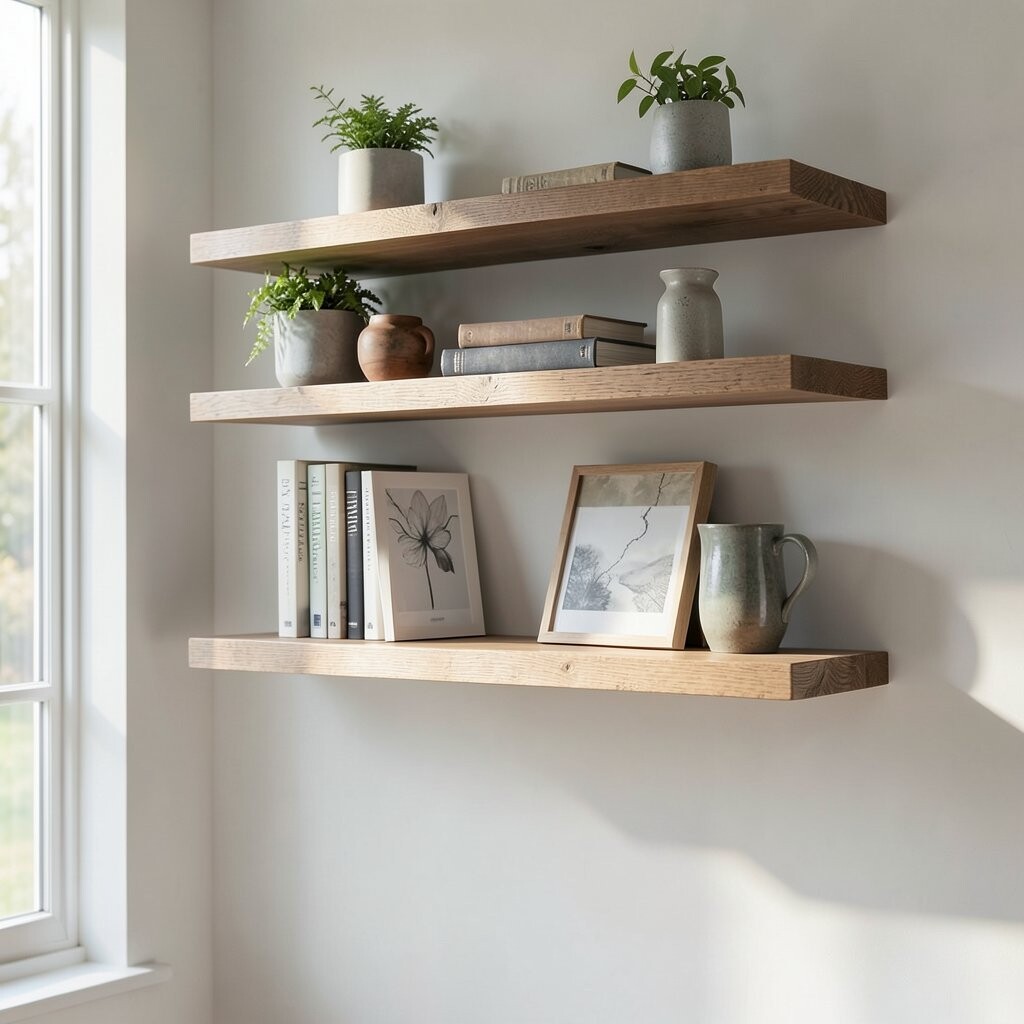
Go for the “One Statement Piece” Rule Choose one special item that feels like the star of your shelf. It could be a tall ceramic vase, a sculptural candle holder, or a framed art print you love.
Then build everything around it. If the statement piece is bold, keep the rest simpler. If it’s subtle, you can add two small matching extras to make it pop.
This approach helps you avoid clutter and makes styling feel easy. It also gives your room a focal point, so the shelves look purposeful. A big plus: you’ll spend less time trying to “fit everything in.”
Consider cost by setting a limit for the anchor item. You can find great versions at thrift stores, estate sales, or discount home shops. Even a secondhand frame or vase can look high-end with the right placement.
-
5. Add Greenery With a Small Plant or Dried Stems
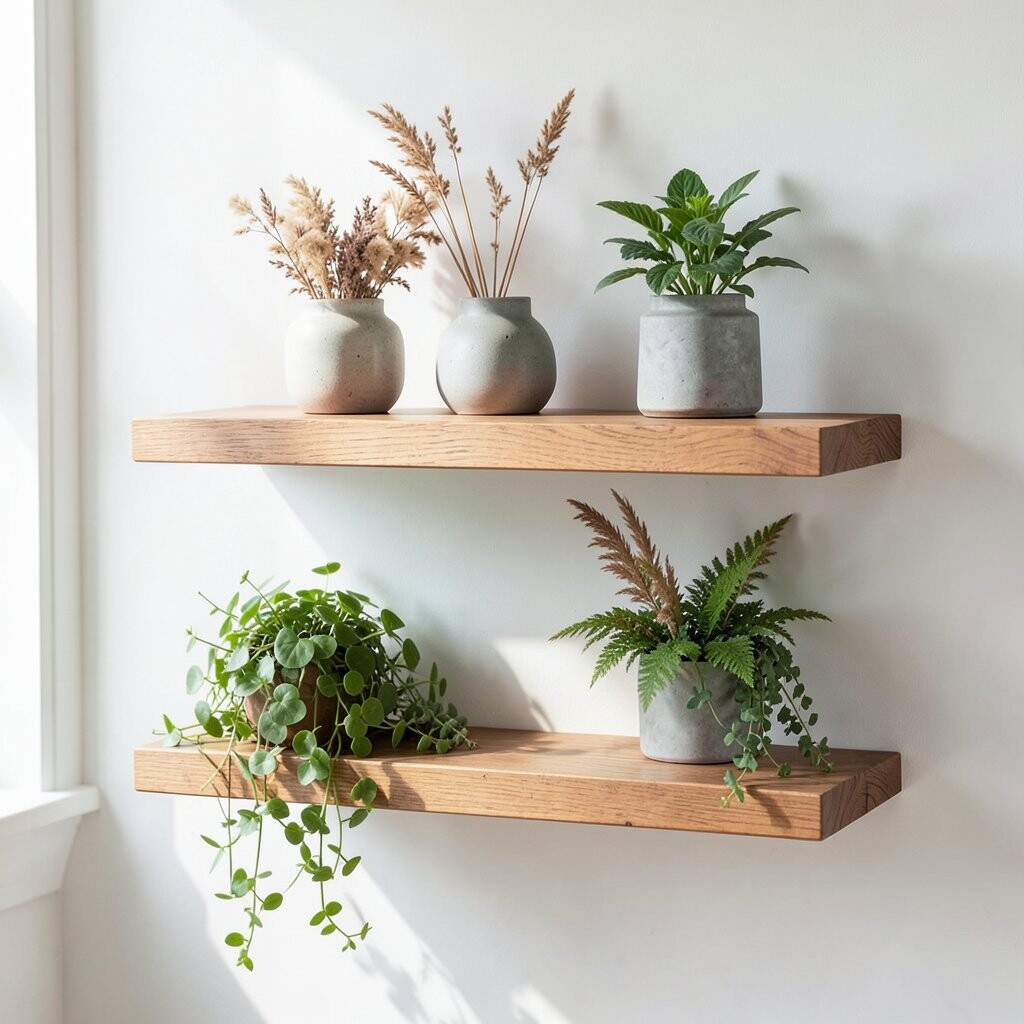
Add Greenery With a Small Plant or Dried Stems Plants instantly make floating shelves feel fresh and alive. A small plant also adds color that changes with the seasons.
For a clean, modern look, use a compact plant in a simple pot. For a softer vibe, try dried stems in a skinny vase or a small bundle of pampas-style grasses.
Keep the greenery near one side, then let the rest of the shelf balance it out. This makes your shelf look styled instead of crowded. It also helps with the “empty space” problem, because plants naturally fill that visual gap.
-
6. Match Frame Sizes Like a Gallery Wall, Not a Scrapbook
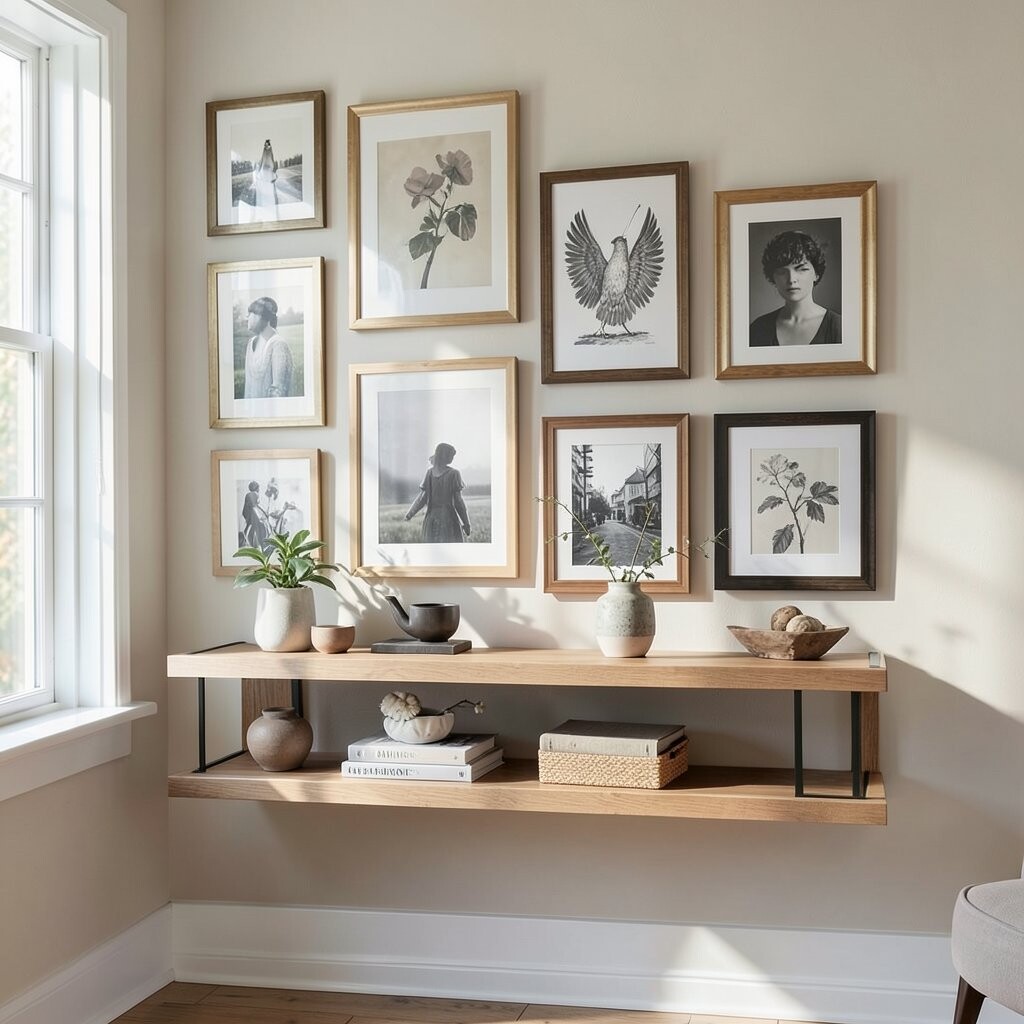
Match Frame Sizes Like a Gallery Wall, Not a Scrapbook Floating shelves can act like a mini gallery. When you use frames with a similar style, the whole display looks curated.
Try one larger frame in the center, plus two smaller frames on the sides. Or use three frames that are the same width for a calm look.
Pick frames that match your room’s design style. Black frames feel crisp, light wood feels cozy, and white frames feel airy. This makes the shelves look unique because the art feels connected to your home.
-
7. Create a “Stacked Story” With Curated Objects
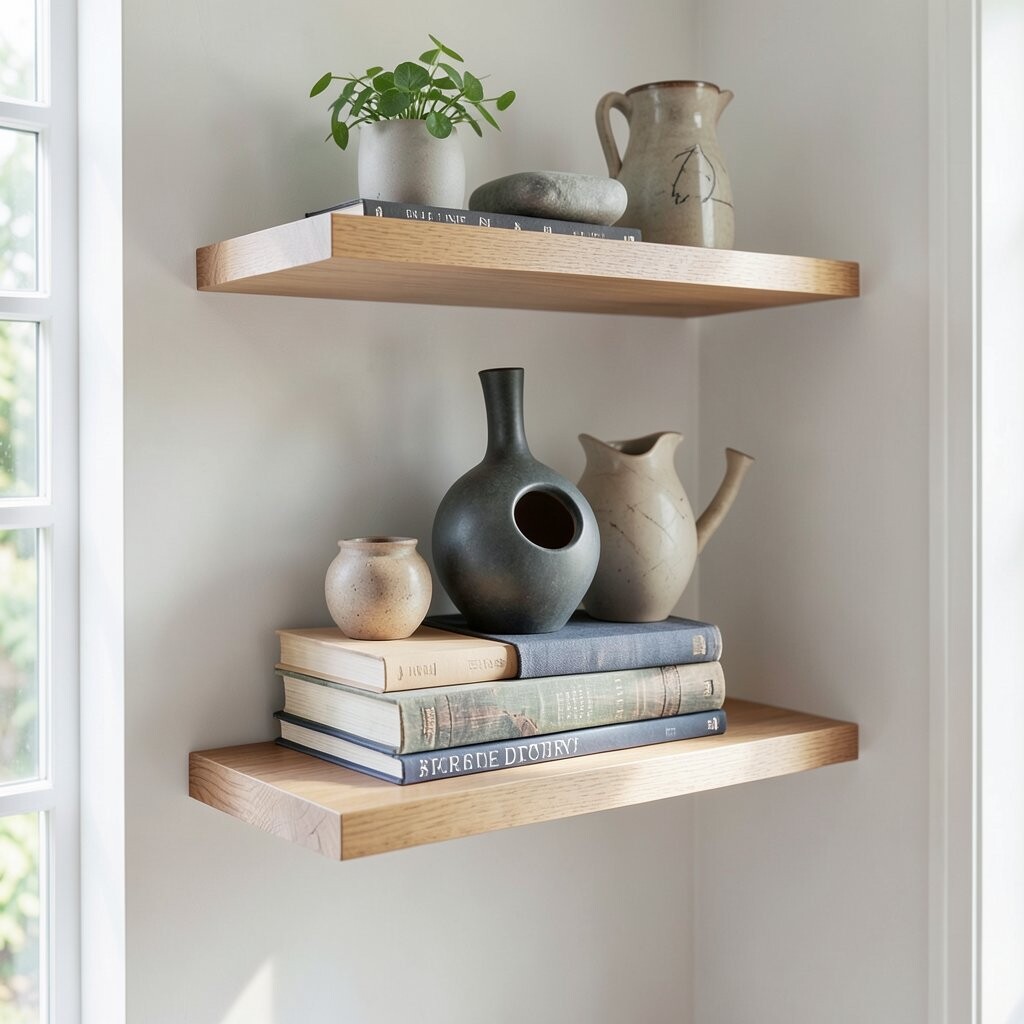
Create a “Stacked Story” With Curated Objects Instead of random decor, make a tiny story with items that go together. Think: coffee theme, beach memory theme, or your favorite hobby theme.
For example, place a small book about baking next to a mini whisk and a ceramic jar. Or use travel-themed pieces like a map print, a small compass, and a neutral vase. When the objects share a purpose, your shelves feel personal and confident.
To keep it tidy, don’t add too many small things at once. Choose a few meaningful pieces and give them space to breathe. This is a big benefit because floating shelves can look messy fast when they’re overfilled.
-
8. Use Lighting Tricks: LED Strip or a Plug-In Sconce Style
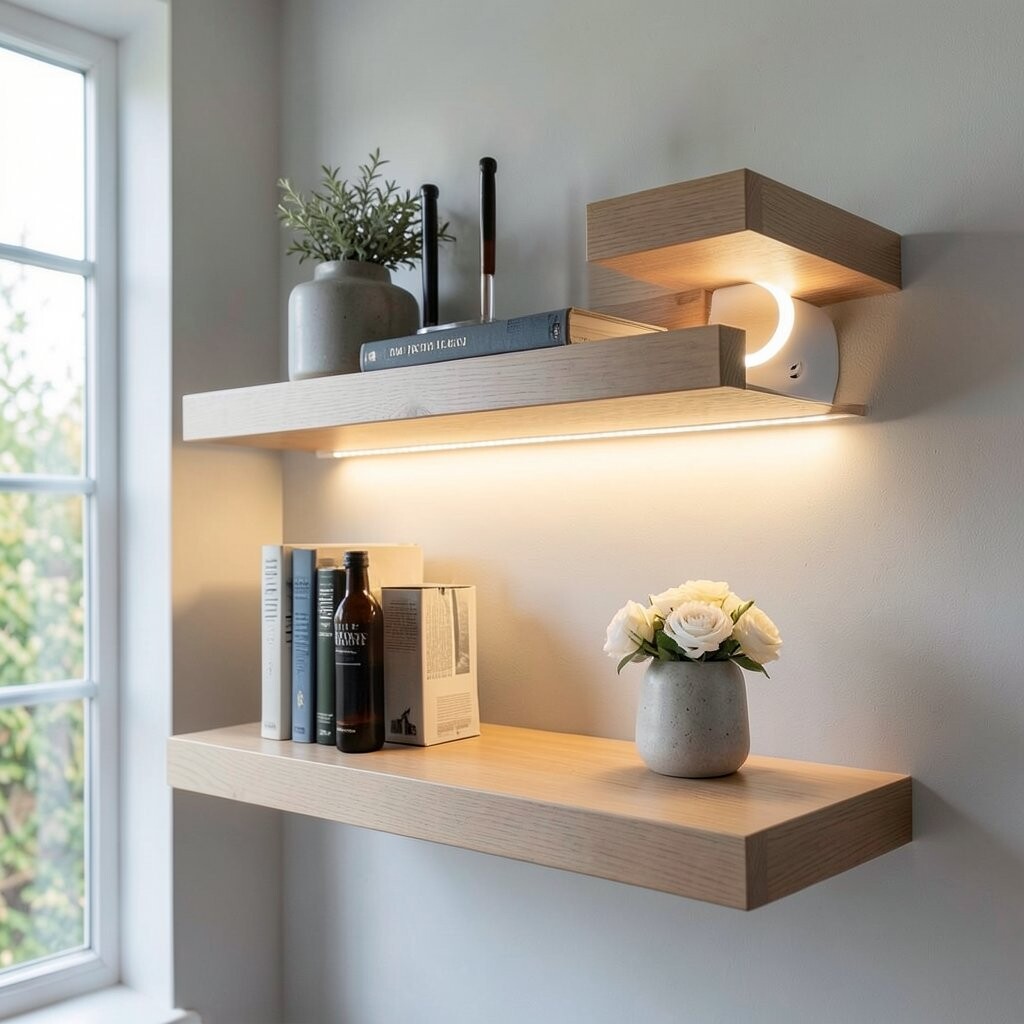
Use Lighting Tricks: LED Strip or a Plug-In Sconce Style Light can turn plain shelves into a feature. Even a simple LED strip behind the shelf makes objects look warmer and more polished.
If you don’t want wiring, use plug-in puck lights or a small lamp style light. Point it toward the shelf items so shadows add depth. This also helps the decor look better at night, which is when many shelves get the most attention.
Lighting is a current trend because it feels modern and cozy at the same time. It also makes colors look richer, especially greens and browns. Just be careful with brightness so it doesn’t wash out your wall behind.
Cost-wise, start with one simple light source. Compare options that are easy to install, and use a timer so it feels like a treat every evening. This makes the shelf look “pro” without a big renovation.
-
9. Add Texture With Felt, Rattan, and Ceramic
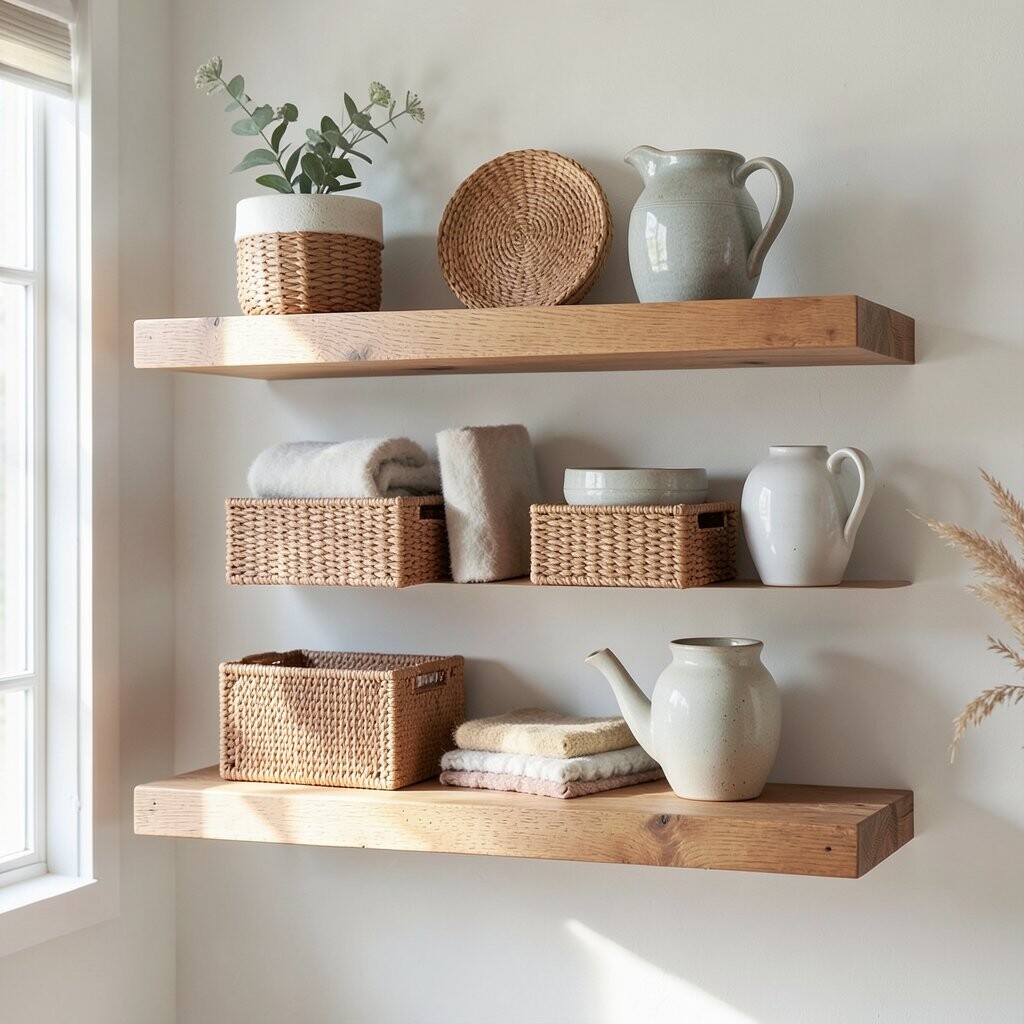
Add Texture With Felt, Rattan, and Ceramic Texture is what makes shelves feel special even when everything is simple. Combine smooth ceramics with woven baskets or rattan trays for a nice mix.
Try a rattan coaster under a candle, or place a felt-covered book stack beside a glossy vase. You can also use linen-like frames or ceramic planters in soft colors. The visual benefit is huge: it looks rich and layered.
Choose one texture as the “main” one, then add smaller touches. This keeps the display from feeling too busy. If you’re personalizing, match textures to your room’s fabrics, like curtains, rugs, or throw pillows.
-
10. Keep Your Spacing Consistent for a Clean, Designer Look
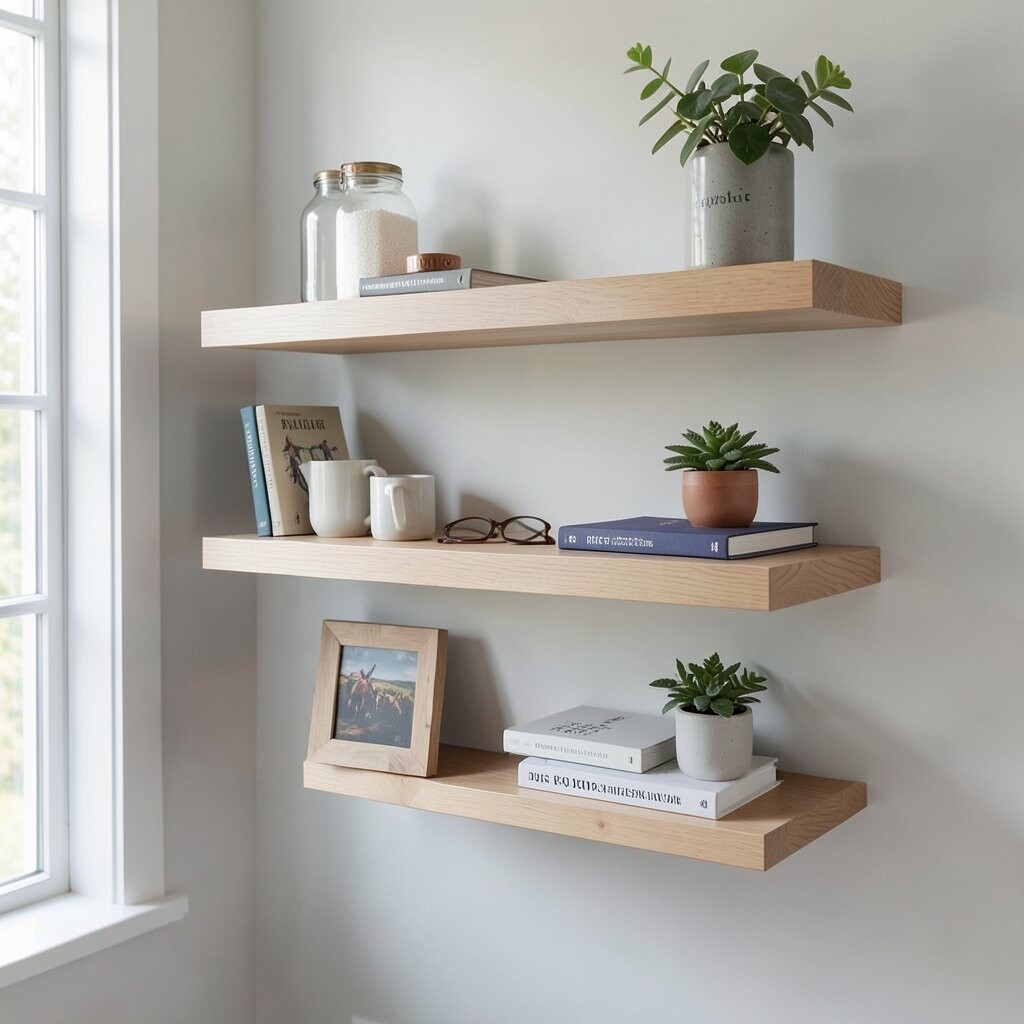
Keep Your Spacing Consistent for a Clean, Designer Look Spacing is like punctuation for decor. When gaps are even and items aren’t jammed together, the shelf looks calm and intentional.
Use a quick trick: place painter’s tape on the shelf surface where items will go. Then step back and check the layout before moving anything for real.
Keep larger items spaced farther apart, and smaller items slightly closer together. This helps your eyes glide across the shelf, not bump around. The benefit is that your shelves look polished even if the items are inexpensive.
-
11. Create a “Use-Then-Show” Display With Everyday Favorites
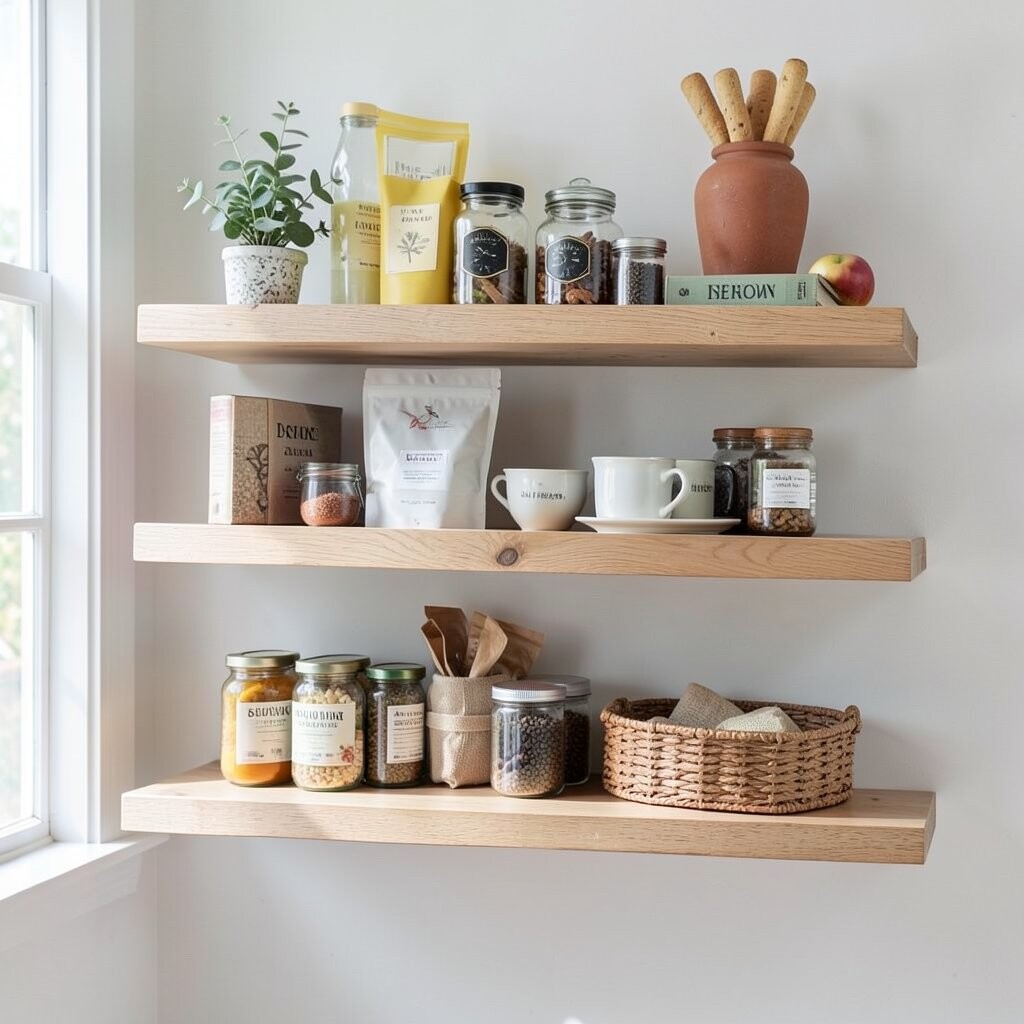
Create a “Use-Then-Show” Display With Everyday Favorites Decor doesn’t have to be only for looking. You can style shelves with items you genuinely use, like serving pieces, mugs, or small bottles.
For example, show a small matching set of cups, then add a ceramic canister beside it. If you love tea, display a tin, a tiny scoop, and a book about flavors. This makes your shelves feel personal and practical at the same time.
To keep it tidy, stick to a small set of items that match. Too many mismatched pieces can make the shelf look cluttered. This idea also saves money because you’re using what you already own, instead of buying extra decor.
-
12. Add Personal Items Like Photos, Notes, or Small Keepsakes
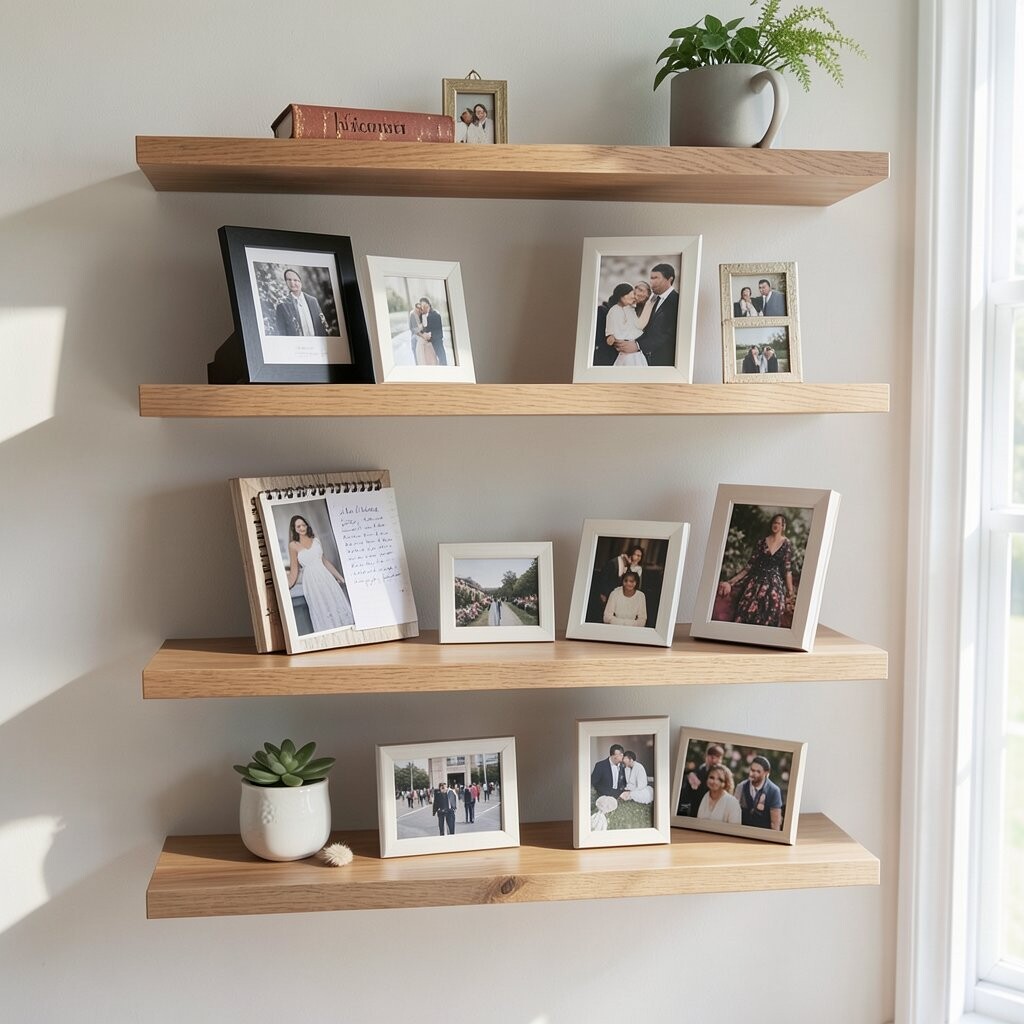
Add Personal Items Like Photos, Notes, or Small Keepsakes Floating shelves are perfect for memories because they sit where you see them often. Add a small photo frame, a tiny letter holder, or a little heirloom you cherish.
Choose photos with similar tones so they blend into the shelf colors. Black-and-white photos look clean, while warm family photos feel cozy and friendly. If you want something unique, place a small “current season” note in a frame, like a short family quote.
This personal touch creates warmth without needing more furniture. It also makes your home feel lived-in in a good way. The tip is to keep keepsakes small and intentional, so the shelf remains stylish.
-
13. Style Like a Theme: Coastal, Modern, Farmhouse, or Japandi
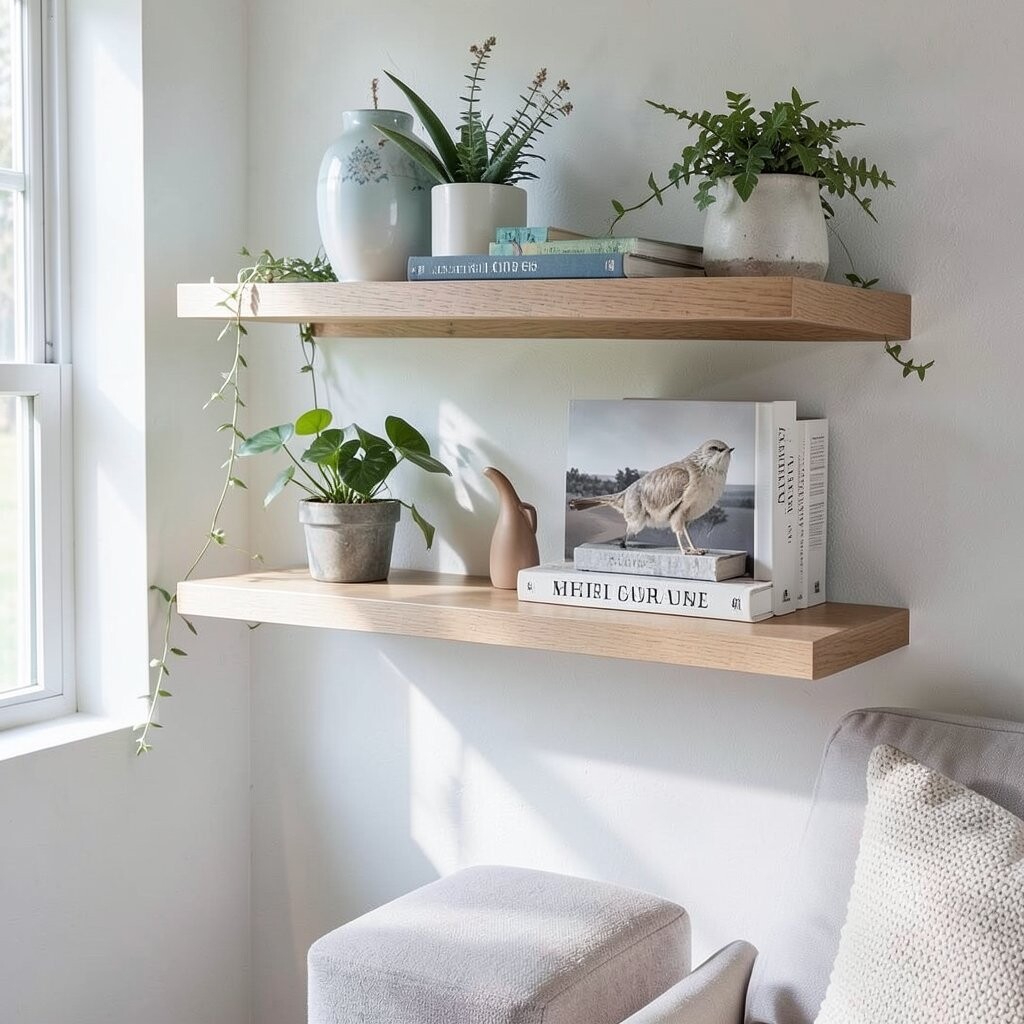
Style Like a Theme: Coastal, Modern, Farmhouse, or Japandi The easiest way to make shelves look pro is to choose a style direction. Then select decor that fits that look, like coastal blues, farmhouse neutrals, or modern black-and-white.
For coastal, use a light vase, a simple shell-inspired piece, and soft sand-colored books. For modern, use minimal shapes and fewer objects, plus clean lines. For Japandi, combine warm wood with smooth ceramics and muted greens.
This kind of theme helps you shop smarter and avoid random buys. It also makes the shelf feel unique because it reflects your personal taste. If you’re cost-conscious, buy one item that signals the theme, like a vase or tray, and let the rest come from home.
-
14. Try a “Color Block” Layout With a Side-by-Side System
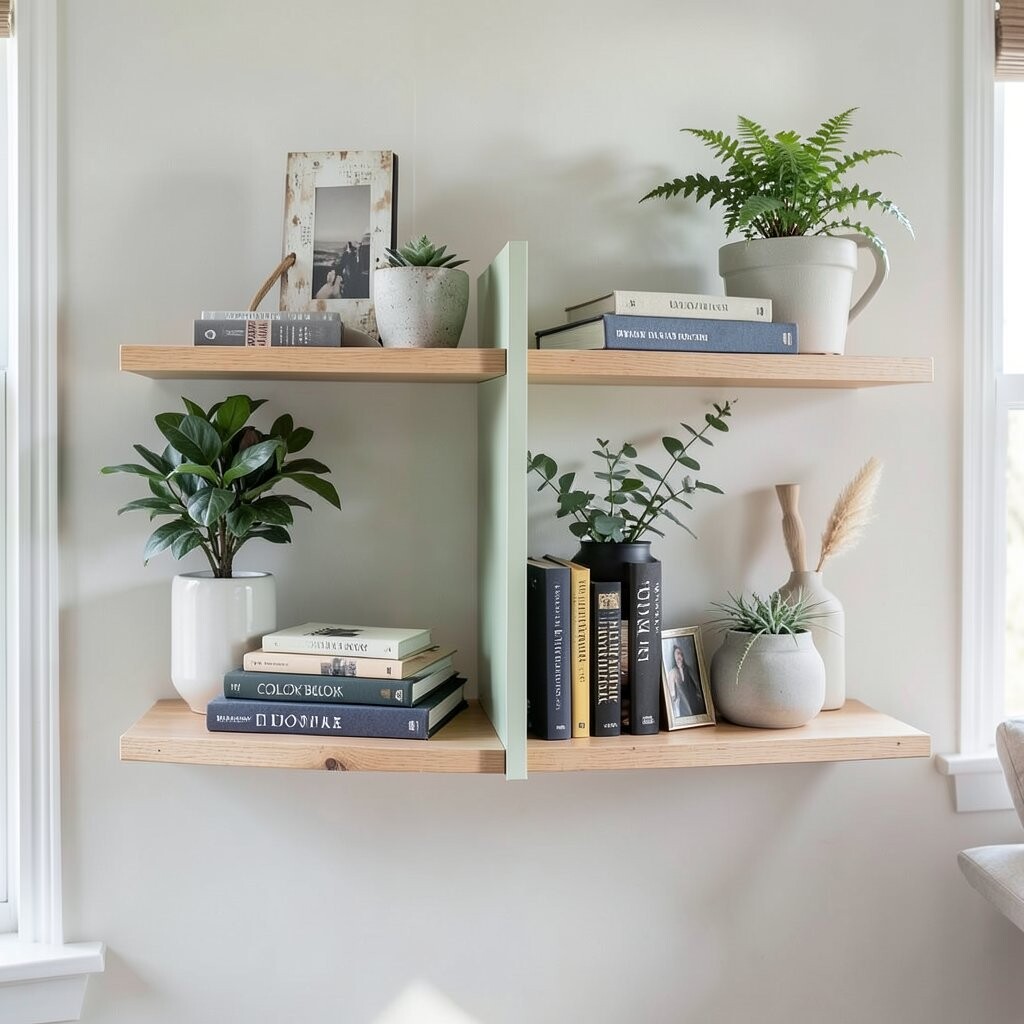
Try a “Color Block” Layout With a Side-by-Side System Color blocking means grouping similar colors together in sections. It’s a simple layout that makes shelves look designed, not accidental.
For example, keep warm tones on one side (like terracotta and honey wood) and cool tones on the other side (like blue and gray). Then add a neutral bridge in the middle, like white ceramics or natural stone. This layout feels balanced and visually tidy.
One tip is to use the same “lightness level” for each group. Dark items look better next to dark items, and light items look cleaner with light items. The benefit: your shelf looks neat from across the room.
-
15. Layer in Seasonal Decor Without Starting Over
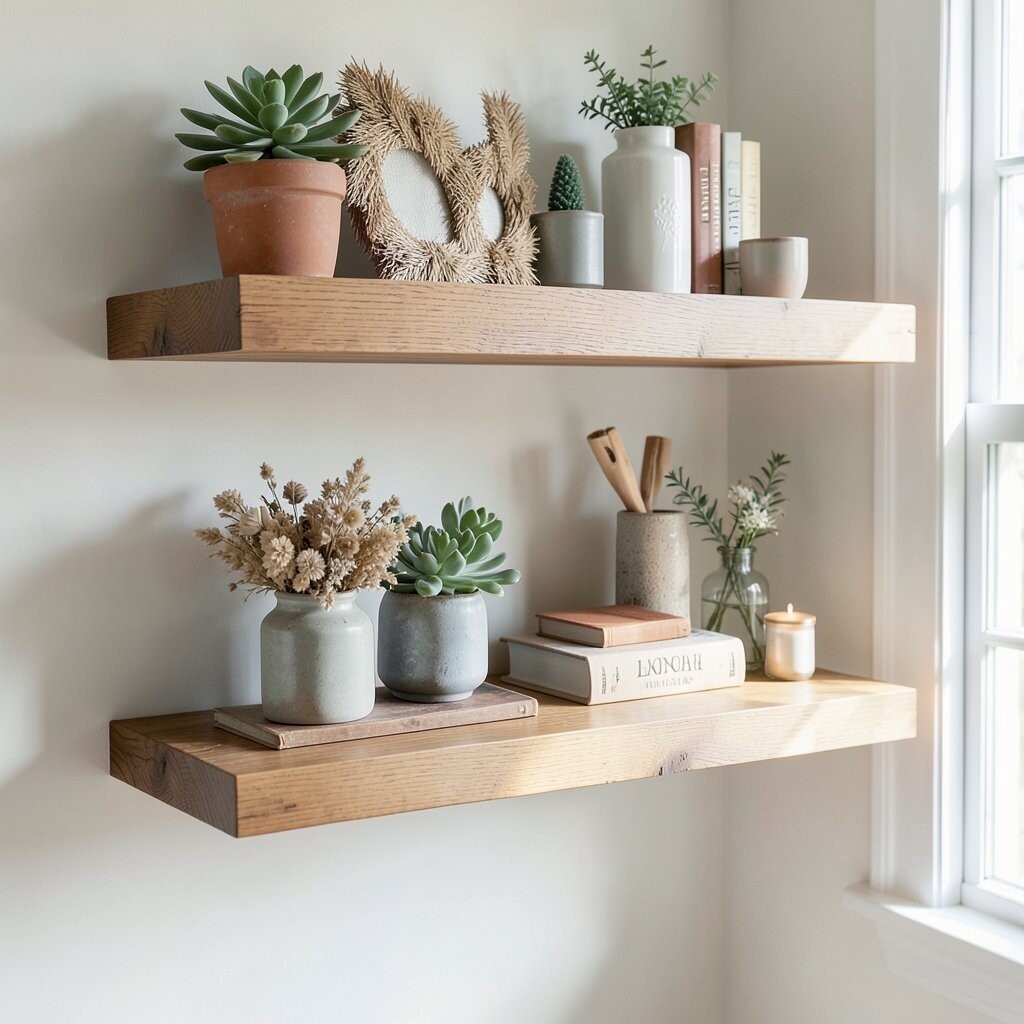
Layer in Seasonal Decor Without Starting Over Seasonal decor can be fun, but you don’t want to rebuild your shelves every month. Use a base setup that stays the same, then swap only a few pieces.
Keep your tray, frames, and greenery pot in place. Then switch out a seasonal item like a small pumpkin in fall, a starfish-inspired piece in summer, or a winter candle in a warm scent holder. This makes the shelves feel fresh while still feeling consistent.
If you want a cost-friendly plan, store your seasonal picks in one labeled bin. Buy only one or two seasonal items each year, instead of lots at once. That way, you’re building a collection slowly, like a pro.
-
16. Add a Personal Touch With Handmade or Local Finds
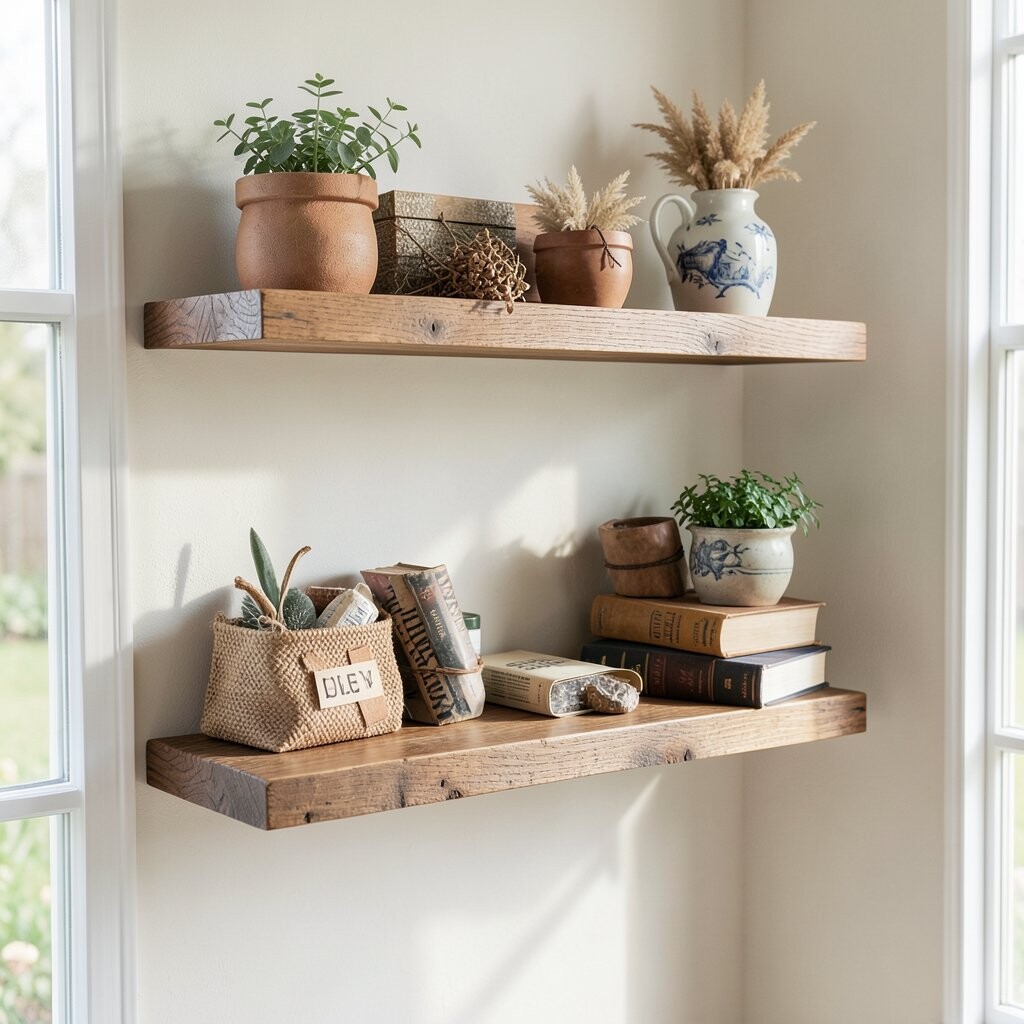
Add a Personal Touch With Handmade or Local Finds Nothing looks more “you” than decor that has a story. Look for handmade ceramics, local art prints, or small crafts from makers.
A single pottery bowl can elevate the whole shelf because it feels human and one-of-a-kind. Pair it with simple items so the handmade piece stays the star. This creates uniqueness that’s hard to copy from store displays.
For a tip, repeat the material from your find. If you bring home a clay vase, match it with a clay-toned tray or a linen book cover. This makes your shelf look like a set, not a collection of random purchases.
Cost considerations: handmade items can be pricier, so pick one piece you truly love. Then balance the cost with inexpensive supporting decor like books, frames, or thrifted candles.
-
17. Finish With a “Tidy Check” and a Quick Styling Reset
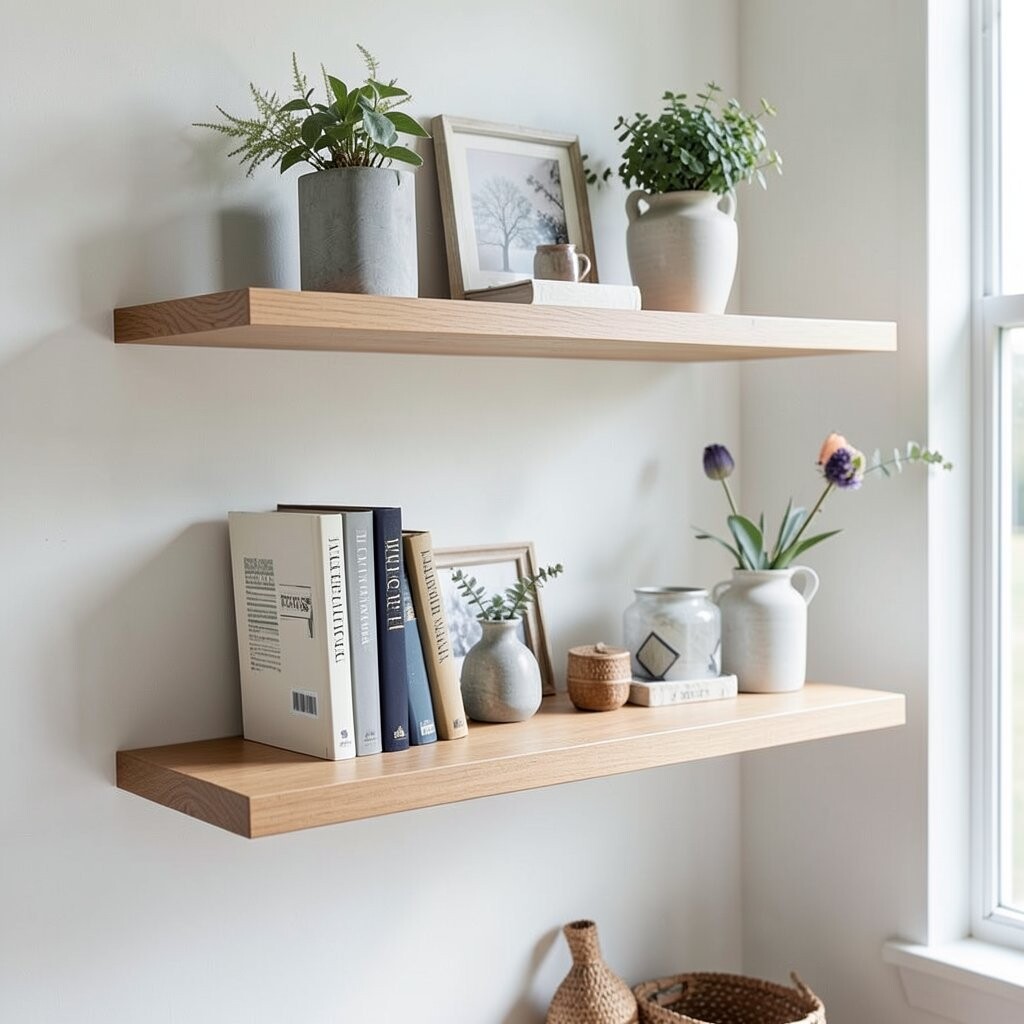
Finish With a “Tidy Check” and a Quick Styling Reset The final step is what makes everything look professional. Do a quick tidy check before you step back and admire your work.
Move any item that feels too close to the edge, and center the main anchor piece. Wipe dust from the shelf and adjust small angles, like turning frames slightly or rotating book spines so the colors line up. This small work makes the shelves look sharp.
Then step back from the shelf and notice the flow. If one area feels heavy, swap the order: shift a tall item slightly, or add a low object to balance it. This habit is helpful because you’ll style better every time you try.
For personalization, create your own “rules” based on what you like. Maybe you always add one candle, or you always place greenery on the left. Cost-wise, this tip saves money because you won’t keep buying more decor to fix imbalance; you’ll fix spacing first.