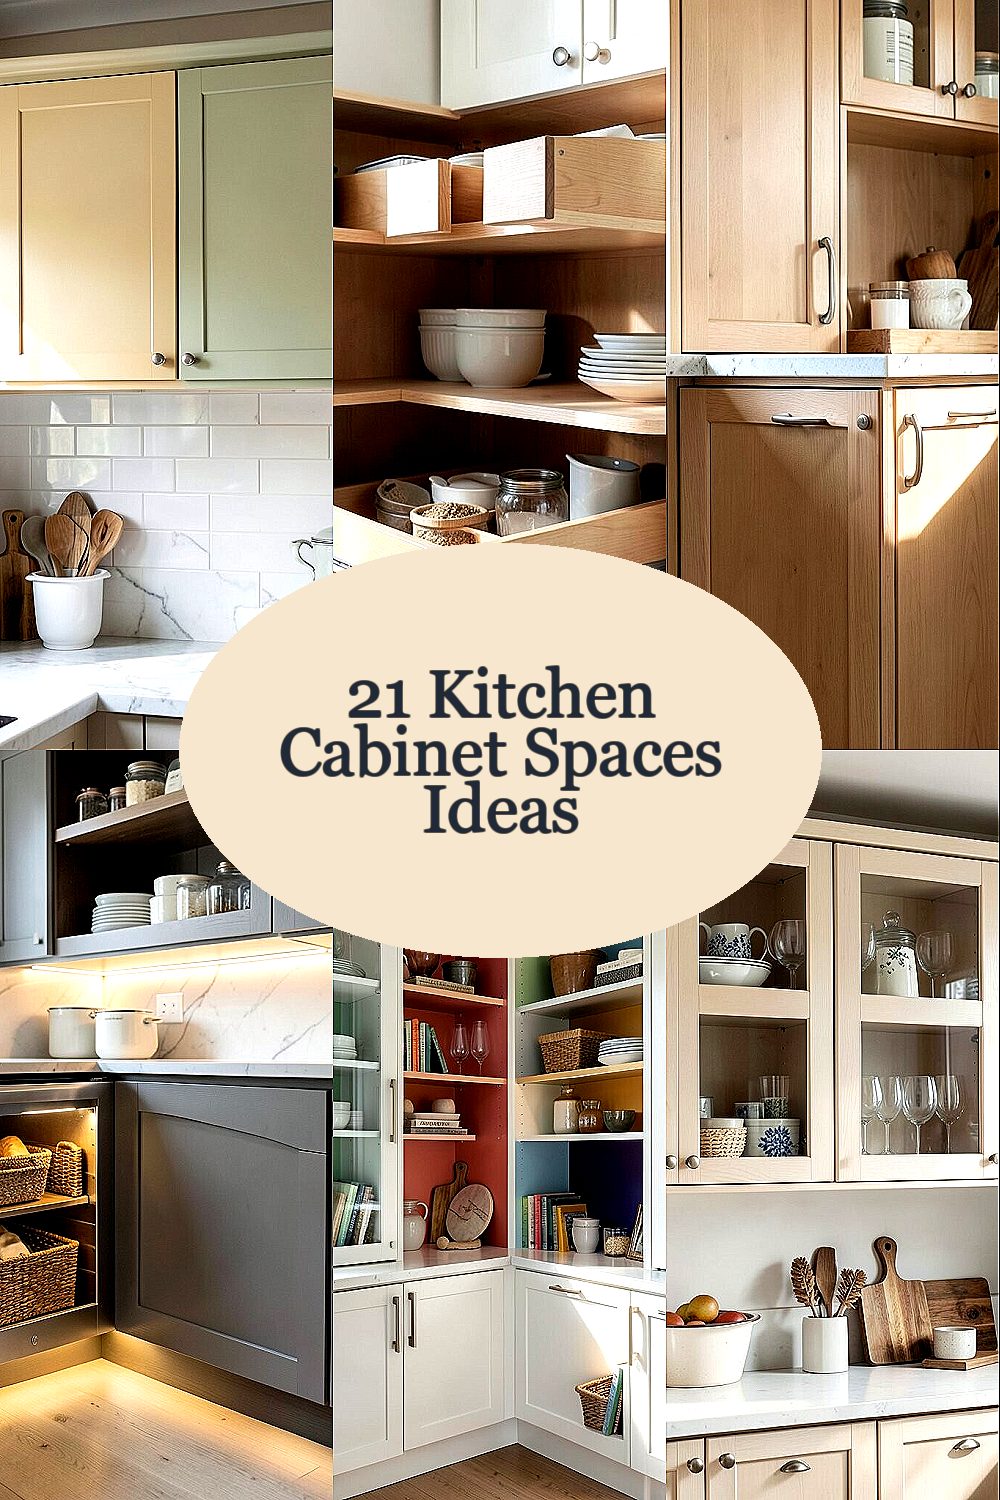
Cabinets do more than hold dishes—they shape the whole mood of your kitchen. With a few smart changes, your space can feel brand-new without a full remodel.
Below are cabinet “spaces” you can style in fun ways, one at a time, so you can pick what fits your home and your budget.
-
1) The Upper Cabinet Face: Refresh With Paint Color That Pops
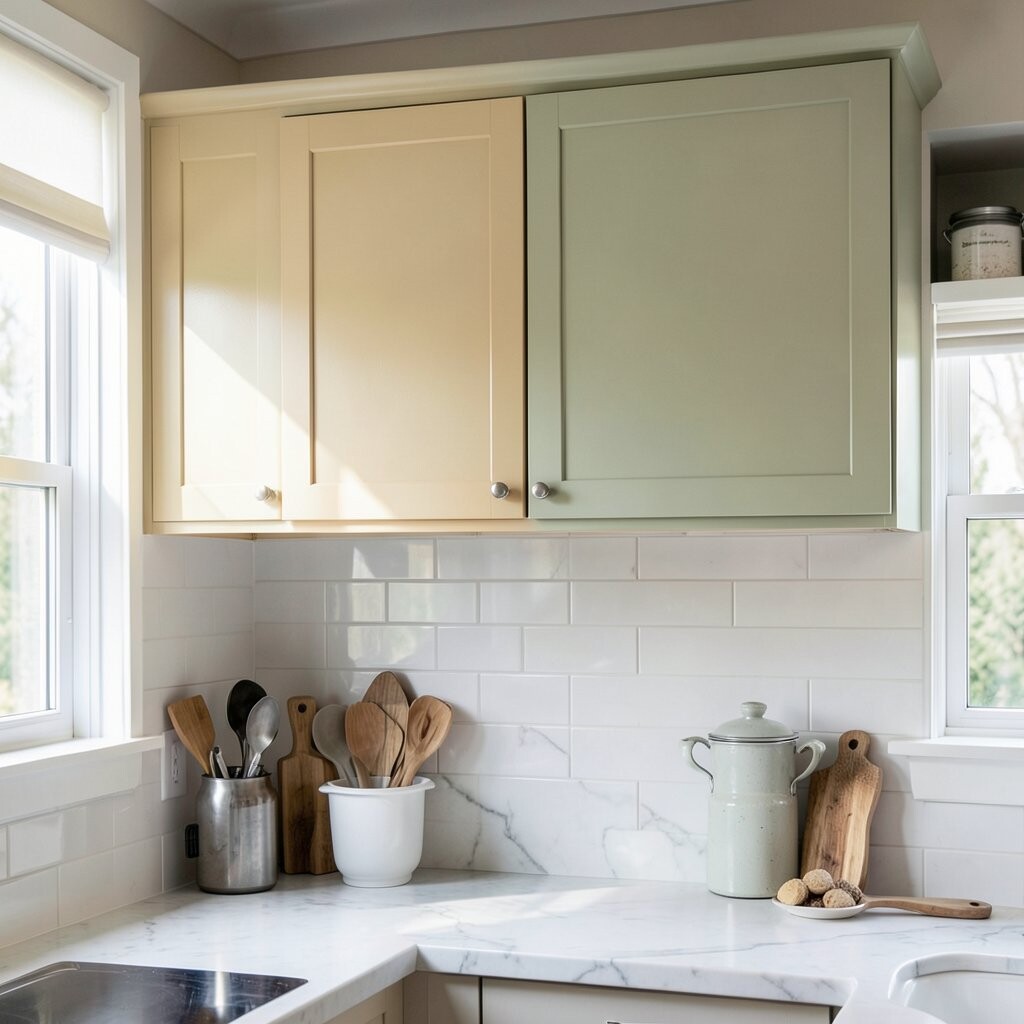
) The Upper Cabinet Face: Refresh With Paint Color That Pops Picture your top cabinets in a clean, bright shade that makes the room feel taller and lighter. A fresh color can also hide small scratches and everyday scuffs.
When you paint the cabinet fronts, you get a big visual change with a clear starting point. Choose a color that matches your floors and countertops so it feels calm, not chaotic. For a simple upgrade, use a semi-gloss or satin finish where hands touch most.
If you want a trendier look, try warm white, soft sage, or a muted blue-green for a “still cozy, still modern” vibe. Budget-wise, painting is often cheaper than replacing cabinets, and you can do it over a weekend if you plan ahead. Just remember to clean well, sand lightly, and use primer so the paint sticks.
-
2) The Inside Shelf: Add Drawer-Style Inserts That Look Neat
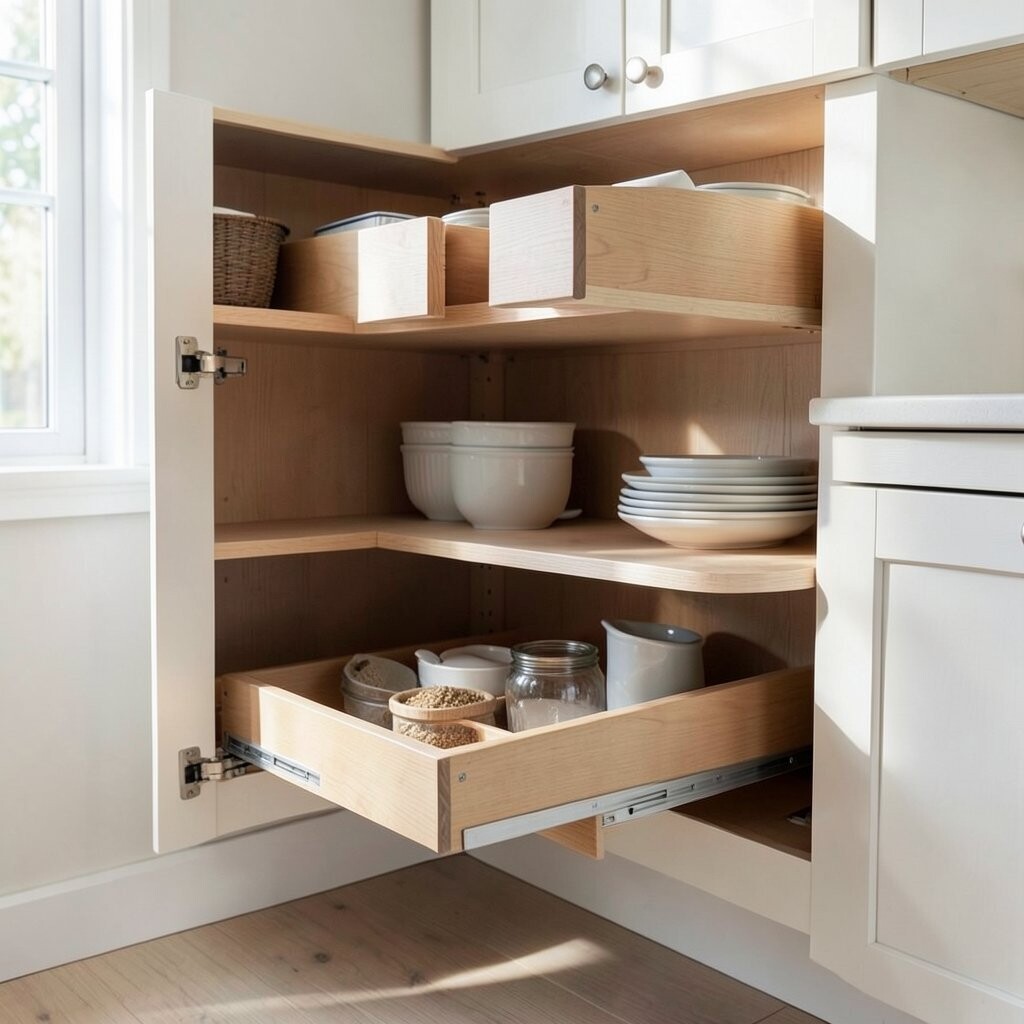
) The Inside Shelf: Add Drawer-Style Inserts That Look Neat Imagine opening a cabinet and seeing everything lined up like a neat little store. Shelf liners and small dividers can make items easier to grab and easier to put back.
Plastic liners and molded organizers help protect shelves from spills, so your kitchen stays tidy. You can also add shallow trays for spice jars, small containers, or baking tools. This is a fast, low-mess upgrade that feels surprisingly “high-end.”
For personalization, match the inserts to your cabinet style: choose linen-texture liners for a warm look, or go sleek with matte black for a modern feel. Consider cost by starting with the shelves you use most, like plates and cups, before you do the whole kitchen. If your budget is tight, even one upgraded shelf can make the cabinet feel more intentional.
-
3) The Cabinet Door Edges: Upgrade Hardware for an Instant Style Shift
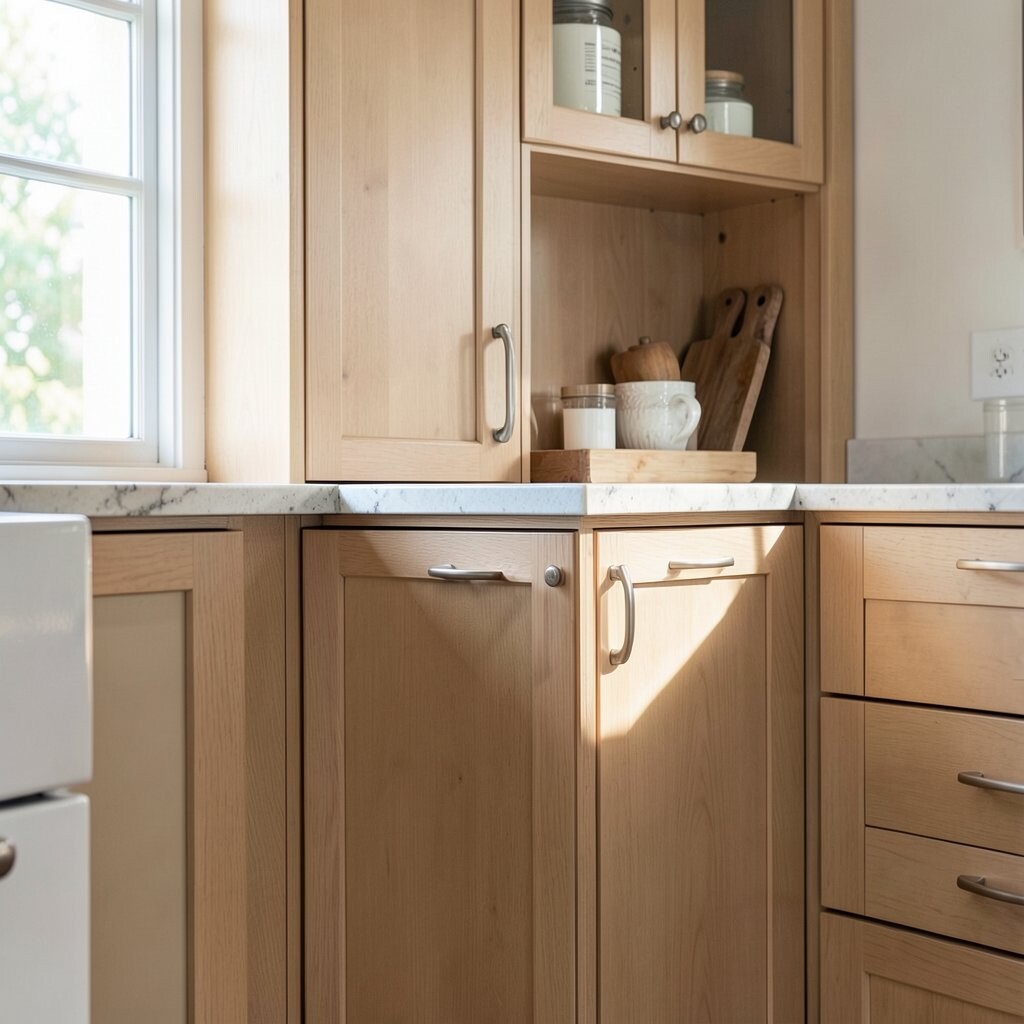
) The Cabinet Door Edges: Upgrade Hardware for an Instant Style Shift Think about the first thing your eyes catch when you open a cabinet: the pulls and knobs. Swapping hardware can make the same cabinets look completely different.
Brushed nickel, warm brass, and black finishes are popular right now and can fit many kitchen themes. Fresh hardware also helps daily use, because it can be easier to grip and less likely to feel loose. Measure carefully so the new pieces line up and look straight.
Try a mixed look if you love personality—like black knobs on the bottom cabinets and brass pulls on the top. For cost, buying a full set might not be necessary; you can start with the doors you open the most, then expand. This is a tiny change with a big “wow” effect because it updates the kitchen’s details.
To make it feel personal, match your hardware to the faucet and light fixtures, or choose a contrast that feels bold. A small template or guide tool can help you install quickly and avoid crooked holes.
-
4) The Toe-Kick Area: Install LED Lighting for a Floating Look

) The Toe-Kick Area: Install LED Lighting for a Floating Look Now picture the bottom edge of your cabinets glowing softly, like your kitchen is gently lit from within. Under-cabinet LEDs create a warm path of light that makes floors look cleaner and brighter.
Lighting isn’t just pretty; it also helps you see what you’re doing when you cook. Even a simple strip light can reduce shadowy corners and make countertops easier to use. If you often cook at night, this is a comfort upgrade as much as a style one.
For personalization, choose warm white for a cozy mood or a cooler tone for a crisp, modern feel. Some LED strips can be controlled with a remote or a touch switch, which is great if you don’t want extra wall switches. Cost varies based on wiring vs. plug-in options, so pick the setup that matches your comfort level.
As a tip, hide the light source behind the toe-kick or place it under the cabinet lip so the glow stays smooth. A quick test with painters tape before you mount anything can help you place it where it looks best.
-
5) The Cabinet Interiors: Style With Color-Blocked Back Panels
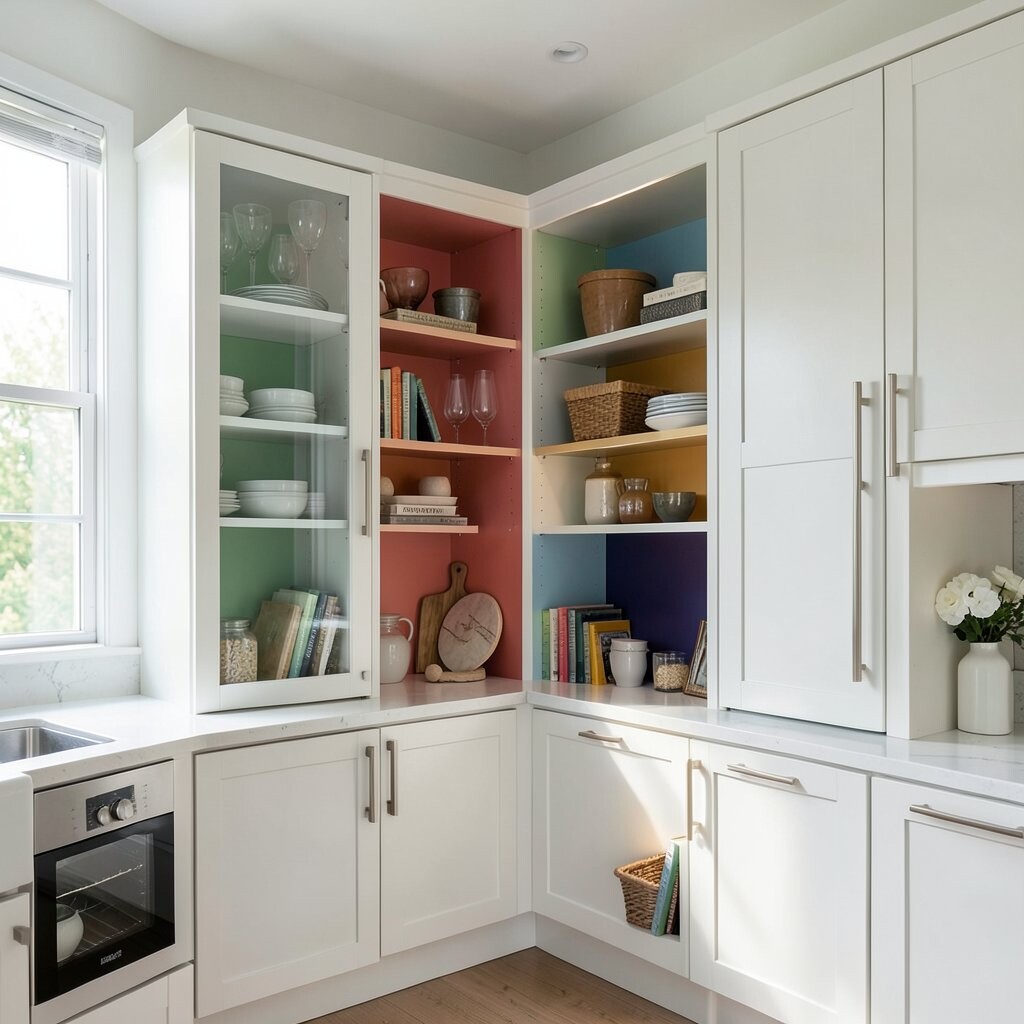
) The Cabinet Interiors: Style With Color-Blocked Back Panels Imagine pulling open a cabinet and seeing a pop of color on the back wall. Color-blocked panels turn plain storage into a small design moment.
You can use peel-and-stick wallpaper, paint, or thin boards to add a backdrop for dishes, glasses, or pantry items. This helps items look more organized because everything sits against a neat, consistent background. It also makes the cabinet look deeper and more finished.
For uniqueness, choose a pattern that matches your personality: subtle stripes feel calm, while bold geometrics feel playful. Keep it easy by selecting one color that repeats in your kitchen, like sage green or soft terracotta. Cost is usually budget-friendly with peel-and-stick options, and they can be removed later if you change your mind.
Try adding a matte finish so reflections don’t create glare on glass. If you’re placing food items inside, use a durable material that’s easy to wipe.
-
6) The Upper Cabinet Frames: Add Glass Inserts for Display Worth Seeing
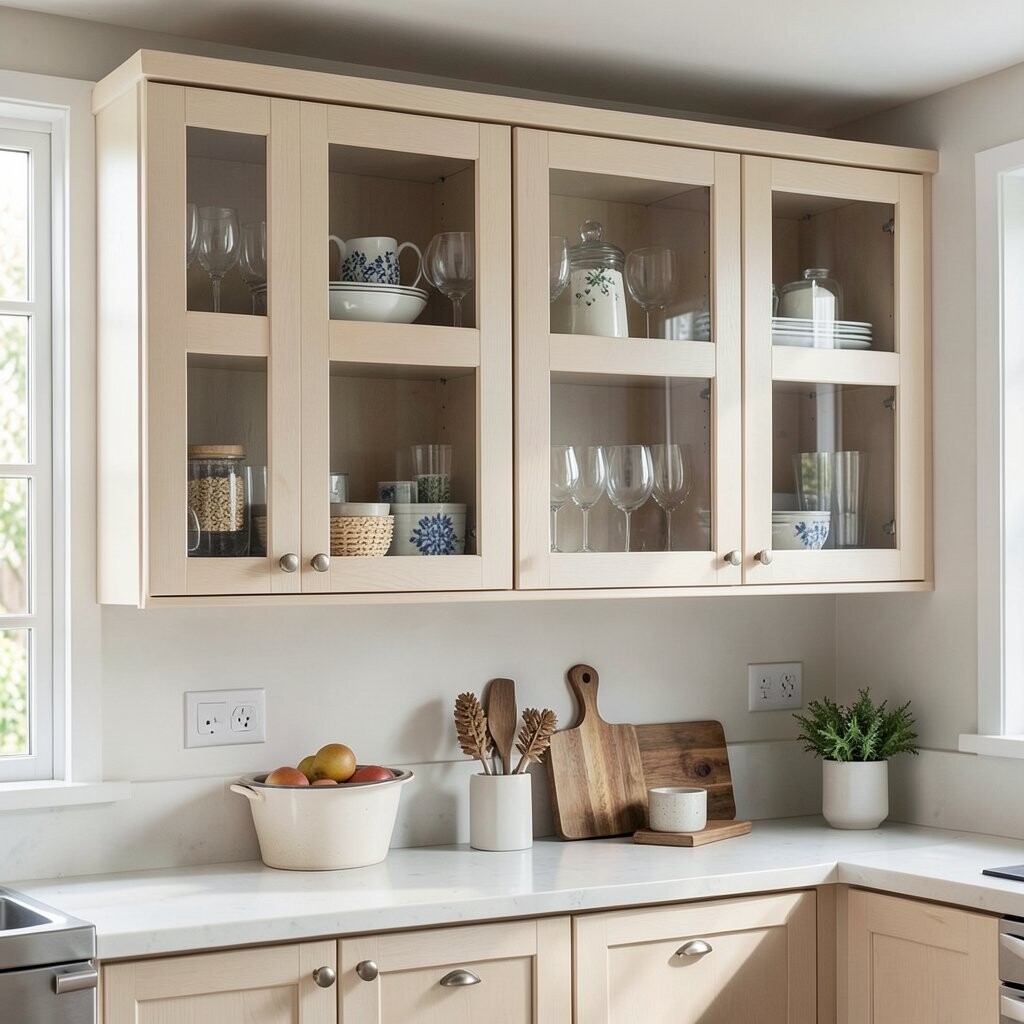
) The Upper Cabinet Frames: Add Glass Inserts for Display Worth Seeing Think of your cabinets as a set of mini spotlights for your best dishware. Glass inserts let you show off items you already love, like colorful mugs or vintage plates.
When you add glass to some cabinet doors, you break up solid wood and make the kitchen feel more open. It also gives you a reason to keep the “show” items tidy and special. This design choice feels current because many people want kitchens to look lived-in but polished.
For personalization, use clear glass for a clean look or frosted glass for privacy and a softer feel. You can also choose ribbed glass for texture and visual interest. Cost can be higher if you replace doors, but you can sometimes add inserts if your frames allow it.
-
7) The Pantry-Style Cabinet: Use Vertical Dividers for Better Flow
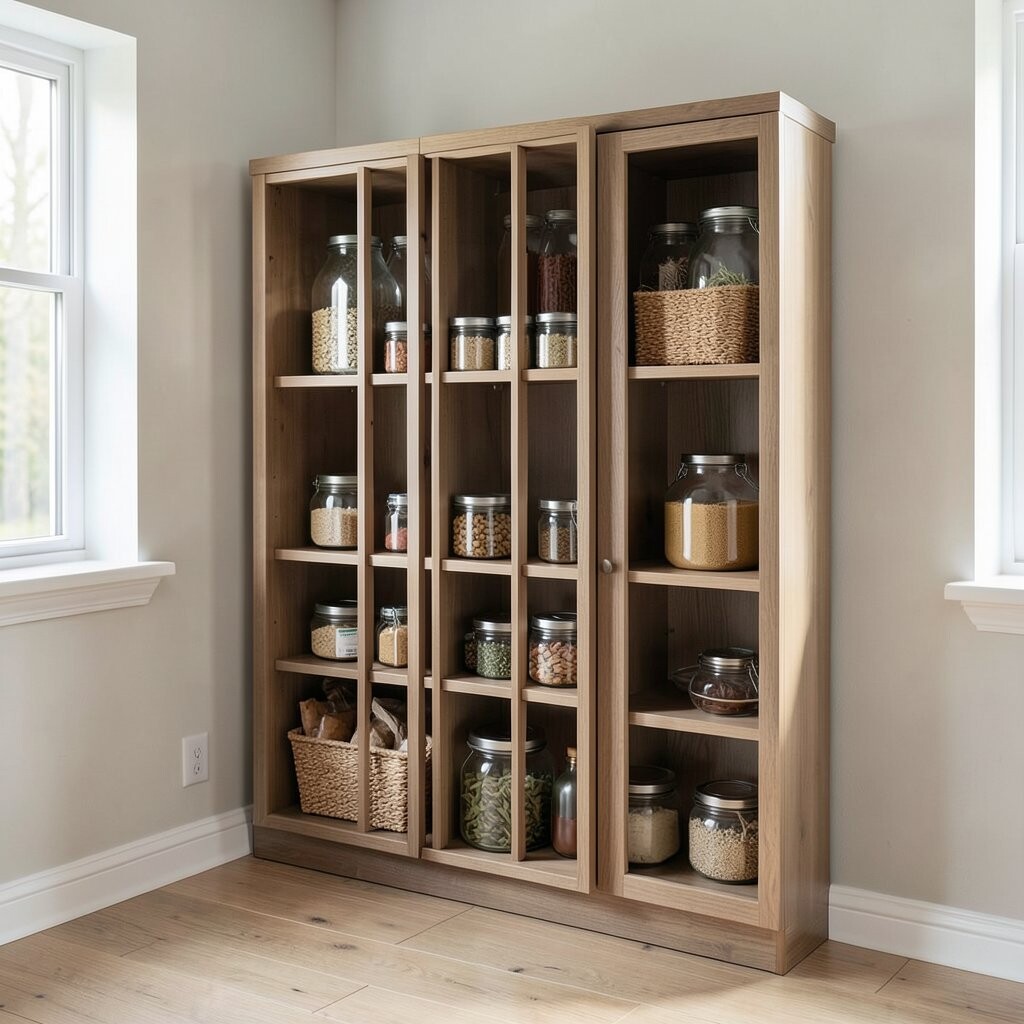
) The Pantry-Style Cabinet: Use Vertical Dividers for Better Flow Picture your pantry-like cabinet with separate lanes for snacks, cereal, and baking supplies. Vertical dividers make it easier to find what you need without digging.
You get faster cooking because you waste less time hunting through clutter. Dividers also help keep containers standing neatly, which makes the cabinet look clean even on busy days. If you love meal planning, this setup is especially helpful.
For uniqueness, label sections with small cards or chalk labels for a friendly, organized vibe. Use different container shapes so your cabinet becomes visually fun, not just functional. Budget matters too, so start with one cabinet zone and buy dividers in the size you already use.
Choose dividers that fit your cabinet width closely so they don’t slide. If you want an easy upgrade, look for adjustable systems so you can reconfigure later.
-
8) The Cabinet Above the Fridge: Create a Display Shelf With Style
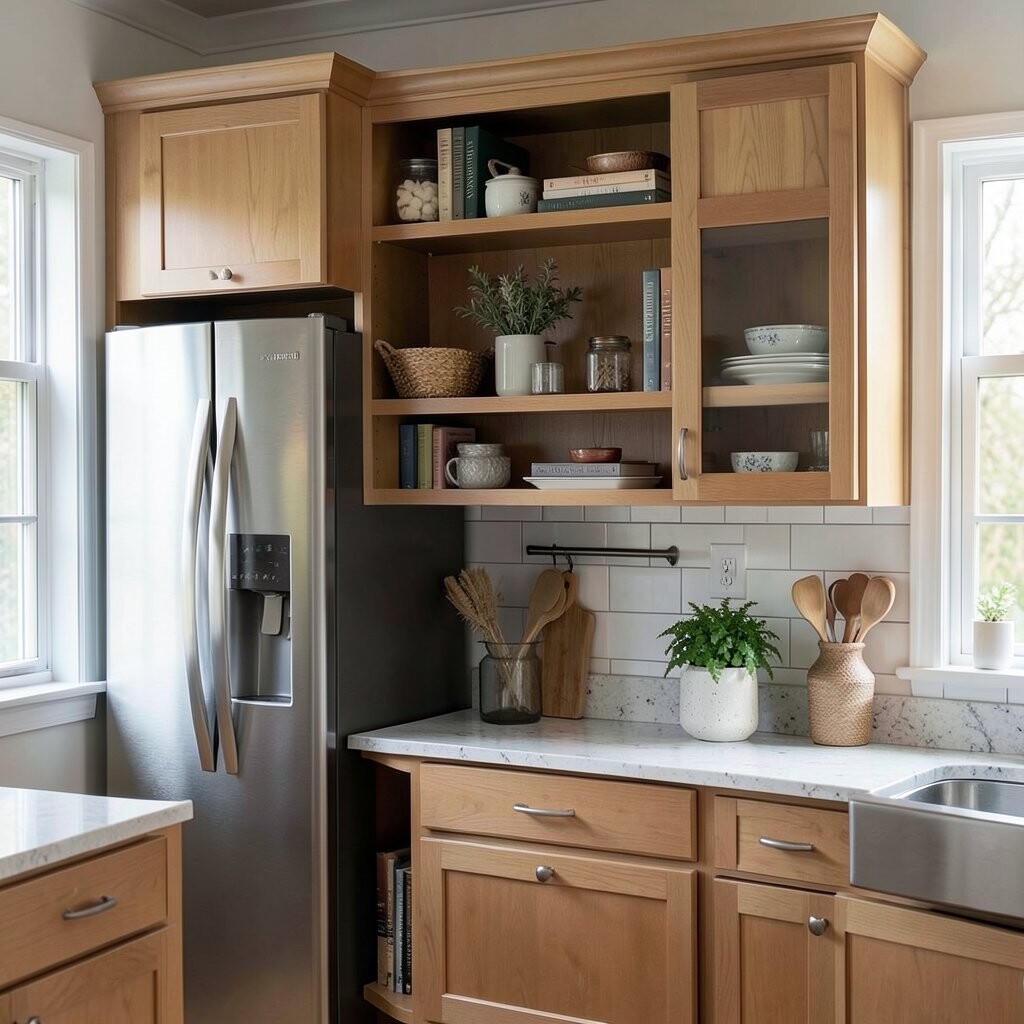
) The Cabinet Above the Fridge: Create a Display Shelf With Style That top cabinet space can feel like a forgotten corner until you give it a purpose. Imagine placing a small display shelf area where you can set bowls, cookbooks, or baskets.
This helps your kitchen feel more intentional and stops you from stuffing items up high and forgetting them. Using labeled bins inside keeps the space usable, not just decorative. It also helps you maintain a clean look because everything has a “home.”
For personalization, mix functional pieces like extra storage bins with a few decorative items like a framed recipe or a small plant. Keep the display simple so it doesn’t feel cluttered. Cost is usually manageable because you can start with shelves and baskets instead of doing major construction.
Tip: use uniform bin sizes to make the space look neat from a distance. If you’re renting or want easy changes, pick lightweight baskets you can swap whenever you like.
-
9) The Corner Cabinet: Turn Dead Space Into a Smooth Rotation System
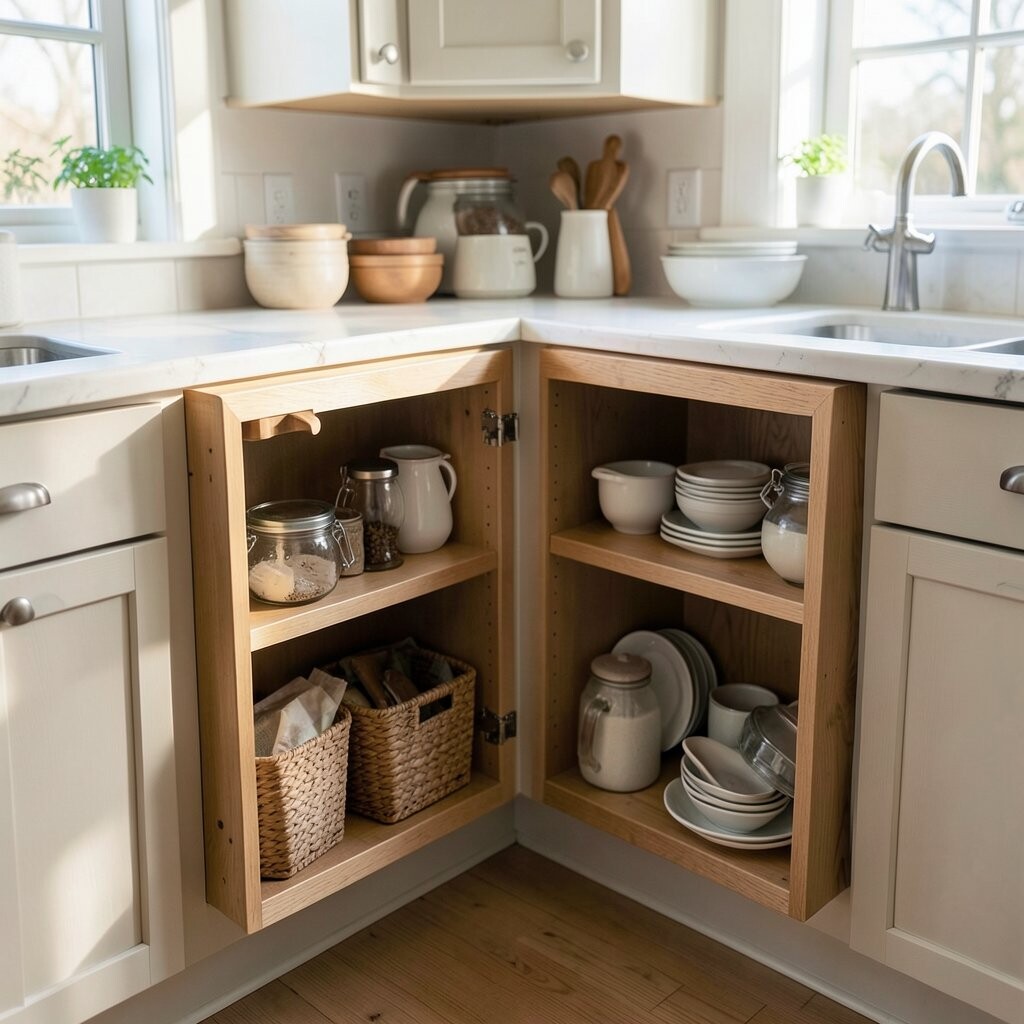
) The Corner Cabinet: Turn Dead Space Into a Smooth Rotation System Corner cabinets often become the “black hole” where things disappear. Now picture a smart turntable or rotating organizer that brings items to you.
When you add a lazy Susan or pull-out corner system, you use the space more efficiently. You also avoid stacking tall items that fall when the door opens. This upgrade makes daily kitchen life feel calmer and more manageable.
For uniqueness, choose organizers sized for your cabinet depth so you get neat lanes for pots, pans, or oils. You can also store baking sheets vertically on a pull-out rack to save space. Costs vary, but pull-out systems often pay off because you can use every inch.
-
10) The Cabinet Under the Sink: Add a Waterproof Organizer Zone
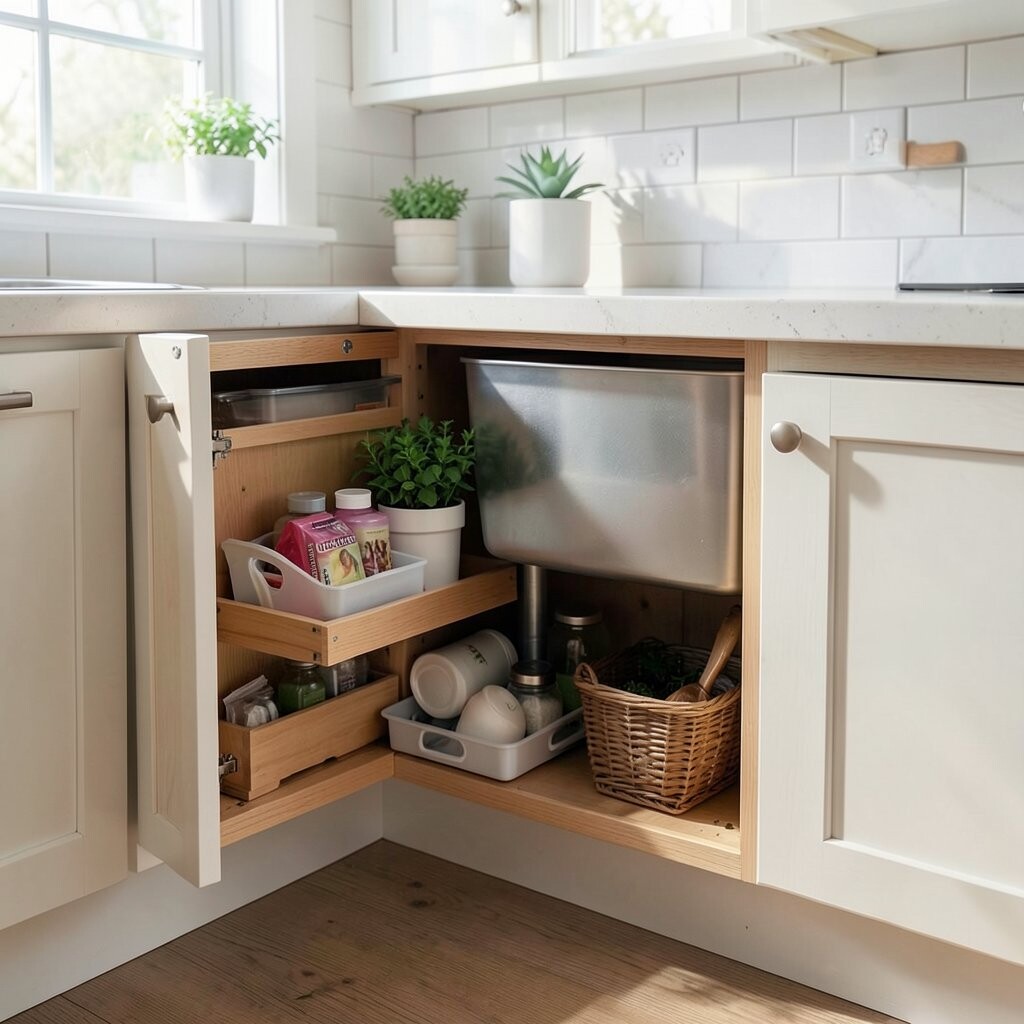
) The Cabinet Under the Sink: Add a Waterproof Organizer Zone Imagine opening your under-sink cabinet and seeing bins that handle spills without worry. A waterproof organizer setup makes this tricky spot look neat instead of chaotic.
Because under the sink is where leaks can happen, smart storage protects your things and your floor. You can use spill-proof bins, shelf liners, and caddies for cleaning supplies. This also makes it easier to find what you need during quick cleanups.
For personalization, color-code bins by job—like one for trash bags, one for scrubbing tools, and one for refills. Consider cost by choosing durable basics first, since they’ll take the most wear. If you hate clutter, add a door-mounted rack for spray bottles so you don’t waste shelf space.
Tip: keep heavier items toward the back and lighter items at the front for safer access. Also, consider adding a small tray to catch any drips from bottles.
-
11) The Drawer Fronts: Use Peel-and-Stick Textures for Quick Pattern
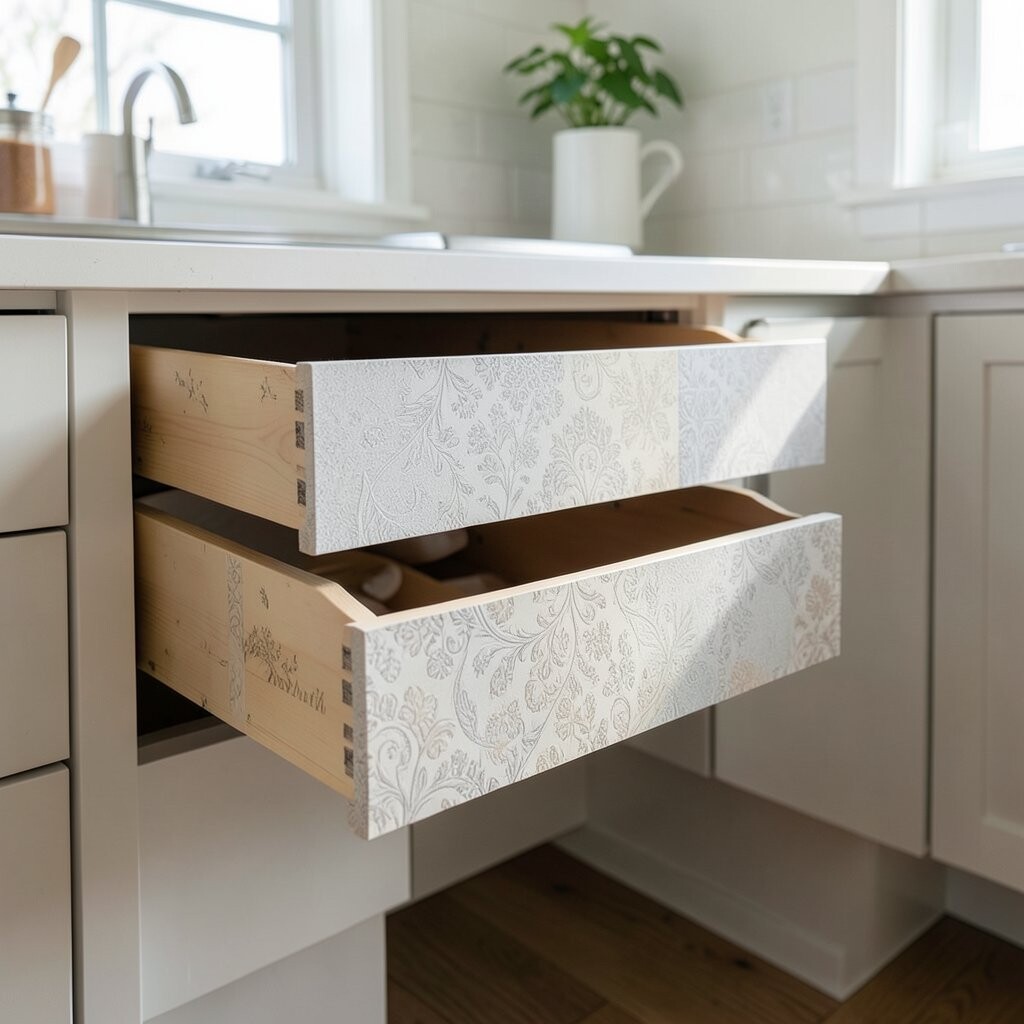
) The Drawer Fronts: Use Peel-and-Stick Textures for Quick Pattern Visualize drawer fronts with a subtle pattern that makes your kitchen feel fresh but not loud. Peel-and-stick textured film can add warmth, like wood grain, linen, or a soft matte look.
When you add texture, it hides tiny marks and makes surfaces feel richer. It’s also one of the easiest ways to personalize without waiting for a full paint project. If you like change, you can remove it later and try a new style.
For uniqueness, choose a texture that matches your cabinet theme: warm wood for a cozy look, or smooth stone-like film for a modern mood. Cost is usually budget-friendly, which lets you try it on a small area first. Just make sure the surface is clean and dry before sticking so it won’t lift at the edges.
Tip: smooth the film slowly with a plastic card to prevent bubbles. If you live somewhere humid, give extra time for the surface to dry before applying.
-
12) The Utensil Drawer: Add Custom Trays for Everyday Ease
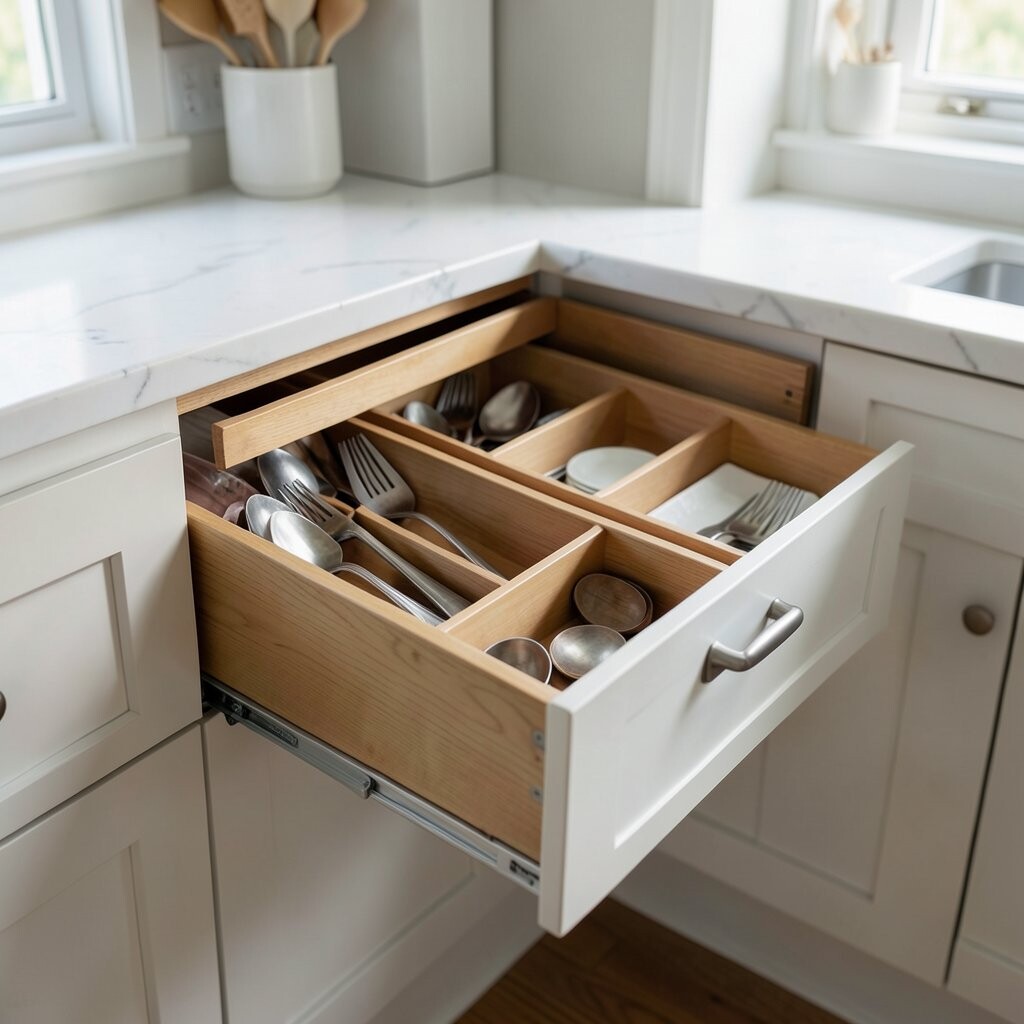
) The Utensil Drawer: Add Custom Trays for Everyday Ease Picture your utensils arranged like a simple system, not a jumbled mix. A well-fitting tray makes spoons, forks, and tools easy to grab and easy to put back.
When utensils have their own place, your drawer stays tidy longer, which saves time on cleaning days. You can also reduce scratches because each tool sits in a separate slot. This is a practical upgrade that looks neat from the start.
For personalization, choose trays that match your kitchen tone: bamboo for warmth, clear acrylic for a light modern look, or matte black for contrast. Cost considerations are easy here—start with the tray size that fits your most-used drawer. If you want a flexible setup, look for adjustable compartments.
-
13) The Drawer Above the Trash: Make a “Tools” Landing Spot
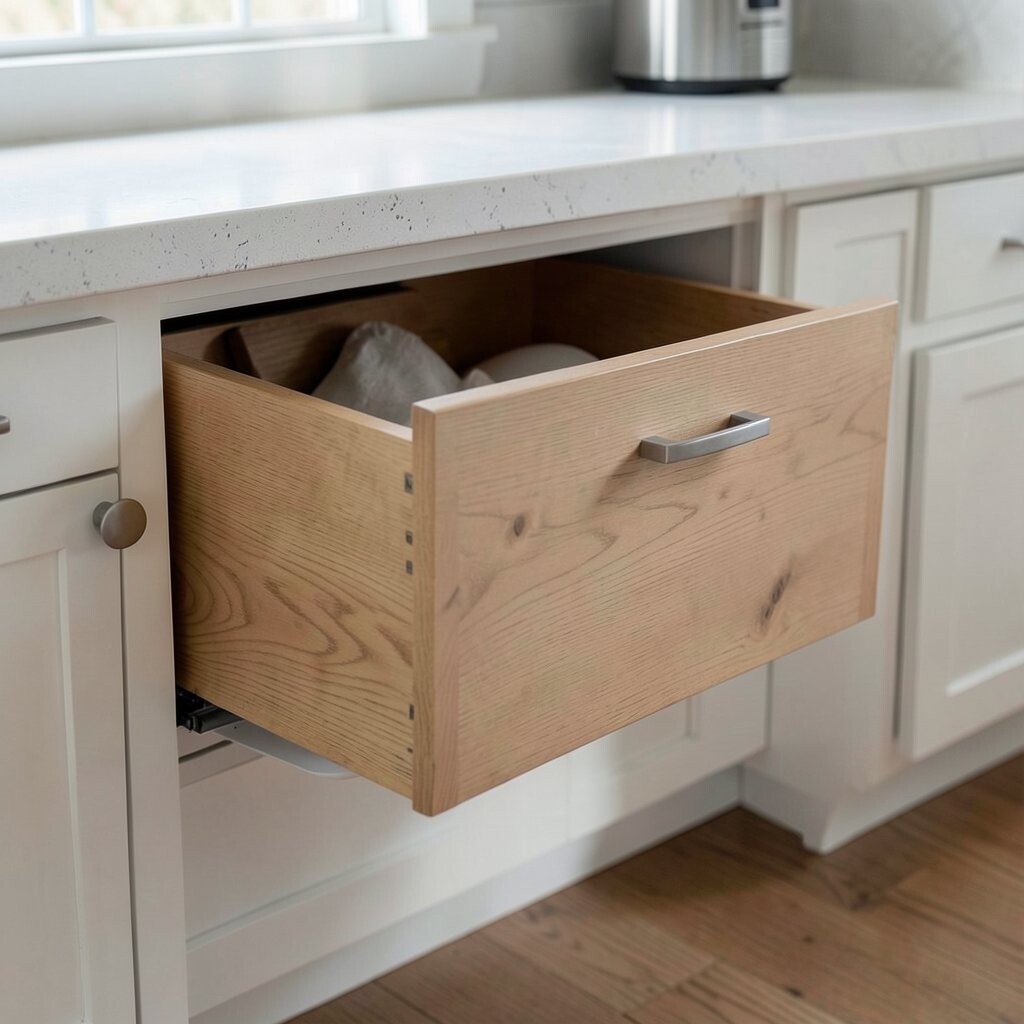
) The Drawer Above the Trash: Make a “Tools” Landing Spot Have you ever needed a place for rubber gloves, replacement liners, or small cleaning tools? That drawer can become your quick-grab landing spot.
When you organize this drawer with bins, you can keep messy supplies tucked away but still easy to reach. It also reduces the urge to store random items in the kitchen cabinets because you’ll have a proper home for them. This keeps the rest of your cabinet zones calmer.
For uniqueness, use a small caddy for gloves and a separate bin for cleaning extras. Add a label so everyone in the home knows where things go. Costs can be low with basic organizers, and you can upgrade later when you know your habits.
Tip: keep only what you use regularly in this drawer, and store backup supplies on shelves. That way, it stays useful instead of becoming a storage dump.
-
14) The Cabinet Over the Coffee Nook: Style With Clear Canisters
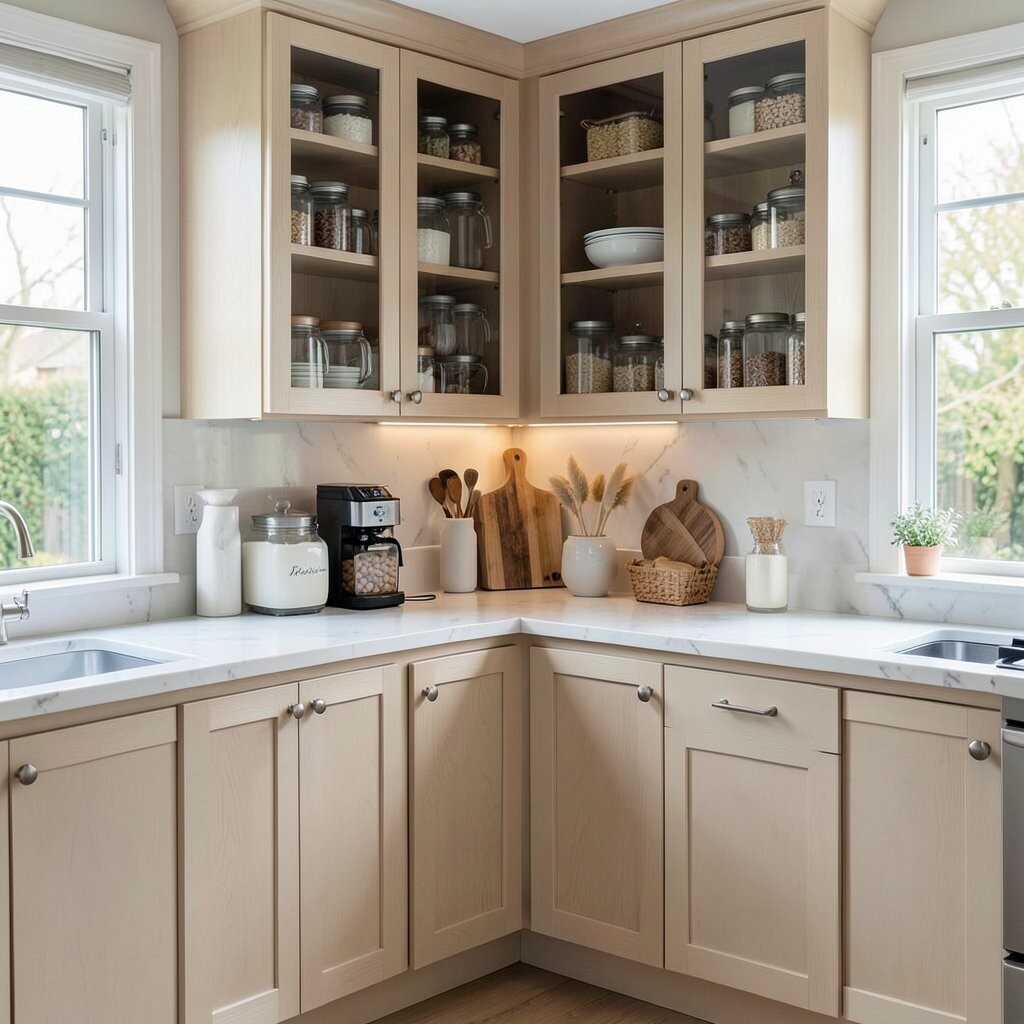
) The Cabinet Over the Coffee Nook: Style With Clear Canisters Imagine a cabinet space where your coffee, tea, and sweeteners feel like a mini café. Clear canisters make ingredients easy to find and make the cabinet look tidy.
When labels are consistent, your kitchen looks more polished even if you use the space daily. This also helps you notice when you’re running low, so you can restock before you run out. It’s both pretty and practical.
For personalization, mix sizes so the top looks balanced, like taller canisters for coffee and smaller ones for sugar. Choose lids that match your hardware for a smooth style. Cost can add up, so consider starting with the most-used items first, then building your set slowly.
-
15) The Cabinet Storage Behind Doors: Add a Door-Mounted Rack System
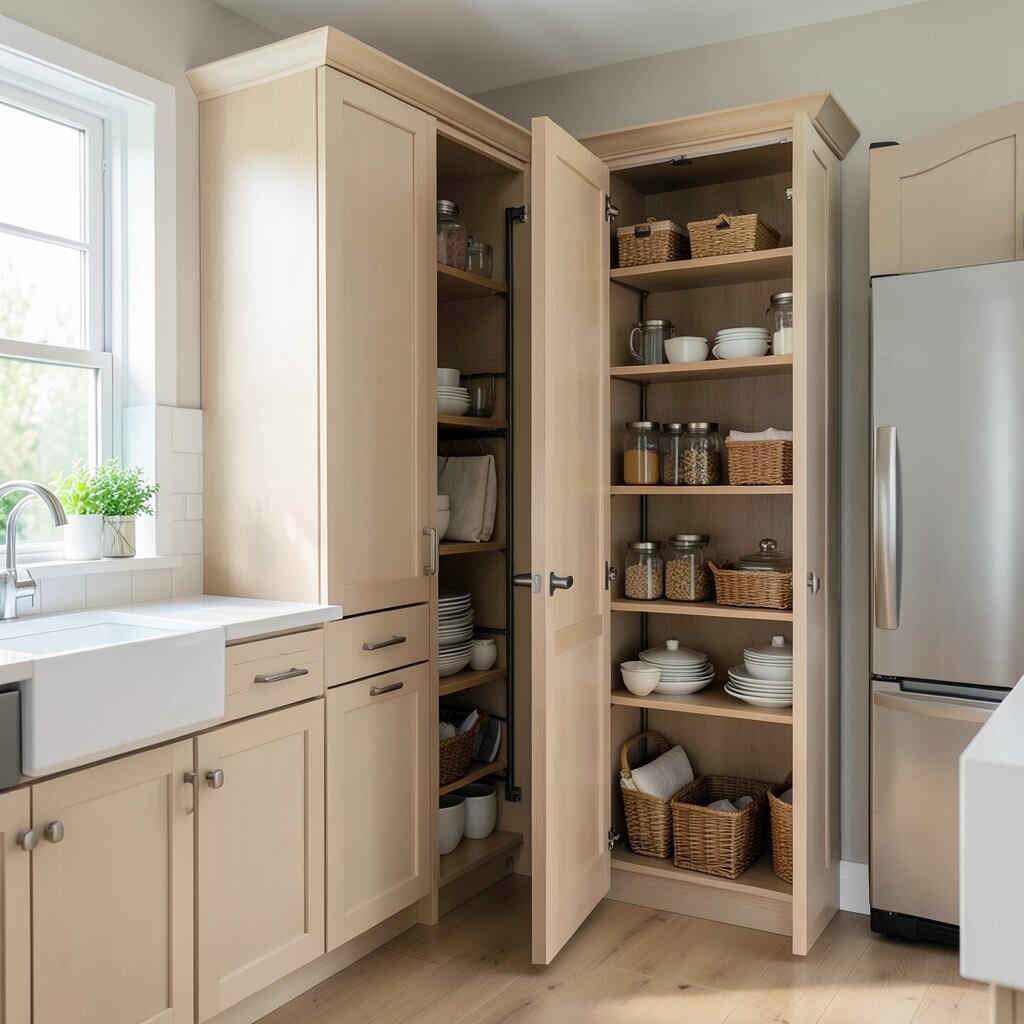
) The Cabinet Storage Behind Doors: Add a Door-Mounted Rack System Picture the inside of a cabinet door with hooks, racks, and small baskets ready for everyday tools. Door-mounted organizers help you use space that usually goes unused.
You get better access to items like foil, parchment, measuring cups, or small cleaning brushes. This reduces clutter on countertops, which makes the kitchen feel calmer. Door racks also let you personalize by choosing finishes that match your cabinet style.
For uniqueness, add a slim rack for lids and another for small packs like tea bags. Cost is often moderate because you’re buying a few organizers rather than replacing cabinets. Tip: check door thickness and make sure the rack fits your door type before you buy.
-
16) The Cabinet Shelf Ends: Add a Small Decorative Ledge for Everyday Items
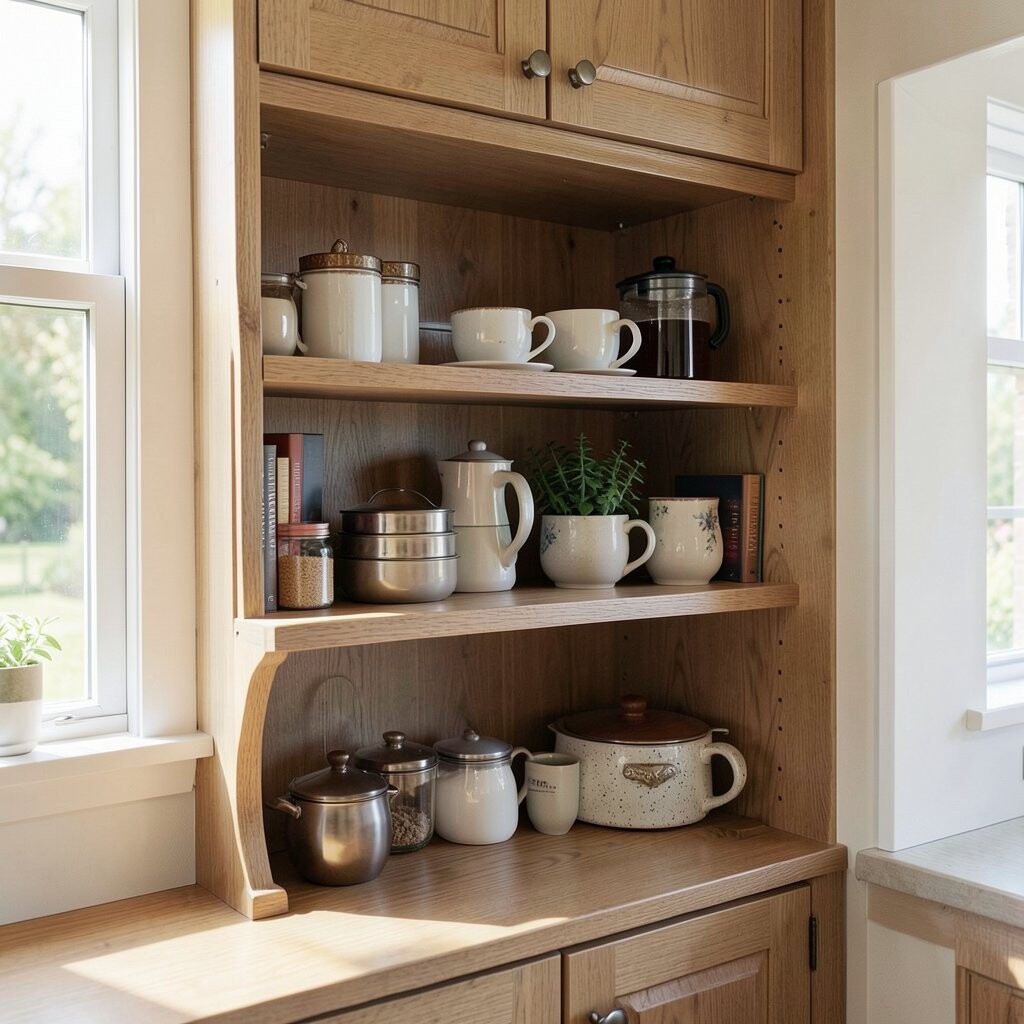
) The Cabinet Shelf Ends: Add a Small Decorative Ledge for Everyday Items Imagine shelf ends with a tiny ledge where you can set a cutting board or a favorite bowl. This creates a “designed” look without turning your cabinet space into a showroom.
When you display just one or two items, your kitchen feels styled but still practical. A small ledge can also act as a landing spot for things you use often, like a spoon rest or a small canister. It helps you keep your counters clearer because you’re storing items within reach.
For personalization, use a finish that matches your cabinet hardware, like warm wood tones or matte black. Cost considerations are friendly here—many ledges are inexpensive and easy to install. If you want a safer budget choice, test your layout with removable adhesive strips before drilling.
Tip: keep objects aligned so the look stays tidy. Too many items on a ledge can quickly feel busy.
-
17) The Top Shelves: Style With Baskets and Labeled Bins for a Clean Ceiling View
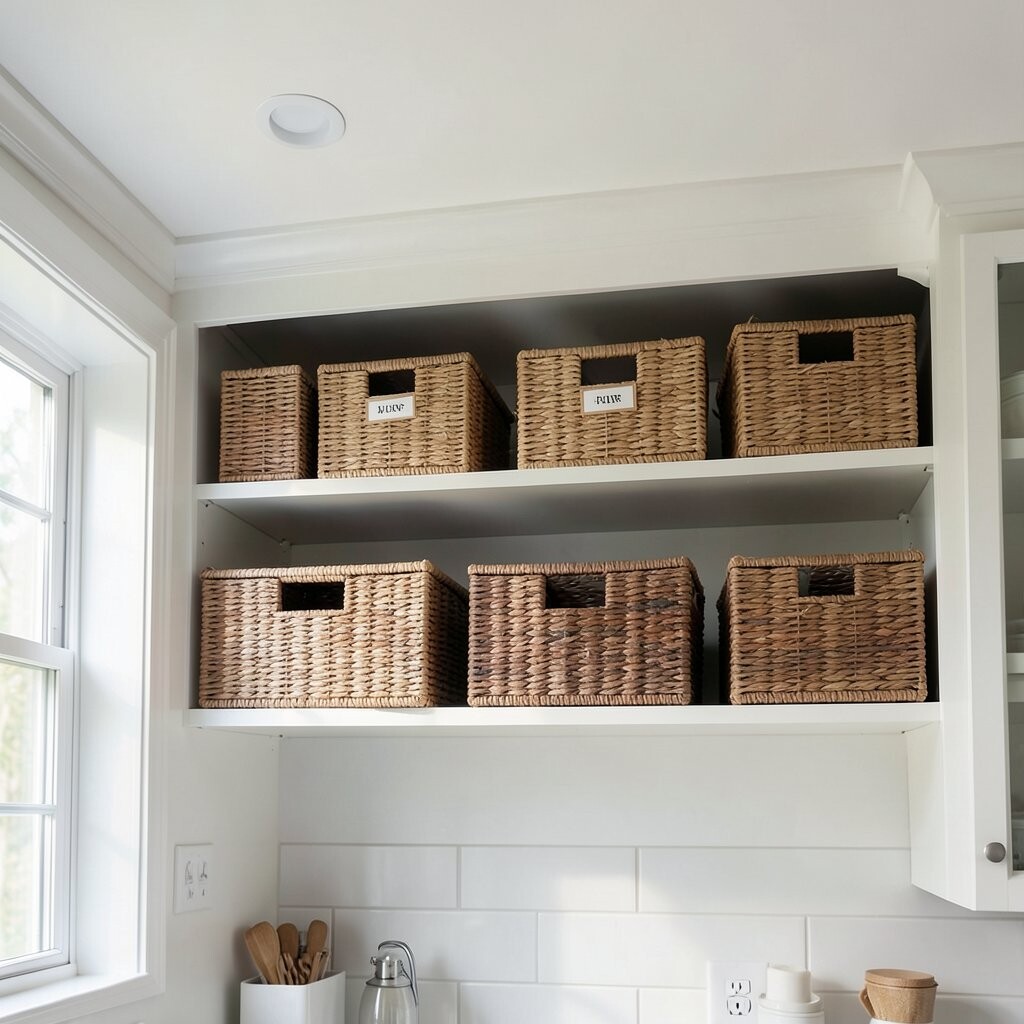
) The Top Shelves: Style With Baskets and Labeled Bins for a Clean Ceiling View Think about how cabinets look when you look across the kitchen, especially the upper shelves. Baskets and labeled bins make the top areas feel organized and tidy.
This is a great way to hide extra items like backup plates, seasonal decorations, or storage containers. Labels bring calm because you don’t have to guess what’s inside. It also helps you keep the shelf tidy since you have a plan for where everything goes.
For uniqueness, choose woven baskets for texture or sleek metal bins for a more modern feel. Mix a few decorative boxes if you want the shelf to feel curated. Cost depends on the materials, but you can start with a few bins and expand over time.
Trend-wise, many kitchens are shifting toward “closed organization” that looks neat from above and inside. Tip: keep bins the same color family for a smoother, more stylish look.
-
18) The Cabinet Shelves for Cookbooks: Create a Slim Reading Nook
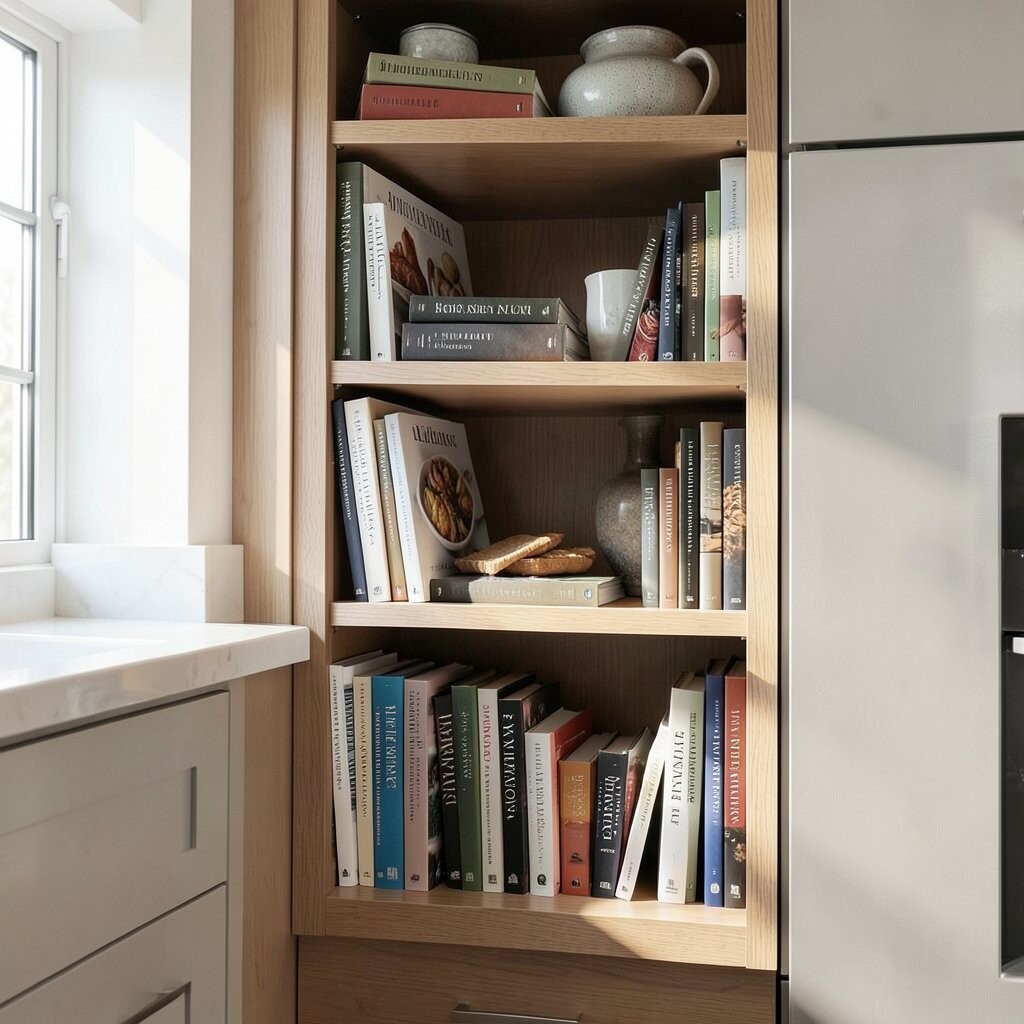
) The Cabinet Shelves for Cookbooks: Create a Slim Reading Nook Imagine a cabinet section that holds cookbooks upright like a little library. A slim book holder keeps pages neat and makes the area feel cozy.
This turns storage into a useful display, especially if you cook a lot or host friends. When books are easy to grab, you’ll actually use them more often. It also adds personality because you can rotate covers and favorites over time.
For personalization, add a small basket for bookmarks, measuring spoons, or recipe cards. You can also include a small stand for your current recipe so it’s ready while you cook. Cost is usually low if you already own the books and use simple shelf dividers or book stops.
-
19) The Cabinet Space for Dishes: Use Plate Racks to Keep Everything Safer
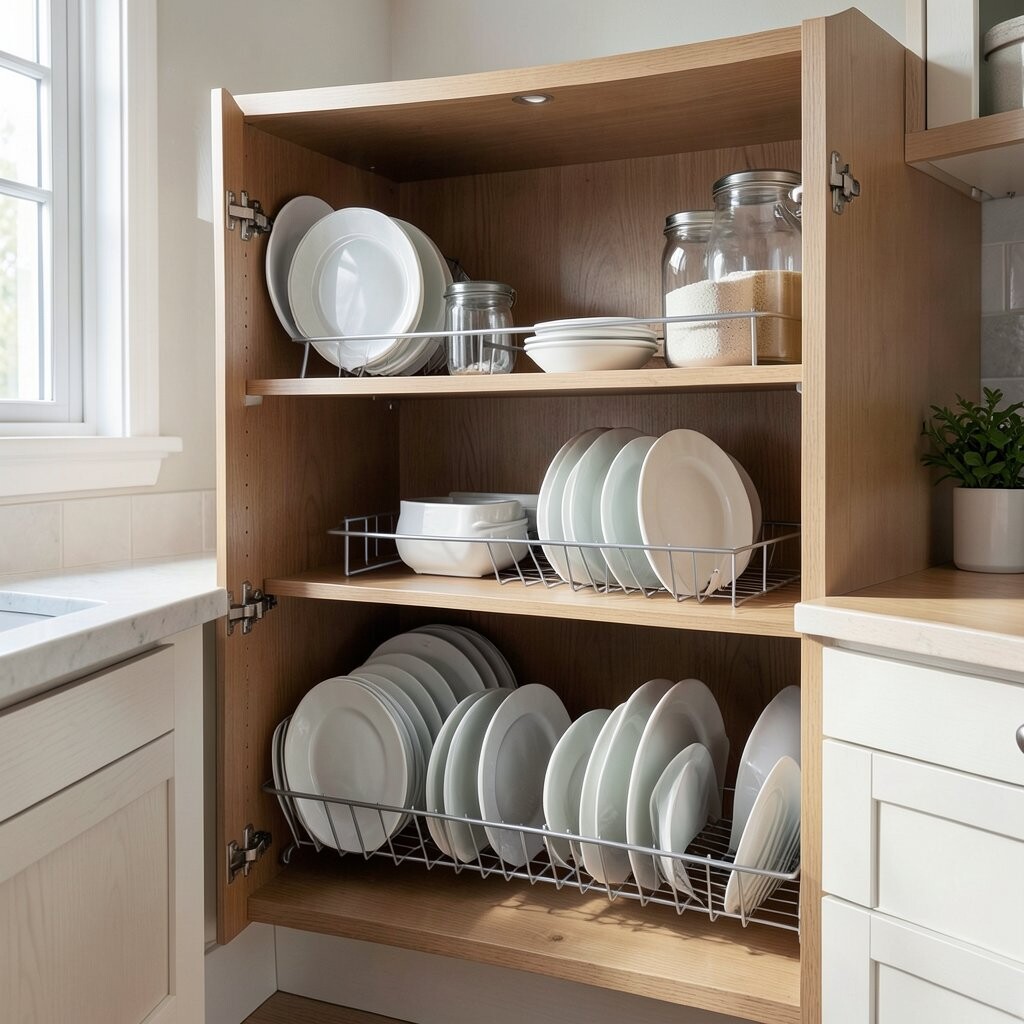
) The Cabinet Space for Dishes: Use Plate Racks to Keep Everything Safer Picture plates stacked neatly on a rack instead of stacked randomly in a cabinet. A plate rack makes dish storage look clean and helps protect the edges.
When you add a plate rack, dishes stay upright and easier to grab. This can also reduce chips because plates aren’t sliding around each time you open the cabinet. It’s a practical upgrade that feels like a careful organizing makeover.
For personalization, choose a rack finish that matches your hardware, like brushed brass or matte black. You can also style the top with a few “everyday” plates and reserve the back for special sets. Cost considerations: plate racks range from budget-friendly to premium, so choose based on your plate size and cabinet depth.
Tip: keep the most-used dishes on the most accessible shelf, and store rarely used sets higher or deeper. That keeps the system efficient long-term.
-
20) The Cabinet Corner of the Coffee Station: Add a Pull-Out Spice Drawer
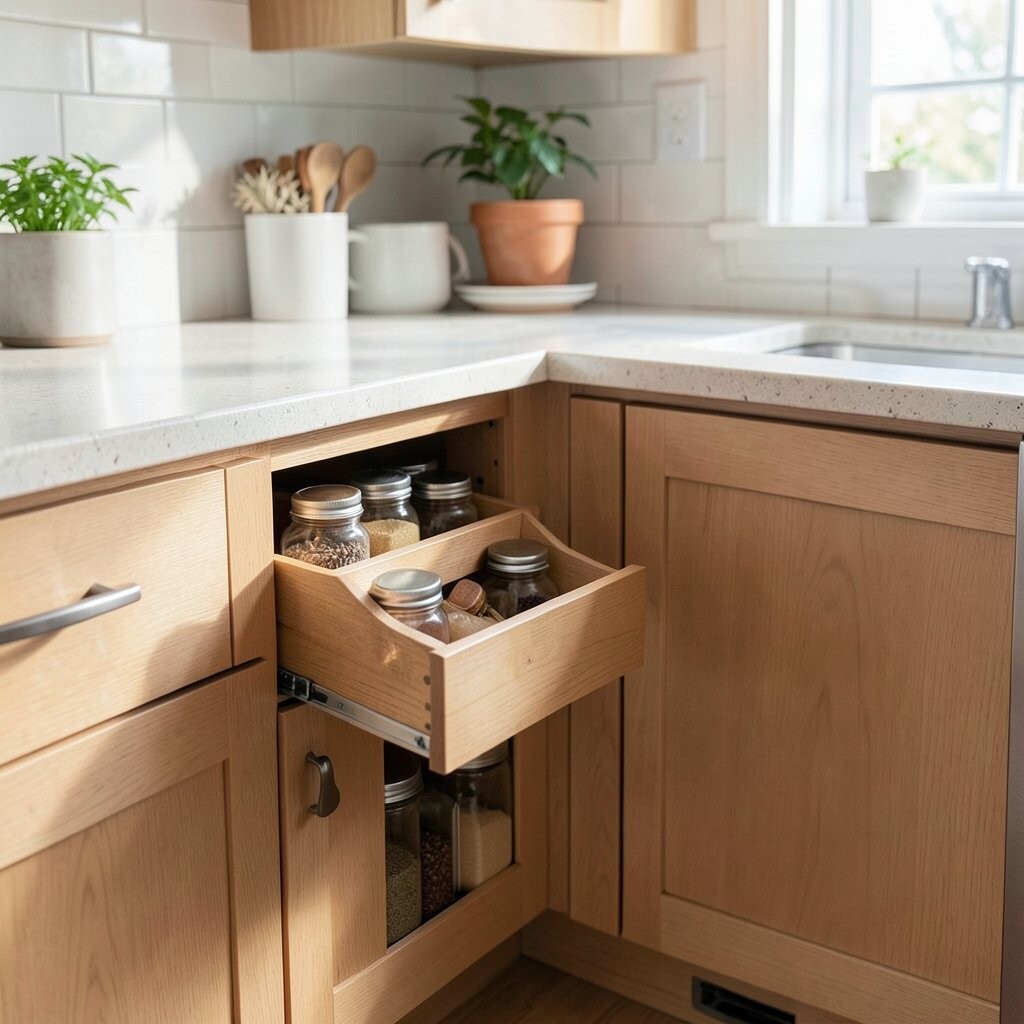
) The Cabinet Corner of the Coffee Station: Add a Pull-Out Spice Drawer Imagine spices tucked into a small pull-out drawer that slides out smoothly. This cabinet corner becomes a quick-grab zone instead of a cramped tangle.
Spice storage can be tricky because jars are small and messy when they don’t fit. A pull-out drawer keeps bottles visible and safe, so you can find what you need fast. It also reduces time spent searching, which is a real everyday benefit.
For uniqueness, use slim spice labels with matching colors or simple black text on white tags. You can also choose glass-front jars for a clean, modern look. Cost can be moderate, so start with a narrow drawer that fits your favorite spices and build from there.
-
21) The Cabinet Finishing: Add Peel-and-Stick Molding for a Custom Built-In Style
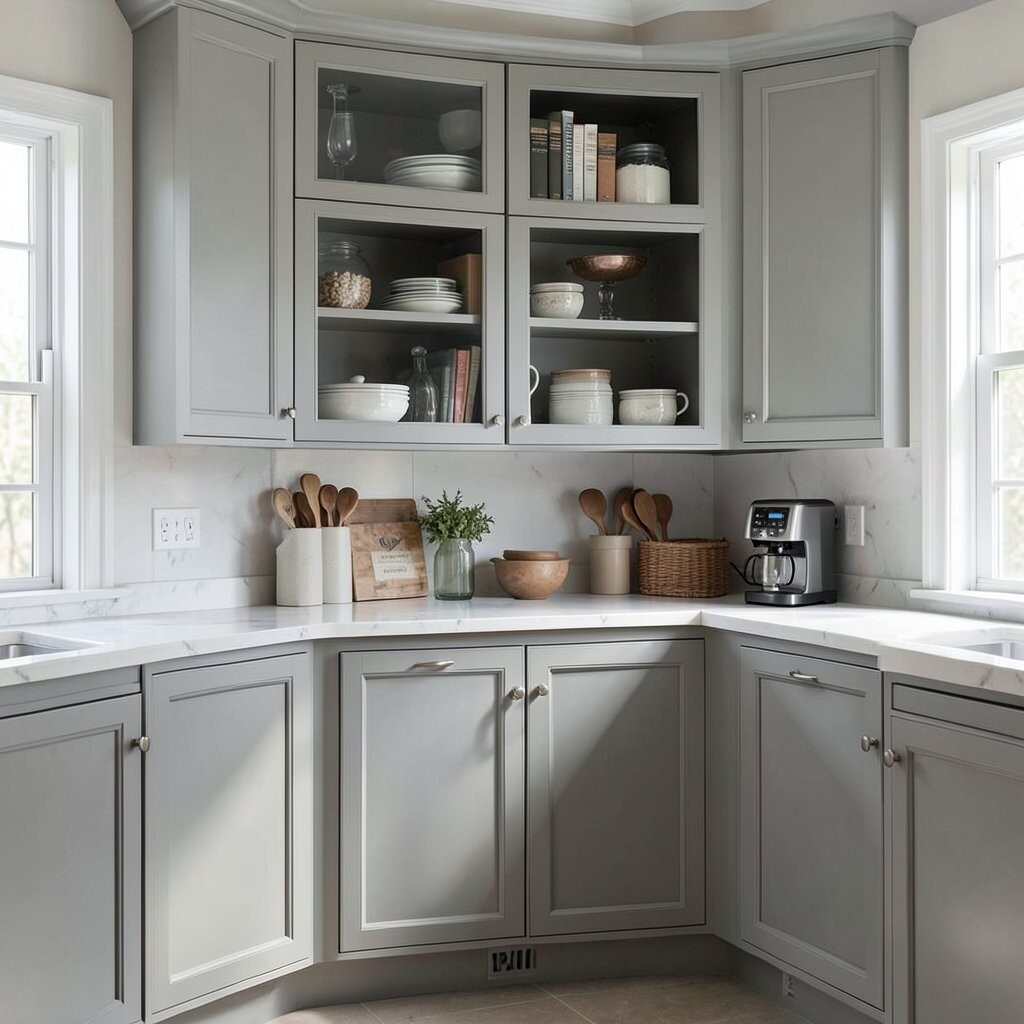
) The Cabinet Finishing: Add Peel-and-Stick Molding for a Custom Built-In Style Picture cabinet doors with a new trim pattern that looks like custom cabinetry. Peel-and-stick molding can create raised edges and frames without heavy carpentry work.
This style trick gives your kitchen a “built-in” look that feels expensive. It also helps hide minor flaws on flat cabinet fronts because the new lines bring focus and structure. If you enjoy a designer vibe, this is a fun way to get it.
For personalization, choose simple lines for a classic look or thicker trim for a more bold, modern feel. Try painting the molding or staining it to match your cabinets for a smooth finish. Cost considerations are usually friendly because you’re buying trim pieces rather than new doors or full panels.
Trend-wise, cabinet framing details are showing up a lot in modern kitchens because they add depth without changing the whole layout. Tip: measure each door carefully and apply molding with patience so the corners line up perfectly.
When you finish, step back and look at the overall pattern from a few angles. That quick check helps you catch uneven spacing before everything sets.