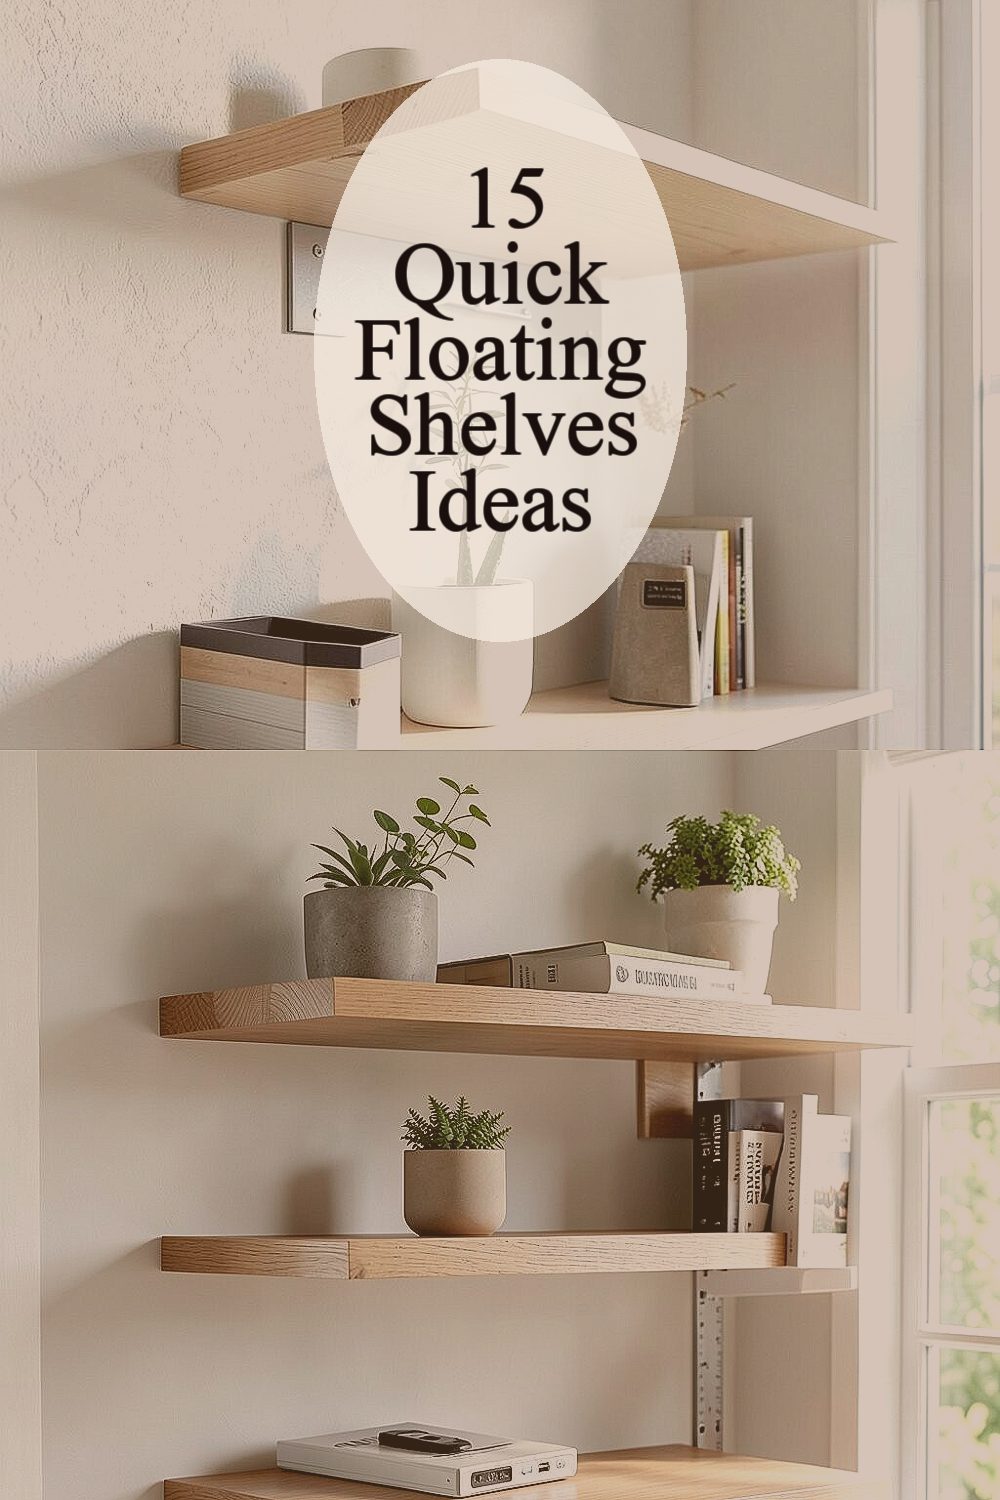
Floating shelves can make any room feel brighter in minutes. They also help your stuff look tidy and loved.
-
1) Pick the perfect wall spot with a quick “grab-and-go” test
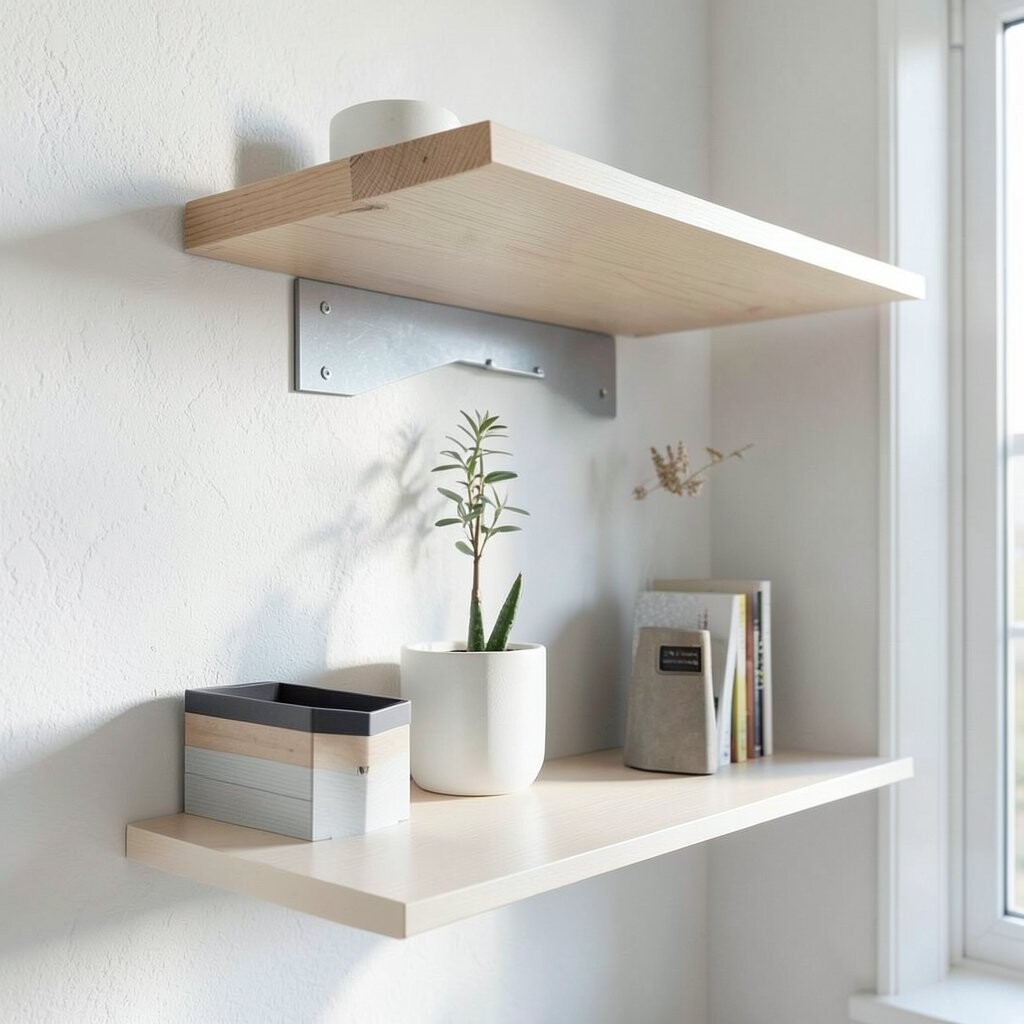
) Pick the perfect wall spot with a quick “grab-and-go” test Stand where you usually sit or walk, then hold an empty frame or notebook at the height you imagine. Imagine how books, plants, or photos would look when you glance up.
Look for a wall that gets natural light, because shelves glow when the sun hits them. If the spot feels too busy, choose a quieter corner instead. Try placing the shelf where your hands can reach, so the shelves feel useful, not just pretty.
Once you decide the spot, measure the area and check what’s behind the wall. This simple step helps you avoid surprises like pipes or wiring. A clean plan also saves money because you won’t buy extra parts or fix mistakes.
For personalization, match the shelf height to your decor rhythm. For example, keep the top near eye level for art pieces, or lower it for baskets and kids’ books. Current trends favor gentle “floating” looks, so choose a smooth finish that matches your room.
-
2) Use a stud-finder and keep your shelves sturdy for daily life
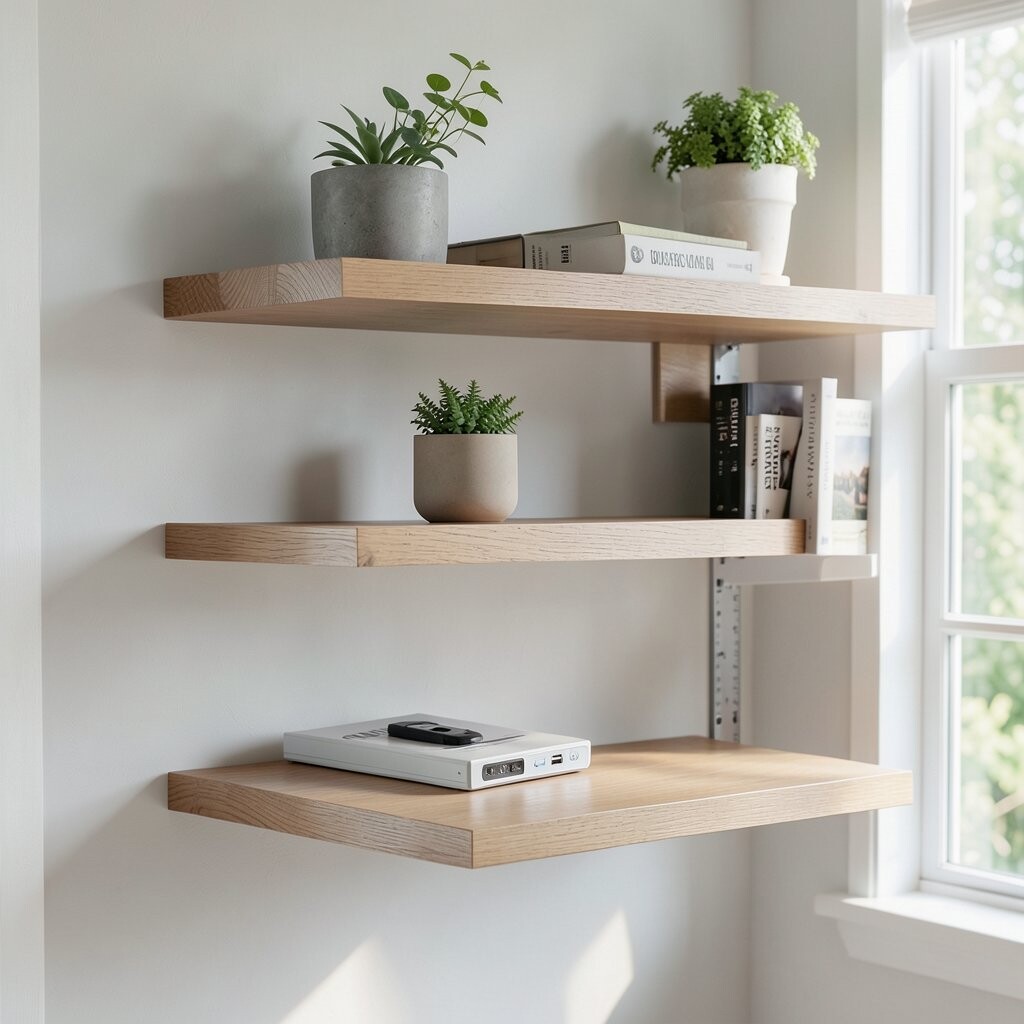
) Use a stud-finder and keep your shelves sturdy for daily life A visual trick: run your hand over the wall and look for faint lines or nail pops. Then use a stud-finder so the shelf feels solid when you set a mug, not wobbly.
Mark the stud edges lightly with a pencil, and double-check with a second scan. Sturdy mounting protects your items and makes the shelf last longer.
In most homes, stud mounting costs about what you’d spend on reliable anchors. It’s often worth it, because fewer repairs means more saved time and money. For uniqueness, choose screw placement that hides behind shelf supports or decor backdrops.
-
3) Plan for weight first: balance beauty with safe load rules
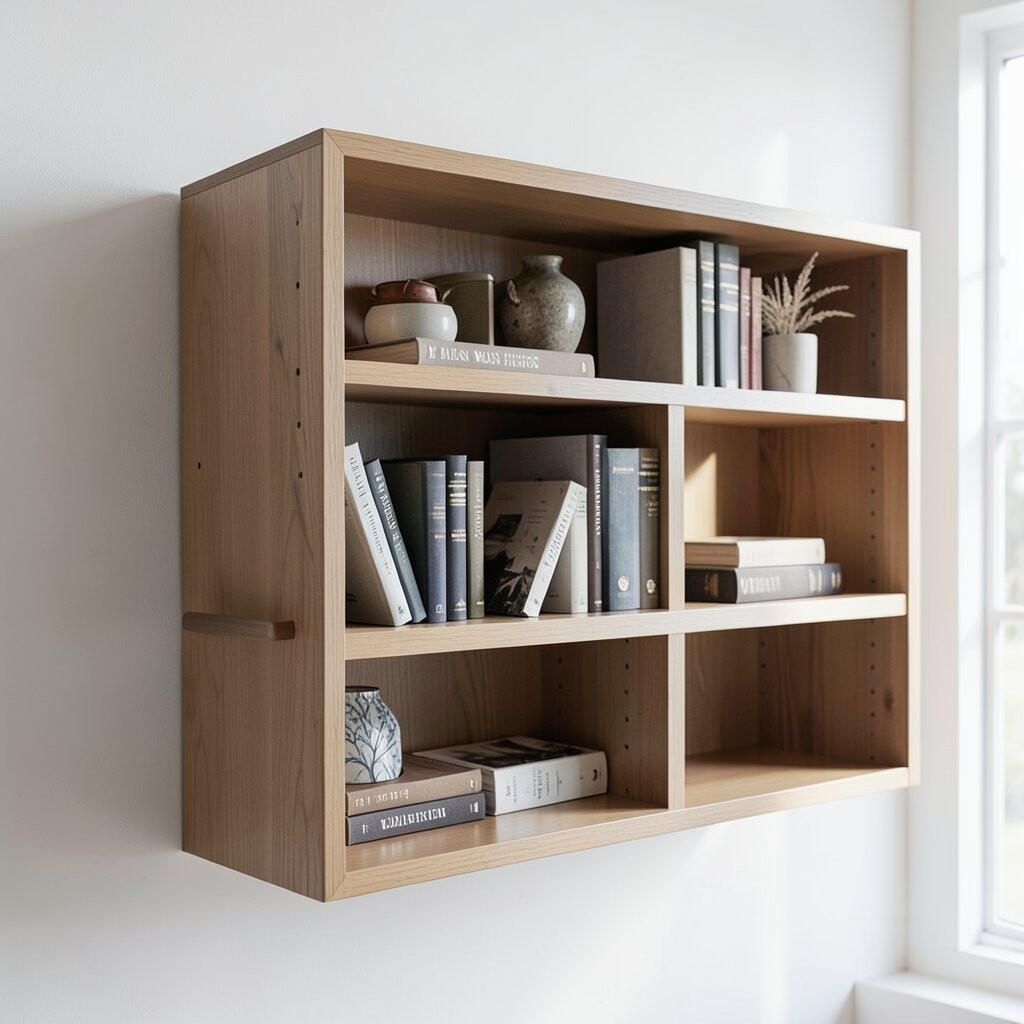
) Plan for weight first: balance beauty with safe load rules Before you install, picture what the shelf will hold day after day. Books look cozy, but they can also be heavy, so give weight the respect it deserves.
Check the shelf’s recommended load and compare it with your items. A shelf that holds well keeps your decor calm and steady.
For a visual guide, try a “mock load” by placing similar items on a temporary board. That lets you see if the shelf supports your style without sagging. If you want something light and airy, consider small planters, framed photos, and stacked books.
Personalization tip: mix materials so your load feels balanced, like pairing books with a small tray. Current trends lean into layered styling, but heavier items should go closer to the mounting points.
-
4) Choose floating brackets that match your room’s vibe
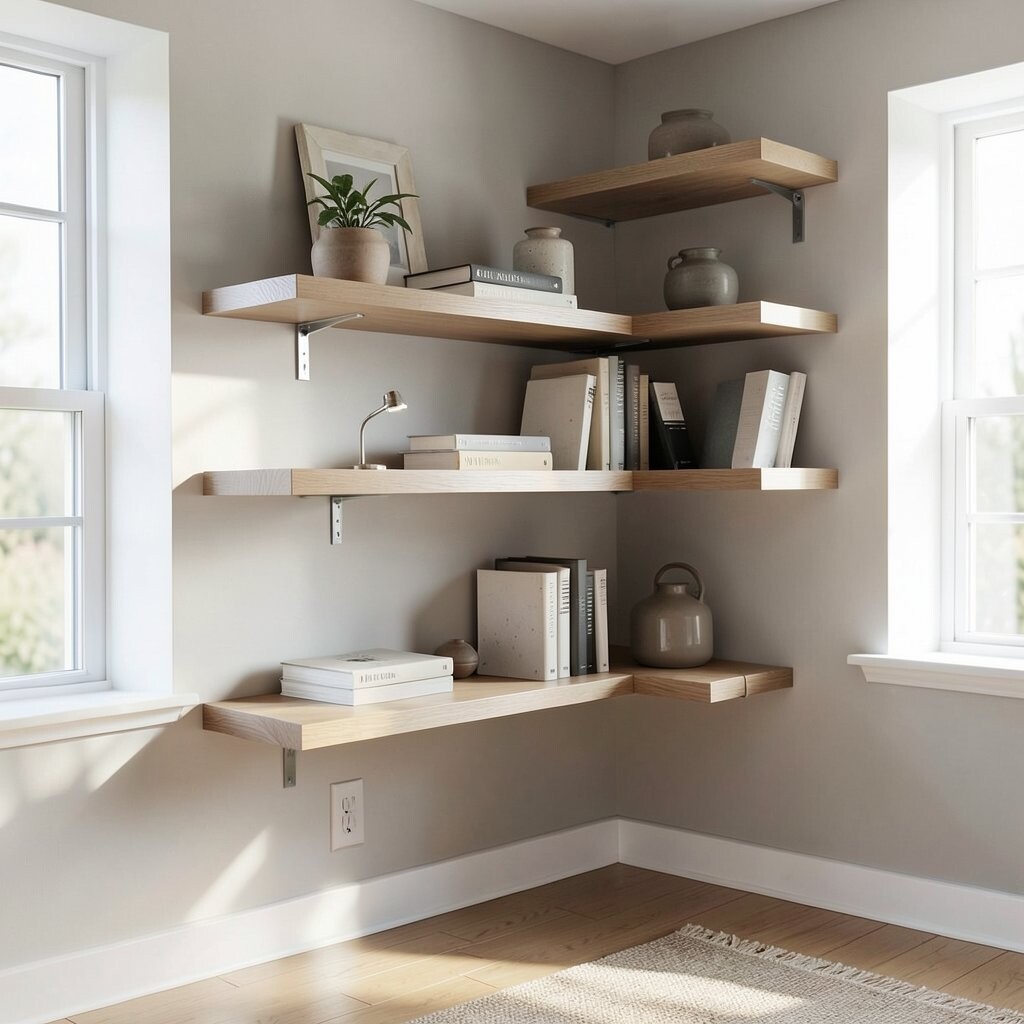
) Choose floating brackets that match your room’s vibe Brackets can be hidden or visible, and either option can look great. Hidden brackets give a pure floating look, while decorative brackets add a style “accent.” Pick what fits your room, like clean metal for modern spaces or warmer tones for cozy rooms.
Visible brackets can also help your planning because you can see where each support lands. This can feel easier when you want a precise, symmetrical layout.
As a cost consideration, some bracket systems cost more upfront but reduce extra hardware. They may also make installation faster because the parts fit together smoothly. To personalize, paint visible brackets a matching wall shade or a bold color that matches your artwork frames.
Quick trend note: many people now choose “minimal edge” brackets that keep lines sharp and calm. If you like that look, choose hardware with simple shapes and a sleek finish.
-
5) Install with a level line so everything stays straight and calm
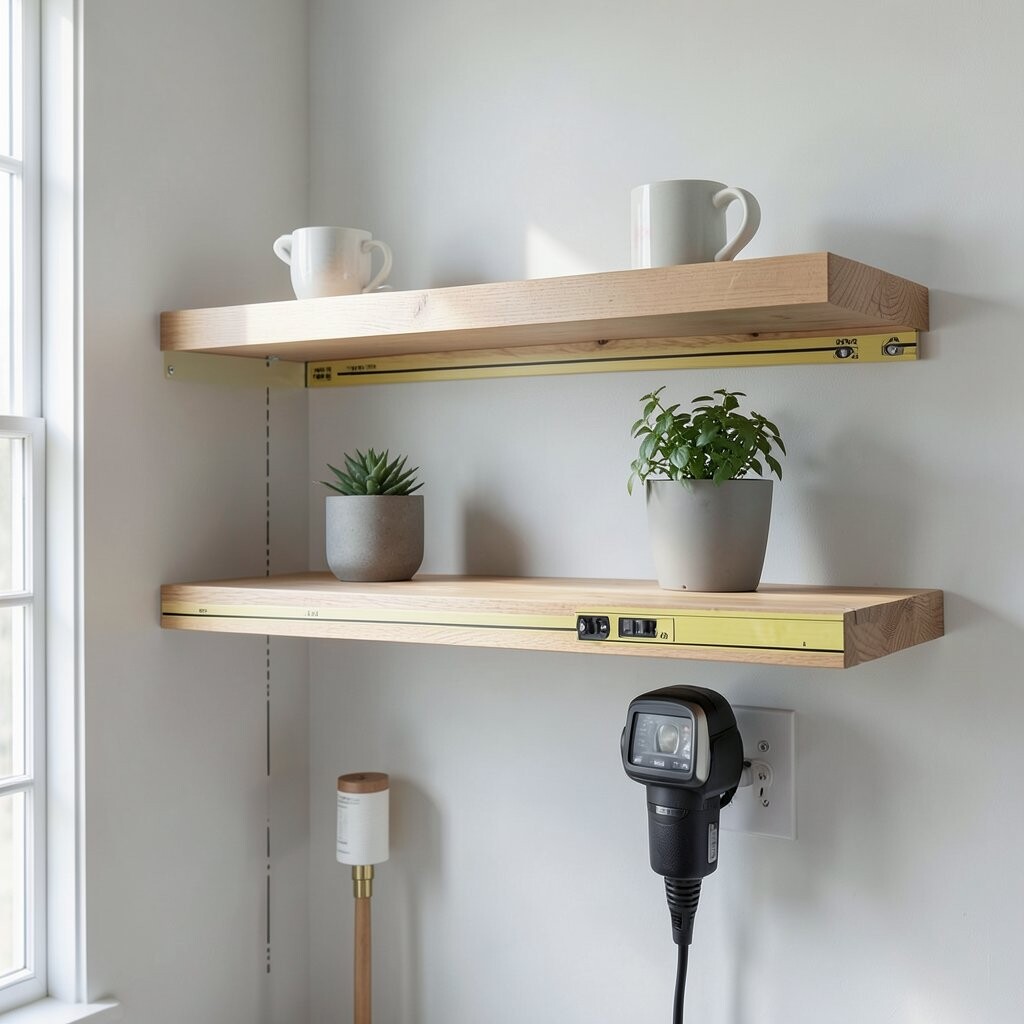
) Install with a level line so everything stays straight and calm Nothing feels worse than a shelf that tips slightly. Start by drawing a level line on the wall where the shelf will sit.
Use a tape measure to confirm spacing and a level to keep the guide true. Then attach brackets along that line so the shelf looks balanced from every angle.
This method gives a big benefit: your shelf will visually “lock in” to the room. You’ll also reduce redo time, which saves money on mistakes. For personalization, you can draw a gentle pencil guide first, then adjust decor placement later without moving hardware.
-
6) Go for an easy template method to speed up drilling

) Go for an easy template method to speed up drilling Templates help your hands feel guided instead of guessing. You can use a store-bought guide or make a simple cardboard template for the bracket holes.
Press the template against the wall, mark the hole spots, and drill only where you planned. This keeps the work clean and helps the shelf line up perfectly on the first try.
When you install faster, you also avoid buying extra bits due to mistakes. Cost-wise, templates themselves are often cheap, and the savings come from fewer errors and fewer replacement parts.
For personalization, mark the template with style notes like “left for plants” or “right for frames.” Current trends love purposeful symmetry, so a quick template helps keep spacing consistent.
-
7) Add a “no-fuss” backer board behind glass decor and mirrors
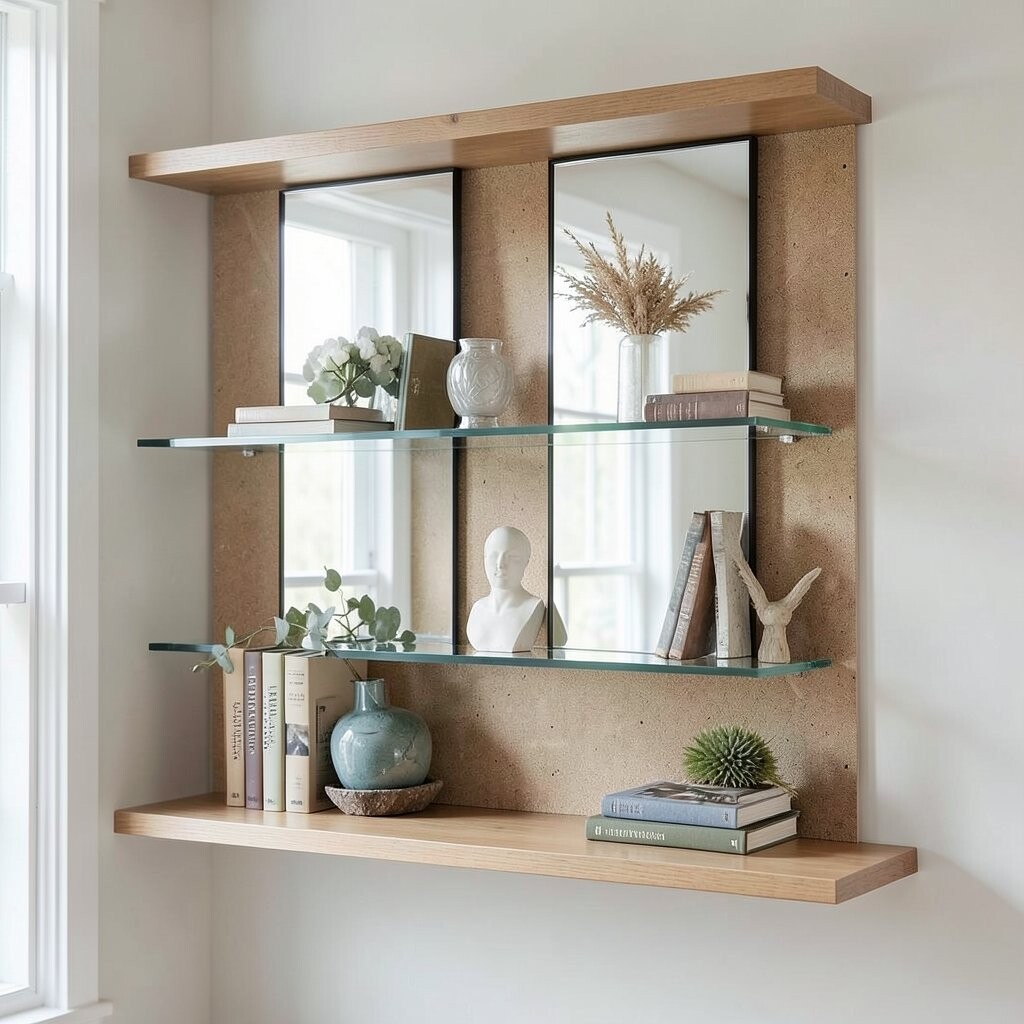
) Add a “no-fuss” backer board behind glass decor and mirrors If your shelf holds glass items, a soft backer can make them pop. Think of a thin board painted in a warm neutral, set behind delicate decor for a gentle glow.
Choose a simple backing color that matches the room, like cream, light gray, or a deep muted tone. This benefit makes the shelf look more styled, even when it’s not fully loaded.
Cost is usually low because you’re using a small piece of board, not a whole new project. Uniqueness comes from customizing the background to your theme—coastal vibes, modern minimal, or farmhouse warmth.
For tips, keep the backer aligned with the shelf edges and use paint meant for the material. You’ll also want to wipe dust before installation, so the background looks smooth under day and evening light.
-
8) Style with the “anchor, layer, glow” shelf trick

) Style with the “anchor, layer, glow” shelf trick Imagine your shelf like a tiny stage. Start with one anchor item, like a larger book stack, framed photo, or small plant pot.
Next add layers, such as a tray, a candle, or a textured basket. Finish with a glow item like a small light, reflective frame, or metallic accent that catches attention.
This approach gives a big benefit: it keeps your shelf from feeling random. It also helps you use your space well without buying lots of new pieces.
For personalization, pick anchor items that match your daily life, like cookbooks near the kitchen or travel photos near the hallway. Current trends lean into curated but comfortable styling, so don’t aim for perfection—aim for you.
Cost considerations are easy here: you can refresh the look by rearranging existing items, then add just one new accent.
-
9) Mount in the kitchen for quick spice and utensil elegance

) Mount in the kitchen for quick spice and utensil elegance The kitchen wall can look plain, but floating shelves make it feel designed. You might picture small jars, neat spice containers, and a slim cutting-board display.
Choose a finish that wipes clean, especially if the wall sees steam or splashes. Then anchor the shelf securely so it handles daily kitchen use.
A benefit you’ll notice fast is easy access to everyday items. When things are within reach, you spend less time searching, and meals feel smoother.
Uniqueness comes from mixing functional and pretty pieces, like a small ceramic bowl beside your favorite spice labels. For personalization, arrange by color or by how often you use each ingredient.
-
10) Use shelves as a hallway “photo runway” with safe spacing

) Use shelves as a hallway “photo runway” with safe spacing Hallways often need warmth, and shelves can add it without taking up floor space. Picture a neat line of frames, small planters, or slim vases along eye-level.
Plan for safe spacing by keeping items roomy enough to avoid bumps when people pass. Use a level line so frames look aligned and intentional.
For benefits, shelves can reduce clutter because photos and decor stop living in random surfaces. They also make your hallway feel like a mini gallery.
Cost considerations: you can start with a single shelf and a few frames, then add more later. Personalization ideas include using rotating season themes, like winter candles or summer travel postcards. Current trends favor small, mixed-size displays, so try combining one larger piece with a few smaller ones.
-
11) Install above a desk to keep focus tools within reach
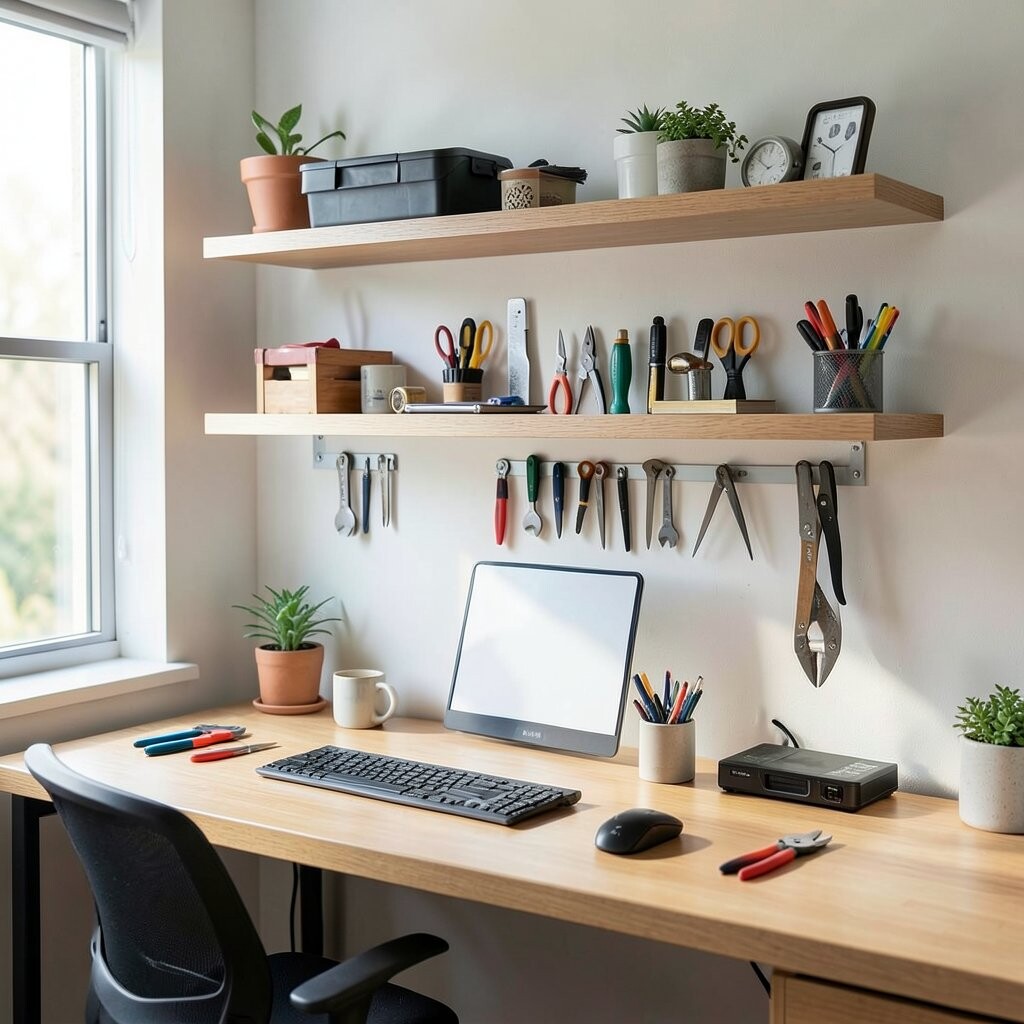
) Install above a desk to keep focus tools within reach A desk shelf can turn a working corner into a tidy command center. Think of pens in a cup, a small clock, and a notebook stack placed neatly under your gaze.
Mount the shelf so it doesn’t block your view of the screen or create cramped space. Keep heavier items toward the back edge and lighter decor toward the front.
This setup gives a clear benefit: your daily tools stay organized, and your desk surface stays calm. It also cuts down on time spent looking for supplies.
For personalization, color-code storage by using matching trays and container lids. If you want uniqueness, add one personal item like a tiny sculpture or a framed quote you love.
Cost-wise, this project can be budget-friendly because you’re usually installing one or two shelves and using items you already own.
-
12) Choose moisture-smart placement for bathrooms
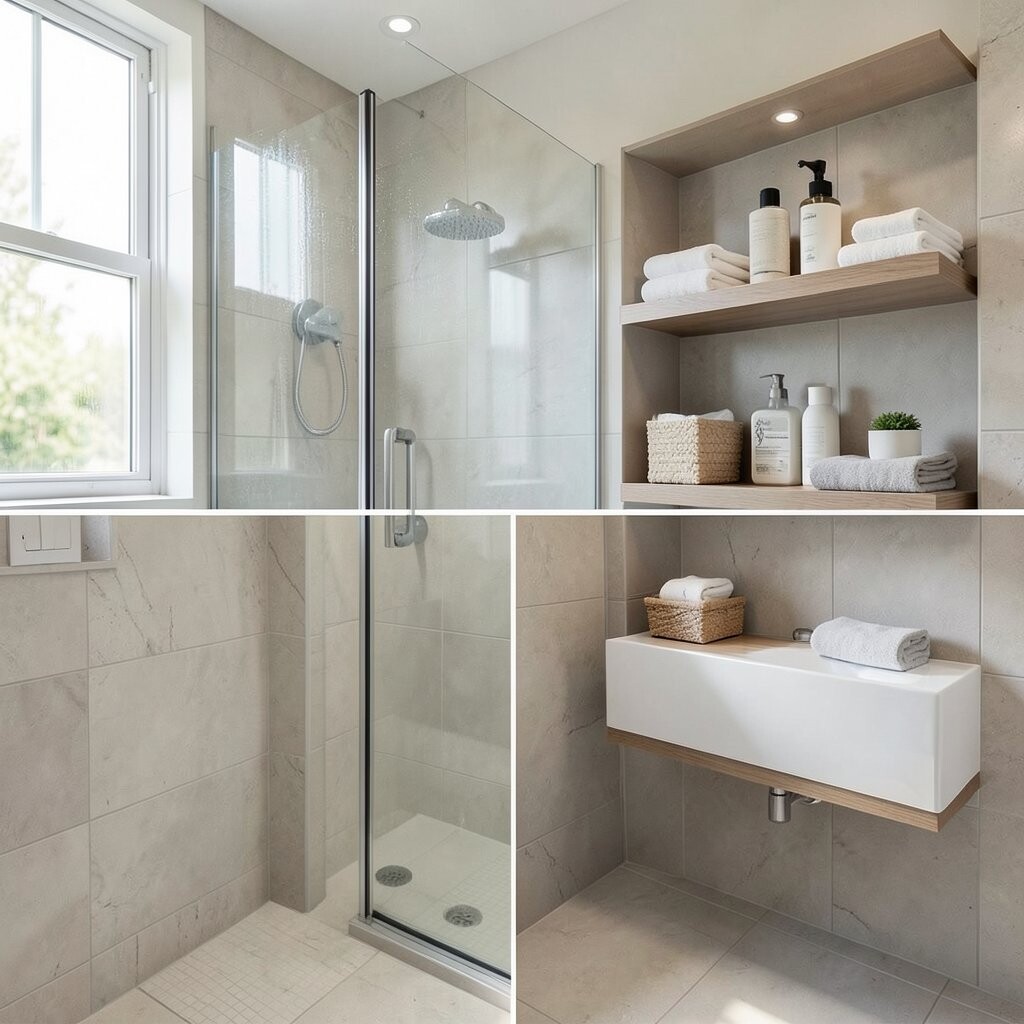
) Choose moisture-smart placement for bathrooms Bathrooms have humidity, and shelves there need thoughtful materials. Picture small towels, a diffuser, and neatly arranged skincare bottles sitting on a shelf that resists moisture.
Pick water-resistant finishes or sealed wood, and consider spacing that helps items dry quickly. Mount the shelf securely so it stays steady even with daily steam.
A benefit is that bathroom storage becomes easy to see, which makes routines quicker. It also keeps small items off the counter, leaving more clean space.
For personalization, use a matching color scheme, like soft whites with light green accents or warm browns with gold details. Current trends show lots of “spa-like” styling, so add a small plant or a simple ceramic soap dispenser to finish the look.
Cost considerations: sealed materials might cost a bit more, but they can prevent damage and replacements later.
-
13) Add one long shelf for living room balance and open sightlines
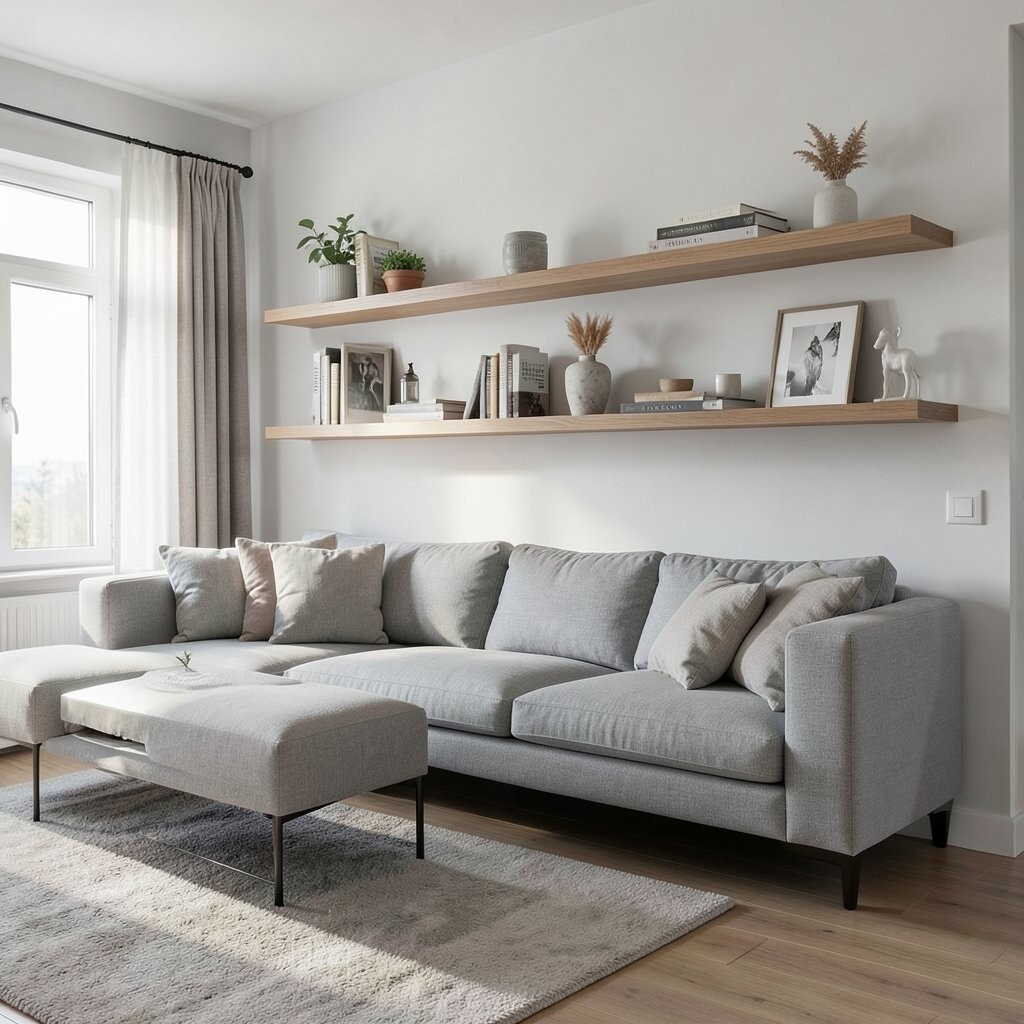
) Add one long shelf for living room balance and open sightlines A long floating shelf can anchor a living room without crowding it. Imagine a smooth plank above a sofa with books, art objects, and a few tall plants placed at gentle intervals.
When you mount longer shelves, plan bracket spacing carefully. Use the level line and mark everything twice so the long piece stays straight.
This brings a big benefit: your walls look intentional, and your decor has a home. The shelf also helps you show off favorites without stacking clutter on tables.
Uniqueness comes from mixing heights, like placing a tall vase at one end and a low tray near the center. For personalization, incorporate family photos in frames that match your living room colors.
-
14) Create a kid-friendly shelf plan with corner safety habits
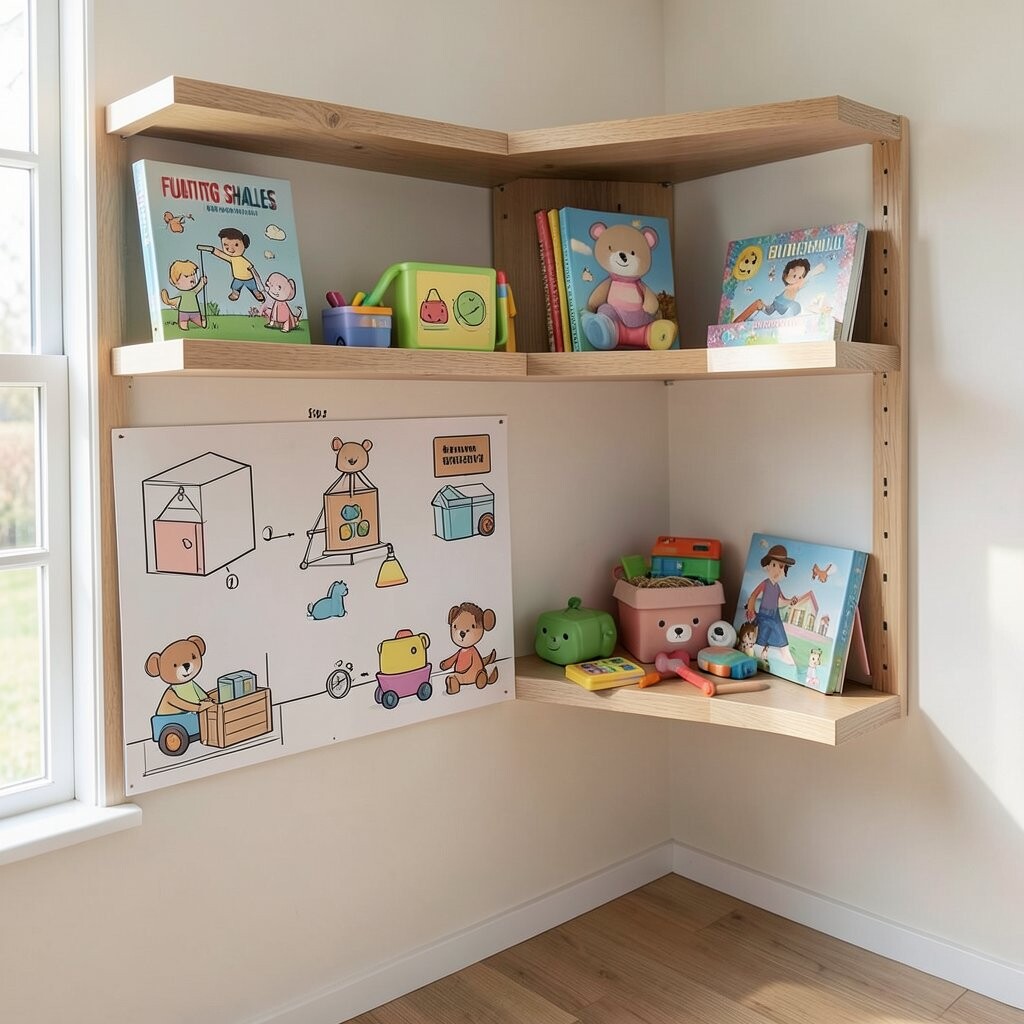
) Create a kid-friendly shelf plan with corner safety habits Kids love shelves for toys, books, and little collectibles. But the real win is making the shelf safe, reachable, and easy to manage.
Choose a shelf height where your child can place items without climbing. Use rounded edges when possible, and keep sharp objects off the display.
Secure mounting is a must, because shelves should never shift or wobble. Also consider using light loads like baskets, thick board books, and plush toy bins.
Benefits show up quickly: kids learn to tidy because storage is visible and within reach. It also helps you teach routines, like “books here, toys there.”
Cost considerations are gentle here since you can use inexpensive bins and labels. For personalization, create a theme such as space books, ocean toys, or superhero collectibles, and rotate them as seasons change.
-
15) Finish with cable-free styling and smart lighting for a pro look
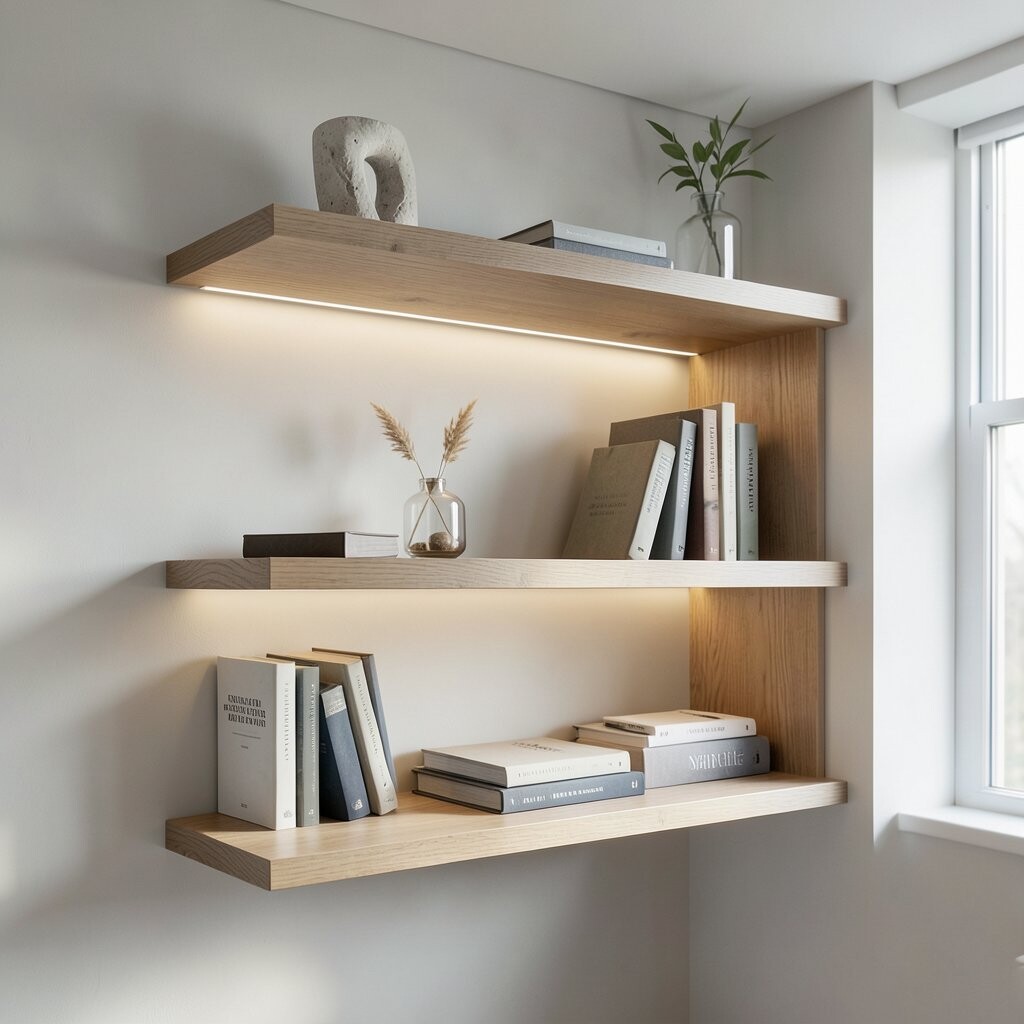
) Finish with cable-free styling and smart lighting for a pro look Floating shelves look even better when the area around them stays clean. If you have cords from lights or devices, plan a tidy route so nothing distracts from the shelf.
Consider small LED strip lights or puck lights placed carefully so they highlight items instead of shining directly into eyes. A soft glow makes photos, plants, and ceramics look richer.
This gives a strong benefit: your shelf becomes a focal point even at night. It also adds that “designer” feel without needing expensive furniture changes.
Uniqueness comes from your lighting mood—warm light for cozy evenings or brighter light for reading corners. For personalization, aim the glow toward the anchor item so your shelf tells a clear visual story.
Cost considerations: basic LED options can be affordable, and they often reduce the need for other lamps. Current trends show more gentle lighting on shelves, especially in kitchens, living rooms, and reading nooks.