Small cabinets can still feel roomy when you use smart tricks. A few upgrades can make cooking space look neat and effortless.
Keep reading for storage ideas that fit tight kitchens and daily life.
-
1. Install Lazy Susans in the corner zone

Install Lazy Susans in the corner zone Turn your corner cabinet into a “grab-and-go” space. You will see pots and spices rotate into view instead of hiding in the back.
Lazy Susans help you reach items without pulling everything out. They also cut down on wasted time while cooking.
Choose a model that fits your cabinet diameter and height. For personalization, label the shelves with tape or small chalk stickers by food type. If you want a budget option, start with the smaller turntable first and add more later.
-
2. Add vertical drawer dividers inside cabinet pull-outs

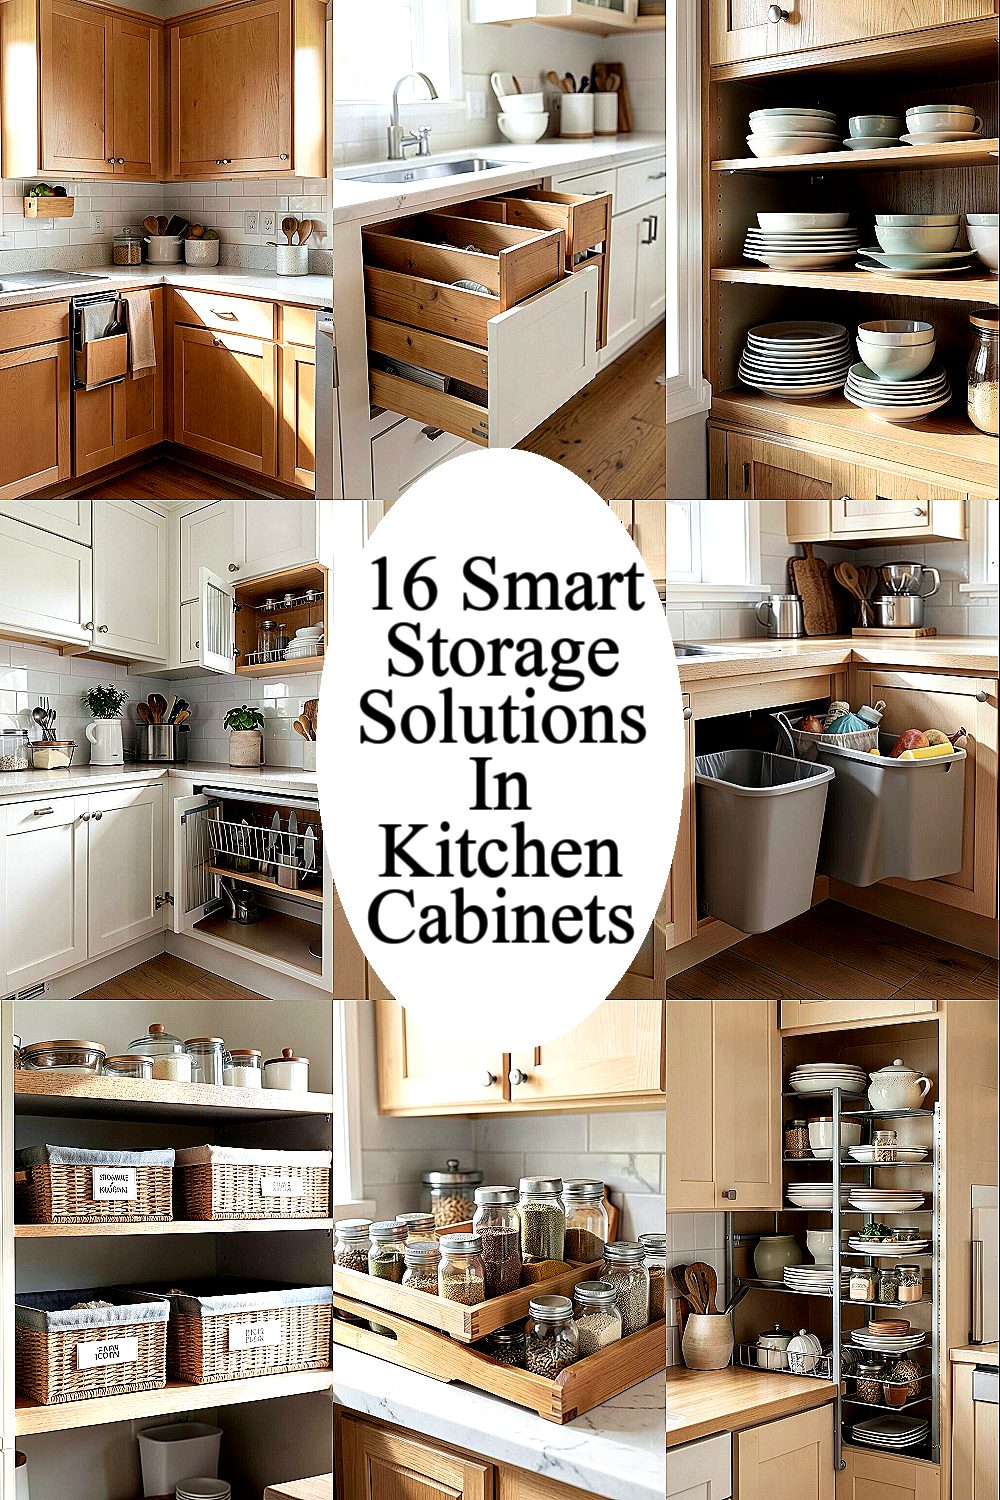
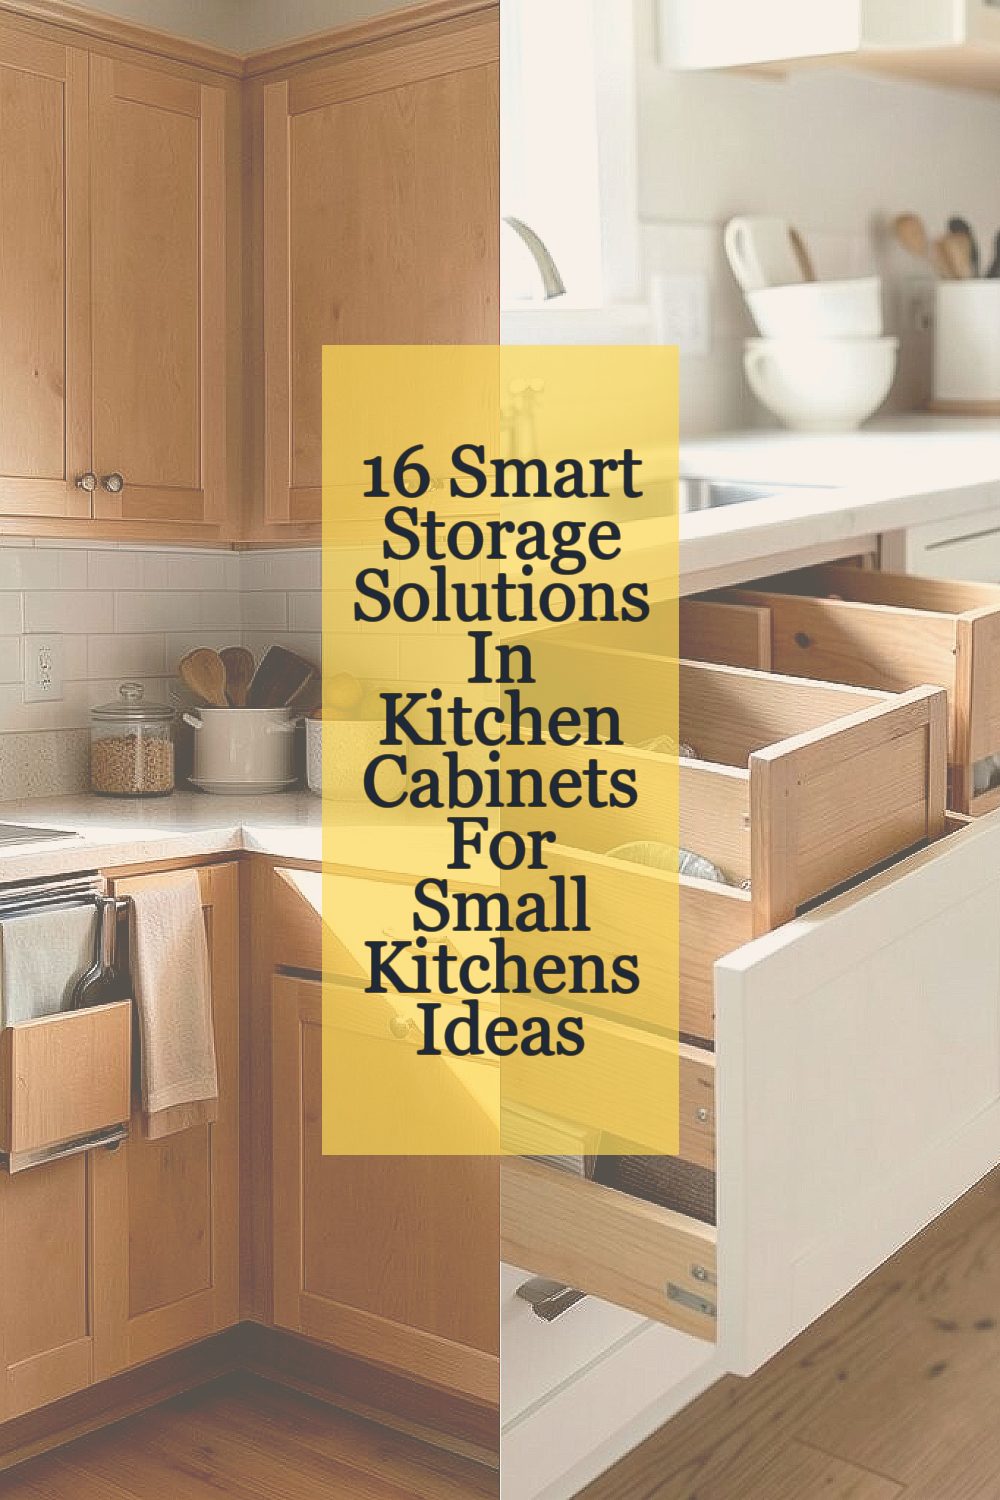
Add vertical drawer dividers inside cabinet pull-outs Use slim dividers to hold lids, small pans, and baking tools upright. Your cabinets will look clean because items stay in neat rows.
This idea is great for small kitchens because it saves horizontal space. You can also spot what you need faster.
Try short dividers for lids and tall dividers for spatulas and measuring cups. If you cook often, personalize the layout by theme, like “baking tools” on one side. Costs vary, so measure carefully before buying and look for budget-friendly adjustable kits.
-
3. Use shelf risers for everyday plates and bowls

Use shelf risers for everyday plates and bowls Stacking plates can be tricky, but risers make it easier. Picture two levels of dishes with clear visibility from the front.
Shelf risers help you create extra storage without moving cabinet doors. They also reduce the chance of tipping when you pull items out.
Pick risers that match your plate thickness so nothing wobbles. Personalize by dedicating one level to snacks and the other to main meals. If you want to keep costs low, check for multipacks during sales or repurpose heat-safe trays as gentle stand-ins.
-
4. Put magnetic knife strips on the inside of doors

Put magnetic knife strips on the inside of doors Imagine opening the cabinet and seeing knives lined up neatly, like a small gallery. The blade handles face outward so grabbing feels quick and safe.
Door-mounted storage keeps counter space calmer. It also helps you protect knives from getting banged up in drawers.
Make sure the strip is placed so blades do not touch each other. For personalization, add small labels for “prep” knives and “daily” knives. While magnets can cost more up front, they often save money later by keeping tools in better shape.
-
5. Add tension rods under the sink for spray bottles

Add tension rods under the sink for spray bottles Under-sink clutter can look chaotic fast, especially with cleaners. A tension rod creates a simple line for bottles and rags to sit on.
You will notice better airflow and less sliding when bottles are held in place. This keeps your space safer for daily use.
Choose rods that fit your cabinet width and make sure they do not press on plumbing. For personalization, use small bins on the rod ends for sponges or gloves. If you are on a tight budget, this is one of the easiest upgrades and usually costs less than many organizers.
-
6. Install pull-out trash and recycling bins in base cabinets

Install pull-out trash and recycling bins in base cabinets Instead of having bins awkwardly sit in the corner, use a pull-out system. You will see the cabinet front stay clean while waste rolls out smoothly.
This helps small kitchens stay tidy, especially during busy cooking nights. You also reduce the mess that happens when taking trash in and out.
Pick bins that match your cabinet size and door swing. For personalization, use color-coded liners for different recyclables. Costs depend on the brand, but sales and mid-range kits can fit many budgets.
-
7. Line shelves with non-slip liners and labeled baskets

Line shelves with non-slip liners and labeled baskets Soft liners make items feel secure and easy to slide into place. You will notice fewer spills and less sliding when everything has its spot.
Labeled baskets turn “mystery storage” into a simple system. This is especially useful for small kitchens where every inch counts.
Use liners in drawers too for better grip. Personalize labels by family favorites, like “tea,” “snack bowls,” or “pasta night.” If you want to manage costs, start with the most used shelf first, then expand as you go.
For a current trend, many people now mix clear bins with fabric baskets for a warm look. You get function and style in one step.
-
8. Create a spice “tray system” with shallow organizers

Create a spice “tray system” with shallow organizers Spices can become a jumbled wall of tiny jars. A tray system groups them so you can see labels quickly.
When spices sit on trays, you waste less time hunting mid-recipe. It also keeps your cabinet from turning into a dusty back room.
Use a shallow organizer sized to your jar collection. For personalization, arrange by flavor type like “Mexican,” “Italian,” or “Asian.” Costs are usually manageable because spice trays are often simple and made for standard jars.
If you buy new spices, try to keep jar types similar so storage stays neat. This is a smart trick for a cleaner cabinet look.
-
9. Add a vertical plate organizer with tensioned racks

Add a vertical plate organizer with tensioned racks Instead of stacking plates flat, place them upright on racks inside the cabinet. You will see each plate like a row of tiles.
This style is perfect when cabinet depth is limited. It also reduces the effort it takes to grab a plate without shifting the stack.
Measure your cabinet height so plates fit without bending. For personalization, keep special-occasion plates higher and daily plates lower. Budget-wise, you can choose a smaller rack now and grow to additional levels as your collection increases.
-
10. Build a “lid and pan matching” zone near the stove

Build a “lid and pan matching” zone near the stove Keep the cooking tools you use most closest to the stovetop. Think of a small home base where lids and pans match without searching.
A dedicated zone prevents the common “one lid missing” problem. It also helps you cook with less stress.
Use a divider set and one tray for frequently used items. Personalize this zone with a color system, like blue for everyday pans and green for baking pans. If you prefer spending less, start with a single organizer panel and adjust later.
Many kitchens are now using “tool grouping,” which is an easy trend to copy. Grouping tools makes routines feel smoother every day.
-
11. Store baking sheets upright with a pull-out wall mount

Store baking sheets upright with a pull-out wall mount Baking sheets usually end up in a messy stack. A pull-out upright mount lets them slide out like drawers.
This keeps edges from bending and makes sheet choices quick. It also uses cabinet space in a more vertical way.
Look for a mount that supports sheet sizes you truly own. For personalization, label the positions for cookie sheets vs. roasting pans. Costs can be moderate, so check compatibility before buying to avoid wasted money.
-
12. Use clear canisters on interior shelves for flour and sugar

Use clear canisters on interior shelves for flour and sugar Inside cabinets, clear canisters create a calm, easy-to-read view. You will spot levels at a glance, which makes restocking feel simple.
Because canisters look uniform, the cabinet feels more organized. It also helps prevent spills from bulky bags.
Choose canisters that seal well and fit your shelf height. For personalization, add labels with cute handwriting or a matching color set. If you want a budget route, start with the top three ingredients you use most, then add more later.
-
13. Add a pull-out counter-friendly cutting tools rack

Add a pull-out counter-friendly cutting tools rack Cutting boards can lean, slide, and take up too much space. A pull-out rack keeps them stacked and easy to grab.
When boards slide out smoothly, meal prep feels less annoying. You also free up shelf space for other tools.
Pick a rack that fits your board thickness and cabinet height. Personalize by storing wooden boards in front and plastic boards in a designated back slot. Costs vary, but a simpler rack can still give great results.
-
14. Store appliances in cabinet niches with lift-up shelves

Store appliances in cabinet niches with lift-up shelves Counter appliances can take over a small kitchen fast. A lift-up shelf can hide them inside the cabinet and make the area feel open.
You will enjoy a cleaner look when the shelf is closed. When you need the appliance, you lift and pull it out right away.
Measure your appliances with the cord length in mind so nothing gets squeezed. For personalization, assign one niche for the blender and one for the toaster or mixer. This can cost more than simple organizers, so plan the space first and buy only what you truly need.
A current trend is “hidden appliance storage,” and it works well for small kitchens. It also makes your cabinet layout feel like a designed system.
-
15. Install a “lid shelf” above the pots for quick access

Install a “lid shelf” above the pots for quick access Lids often live in awkward piles that fall over. A lid shelf above pots keeps them visible and safer to grab.
Because lids are stored near the cooking zone, you reduce trips while cooking. It also keeps the main shelf area for pans and bowls.
Use a shelf with a slight lip so lids do not slide forward. For personalization, keep glass lids together and metal lids together. If you want lower costs, consider building a simple shelf from sturdy boards and adding non-slip tape.
-
16. Create a “seasonal rotation” shelf with stackable bins

Create a “seasonal rotation” shelf with stackable bins Not every tool needs to live in the cabinet every day. Seasonal rotation uses stackable bins to store rarely used items neatly.
Picture a bin for holiday baking tools and another for summer grilling spices. When the season changes, you swap bins and keep the cabinet easy to maintain.
Choose stackable bins with lids so items stay clean and dust-free. For personalization, paint small dots on the bin labels to match the season, like red for winter and yellow for spring. Costs stay reasonable because bins are often reusable across rooms, and you can start with a single stack.
Many homeowners now prefer this “one shelf stays active” method for small homes. It keeps daily storage calm and makes big tasks feel organized.