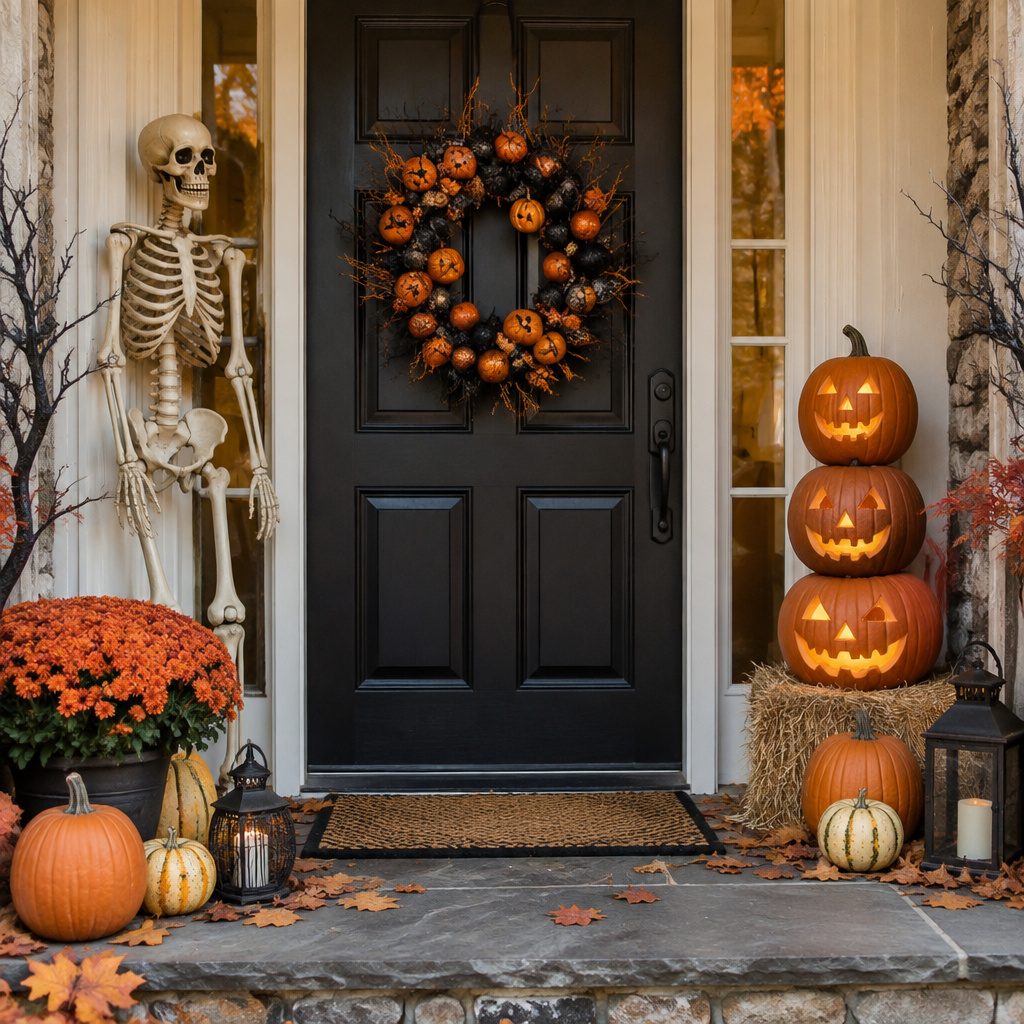
Throwback Halloween vibes can feel extra fun, especially when you borrow the look of the 1990s. Today you’ll get decor ideas that mix nostalgia with easy, practical decorating.
1. Neon Candy Corn Glow Jars
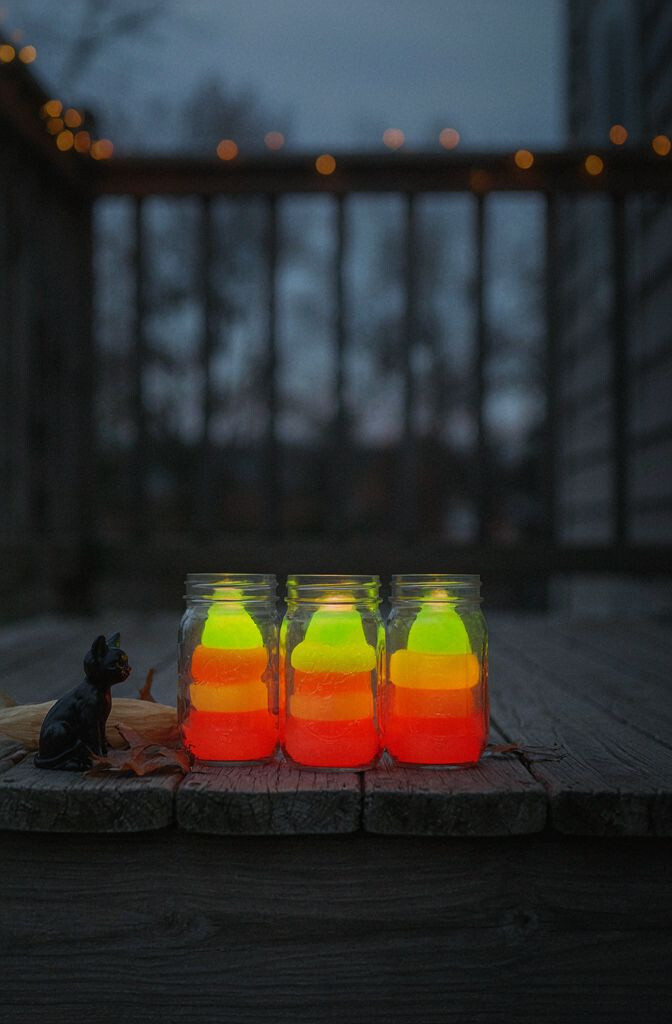
Fill clear jars with candy corn or faux pieces for instant color. Add a strip of battery LED lights behind the jar labels so everything looks like it’s glowing at a mall arcade.
These jars catch attention from across the room, even on a busy table or entryway console. Use bright neon labels like “BOO” or “SPOOKY SWEET” to make the 90’s look feel extra bold. For personalization, swap candy corn for jelly eyeballs, gummy teeth, or tiny skeleton figurines, then adjust the glow color to match your theme.
2. VHS Tape Ghost Wall Collage
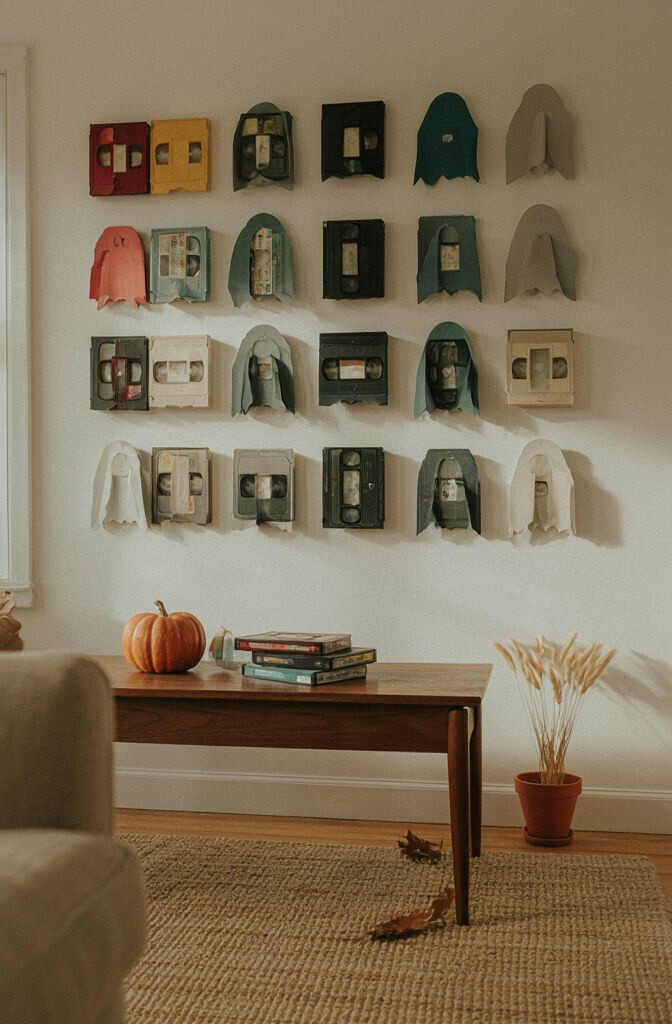
Turn old VHS cases into a wall of spooky nostalgia. Arrange tape sleeves like a patchwork and add ghost cutouts in the open windows.
It’s unique because it looks like a real time capsule, not a generic Halloween print. Keep it practical by using lightweight foam ghosts and removable tape so you don’t ruin your walls. For cost, check thrift stores for cheap tapes, then print a few custom “rental” labels at home.
Add an extra 90’s touch by tinting some ghost faces with neon marker for that pop-art feel. If you want current trends, pair it with a few matte black elements so the collage looks modern while keeping the retro spirit.
3. Flannel “Haunted Campfire” Window Scene
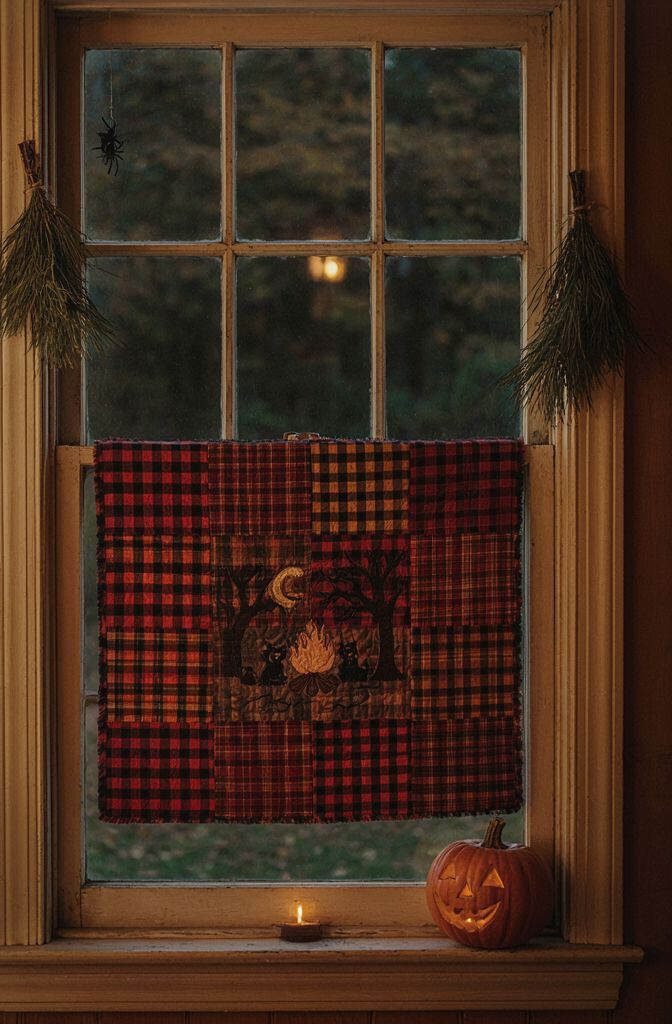
Create a cozy window display that looks like a campfire got spooked. Drape flannel fabric in warm reds and browns behind sheer curtains so the light from outside makes it glow.
What makes it special is the mixed texture, like soft lumberjack warmth meeting spooky flames. Add a fake orange or red “fire” ribbon using craft store materials and LED tea lights on a timer for easy overnight safety. For personalization, include silhouettes of a hiker, a ghost dog, or a tiny witch hat near the bottom edge.
To keep it affordable, use fabric scraps and a few inexpensive silhouettes rather than buying full window props. This also fits current decorating trends that favor cozy “warm glow” lighting over harsh, bright spotlights.
Hang everything with removable hooks and keep wires hidden behind the curtain rod.
4. Smiling Pumpkin Face Door Banner
Craft a door banner using felt pumpkins with cheerful, slightly goofy smiles. String them across a ribbon so the banner sways when someone opens the door.
This idea stands out because it flips the mood from scary to playful, which fits the lighter 90’s Halloween vibe. Use fabric scraps or pre-cut felt sheets to keep costs low. Personalize by adding tiny “sticker” stars, like kids used to stick on notebooks, around each pumpkin face.
5. Glow-In-The-Dark Skeleton Key Garland
Make a garland that mixes skeleton keys, plastic bones, and glow-in-the-dark beads. Thread them onto twine and hang it along a mantel or staircase rail.
The benefit is that it feels magical without needing constant electricity. It’s also unique because skeleton keys suggest mystery and treasure, not just pumpkins. For practical setup, secure heavier items with small knots and spacing so the garland hangs straight.
To personalize, alternate key sizes and add a few name tags for family members. If you want to stay on trend, keep a mostly neutral base like black and bone-white, then let the glow be the pop of color.
6. Retro Spooky Sprite Cup Centerpieces
Use clear cups or plastic drink tumblers to build tiny “spooky soda” centerpieces. Add faux ice, candy sprinkles, and a small Halloween figure in each cup.
This works because it turns party items into decor, making it easy to reuse after guests leave. Add a label strip on each cup that looks like a vintage flavor name, such as “Witch Brew” or “Graveyard Berry.” For cost considerations, grab inexpensive cups in bulk and top them with items from the dollar store.
Keep it safe and tidy by using craft glue to lock the small pieces in place. Personalize the set by matching the figures to your household, like a mini cat skeleton for a pet lover.
7. 90’s Comic-Style “BOO” Sign with Pop Colors
Create a “BOO” sign that looks like it was ripped from a comic page. Paint big letters on cardstock, then outline them with thick black and add neon accent dots.
This is unique because the style feels energetic and kid-friendly, not like a flat Halloween stencil. Use practical tips like laminating the sign with clear packing tape if it will sit where it might get dusty. To personalize, add small speech bubbles around the letters with messages like “EEK!” or “Trick or Treat!”
For cost, you can use dollar store cardstock or cardboard backing, then print a simple halftone pattern for extra texture. This pairs well with current trends that favor bold color blocks and graphic shapes.
8. Blacklight-Friendly Witch Hat Shelf Decor
Style shelves with witch hats that are coated in blacklight-reactive paint or markers. Place them beside jars, books, and tiny bats so the whole display “wakes up” under a purple glow.
The benefit is a dramatic look without complicated wiring. Keep it practical by choosing battery LED blacklights that are easy to place and safe for indoor use. Make it unique by mixing glossy neon accents with classic matte black props for contrast.
For personalization, paint different symbols on each hat, such as moons, moons with faces, or tiny lightning bolts. If you want a modern twist, add one neutral element like a wooden tray so the shelf feels styled, not cluttered.
Budget-friendly tip: make your own “blacklight hats” with inexpensive craft hats and test the glow in a dark room first.
9. Inflatable 90’s-Look Yard Scene with Retro Placement
Bring back the classic inflatable vibe by using one or two main pieces and placing them in a smart lineup. Point them toward the path so they greet people like a “front yard team.”
This is unique because inflatables instantly signal the theme, but good placement keeps it from looking random. For practical decorating, anchor inflatables securely and keep cords tucked so nobody trips. Personalize by pairing them with matching lanterns or a handmade yard sign that reads “WELCOME TRICKSTERS.”
Cost-wise, inflatables can be pricier, so consider borrowing from friends or watching for end-of-season sales. This idea still fits current trends because playful yard lighting and statement props remain popular.
10. Tinsel Spider Web on a Picture Frame
Wrap a picture frame with spider-web tinsel, then hang a small “caught” banner inside. Add one or two miniature spiders so the web feels busy but not messy.
It’s special because it turns everyday wall art into Halloween art while using materials you can reuse later. Keep it practical by choosing a frame with a backing you can pop open to adjust the layout. Personalize with a printed photo or a simple silhouette that matches your decor style.
For cost considerations, tinsel spider web is often affordable, and frames can be thrifted. To match current trends, keep the palette simple—black, silver, and one warm orange highlight.
11. Candy Wrapper Chain “Treasure Links”
Make a hanging chain by cutting small strips from shiny Halloween wrappers and linking them together. It should look like a bunch of treasure scraps moving in the air.
The benefit is motion and shimmer, even without fancy lighting. It’s unique because it uses what many people throw away, turning snack packaging into decor. For practical tips, press the ends flat before linking and use a stapler or craft wire for stronger connections.
Personalize by choosing wrappers in a specific color family, like orange and black, or go nostalgic with bright mixed colors. If you want to stay current, keep the chain as an accent on one wall rather than covering everything, which keeps the look clean.
Cost is usually low since wrappers can be collected over time, and you’ll only need a small amount of binding material.
12. Claw-Grabbed “Monster Mail” Letter Holder
Create a letter holder that looks like a monster is grabbing Halloween mail. Use a small wooden tray, paint claws on the sides, and add a slot on top for cards.
This idea works because it makes your Halloween entry feel interactive, not just decorative. Use practical steps like sealing craft paint with clear varnish if it will sit where it gets handled often. Personalize by adding a name on the monster mail box, such as “The Pumpkin Post Office.”
For cost, you can build it from a thrifted frame box or even a recycled shoebox with sturdy paint and a foam slot insert. This style also fits modern trends that lean toward functional, charming decor.
13. Retro Lullaby Lyric Spooky Banner
Make a banner using printed phrases and silly spooky words that feel like a throwback pop song. Hang the strips on jute or ribbon with clothespins so the banner moves softly.
The benefit is it adds voice and personality without needing lights. It’s unique because the words make the decor feel like a story. For practical tips, print on thicker paper or tape text onto cardboard so it doesn’t sag.
Personalize by tailoring the words to your family, like adding names, inside jokes, or “Happy Haunting” in your favorite color. Cost considerations are easy since you only need paper, ink, and ribbon, plus clothespins that you may already own.
This also plays nicely with current trends like typography-forward decor and layered wall styling.
14. Polaroid-Style “Haunted Memories” Photo Wall
Turn your old photos into Halloween “evidence” by making Polaroid-style frames for each picture. Add black faux tape corners and write dates like “1994: The Cabinet Moved.”
This is unique because it personalizes the whole wall and makes guests search for familiar faces. Keep it practical by printing photos in black and white for a cohesive look and using foam tabs so the frames don’t fall flat. Personalize by including a few empty frames labeled “Missing” for pets or favorite characters.
For cost, use inexpensive cardstock frames and clear tape rather than specialty photo props. The trend element here is that personalization and “storytelling walls” remain popular in home decor.
15. Cassette Tape “Music of the Undead” Mantel Decor
Place cassette tapes on your mantel like they’re part of a haunted playlist. Stack them upright, then surround them with small bats and faux “sound waves” made from paper strips.
The benefit is that it creates a clear 90’s theme instantly. It’s unique because cassette tapes feel nostalgic and specific, not generic retro Halloween. For practical tips, use hot glue or craft glue sparingly and keep the tapes lightweight so your mantel decor stays balanced.
Personalize by writing spooky track names on label stickers, such as “Night Drive,” “Spooky Static,” or “Graveyard Beats.” Cost considerations are good because you can buy blank-looking tapes at thrift stores or use empty cases you already have.
To keep the look modern, add one sleek black candleholder so the nostalgic pieces feel curated rather than messy.
16. Spooky Sock Puppet “Be Happy” Trick-Or-Treat Sign
Create a sock puppet that holds a sign with a friendly Halloween message. Make the puppet from an old sock, add stitched eyes or googly eyes, and give it small fabric teeth.
This idea stands out because it’s interactive and warm, not just spooky. The benefit is that you can move the puppet to different spots, like the porch during the day and near the entry table during guests’ arrival. Personalize by matching the puppet’s “monster vibe” to your decor colors.
For cost, it’s usually free if you use spare socks and craft supplies. Current trends favor handmade decor, and this fits perfectly because it looks charming and slightly whimsical.
17. Retro “Haunted Arcade” Light-Up Corner
Build a small corner that looks like a haunted arcade stand. Use a small table, add a few dark-colored boxes as shelves, then hang string lights like game aisle lights.
This is unique because it blends Halloween with gaming energy, which feels very 90’s. Keep it practical by using battery string lights and avoiding candles in that spot. Personalize with mini props like tiny masks, plastic spiders, and a handmade sign that says “PLAY AT YOUR OWN RISK.”
Cost considerations are manageable because you can reuse household storage boxes and repurpose old decor. For a modern touch, stick to one dominant color like purple or lime, then add a black base to keep it stylish.
18. Metallic Balloon Ghosts with Ribbon Streams
Use metallic balloons to create ghost shapes, then attach ribbon streams that look like classic party decorations. Draw a ghost face on balloon material with a marker that works on shiny surfaces.
The benefit is instant wow, especially for entryways and photo spots. It’s unique because ghost balloons feel fun and celebratory, not spooky in a scary way. For practical tips, choose lightweight ribbons and tie them securely so they don’t tangle.
Personalize by using different balloon sizes and adding small tags like “boo buddy” or “night flyer.” Cost considerations can be kept low by buying a mixed pack of balloons and using a few ribbon colors rather than one expensive set.
19. Spooky Doily Table Runner “Center Stage”
Lay a lacey doily-style runner across a table and decorate it like a stage for Halloween. Place small pumpkins, black candles (or flameless candles), and a few silver bats right on top.
This idea is special because it softens the theme while still feeling spooky and polished. Keep it practical by choosing doilies that you can gently shake out or swap between nights, especially if you’ll be hosting. Personalize by using mini frames with tiny portraits or by switching the centerpiece items based on your mood.
Cost considerations are great since doilies are often inexpensive, and you can layer them over existing placemats. For a current trend feel, mix textures like lace, matte black, and one metallic accent so the table looks styled in 2026 terms while staying true to 90’s charm.
Finish with a few small confetti-like decorations near the runner edges for extra sparkle.