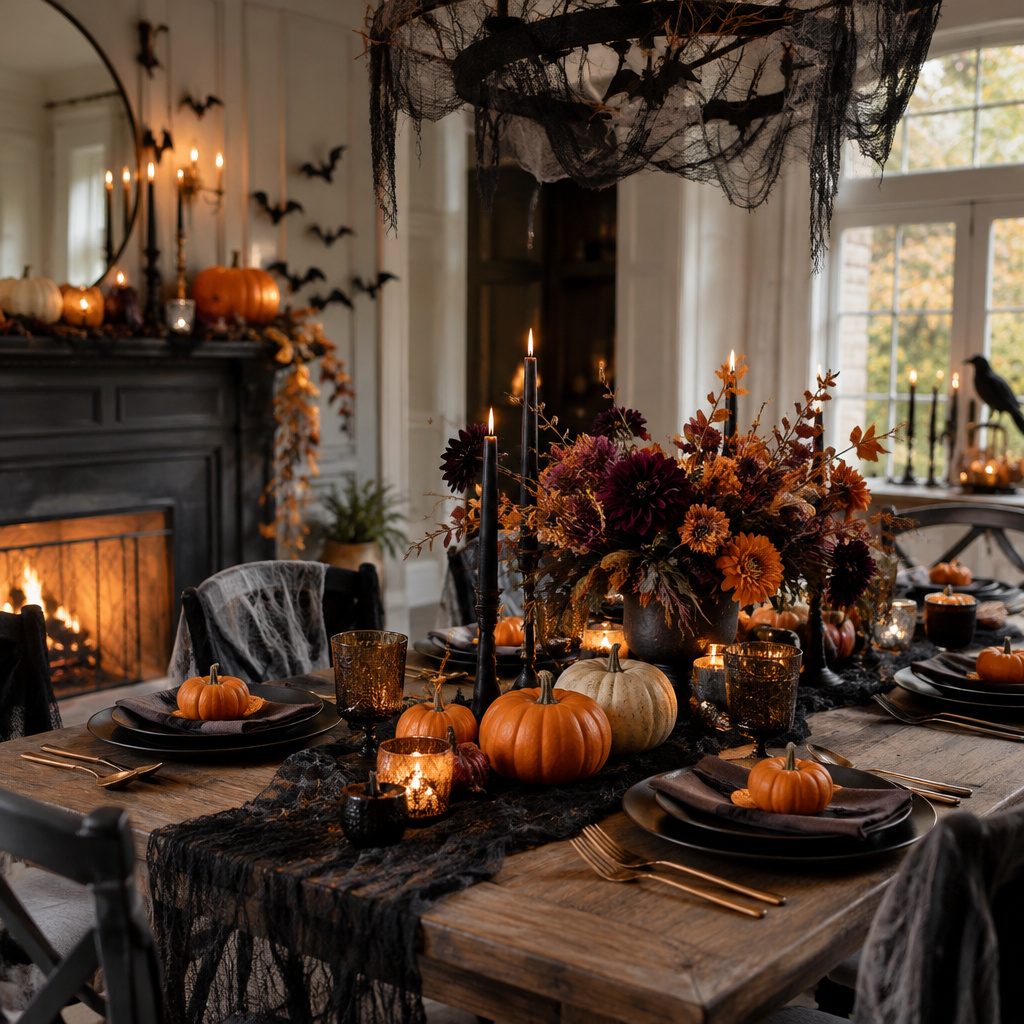
The room feels like a storybook when the decorations start telling clues. Get ready to set a spooky mood that still feels fun for everyone.
1. Dramatic Entryway With a “Haunted” Welcome
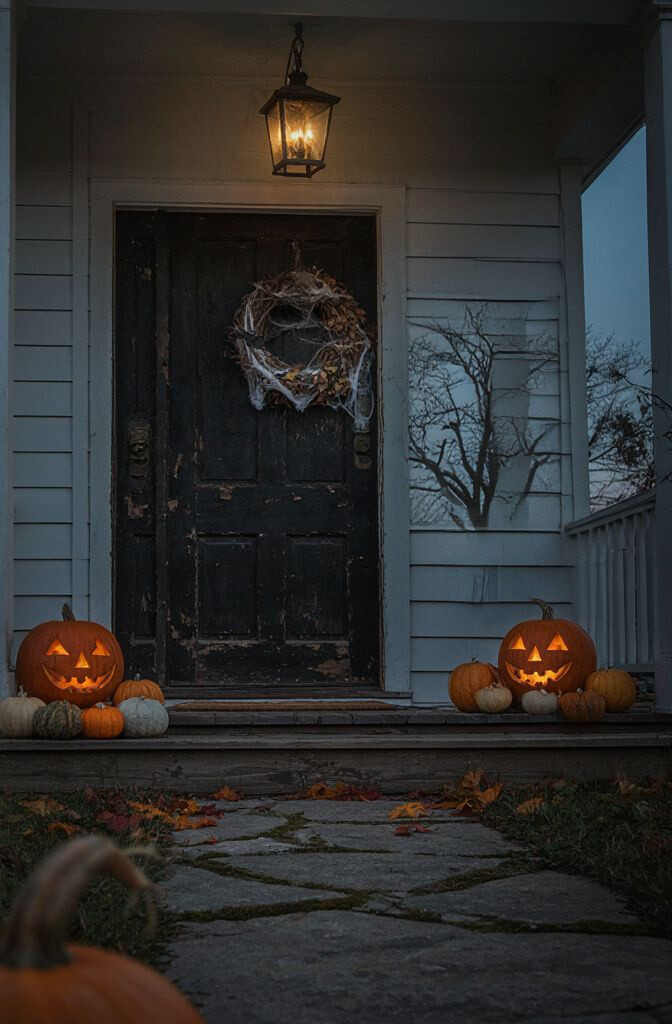
Greet your guests with a doorway that looks like it’s hiding secrets. A simple front path can feel like a movie set in minutes.
Hang a black or purple runner cloth, then frame it with tulle or faux vines. Add a couple of light-up skeleton hands or a “welcome” sign made from scrap wood and paint. For practicality, keep a small basket near the door with glow sticks and temporary face stickers so guests can jump into the theme right away.
2. Floating Ghost Balloons That Look Like They’re Moving
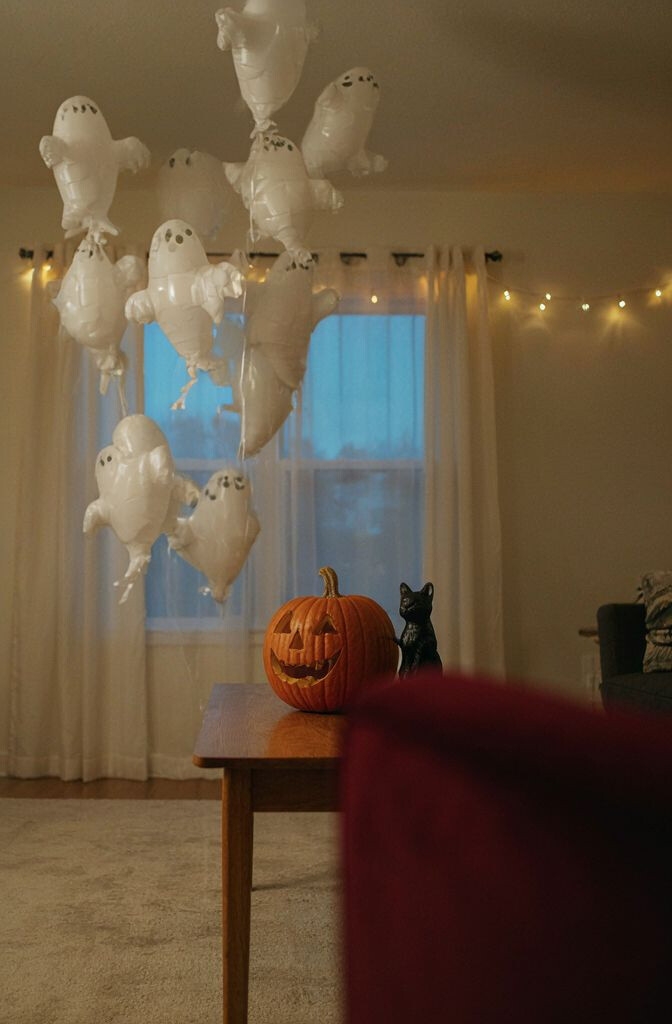
Ghost balloons make the whole party feel playful instead of scary. They’re also great if you want a spooky look without heavy setup.
Use clear tape to attach a few white or translucent balloons to fishing line, then tape the lines to a hidden corner or ceiling hook. Tie each balloon to a different length so they don’t all hover at the same height. To personalize, draw tiny faces on balloon markers or add glittery “fog” using a bit of polyester stuffing.
Costs stay low if you shop end-of-season or use coupons, because balloons are usually affordable. For a current trend, mix matte and glossy textures so the ghost effects show up even in low light. Just remember to keep the lines away from doorways and fans so they stay safely in place.
3. Outdoor Porch Lights With Color-Changing Bulbs
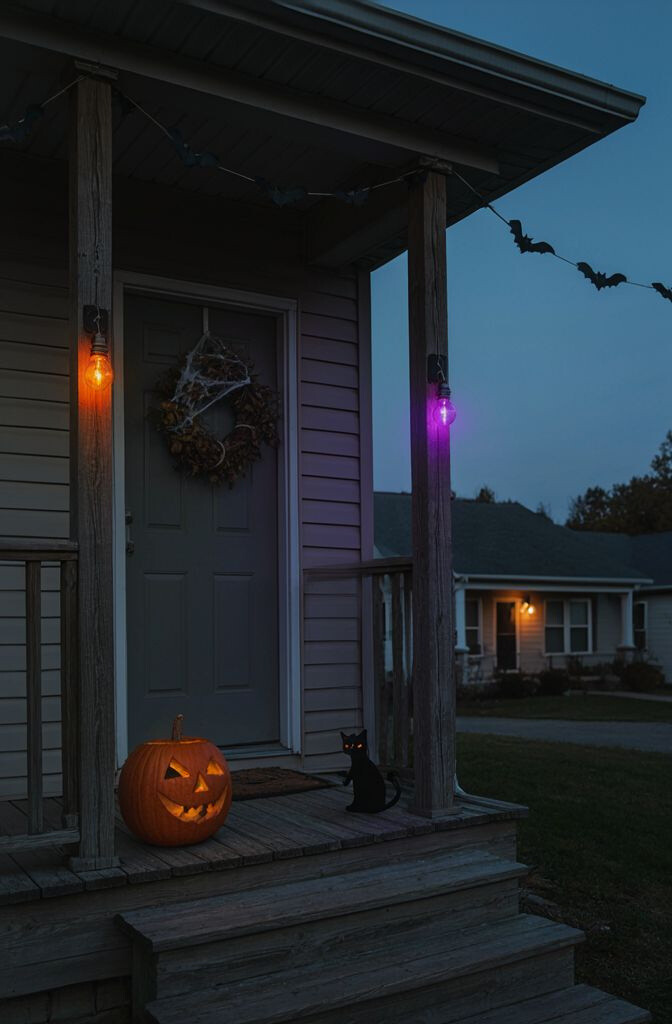
One change to your lighting can make the entire house feel themed. Color-changing bulbs turn any porch into a Halloween stage.
Swap to smart bulbs or use plug-in LED color bulbs set to green, purple, or warm orange. Scatter a few small solar lights along the steps for extra glow. If you want a richer look, add a translucent plastic tablecloth over a front lantern so the light looks softer and misty.
To make it practical, choose brightness settings that keep pathways visible for safety. This setup is unique because it relies on light effects rather than clutter. During the night, your decor will look different each hour, which feels fresh for repeat guests.
For budget planning, start with two or four bulbs, then add more later. The trend right now is “atmosphere first,” meaning warm lighting plus spooky accents rather than heavy props everywhere.
4. Cobweb Table Covers With Centerpiece Height
A cobweb table cover instantly makes your food area feel like a haunted kitchen. The best part is how quickly it sets the mood for eating and mingling.
Drape a stretchy black or gray tablecloth that has webbing texture, then build centerpieces with different heights. Try stacking a small lantern, a fake candle, and a mini cauldron so guests can see and take photos easily. For personalization, add a name card style made from black cardstock and white gel pen, then place it near each guest plate.
5. Self-Standing “Graveyard” Backdrop With Layered Paper
Layered backdrops look impressive and don’t require expensive props. When you build with paper and foam, you get depth that photos love.
Cut tombstone shapes from craft foam or thick cardboard, then layer them with different shades of gray and slightly different widths. Arrange them on a poster board base, leaving some gaps for “fog” using cotton batting. Add a few tiny LED tea lights hidden behind the tallest pieces for a gentle glow.
Keep it practical by making the backdrop modular, so you can store it flat. This idea is unique because the “graveyard” can fit indoors, on a wall, or behind your dessert table. If you want to follow current trends, keep the palette muted and spooky rather than overly bright, which gives a more modern look.
6. Candle Lanterns With “Flicker” Effects
Realistic flicker lanterns create a cozy scare that feels welcoming. They also help guests feel like the room is alive.
Use battery-operated LED candles inside clear glass lanterns, then vary the sizes around the room. Place one near the entry, one near the bar, and one by the seating area so the glow follows guests. For personalization, wrap the lantern bases with black ribbon and add small labels like “brew,” “curses,” or “spooky snacks.”
Consider cost by starting with just a few lanterns, then adding filler items like faux leaves or inexpensive ribbon. The benefit is that you get the look of candles without flames. Just keep the LED candles away from fabric drapes, so nothing gets accidentally brushed or tugged during the party.
7. Torn-Black-Cloud Balloon Garland Behind the Dessert
A balloon garland doesn’t have to look bright and cheerful. With the right colors, it becomes a dramatic “cloud” wall.
Choose mostly black balloons with a few dark purple or smoky gray accents. Instead of making a straight line, cluster them into a fluffy shape, then tuck a few lightweight paper bats between sections. Add a subtle “mist” effect by hanging thin strips of tulle from the bottom.
To keep it practical, anchor the garland to a sturdy wall bracket or use a balloon garland strip that you can press balloons into. This idea feels unique because it’s soft and atmospheric, not just a typical balloon row. If you’re personalizing, match the colors to your plates or tableware so everything feels coordinated.
Budget-wise, buy a smaller kit for the main cluster and fill gaps with a few extra singles. A current trend is monochrome Halloween, which looks extra sleek on camera.
8. Spellbook Signage and Fake Recipe Cards for Food
Instead of generic food labels, give your snacks story-like names. Guests love reading signs that feel like part of the party.
Create “spellbook” labels by printing or hand-writing short phrases on aged-looking paper. Use a simple font for the main title, then add small decorative borders with a black marker. For example, call punch “Witch’s Night Brew” and label cupcakes as “Hex Bites.”
Make it practical by using waterproof labels or protecting cards with clear tape so spills won’t ruin them. This is unique because it turns decor into a menu experience, guiding people through the food table. For personalization, let each dish reflect a guest’s favorite flavor, then tailor the “spell” to match.
Cost considerations are low because paper, markers, and basic printing are usually inexpensive. For trends, “hand-lettered” style is popular right now, and it looks great even if you’re not an expert artist.
9. Hanging Paper Bats With a Moving “Swarm” Layout
Paper bats are classic, but the layout can make them feel fresh. A swarm effect looks like they’re flying around the room.
Cut or buy bat shapes, then attach them with fishing line at different angles. Place them near light sources so their shadows move slightly as people walk by. You can also vary sizes so the “closest” bats look larger and more dramatic.
For practical setup, start with the highest points first, then adjust lines as you go. This idea is unique because the decor becomes interactive through movement and shadow. Personalize by adding tiny text on a few bats, like “boo crew” or a favorite team name for a themed party.
10. Photo Booth Corner With a Simple “Moon Frame”
A dedicated photo corner makes guests feel like the party has a special moment. The “moon frame” idea is easy and looks great in pictures.
Use foam sheets or cardboard to cut a large crescent moon outline, then paint it silver or white. Hang it on a backdrop sheet, and add a few star stickers or small reflective dots. Put a simple prop tray nearby with masks, mini brooms, and themed glasses so photos happen naturally.
11. Cauldron Beverage Station With Color-Coded Drink Labels
Turn your drinks into a focal point with a cauldron-style station. Guests will notice it quickly and gather there naturally.
Use a real large pot, a faux cauldron, or a cauldron-shaped cooler, then set it on a covered table. Add “ingredient” jars filled with lemon slices, berries, gummy worms, or mint so it looks magical. Label everything with color-coded cards so guests can tell which drinks are non-alcoholic and which are spiced.
For uniqueness, build a mini “brew ladder” by placing labels from light to dark as the flavors get stronger. Keep it practical by using clear pitchers with lids and plenty of cups for fast refills. Personalize by matching label colors to your party theme and guest preferences, like “mild” for kids or “extra spooky” for adults.
12. Floor “Potion” Pathway Using Painter’s Tape
Want a surprising decor effect that’s also safe? Create a pathway that guides guests like a magical road.
Use painter’s tape to form curving lines and “circles” on the floor, then overlay with paper cutouts that look like potion labels. Add small LED puck lights at a few points so the path glows in dim light. If you have carpet, keep tape gentle and test it in a hidden spot first.
Make it practical by planning the path around furniture, so guests don’t trip or squeeze through tight spots. This idea is unique because it affects how people move, not just how the room looks. Personalize by writing the “destination” at the end, like “Snack Gate” or “Dance of Doom.”
Cost stays low because tape and paper are inexpensive. A current trend is using tape and paper design elements to create modern-looking themes without buying lots of props.
13. Window “Haunted Glass” With Reusable Cling Silhouettes
Windows can do a lot of work for Halloween decor. Cling silhouettes give you instant spooky style without damaging surfaces.
Use reusable window clings of bats, pumpkins, and ghosts, then arrange them like they’re peeking from behind the glass. Add a thin strip of black or deep purple craft paper along the bottom to hide gaps and unify the look. For extra impact, dim nearby lights so the silhouettes stand out more clearly at night.
This idea is unique because it creates a “framed” view that looks great from inside and outside. Personalize the scene by choosing silhouettes that match your story, like a friendly ghost, a witch’s hat, or a spooky cat. Practical tip: place clings where they won’t block important walkways or catch on curtains.
14. Terrarium-Style “Spooky Forest” Centerpieces
Terrarium centerpieces bring a different kind of Halloween mood: eerie but pretty. They fit well on tables without looking messy.
Use clear jars or glass containers, then layer faux soil, small plastic spiders, and mini branches. Add moss for texture and place a tealight LED inside for gentle warmth. You can also include a tiny “crystal” made from clear craft gems to make the forest feel magical.
Make it practical by keeping everything lightweight, especially if you plan to move centerpieces later. This idea is unique because it looks like a tiny world, so guests can inspect it closely. Personalize by choosing one theme per table, like “graveyard garden” for one and “enchanted forest” for another.
Cost considerations are manageable since you can buy a few jars and fill them over time. A current trend is “mini diorama” decor, and these centerpieces fit that style perfectly.
15. DIY Spooky Streamers With Texture and Sound
Streamers are easy, but textured ones look way more special. Add a little sound and motion for an extra spooky vibe.
Use torn strips of black and gray tissue paper or crepe, then attach them to a ceiling line or door frame. For texture, intermix some strips of tulle or cheesecloth so they flutter differently when air moves. To add sound, tie a few strips to lightweight paper “owls” or small bells that won’t be too loud.
Keep it practical by using a simple anchor point and checking that nothing hangs low where guests might bump it. This idea is unique because it adds sensory decor—visual flutter plus gentle movement. Personalize by coordinating the streamer colors with your balloons and signage so the room feels intentional.
16. Themed Seating Zones With “Creepy” Throws and Labels
Seating zones make your party feel organized, even when it’s playful and chaotic. Cute, spooky throws also invite guests to stay awhile.
Place Halloween-themed blankets or faux-fur throws on chairs, then hang small tags that label each area like “Boo Bench” or “Glimmer Lounge.” Add simple center accents like a small pumpkin candleholder or a mini banner above the seating so it looks styled. For personalization, let the labels match your party activities, such as “Snack Spot” near the food table or “Dance Pit” near the music.