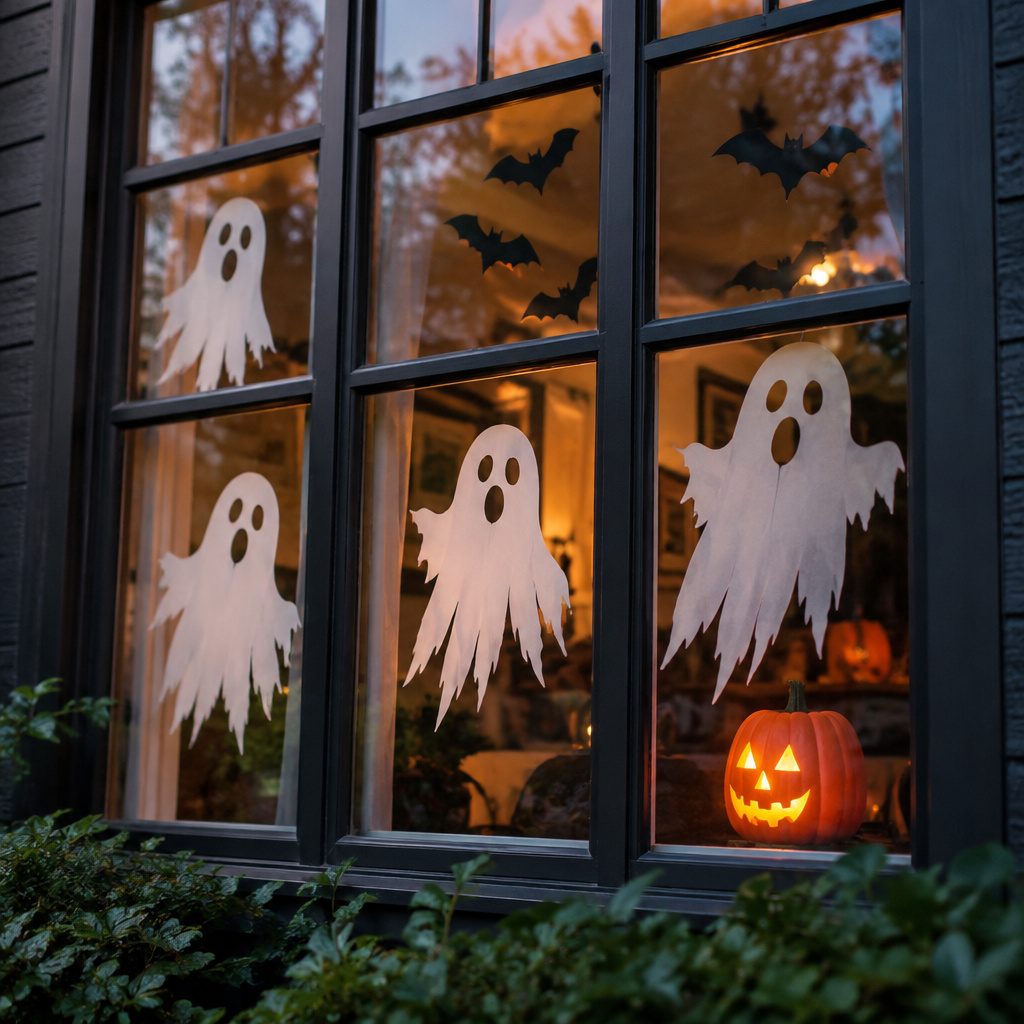
Halloween windows deserve big spooky energy without a complicated project. These ideas make it easy to create a fun look you can refresh all season long.
1. Black Cat Silhouette Parade
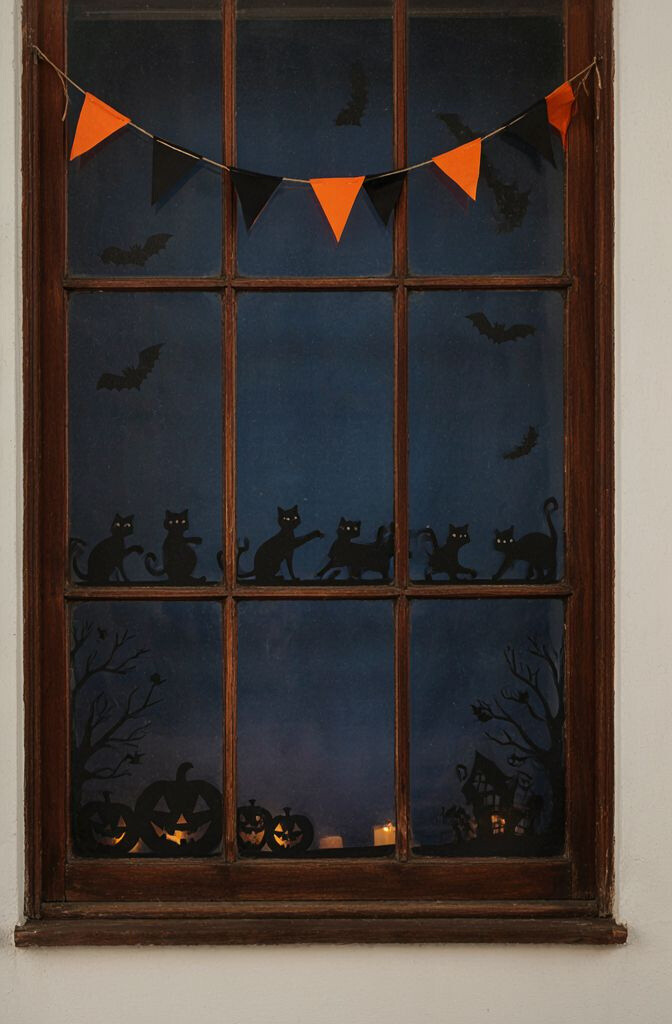
Make a line of bold black cats that looks like they are strolling across your window. Cut simple shapes from cardstock or removable vinyl for an instant spooky vibe.
Place them at different heights so the parade feels lively and not too flat. Use painter’s tape to lightly map where each cat will go before you peel anything on. For extra charm, add small “moon” circles in pale yellow around the cats.
2. Flying Bat Garland Window Strip
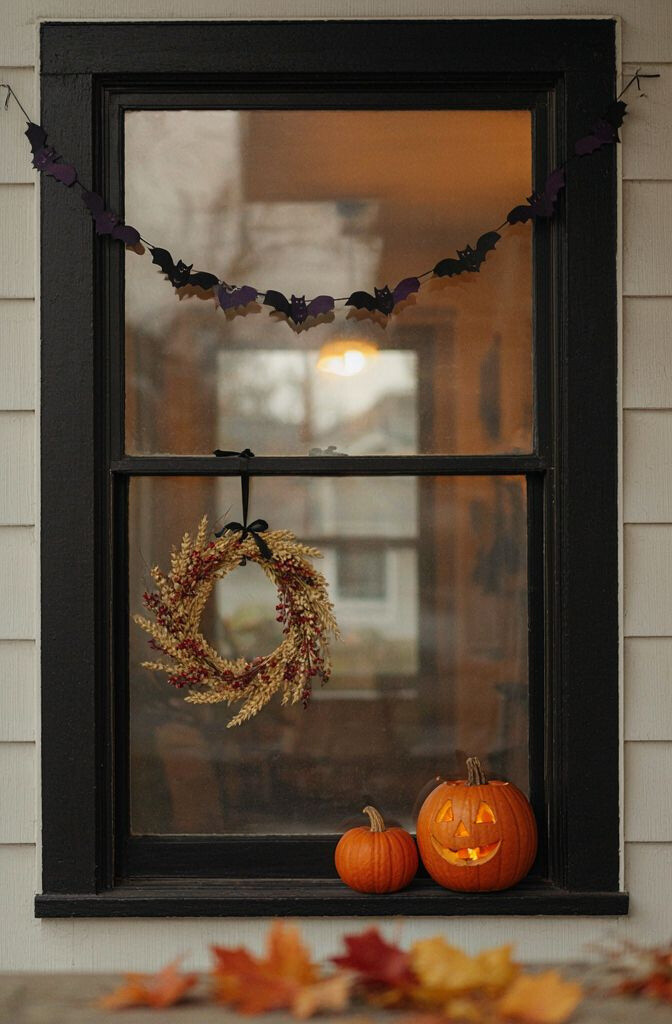
Cover the top edge of your window with a string of bats that stretches from one side to the other. It creates a Halloween “skyline” effect even from across the street.
Use pre-made foam bats or trace bat shapes onto black felt and string them together with twine. Keep the bats slightly overlapping so they look fuller and more dramatic. If you rent, choose adhesive hooks for the ends and avoid sticking on the glass directly.
Try adding one larger bat near the center like a grand finale. Use a mix of sizes to match the width of your window frame. This is budget-friendly because cardstock and twine usually cost less than themed decals.
3. Witch Hat and Stars Window Constellation
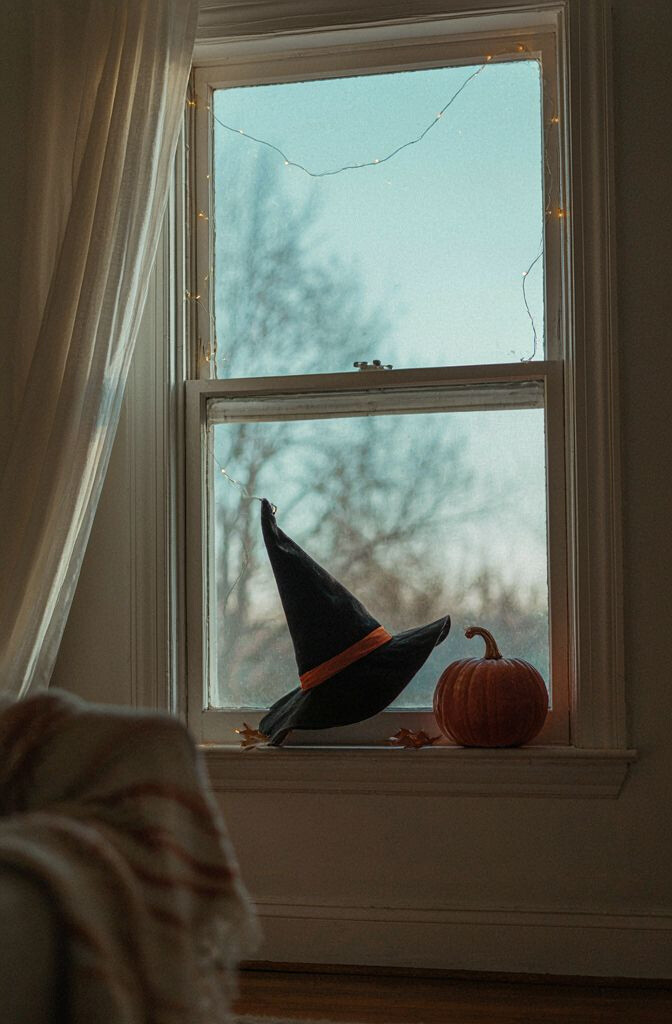
Build a mini constellation on your glass using a witch hat at the top and scattered star shapes below. The look feels magical but still very kid-friendly.
Start with one hat silhouette cut from black paper and then add stars in silver, gold, or neon paper. Consider layering one star on top of another so they catch light at different angles.
For a practical trick, spray a light coat of clear removable adhesive on the back of paper stars before applying them. You can also use sticky-backed craft dots for a clean finish. If you want a trendier style, make the stars uneven in size like a real night sky.
Personalize by adding a tiny crescent moon near the hat. Pick colors that match your porch lights for a more coordinated display. Keep the shapes simple so you can remove everything quickly after Halloween.
4. Pumpkins With “Glow” Color Blocks
Draw or stencil pumpkins using orange and warm brown color blocks that make the window look lit from within. Even without real lights, these shapes create a cozy, glowing feel.
Use window crayons or washable poster paint and apply small “highlights” to each pumpkin to mimic shine. Keep the pumpkins clustered in one corner for an easy layout. Personalize by adding a different face style to each pumpkin, like smiley, spooky, or crooked-eyed.
5. Ghost Parade With Clear Background
Create a row of translucent ghosts that look like they are floating behind your window glass. The clear background makes the display airy and not too heavy.
Use clear contact paper or acetate sheets for the ghosts, then add white paint or dry-erase marks to define the shapes. If you prefer a cleaner option, use white removable stickers cut into ghost outlines.
Space them unevenly so some ghosts look closer and others look farther away. Add tiny dots for “boos” with black marker for a fun touch. This style is perfect for renters because it can be applied and removed with minimal mess.
6. Spiderweb Corner Weaver
Pick one corner of the window and draw a spiderweb that radiates outward like a web of lines. It gives a classic Halloween look with very little effort.
Use a white paint pen or washable glue mixed with a little water to create thin lines. Make a center point and draw evenly spaced loops, then connect them with straight lines. For the spider, add a tiny dot with legs drawn around it.
To make it unique, sprinkle faint glitter on the web lines while the glue is still slightly tacky. Choose a matte finish if you want it subtle, or a shiny finish if you want it to catch light at night. Keep the web lines away from window handles so it doesn’t rub off quickly.
7. Mason Jar Candy Icons
Turn your window into a candy aisle by arranging mason jar shapes filled with different Halloween sweets. It feels playful and very easy to personalize.
Draw jar outlines on orange or cream craft paper, then add “candy” pieces as circles, rectangles, or tiny wrappers. Use a glue stick or removable tape to attach the jar tops and labels.
Add small tags like “Gummy Warts” or “Candy Corn” using a marker, or keep it simple with generic labels. This idea works well with families because everyone can choose a jar theme. It also saves money since paper icons are cheaper than store-bought décor.
8. Skeleton Hands Reaching Out
Create the illusion of skeleton hands grabbing from the window frame. The spooky effect is bold, but the materials stay simple.
Cut hand shapes from white paper or use pre-made printable hand templates. Position them so the fingers reach inward, then add a light gray shadow behind each hand with pencil or gray marker.
For extra realism, draw small cracks on the knuckles using a fine black pen. If you like quick decorating, use peel-and-stick window decals in a single cluster. This design looks great in a doorway window because it feels like the “hands” are right at the entrance.
Personalize by choosing a friendly grin instead of a purely scary vibe. You can also scale the hands up for a dramatic look or keep them smaller for a subtle theme. Plan where the hands will sit before sticking anything so the spacing feels balanced.
9. Haunted House Layered Silhouette
Make a haunted house scene using layered cutouts that stack like a pop-up mural. The window becomes a mini nighttime neighborhood.
Cut one base house shape in dark brown, then add a taller roof layer in black. Add a few window squares, a crooked tree outline, and maybe a fog-like strip across the bottom.
Use foam sheets or thick paper to create depth without complex tools. This is one of those looks that feels “more than it is,” because layering adds dimension instantly. If you want a current style, keep the houses minimal and focus on strong outlines.
Personalize the scene with a “tower” element like a small chimney or a winding staircase silhouette. Choose colors that match your holiday lights so everything blends together. For cost control, reuse plain cardboard and just focus your effort on the top layer details.
10. “Boo!” Word Art in Big Block Letters
Write the word “BOO!” across your window in bold block letters for a loud, instantly recognizable Halloween message. It’s perfect for busy schedules.
Use black and purple markers on butcher paper, then tape the paper in place or turn it into removable stickers. Add small accent dots or squiggles around the letters to fill negative space. If you want a softer look, use a stencil and light coloring instead of fully filled letters.
Try adding one small arrow or tiny pumpkin icon next to the exclamation point for extra personality. Keep the letters large enough to read from the sidewalk. This idea costs little because a few craft markers and tape usually do the trick.
11. Candy Corn Vertical Column
Decorate your window with a tall column of candy corn shapes that looks like it’s stacked and ready to grab. The vertical arrangement is clean and visually satisfying.
Cut candy corn triangles from yellow, orange, and white paper, then line them up in a column. Use removable tape at the top corners for easy adjustments. To make the colors pop, add a thin black outline around each triangle.
For personalization, vary the pattern like alternating “smiles” on each piece. You can also place two columns on either side of a window for symmetry. This is a budget-friendly option because paper triangles are quick to make and easy to replace if one gets damaged.
12. Pumpkin Face Window Frames
Turn the window frame into pumpkin faces by placing different pumpkin eyes and mouths along each side. It makes the whole window feel like a single character.
Use orange paper cut into strips for the pumpkin “rind” and black shapes for the eyes and mouth. Place small wedges at the corners to mimic pumpkin segments. If you want a clean, modern look, use fewer facial features and keep them simple.
Try adding one matching green leaf at the top for a finishing touch. If you have multiple windows, repeat the same face on each one for a coordinated porch. This idea can be low-cost by using scrap paper in your craft stash.
13. Glow-in-the-Dark Moon and Jack-O-Lanterns
Use glow-in-the-dark paint or markers to draw a moon and a few simple jack-o-lantern faces. Daytime looks cute, and nighttime looks magical.
Sketch a large moon circle and then add small pumpkins spaced around it like they are standing guard. Keep facial designs minimal so glow still shows clearly after the paint dries.
For a practical approach, test glow intensity on a spare scrap first because some products glow brighter than others. Apply in thin layers for smoother results and easier cleanup. This trend works especially well now because many glow art supplies are available for quick crafts.
Personalize by changing the moon style, like crescent, full, or a spooky eclipse. Coordinate your colors with your outdoor lighting so the glow looks intentional. For safety, use the recommended cure time before handling.
14. Bat Track From Floor to Window
Create a “bat track” that starts near the bottom of your window and curves upward like something is flying past. The motion effect is fun and surprisingly easy to make.
Cut bat footprints or bat silhouettes from black paper, then arrange them in a winding path. Use light tape to hold one corner while you adjust the curve for a natural flow.
To make it feel more dynamic, add a few larger bats where the curve “turns.” This design looks especially neat on wider windows because you can let the track breathe. Personalize by making one bat slightly different like a “leader” bat.
If you want to keep cost low, use a single bat template and trace it repeatedly. Use scrap cardstock for most of the bats and save your best paper for the biggest ones. It’s a great option when you want impact without buying expensive décor.
15. Framed Witch Brew Bubbles
Draw bubbling cauldrons or potion bottles and surround them with circular bubbles. The framed-brew theme feels whimsical and can fit any window size.
Use removable window paint or marker to draw the cauldron outline, then fill it with simple shapes like stripes or dots. Add bubble circles around the potion using lighter colors so they look like they’re rising.
For uniqueness, include labels on the bottles like “Spooky Soda” or “Witch’s Brew” in your own handwriting. Keep lines bold so the art stays visible from outside. This is a nice way to involve older kids since they can help with names and labels.
16. Spooky Floral Wreath Window Ring
Instead of a traditional front door wreath, make a window wreath ring using Halloween-themed greenery and simple accents. It looks polished and stylish.
Start with a circular base, then add faux leaves or paper cut leaves around it. Attach small black bats, tiny pumpkins, or dried orange slices for a textured look that still feels easy. If you’re going for a trendier style, lean into neutral tones like black, cream, and muted orange.
Use suction cups, removable hooks, or ribbon ties depending on your window type. Personalize by swapping in your favorite colors or matching the wreath to your Halloween lights. For cost, use a store-bought basic ring and add only a few special decorations.
17. Letter “Halloween” Banner Stenciled Across Glass
Stencil each letter of “HALLOWEEN” directly onto the glass for a crisp, coordinated look. It feels like a sign but still acts like window art.
Use a stencil kit, craft tape cut into letter shapes, or printable stencils. Lightly rub or paint so the edges look clean, then let it dry fully before touching anything.
To avoid mess, choose a washable or removable stencil paint made for glass. Personalize by using gradient colors where “HALLOWEEN” shifts from purple to orange. This idea also scales well for different window widths because you can adjust spacing easily.
18. Haunted Lightbulb Scene With Paper Filaments
Make a cute “string of haunted bulbs” by drawing or cutting lightbulbs and hanging them across the top of your window. It looks cozy like a holiday display, but with spooky details.
Cut bulb shapes from cardstock and add tiny faces inside each one. Then attach each bulb to a thin paper or twine line so it looks like they’re dangling.
For practical results, use lightweight materials so the twine doesn’t sag. Consider using warm colors like amber and orange for the bulb glow, then add black spider webs near the corners. This idea is trending because people love the cozy “spooky but homey” style for Halloween.
19. Haunted Portrait Silhouette Corner
Choose one corner and create a portrait silhouette with a spooky head shape and shoulders. It gives a dramatic, old-haunted-house vibe without filling the entire window.
Use thick black paper and cut a simple silhouette, then place it near the upper corner. Add small floating shapes around it, like bats or ghost dots, to make the corner feel alive.
Personalize by using a “vintage frame” effect with a thin border strip in dark gray. This works great for small spaces because it doesn’t require lots of supplies. Cost stays low since one silhouette and a few accents can create a strong look.
20. Trick-or-Treat Door Sign With Window Hang Tag
Design a hanging sign that reads “TRICK OR TREAT” and place it so it appears to float in front of your window. It’s welcoming, fun, and easy to adjust from day to day.
Cut a rectangle sign from cardboard, then paint or draw the words in big letters. Add a few simple icons like pumpkins or candy dots along the edges. Use ribbon or string so the sign hangs slightly and catches the light.
For uniqueness, choose a slightly different font style for each word, or use playful shapes like stitched-looking borders. Personalize by adding your family name or house number in smaller text. This is a great low-cost option because cardboard plus paint is usually already in most craft cupboards.
21. Mummy Wrap Window Column
Create a mummy look using vertical strips that resemble bandages wrapping down the window. The repeated pattern makes it feel instantly Halloween.
Cut long white strips from paper or use fabric remnants, then wrap or layer them in a column. Leave small gaps to show the window behind, and add black or gray “shadows” for depth.
At the top, add two simple eye shapes to finish the mummy face. Personalize by adding a tiny “spider” or a small bat near the bottom to connect the theme. This idea is budget-friendly and can be made in under an hour with basic supplies.
22. Floating Jack-O-Lanterns With Confetti Swirls
Arrange several jack-o-lantern faces that look like they’re floating, and surround them with confetti-style swirl shapes. It feels cheerful and spooky at the same time.
Cut pumpkins from orange paper, then add curved strips of green and black as swirl accents. Use removable adhesive points so the pumpkins don’t droop and stay in the shape you planned.
To personalize, vary the pumpkin expressions from silly to spooky and add a few tiny bats as background accents. This is a great choice for current trends because it blends clean shapes with playful movement. Keep costs down by using scrap paper and printing or tracing a single pumpkin template repeatedly.