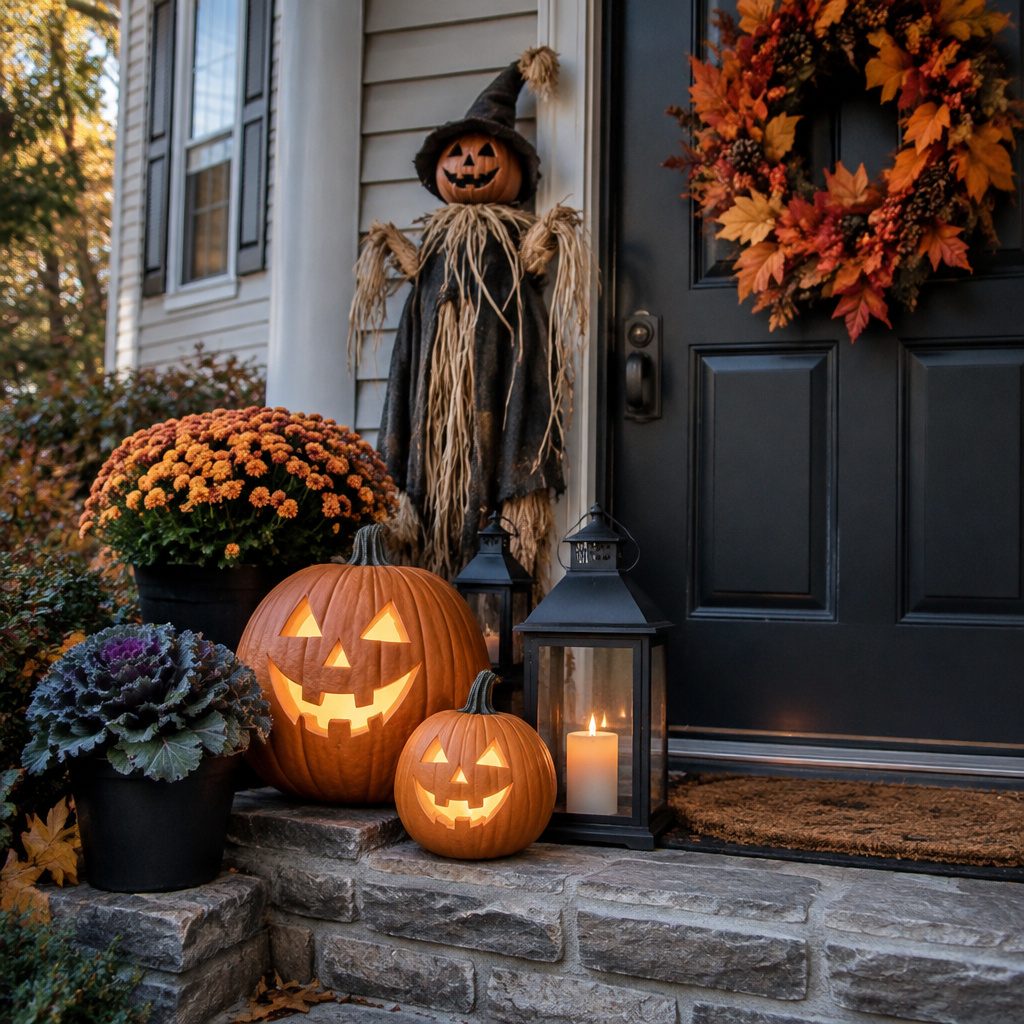
Spooky season is more fun when your front yard looks like a scene from your favorite scary story. These DIY ideas are simple enough to start today and bold enough to impress from the sidewalk.
1. Budget Witch Hat Yard Markers
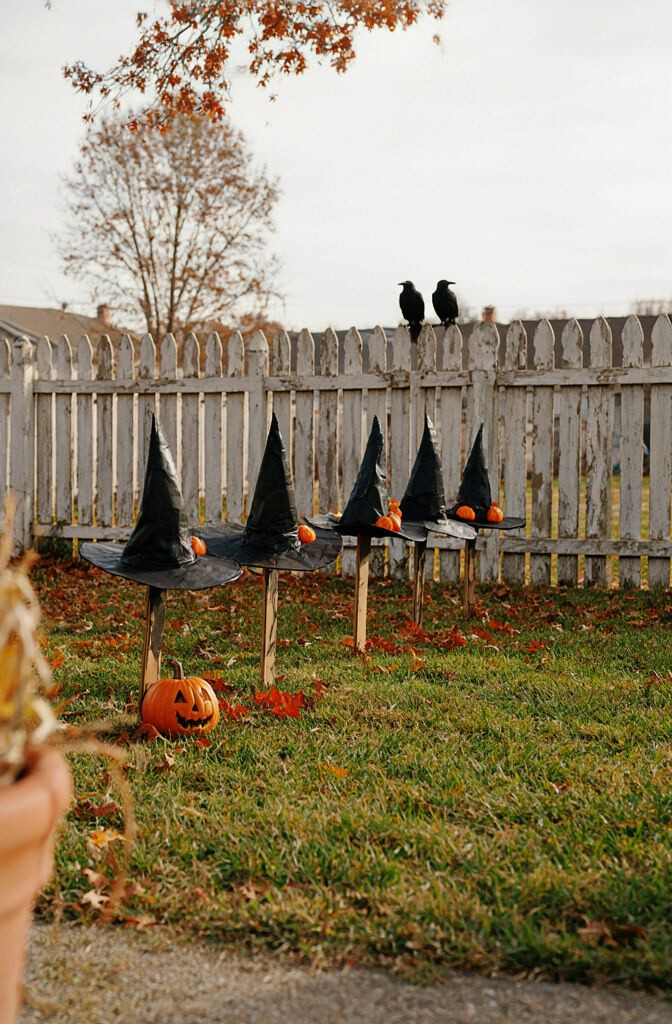
Turn plain stakes and cardstock into tiny witch hats that line your walkway like friendly guards. They add a playful, magical vibe without needing big store-bought props.
Cut hat shapes from sturdy black or purple cardstock, then hot-glue them to small foam cones or folded paper triangles. Add a strip of glittery ribbon or a thin line of paint for a band, and finish with a dab of white glue “stars” on the brim. For durability, seal the hats with clear outdoor spray, and place them in the ground inside soil-safe planters or directly into stakes.
2. Repurposed Doorway “Graveyard” Shadow
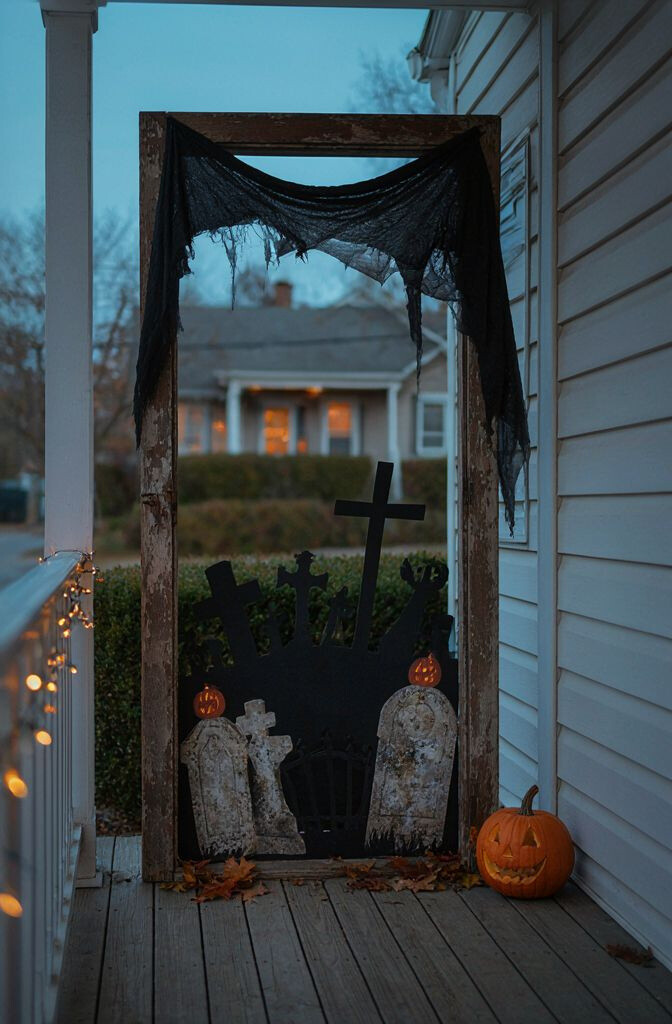
Give your doorway a creepy frame by building a shadow effect that looks like ghosts crowding the entrance. Even when there’s no motion, the scene still feels alive.
Attach a sheet of black foam board to the outside of your door frame, then cut simple grave shapes and ghost silhouettes into the board using a craft knife. Place a small LED spotlight behind it so the cutouts throw high-contrast shadows on the wall. This idea is unique because the “lighting” does most of the work, and it looks spooky at dusk while staying simple to assemble.
Use battery LEDs if you don’t want cords running outside, and choose warm-white bulbs to make the shadows look softer instead of harsh. Keep edges neat and label your pieces so you can store them flat after Halloween. If you want extra personalization, paint a few graves with dry-brushed gray so they look weathered and old.
3. Twine-Wrapped Outdoor Pumpkin Luminaries
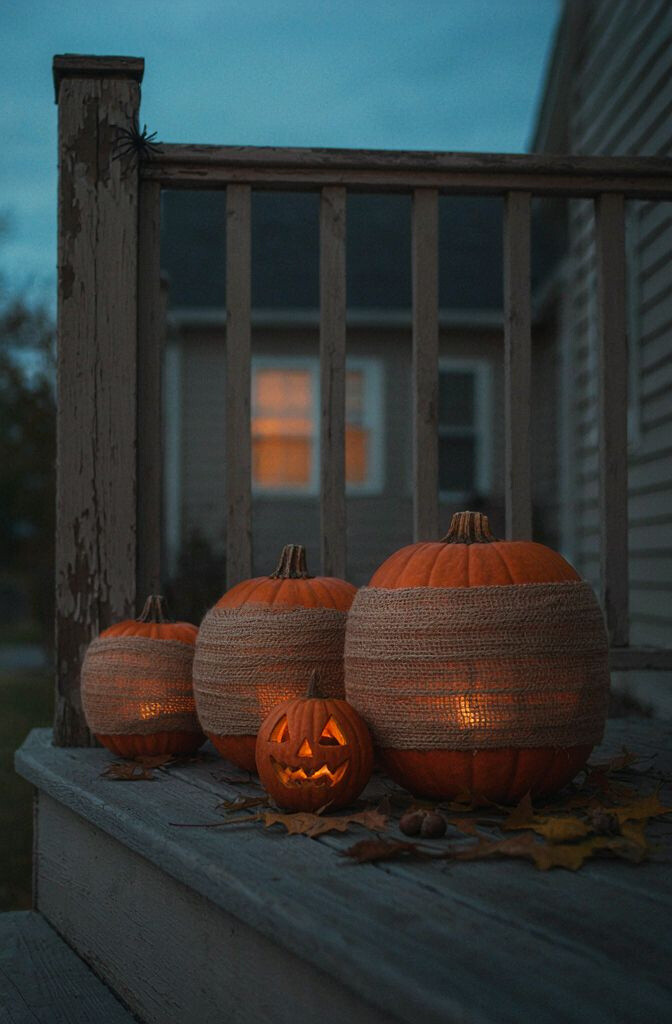
Wrap twine around pumpkins (real or faux) and light them up for a cozy glow that feels like autumn with a twist. You get texture, charm, and a warm Halloween mood all at once.
Start with foam pumpkins, then apply a thin layer of Mod Podge or craft glue and press twine in overlapping lines. Leave gaps near the top for stems to show, and add small accents like faux leaves, cinnamon sticks, or tiny paper bats. For a practical boost, choose LED tea lights or fairy lights and test brightness before sealing everything.
This decoration stands out because the twine creates a lattice pattern, and the light moves through it in a way paint can’t match. In terms of cost, twine is usually cheaper than specialty Halloween lights, and you can reuse the twine for future crafts. If you like current trends, go for earthy tones like burnt orange, deep brown, and cream instead of only bright neon colors.
Set them in clusters at steps or flanking your porch rail. To personalize, tie different colored bows to each pumpkin, or swap twine colors from natural jute to black yarn for a gothic look.
4. Floating Candle Jars for Porch Steps
Make jars look like they’re glowing from the steps by turning ordinary candleholders into “floating” lanterns. It’s an easy way to add height and drama without building anything complicated.
Place battery tealights inside clear glass jars, then secure jars to short posts or stacked blocks so they sit slightly above the step surface. Wrap the posts with burlap, jute rope, or thin ribbon to hide what’s underneath. For a clean finish, wipe the jars so the glow looks bright and crisp when the sun goes down.
5. DIY Rotted Wood Fence “Moan” Panels
Create spooky fence panels that look like rotting wood creeping across your yard. The effect is loud in style but calm in effort.
Use scrap plywood or thick cardboard, then paint it with layered browns and grays using sponge dabbers for a ruined texture. Cut narrow slits or irregular rectangles, then add a thin strip of mesh behind each opening for a “hollow” look. Finish by adding faux nails with small screws or metallic paint, so it feels like something has been chewing on your yard.
Use these panels as dividers along a fence line or place them near planters, keeping them upright with stakes or brackets. This project is unique because it uses texture and negative space to mimic old, haunted boards. For cost control, shop for damaged wood at a hardware store or use leftover sheet material from other projects.
6. Cemetery Lantern String with “Chain” Handles
Hang lanterns with DIY chain handles so your outdoor string lights look like a row of mini cemetery lamps. The soft flicker makes everything feel more haunted instantly.
Make handles from craft chain, old jewelry chain, or twist ties wrapped in fabric strips, then connect them to small paper lanterns, clear cups, or even repurposed takeout containers. Put LED bulbs inside each lantern, and space them evenly along a line between two posts or along a railing. This is practical because you can adjust the length and swap out lanterns if one gets damaged.
7. Scary But Cute Skeleton Planter Band
Wrap a skeleton-themed band around outdoor planters so even your flowers get in on the Halloween fun. It feels friendly instead of overly grim, which is great for a family home.
Make the band from foam strips or cardboard wrapped with black paper, then add bone shapes cut from white craft foam. Hot-glue tiny “knuckles” at the ends and write a simple word like “BOO” in orange paint for a personal touch. Secure the band using zip ties hidden behind leaves or by stapling it to a planter rim that you already own.
For benefits, this decoration protects the planter edges while adding a clear Halloween theme that lasts all month. If you want trends, lean into minimal skeletons with thinner bone lines and lots of negative space. Cost stays low because you mainly need foam, glue, and paint, and you can reuse the bones next year.
Place planters near the front door, and swap seasonal flowers for hardy greens or spooky faux vines. If real plants are hard to maintain, use textured moss and a few plastic skeleton hands to create a lasting scene.
8. Porch Spider Web Corner Kit
Build a corner spider web using simple supplies for a look that feels big even if your space is small. It’s one of the fastest ways to make a porch feel Halloween-ready.
Stretch white string or fishing line in a gentle spider-web pattern, starting from a center point and spiraling outward. Spray a light mist of webbing material or use diluted glue water mixed with white glue for a thread-like finish. Add a plastic spider or a handmade spider from pipe cleaners for extra personality, and secure the ends to wall hooks or nails.
To personalize, change the center point to a small lantern or add tiny “dew” dots with white paint on a toothpick. Weather matters, so choose outdoor-safe adhesives and keep webs slightly angled so they shed rain. This looks unique because it’s sculptural—your corner becomes a focal point from the sidewalk.
9. DIY Floating Ghost Tabletop Signs for Steps
Make “floating” ghost signs that stand on your steps like little spirits waiting their turn. The best part is they can be customized in minutes with paint and markers.
Cut ghost shapes from foam board, then draw faces with black paint pens and add a thin layer of translucent white tissue paper for a soft glow effect. For the floating look, mount each sign on a short clear acrylic riser or a repurposed plastic panel cut into small supports. This gives depth so the ghosts don’t just sit flat.
Place them in a line from low to high so your walkway feels like a path. You can also include tiny words like “SCARE” or “BOO” to match your front-yard style. If you want to keep costs low, reuse old picture frames for the backing pieces and use leftover foam for ghost bodies.
For personalization, use different ghost sizes and different “personalities,” like one smiling and one wailing. Add a dusting of silver glitter around the mouths for a trendy sparkle effect that still looks classy.
10. Glow Pumpkin Path with LED Stickers
Create a glowing path that guides trick-or-treaters using painted pumpkins and LED light dots. It’s a clean, modern look that still feels classic Halloween.
Paint small pumpkin shapes on flat stones or craft foam squares, then press battery LED light dots behind each shape or use clip-on LED fairy lights. Arrange them along the walkway edges so the light reflects off the ground. This decoration is unique because it looks like a designed pattern rather than scattered decor.
11. Window Bat Silhouette Curtains
Turn your windows into a bat-filled scene using silhouette “curtains” that hang outside. It adds instant movement when the breeze catches the fabric.
Cut bat shapes from black vinyl, foam sheets, or cardstock, then punch holes at the top. Tie each bat to a piece of thin black ribbon or fishing line so they sway like a curtain. Place the line across two hooks near the window frame, then adjust spacing so the bats look layered, not uniform.
For benefits, bats create strong Halloween contrast while letting light still shine through your home. Personalize the scene by using different sizes of bats and tiny “wing gaps” so the flock looks realistic. If you’re watching current trends, keep the shapes simple and crisp instead of overly detailed.
Seal fragile materials with clear outdoor spray, and secure the curtain so it doesn’t flap too hard in strong wind. This keeps the bats standing upright and looking neat all evening.
12. Outdoor “Potion Bottle” Yard Stakes
Make potion bottle yard stakes that look like they’re ready for a witch’s next batch. This DIY has a magical vibe and looks great grouped together.
Use empty plastic bottles or glass bottles with labels removed, then paint them with translucent colors using acrylic mixed with water. Add “ingredients” like dried herbs, glitter, or faux candy inside, then wrap the neck with twine and attach a small tag that names the “brew.” Insert the bottles onto dowels or sturdy sticks so they become yard stakes.
This idea is unique because it combines color, texture, and label storytelling, so each bottle feels like its own character. For practical tips, keep bottle openings sealed to avoid spills and choose outdoor-safe adhesives for tags. Cost is usually low since bottles and herbs come from what you already have or can get cheaply.
13. Haunted Photo Frame “Witch Messages”
Place an old frame outside and fill it with witchy notes that people can read from the sidewalk. It’s a clever mix of decoration and communication that feels welcoming and spooky.
Paint the frame black or aged gray, then attach a weatherproof sign inside using laminated paper or a sheet of clear plastic. Write messages with permanent marker, like “Beware the Candy Thief” or “Follow the Glow,” and add simple icons with white paint pens. Mount the frame at eye level, then add a small LED puck light behind it for a soft background shine.
Personalization is easy because you can tailor the message to your family, your pet, or your neighborhood theme. If you want a trend-friendly look, use minimal lettering and a few strong symbols rather than lots of clutter. For cost considerations, thrift-store frames and printable text cut the price dramatically while still looking polished.
Keep the display protected from direct rain by placing it under an overhang or using a clear plastic cover. This helps the notes stay readable and keeps the frame looking sharp all month.
14. DIY Creepy Crawly Doormat Upgrade
Upgrade a plain doormat into a Halloween scene using stencils and non-slip paint. It’s a small change that makes your entry feel instantly themed.
Choose a stencil pattern like spider legs, a tiny web, or a “BOO” footprint path, then tape it down firmly. Paint with outdoor fabric paint or a non-slip outdoor paint, and let it cure longer than you think so it holds up to foot traffic. Add a subtle personalization by using your house number in a spooky font or by adding a small bat perched at the top corner.
15. Frighteningly Easy Inflatable-Look Pillows Outdoors
Get that inflatable look without paying inflatable prices by stuffing weather-friendly covers like outdoor pillows. They add a big, fun silhouette to your porch while staying comfy to set out.
Use outdoor fabric or a vinyl shower-curtain style material as covers, then sew or seal edges with heavy-duty thread or fabric glue. Stuff with foam scraps, polyfill, or even rolled towels covered in plastic to keep filling safe from moisture. Tie off the top like a balloon knot, then add simple face features using felt and outdoor-safe adhesive.
This idea is unique because the “inflatable” effect comes from shape and volume rather than expensive materials. For practical tips, choose bold colors like black, orange, and sickly green, and place them under a porch roof to protect from direct rain. If you want to cut costs, reuse old winter pillows as a base and cover them with new Halloween fabric.
16. Scaled-Up Handprint “Monster” Wall Art
Make giant handprint wall art that looks like a monster pressed through from another world. It’s dramatic, photo-friendly, and surprisingly simple to create.
Use textured paint or mix paint with a little sand to create grip, then press large foam gloves onto a canvas, plywood, or heavy craft board to create hand shapes. Add claws with a toothpick and a darker paint, then paint drips down the “arm” sections for a flowing effect. For personalization, include your favorite colors or add tiny Halloween symbols on the palm like stars or a skull.
Hang the finished piece near your porch light so it’s easy to spot at night. This is cost-effective because most of the supplies are common craft items, and you can reuse the canvas frames next year. To keep it current, keep the monster design stylized and bold instead of overly realistic.