Cabinets can look brand new without a full replacement. The trick is choosing the right refinishing style for your space.
-
1. Deep Clean and Degrease Before Anything
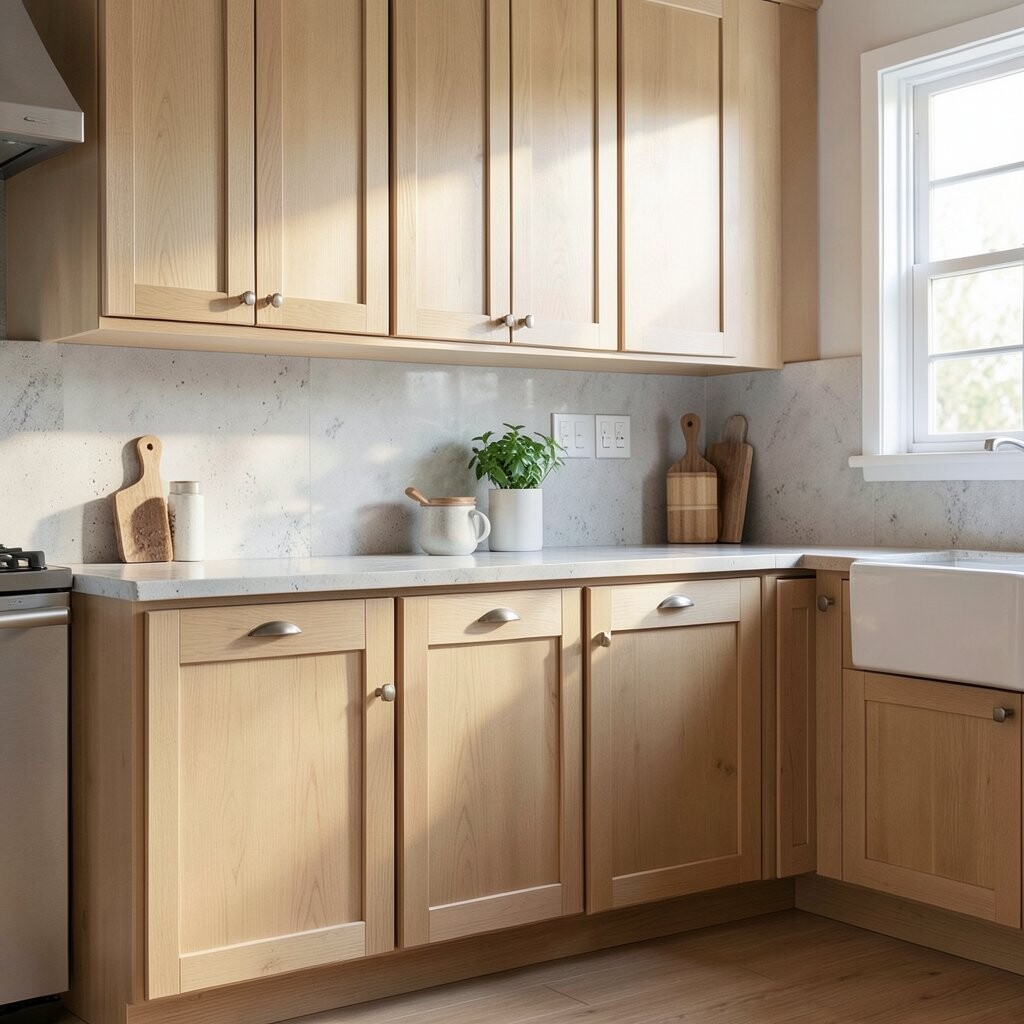
Deep Clean and Degrease Before Anything Your cabinets will look dull if leftover grease sits under paint or stain. Start by scrubbing doors, frames, and hardware areas with a strong degreaser, then rinse and dry fully.
You’ll notice the surface starts to look smoother and more even, like a clean page. This step helps the finish stick better, so your work lasts longer and feels more professional. If you have sticky spots near the stove, spend extra time there and let everything dry overnight.
-
2. Repair Dings, Chips, and Loose Edges
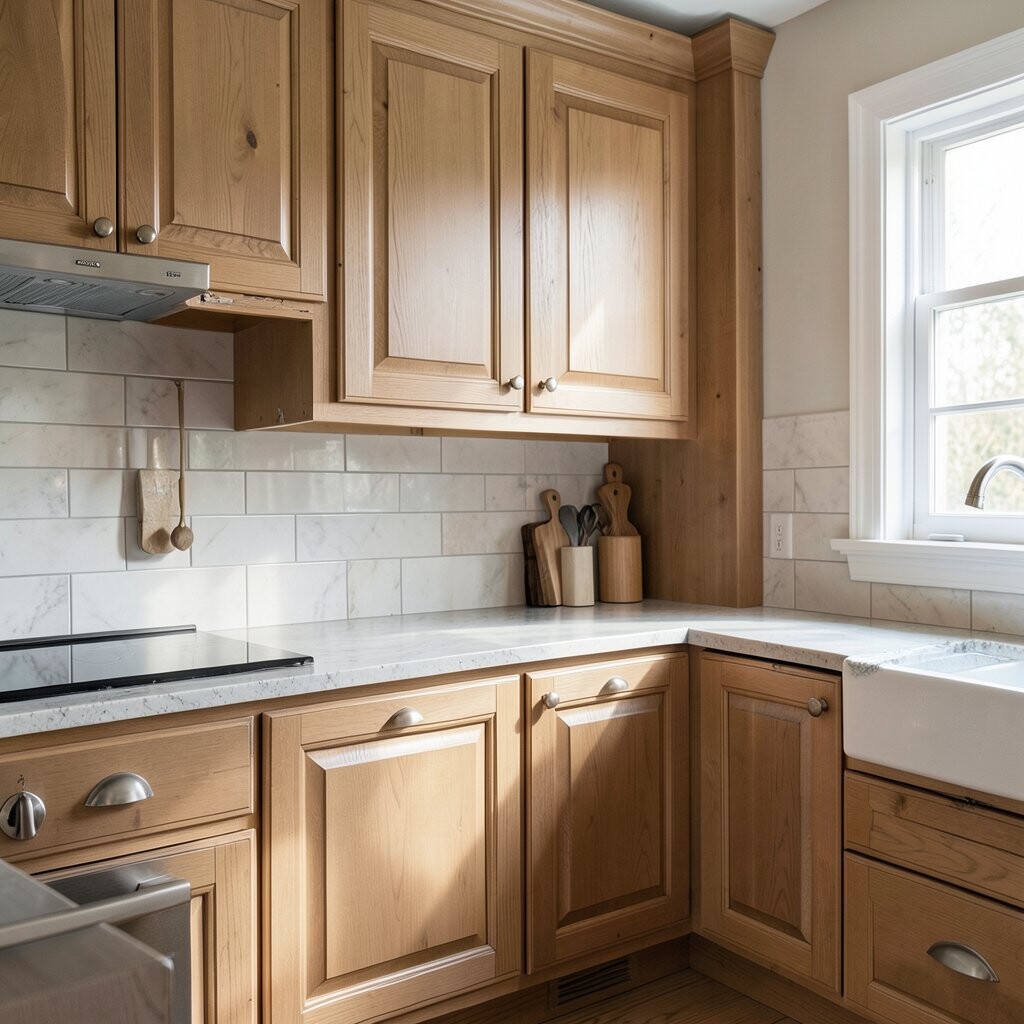
Repair Dings, Chips, and Loose Edges Before you refinish, fix the small problems that show through later. Fill dents with wood filler, sand gently, and tighten any hinges or loose screws.
Your cabinets will feel sturdier the moment you reassemble them. Smooth repairs create a calmer look and prevent “shadow lines” that can appear after coating.
For personalization, match the filler color and grain direction to the cabinet style. On a budget, focus on the visible spots on cabinet fronts first, then handle hidden areas as time allows.
-
3. Sand Strategically for Better Adhesion
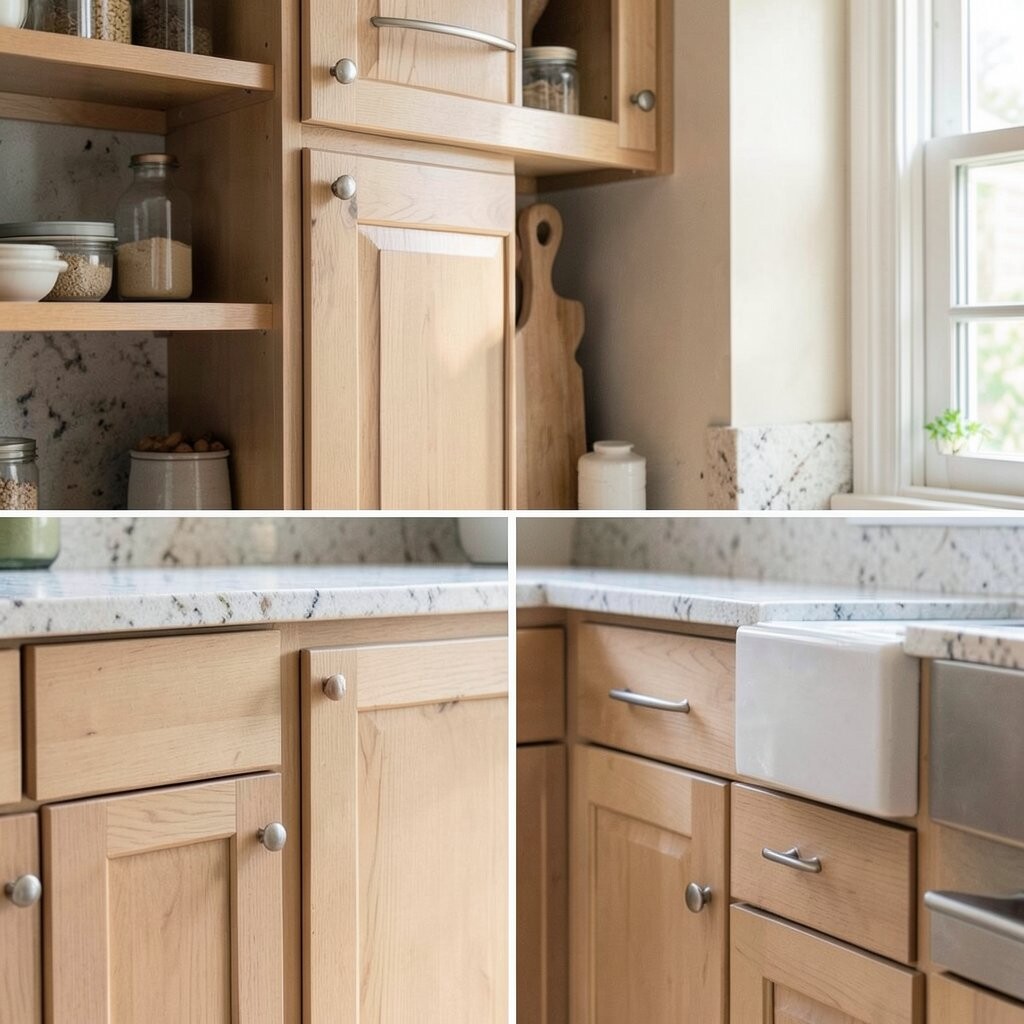
Sand Strategically for Better Adhesion Sanding is where the magic starts, because it gives coatings something to grip. Use the right sandpaper grit, and keep going until the surface feels even when you run your hand over it.
You’ll see a light, consistent “matte” look instead of shiny patches. This improves bonding and reduces peeling later.
To keep costs down, rent a small sander or use sanding blocks only where needed. For trending results, aim for a smooth base that works well with both modern flat paint and classic satin finishes.
If your cabinets are already painted, scuff sanding often beats heavy stripping for time and mess.
-
4. Prime With the Right Bonding Primer
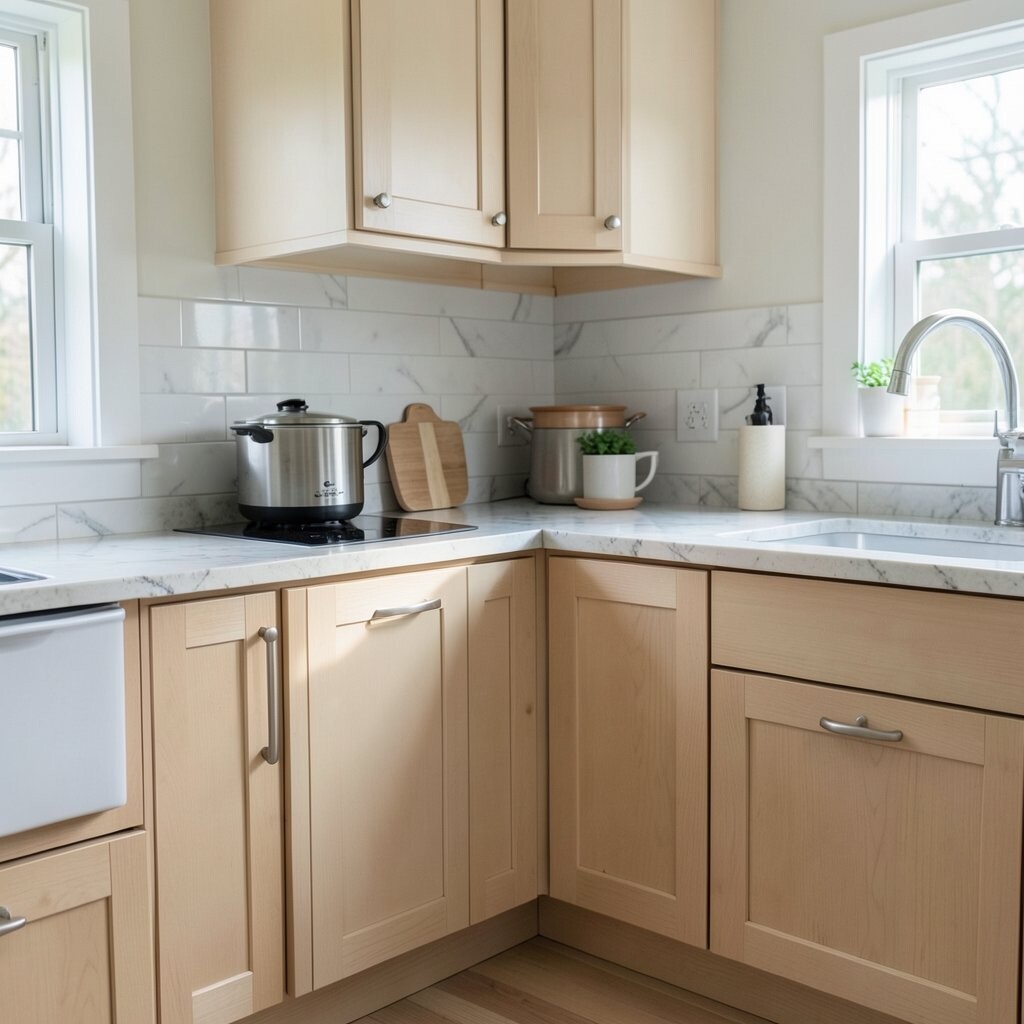
Prime With the Right Bonding Primer A good primer acts like a bridge between old cabinets and your new finish. Choose bonding primer for slick surfaces and stain-blocking primer if there are knots or dark wood tones.
Visually, primed cabinets take on a uniform, light surface that makes the final color look true. It also helps prevent bleed-through and improves durability, which means fewer touch-ups.
For personalization, think about how your undertone shows: warm white primers can help certain paint colors look softer. Expect primer to be a moderate add-on cost, but it often saves money by avoiding failure.
-
5. Paint With a Cabinet-Safe Finish
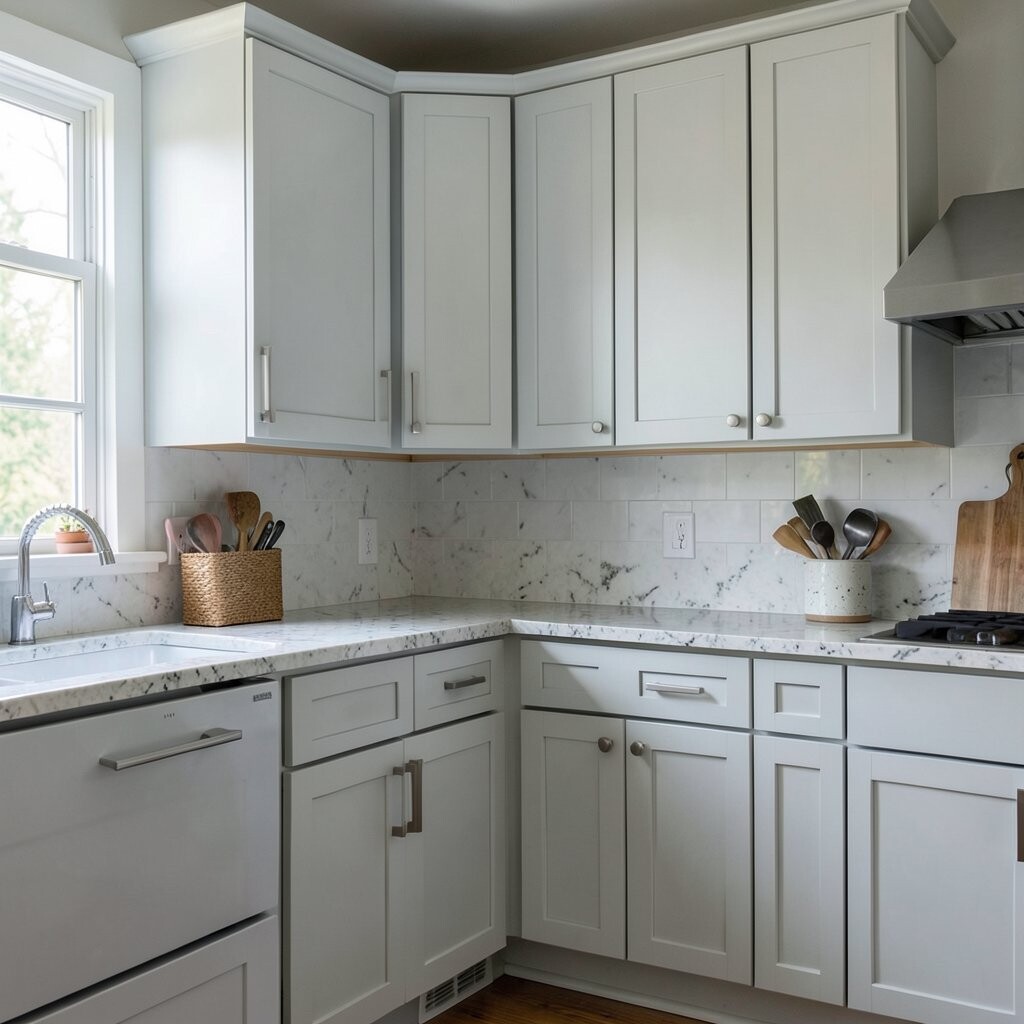
Paint With a Cabinet-Safe Finish Paint is the quickest route to a fresh look, and it can match almost any style. Choose cabinet paint made for doors and drawers, then use a smooth brush and foam roller for a clean coat.
When it dries, you get a crisp, even color that can brighten the whole room. This technique is unique because you can go from timeless white to bold muted greens without replacing anything.
For current trends, try soft greige, warm navy accents, or matte-finish whites for a modern feel. For cost considerations, plan for multiple coats and budget for quality rollers that reduce brush marks.
-
6. Two-Tone Cabinets With a Matching Accent
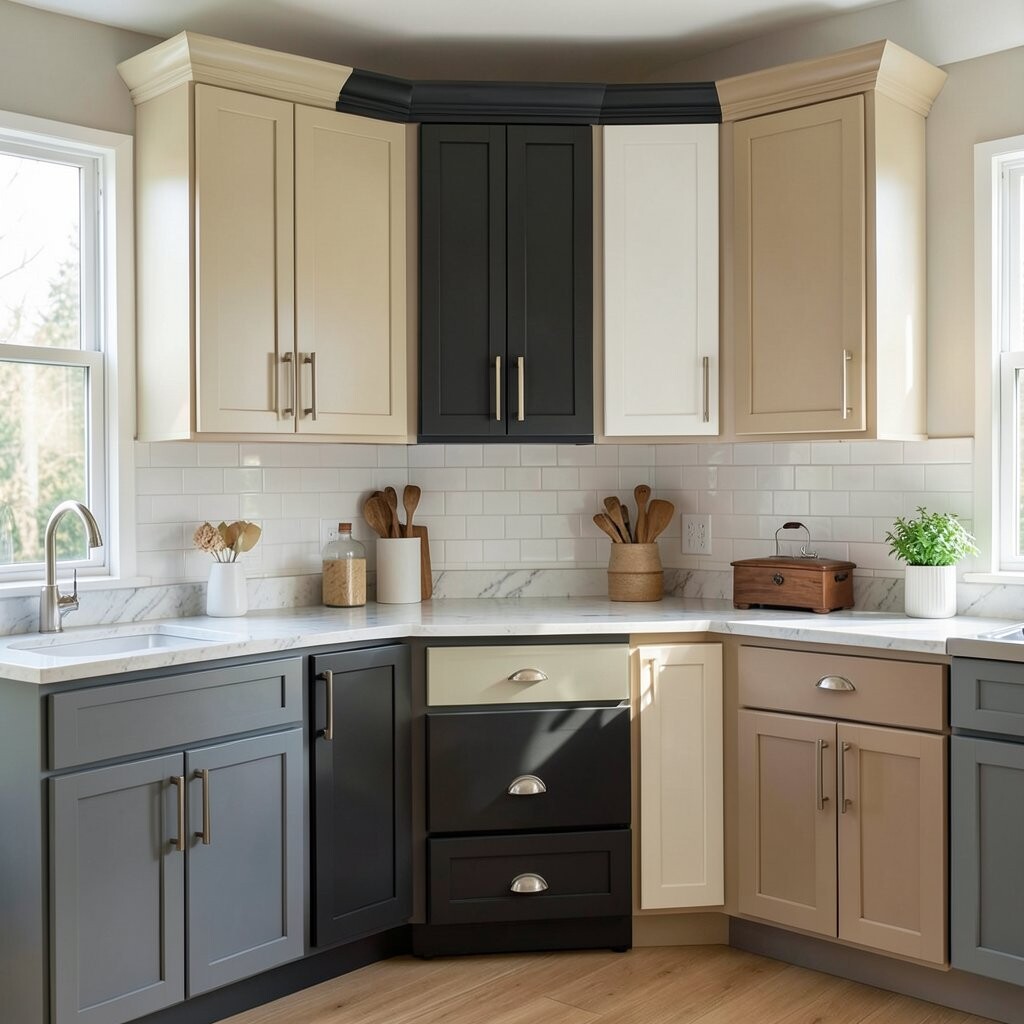
Two-Tone Cabinets With a Matching Accent Two-tone cabinets turn your kitchen into a design moment, not just a storage space. Paint uppers one color and lowers another color, or use one shade on doors and a different shade on frames.
In a finished space, the contrast creates neat lines and depth, like a styled photo. The benefits are real: you hide wear patterns on darker sections and make the room feel larger with lighter parts.
Personalize it by repeating a color from your backsplash or countertop edge. If you want to keep costs steady, focus on painting doors and visible fronts first, then blend the rest after you see the look.
-
7. Use High-Gloss for Dramatic Shine
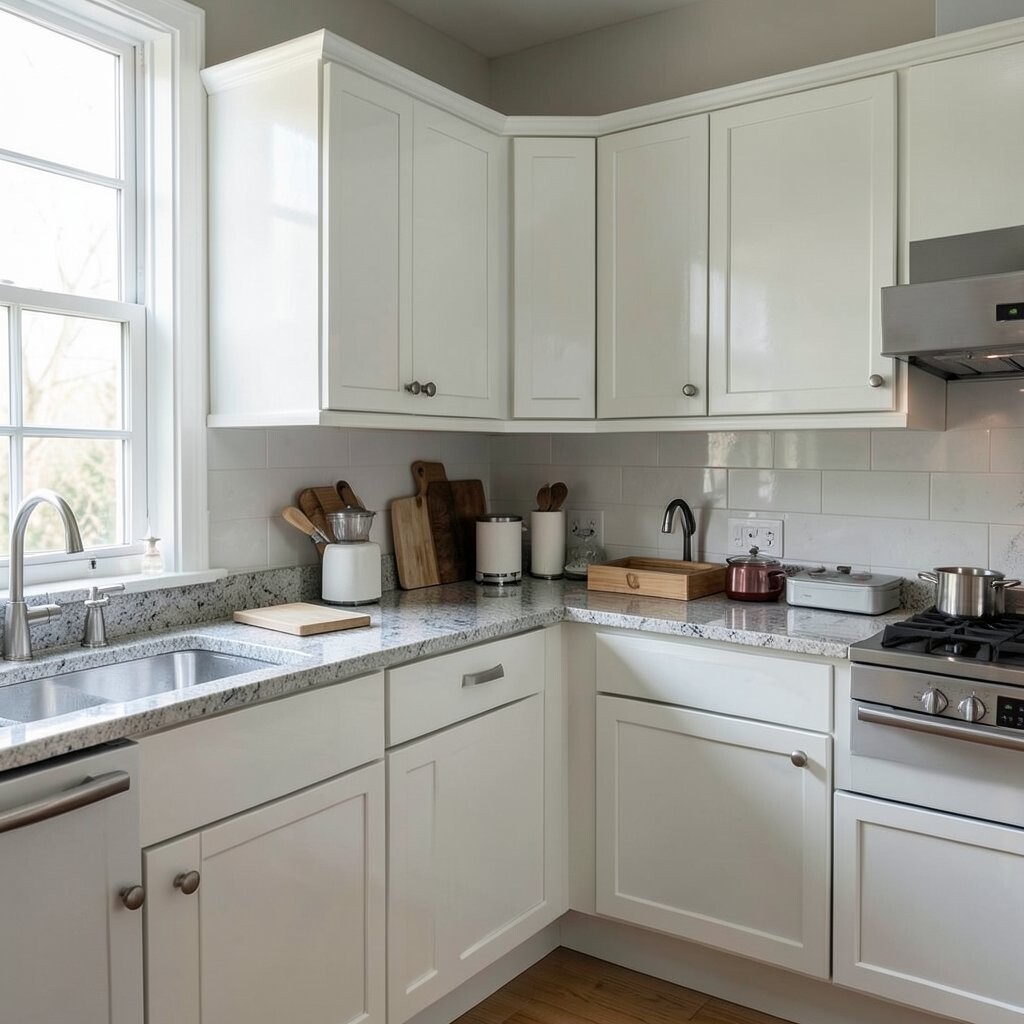
Use High-Gloss for Dramatic Shine High-gloss cabinets look bold and polished, like lacquered furniture. A careful application gives you a smooth, reflective surface that catches light beautifully.
When the kitchen lights hit, you get a bright pop that makes the room feel lively. This technique is unique because it creates a sleek, dressy vibe without adding new materials.
To avoid streaks, keep your coats thin and steady, and follow the drying time exactly. Cost-wise, glossy finishes may need more attention to application and sanding, but the result feels high-end.
-
8. Try Matte for a Modern, Soft Feel
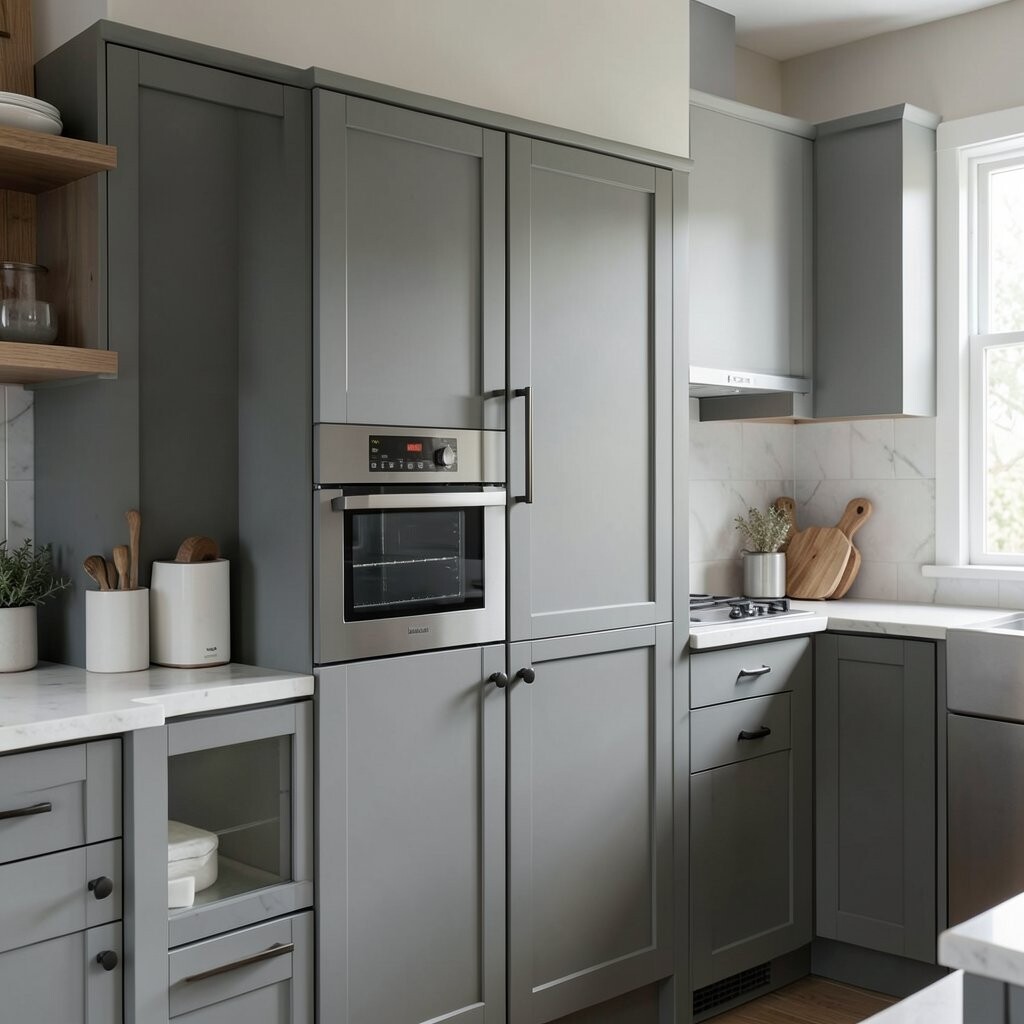
Try Matte for a Modern, Soft Feel Matte paint gives a calm, contemporary finish with fewer reflections. It also helps hide minor dents and small surface flaws.
You’ll notice a velvety look that feels cozy, especially with natural wood shelves or warm lighting. This trend stays popular because matte feels less “shiny showroom” and more “lived-in luxury.”
If you’re worried about scuffs, pick a durable matte formulated for cabinets and use gentle cleaners. Budget carefully: matte touch-ups can be less obvious, but the right product still matters.
-
9. Distress the Finish for a Vintage Charm
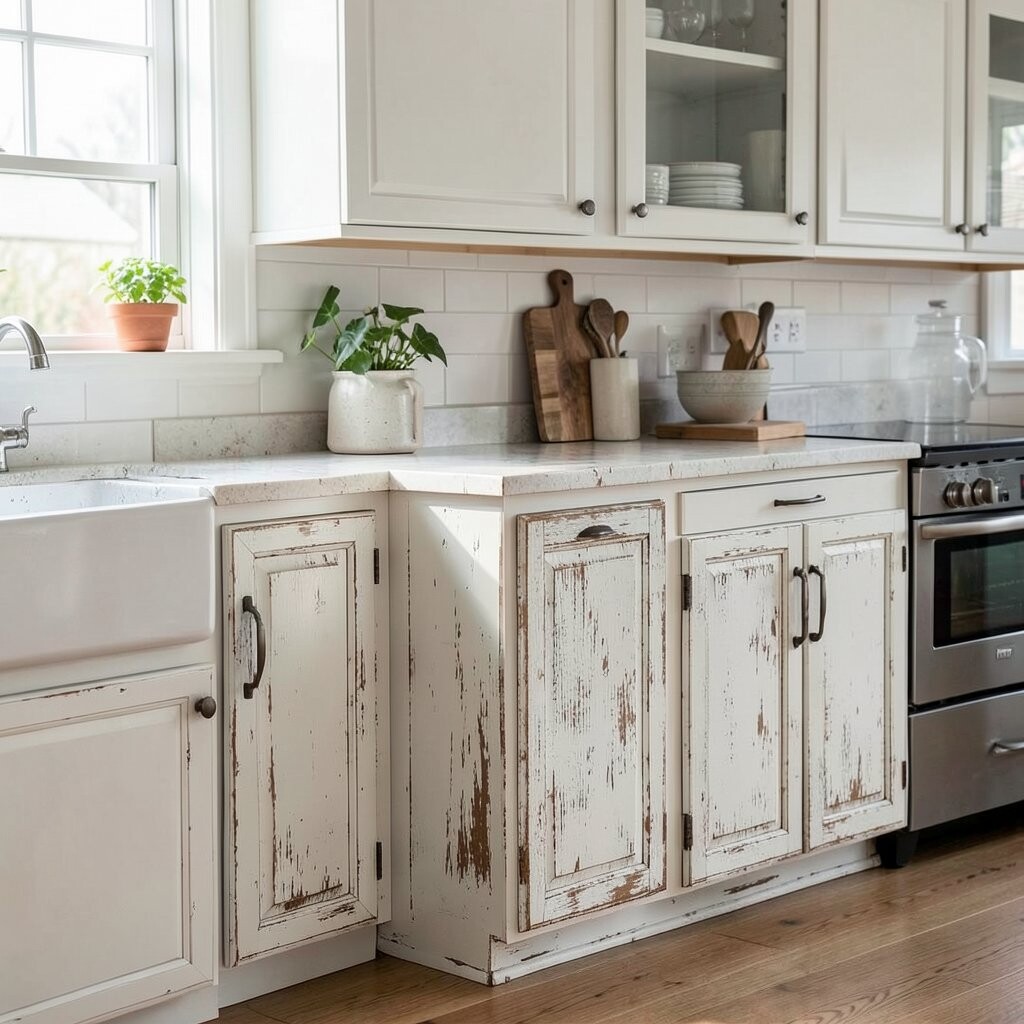
Distress the Finish for a Vintage Charm Distressing makes cabinets look aged on purpose, with charming wear patterns. You can sand edges, lightly scrape corners, or rub a darker glaze into spots that would naturally age.
The visual payoff is big: you get depth and character that looks like it belongs in a farmhouse or cottage setting. Benefits include adding personality and making new paint look like it has history.
For personalization, distress only door edges for subtle charm or add more for a bold weathered look. Cost can stay low because distressing uses simple tools like sandpaper, a cloth, and a glaze or stain tint.
-
10. Apply Glaze for Depth and Dimension
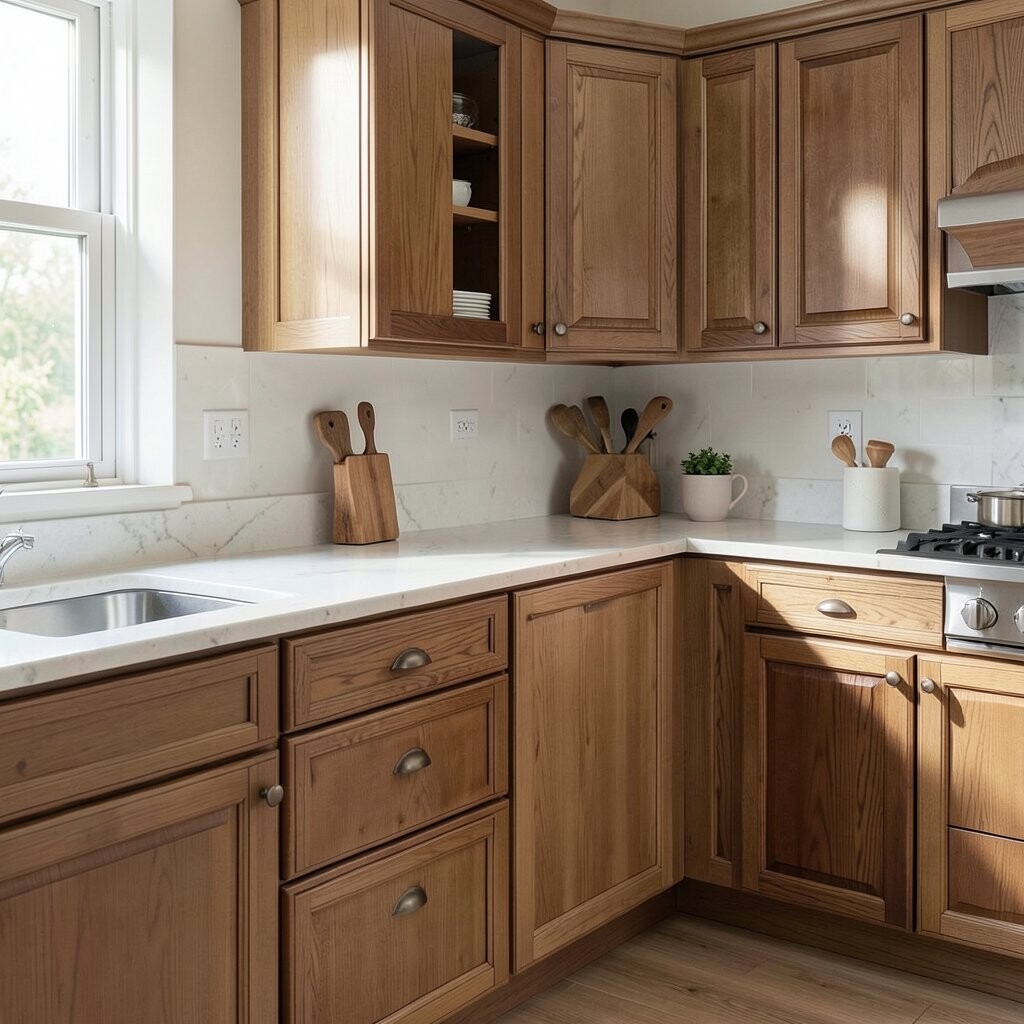
Apply Glaze for Depth and Dimension Glaze adds a translucent layer that shows through the base color. After painting, wipe glaze over the surface and blend it into corners and grooves.
Visually, glaze creates shaded details that make cabinet lines stand out. The benefit is that flat paint suddenly looks rich and layered.
Try a caramel glaze for warm undertones or a soft gray glaze for a cooler style. For current trends, many people prefer “subtle contrast,” where the glaze is barely there but still makes the design pop.
-
11. Stain and Topcoat for Warm Wood Beauty
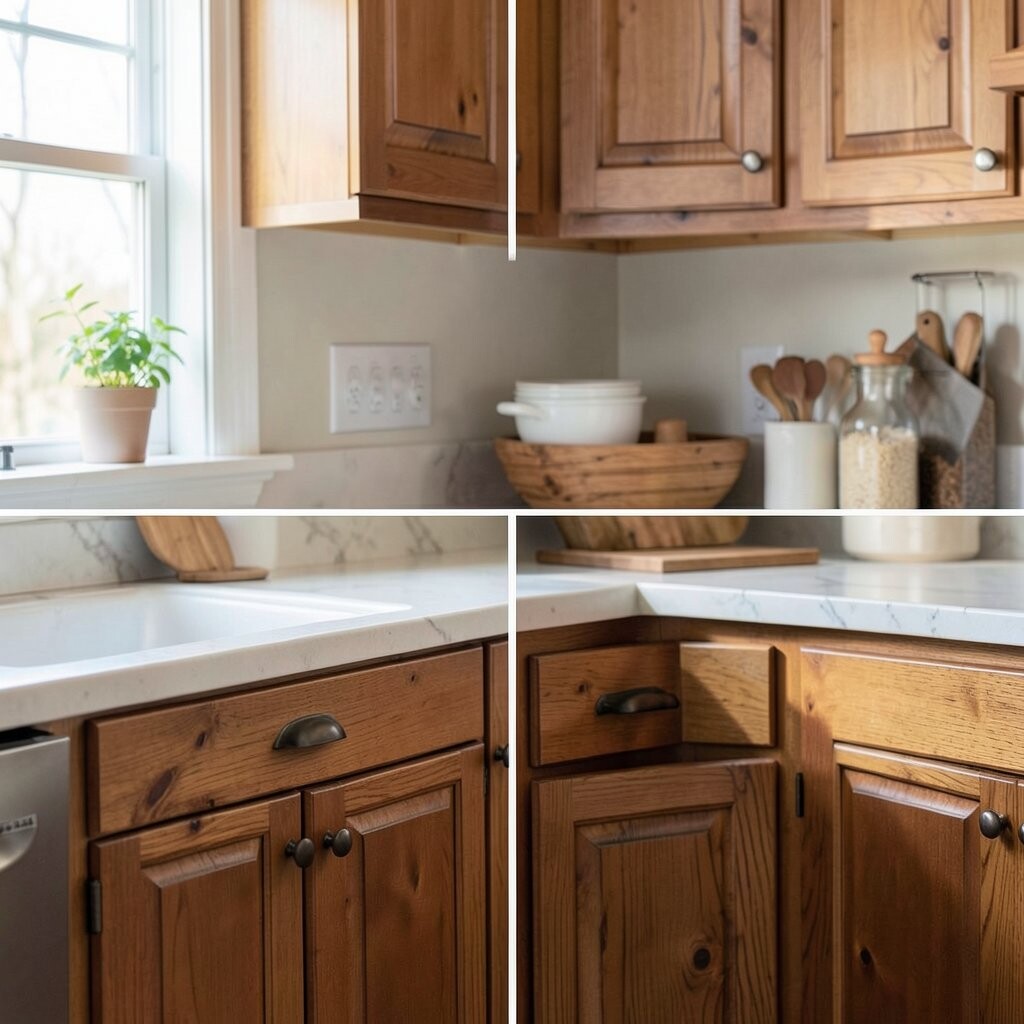
Stain and Topcoat for Warm Wood Beauty Staining keeps a natural wood look while refreshing the tone. Clean, sand, and apply stain in even coats, then seal with a protective topcoat.
When it’s done, you see rich grain and warm color that feels inviting. This technique is unique because it preserves the feeling of real wood instead of covering it completely.
Personalize by choosing lighter stains for airy kitchens or deeper tones for dramatic contrast. Budget-wise, plan for sanding time and quality stain and sealant, since skipping topcoat can reduce durability.
For best results, test stain on a hidden door first, so you know the final color before committing.
-
12. Refinish With a Wood-Tone Recoloring Approach
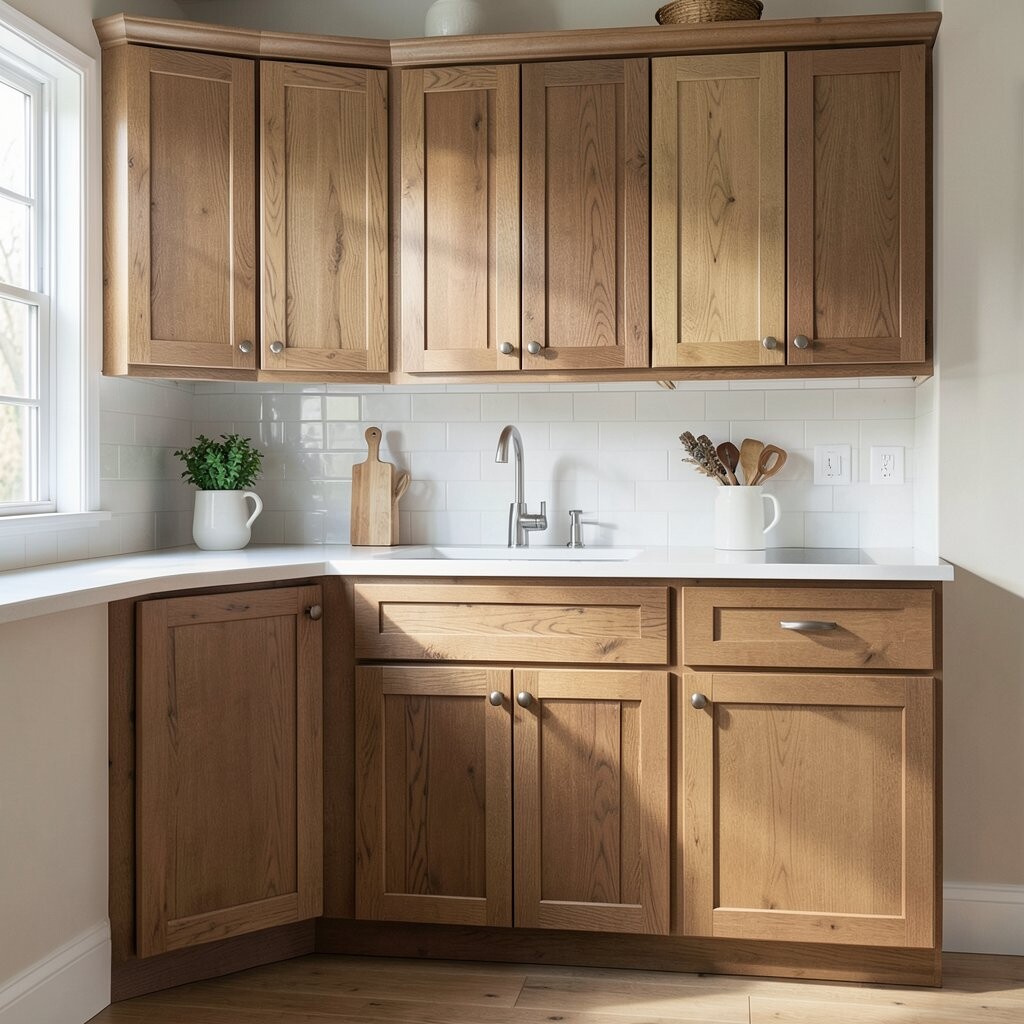
Refinish With a Wood-Tone Recoloring Approach If you love wood, you can recolor it without going fully painted. A gel stain or wood tint can shift the color while still showing grain texture.
Your cabinets will look warmer and more cohesive, especially with counters that have wood or stone veining. The main benefit is that you get a natural look with less peeling risk than some paint systems on tricky surfaces.
To personalize, pick a tone that matches your floors or dining furniture. Costs can land in the mid range, but you’ll often save compared to stripping every cabinet down to raw wood.
-
13. Spray Cabinets for an Ultra-Smooth Finish
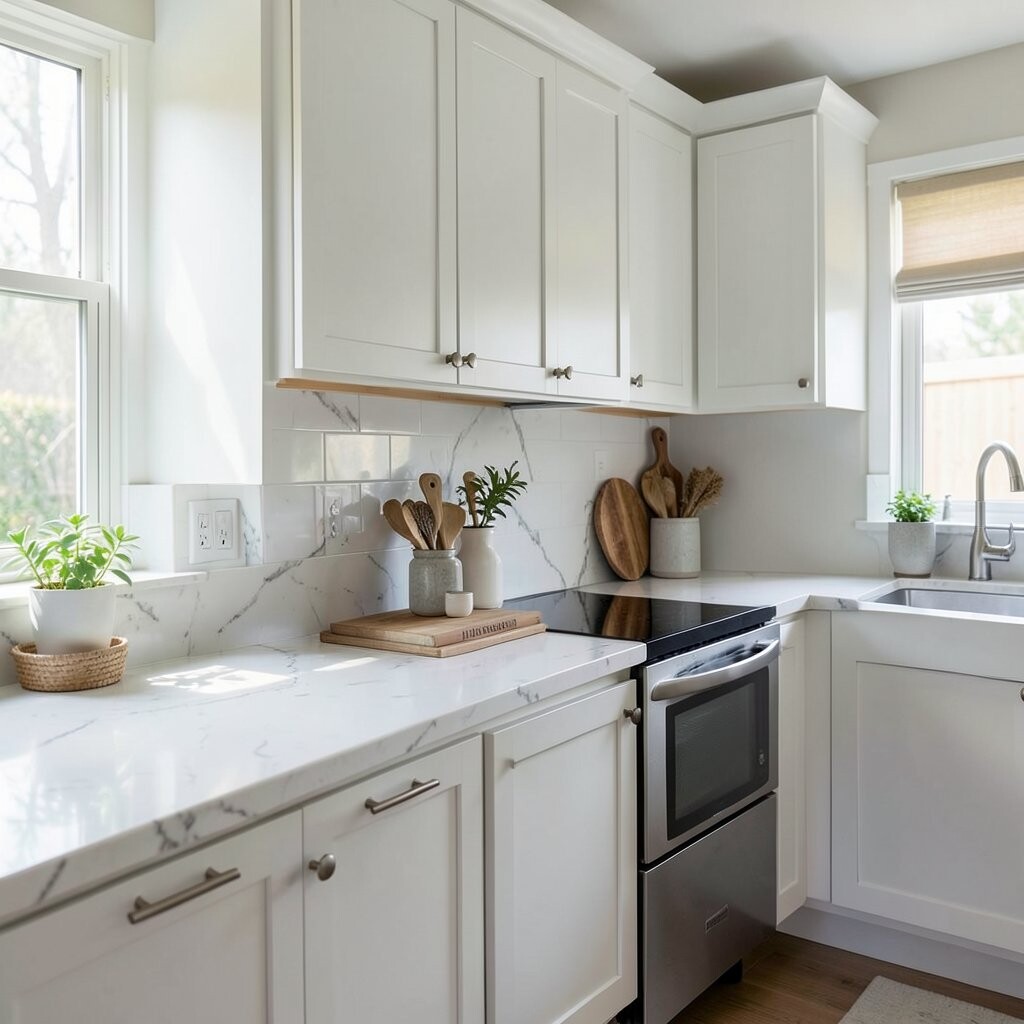
Spray Cabinets for an Ultra-Smooth Finish Spraying can create a glassy, smooth surface that brush painting usually can’t match. If you do this, use proper ventilation and protect floors and walls with careful masking.
The visual result feels sleek and clean, with even coverage across panels and rails. The benefits include fewer brush marks and a more uniform coat.
For personalization, combine spray-painted doors with hand-brushed frames for a subtle texture difference. Cost considerations: renting a sprayer or buying one can raise upfront spending, but you may reduce the number of coats and improve finish quality.
-
14. Add New Hardware for an Instant Upgrade
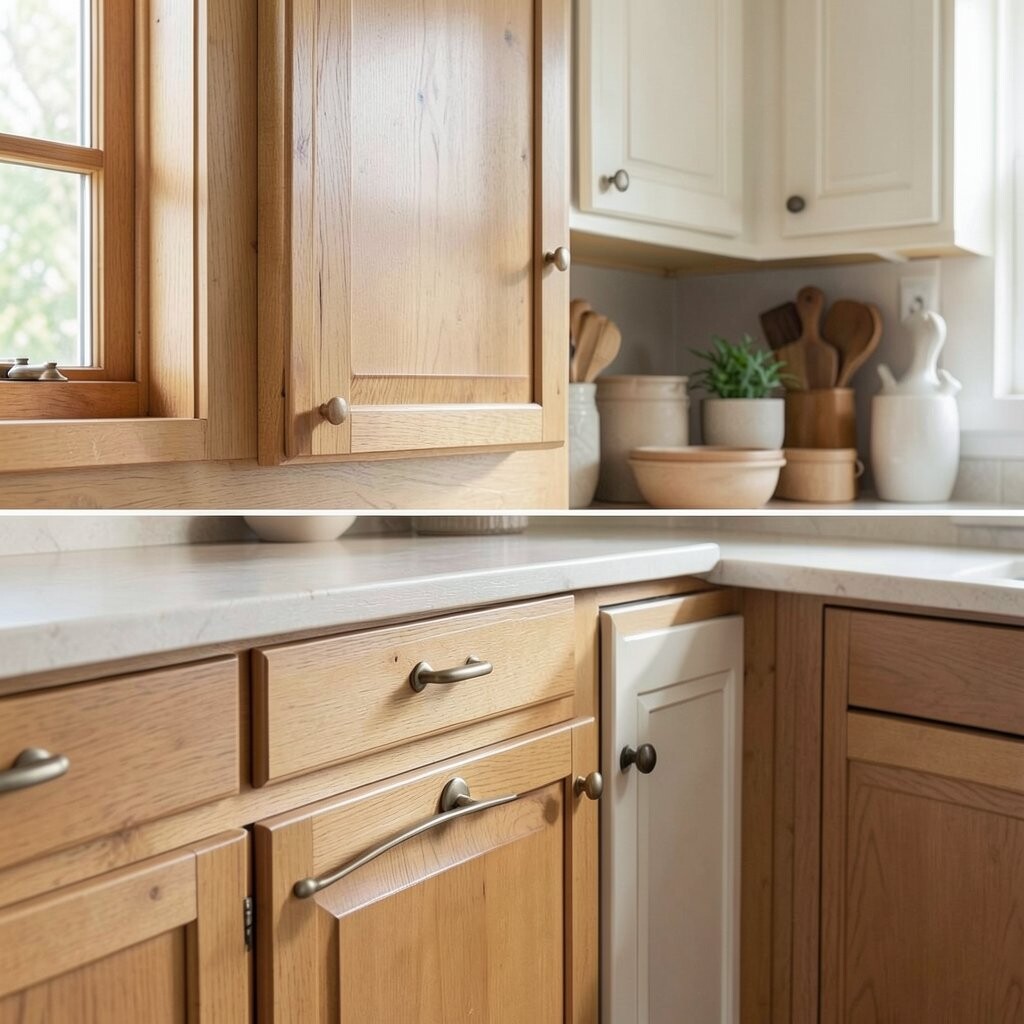
Add New Hardware for an Instant Upgrade New knobs and pulls can make refinished cabinets feel like a brand new set. Choose styles that match your faucet and lighting—brushed nickel, matte black, brass, or antique bronze.
The visual pop happens right away, especially when the metal color contrasts the cabinet color. The benefit is speed: hardware updates are usually faster than any finish work.
For personalization, consider mixing sizes—bigger pulls on drawers and smaller knobs on doors. Cost-wise, you can start with the most visible doors and save the rest if budget is tight.
-
15. Swap Door Styles With Panels or Inserts
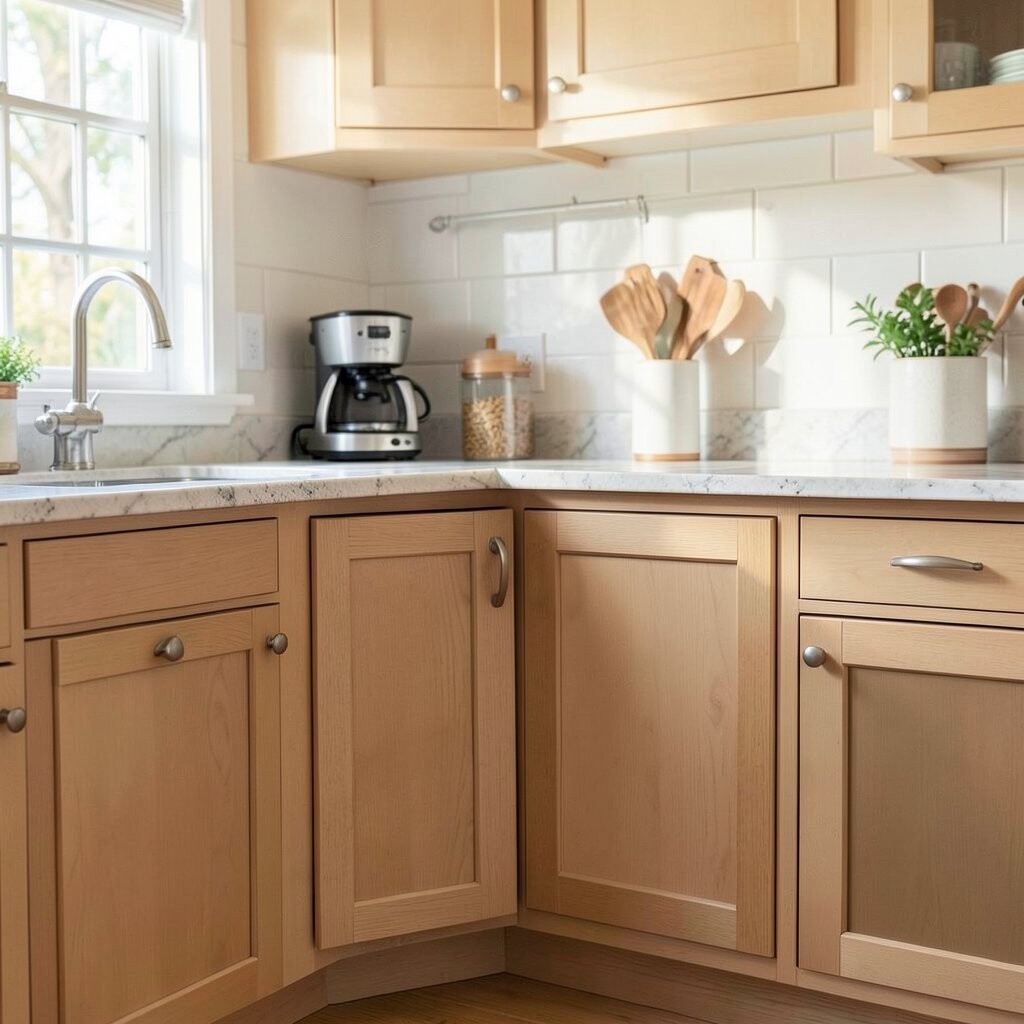
Swap Door Styles With Panels or Inserts Changing door details can create a fresh look even if the cabinet boxes stay the same. Add glass inserts, flat panel inserts, or modern slat-style pieces if your layout fits.
When finished, the kitchen feels more open and styled, because light can move through the design. This technique is unique because it updates the look’s “architecture,” not just the color.
To personalize, match insert style with your kitchen mood—farmhouse for simple windows, modern for clean slats, and classic for arched or traditional glass. Costs vary by door type and hardware needs, so price out a few sample doors first to budget smartly.
Some updates can be done gradually, letting you spread cost over time while still getting results early.
-
16. Finish With Protective Topcoat and Smart Maintenance
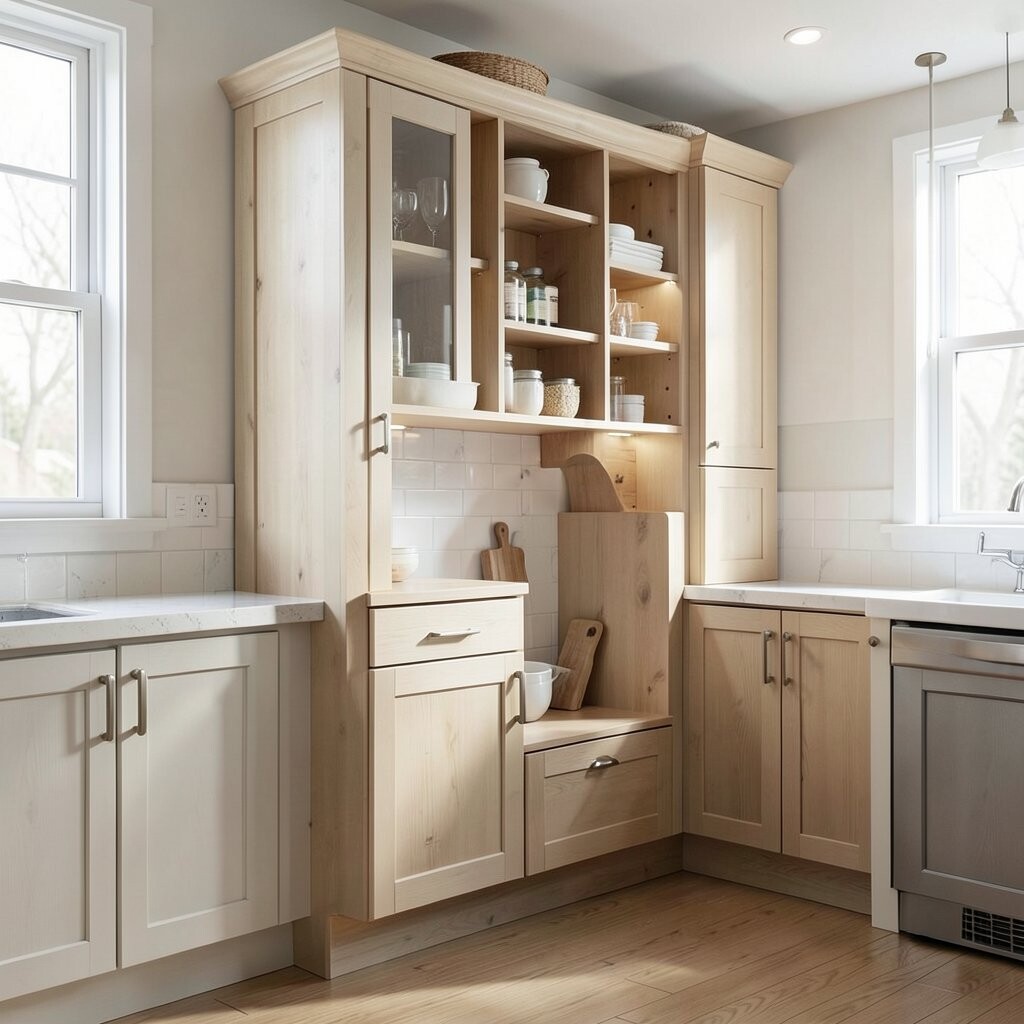
Finish With Protective Topcoat and Smart Maintenance A protective topcoat keeps your cabinets looking fresh and reduces everyday wear. Choose a clear finish made for cabinets, then apply it carefully over paint or stain.
Visually, the finish can add a gentle sheen that makes colors look deeper and more even. The benefits are fewer scuffs and better cleaning, so your kitchen stays “new” longer.
Personalize by choosing the sheerness you love: satin for a balanced look or low sheen for a soft feel. For current trends, many homeowners prefer satin-clear over ultra-shiny for a natural, modern vibe.
Cost-wise, protective products are an added step, but skipping them often leads to repainting sooner. Use simple care tips too: wipe spills quickly, avoid harsh cleaners, and use soft cloths to keep the finish smooth.