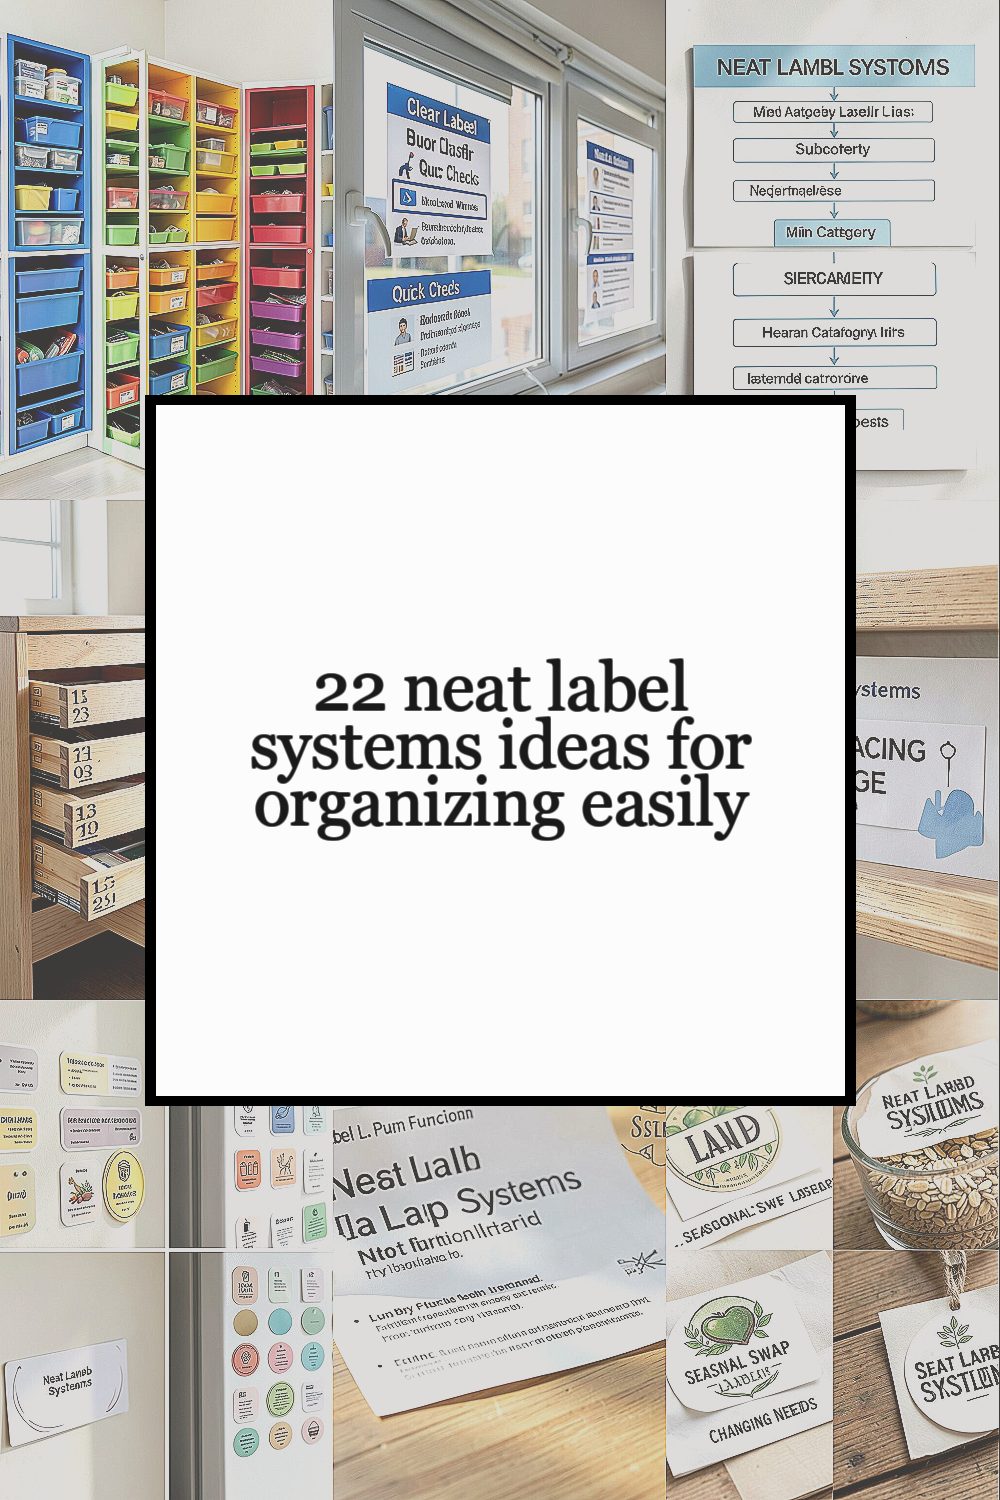
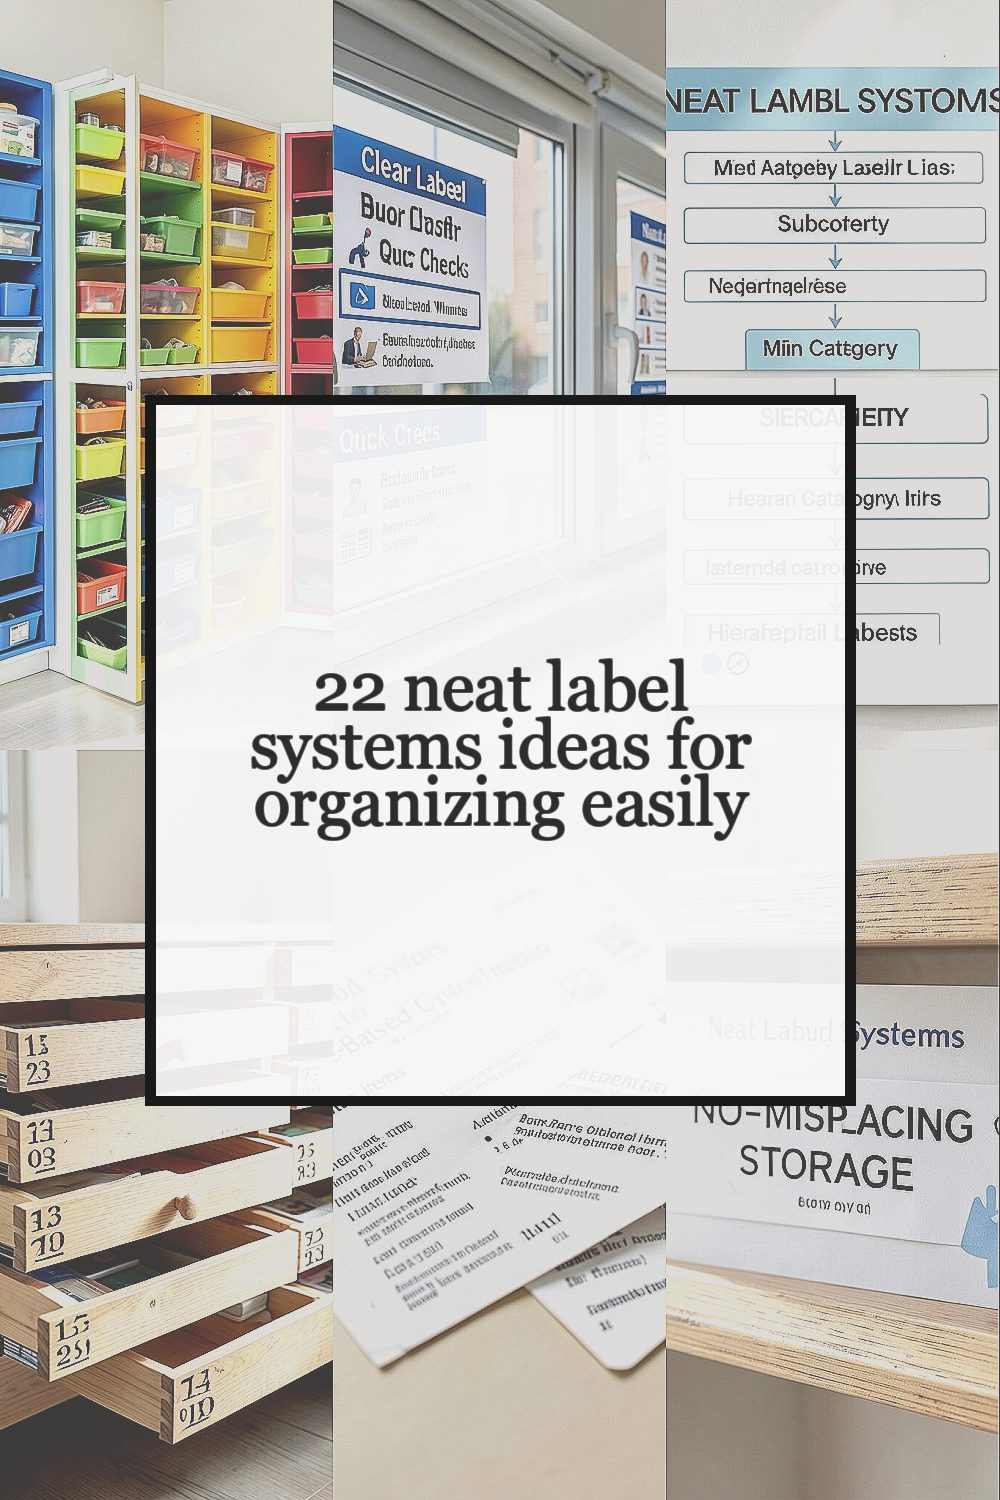
Labels can make everyday clutter feel suddenly manageable. When your things have names, your mind can relax.
In this list, you’ll find label ideas that look good and work fast, from closet corners to kitchen drawers.
-
Color-Coded Storage Zones

Color-Coded Storage Zones Pick a color for each room or zone, like blue for office supplies and green for kitchen snacks. Then label bins with matching dots, strips, or small color bars so everything “belongs” at a glance.
You’ll love how quick cleanup feels when you can spot the right color right away. To personalize, use your favorite palette or match it to theme colors you already own. Keep costs low by using painter’s tape and basic cardstock labels at first, then upgrade to label printer labels when you’re ready.
Current trends lean toward tidy systems that are easy to scan, and color-coding is one of the simplest. If you want a modern look, choose a small set of colors and stick to them consistently.
-
Clear Label Windows for Quick Checks

Clear Label Windows for Quick Checks Use transparent label sleeves or clear tape “windows” so the words stay readable without opening a container. Imagine a pantry jar with a neat strip label that stays crisp through daily use.
This style helps you grab what you need without rummaging. It also protects your label from moisture and smudges, which is great for kitchens and bathrooms. Try personalization by adding icons like a spoon for utensils or a plate for dinnerware.
For cost, you can start with clear book tape or packing tape and cut it into label-sized pieces. If you want a more polished finish, buy label covers made for binders or document sleeves. Many people are using weatherproof label tape now because it holds up better than plain paper.
-
Hierarchical Labels with Main Category and Subcategory

Hierarchical Labels with Main Category and Subcategory Create labels that follow a clear order, like “Baking: Flours” or “Cleaning: Sponges.” The visual layout is a tidy two-line label that looks like a mini filing system.
When you separate main categories from smaller ones, you avoid the “everything is mixed” problem. It also makes restocking easier, because you know exactly where an item goes. A good tip is to keep the main label short and bold, then place the subcategory on a lighter line beneath it.
To personalize, add a small symbol for each subcategory, like a star for favorites. For budget planning, make your first round using a marker and sticky notes, then replace with printed labels once you settle on your wording.
People love this approach because it fits how we think—broad first, then details. It’s also a strong trend in home organization apps and printable label sets.
-
Numbered Drawers with a Mini Legend

Numbered Drawers with a Mini Legend Put numbers on drawers or shelves and keep a small “legend” card that explains what each number means. Picture a hallway cabinet where drawer “3” is clearly labeled, and the legend sits inside the door like a map.
This helps especially in shared spaces, because everyone can follow the legend. For tips, use large numbers so they read fast, and place the legend in a spot people naturally open. Personalize the legend with your own handwriting style or add simple clip-art icons.
If you want it cheaper, you can use masking tape for the numbers and print the legend on plain paper. For a fancier version, consider laminated cards or reusable dry-erase legend boards.
-
Template-Based Labels for Repeating Items
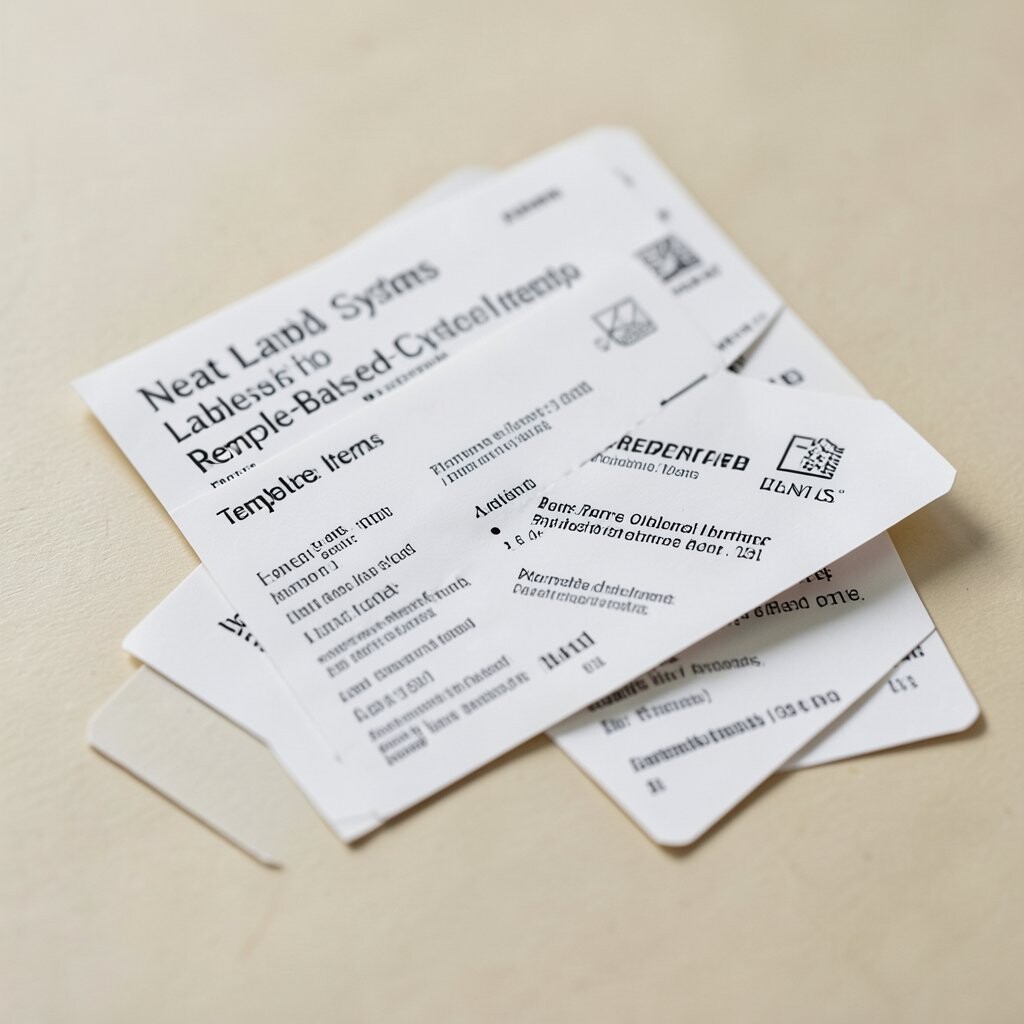
Template-Based Labels for Repeating Items Choose one label template and use it everywhere, like “Item Type – Quantity – Date.” It creates a consistent look, similar to how stores tag products.
You benefit because you won’t keep making new labels from scratch. A helpful tip is to keep font sizes and spacing the same so your labels look calm and uniform. Personalize by changing the icon or adding a tiny note, like “use first” or “new batch.”
Cost-wise, templates can be made with free design apps or even copied on paper. A popular current trend is using pre-made label templates that look clean and modern without extra effort. Once you set the template, labeling becomes almost automatic.
-
Photo Labels for “No-Misplacing” Storage

Photo Labels for “No-Misplacing” Storage Add a small photo next to the text label so your brain recognizes the item instantly. Think of a drawer that has a picture of batteries beside the word “Batteries,” making it hard to mix things up.
This system is especially helpful for kids, guests, or anyone who hates reading tiny words. For tips, choose photos that show the item clearly and match the size of your label. Personalize by using your phone to take simple pictures in the same lighting each time.
To keep costs low, print photos from your device at home or use photo stickers you already own. If you want a trendy look, use rounded corners and a simple border so the photos feel “designed,” not messy.
-
Magnetic Labels for Fridge and Freezer Zones

Magnetic Labels for Fridge and Freezer Zones Use magnetic label sheets or magnetic label holders for areas that get reorganized often. Picture small labels stuck neatly inside a fridge, like “Leftovers” and “Snacks,” right where you can see them.
You’ll save time because you can switch labels when your week changes. It also prevents the problem of labels peeling off from cold temperatures or moisture. A tip is to pair each label with a visible bin, so the magnets have a home.
Personalize by choosing a theme, like “movie night” snacks or “summer produce.” For cost considerations, magnets can be a bit pricier at first, but they last longer than many paper stickers. Current trends include reusable fridge systems and wipe-clean organization boards for quick updates.
-
Label by Function, Not by Brand

Label by Function, Not by Brand Instead of labeling by brand, label by what things do, like “All-Purpose,” “Stain Remover,” or “Glass Cleaner.” Visually, your shelf becomes a tidy set of tools with clear roles.
This reduces confusion when you have similar bottles from different brands. It also makes it easier to grab the right product fast. A tip is to group by job, then label each group with a short phrase that sounds like how you would explain it.
To personalize, add icons like a spark for “Polish” or a droplet for “Waterproofing.” For cost, you might only need to label the categories once, then reuse the same labels whenever brands change. Many people are going this route now because it keeps organization flexible.
-
Seasonal Swap Labels for Changing Needs

Seasonal Swap Labels for Changing Needs Create labels for different seasons, like “Summer,” “Winter,” “Holiday,” or “Rainy Days.” Imagine a closet shelf where the labels update as the year turns, making the space feel fresh.
This helps because your storage stays relevant instead of becoming a “random pile.” A good tip is to store each season’s items together and label the container clearly so you can rotate quickly. Personalize by using season colors or small icons like snowflakes or suns.
Cost considerations are gentle here: you can use reusable label holders or laminated label cards. If you want a modern touch, try magnetic or velcro-based labels so swapping takes only a minute.
-
Use “Open-First” Labels for Reduced Stress

Use “Open-First” Labels for Reduced Stress Put “Open First” labels on items that should be used soon, like opened snacks, partial soaps, or older jars. The label can be bright and simple so your eyes catch it instantly.
You benefit because food waste and duplicate purchases drop when you plan the order. For tips, place the “Open First” labels on the front or top so they’re always in view. Personalize with small arrows or check marks that feel encouraging rather than bossy.
To keep costs down, you can use removable sticker labels or short strips of tape. A current trend is “first-in, first-out” organizing, and these labels are a friendly way to follow that idea at home.
-
Label the Lid, Not Just the Container
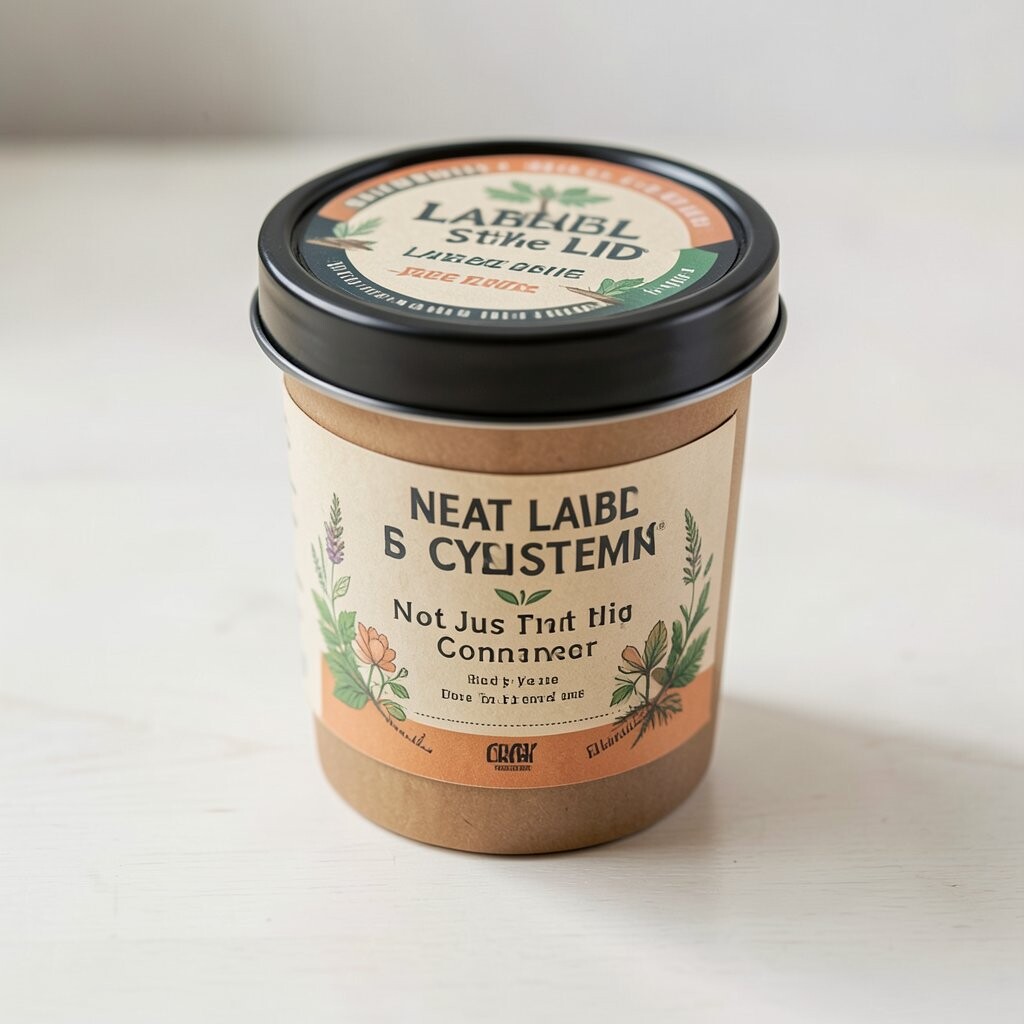
Label the Lid, Not Just the Container Put the label on the top of containers and also on the front when possible. Visualize stackable bins with lids that clearly show “Cups,” “Spices,” or “Craft Paper,” so you never have to guess.
This is helpful because stacks hide front labels until you pull bins out. A tip is to make the lid label larger, since it’s what you’ll see most often. Personalize by adding a small color dot on the lid that matches the front label.
Cost considerations are easy: even basic labels work, and you can use tape plus a printed word strip. This idea is also trending in stackable storage setups, because visibility is key for modern small spaces.
-
Create a “One-Label Rule” for Similar Items
Create a “One-Label Rule” for Similar Items Pick one simple label for a group, like “Batteries” or “Charging Cables,” instead of writing long descriptions. The visual effect is clean and calm, like a wall of simple names.
This helps you avoid label overload, which can make systems feel heavy instead of helpful. A tip is to keep labels short enough to fit on your bins without wrapping. Personalize by choosing friendly wording, like “Weekend Games” or “School Stuff.”
For cost, short labels need less ink and less paper, and they’re easy to print or write. Many people now aim for minimal labeling because it looks tidy and stays manageable.
-
Chart Labels for Cables and Tech Gear

Chart Labels for Cables and Tech Gear Make cable labels that include both the device name and the charging type, like “Phone Charger” or “Router Cable.” Picture a drawer organizer where every wire has a small tag tied near it.
You’ll benefit because tangled mess turns into a quick grab system. For tips, label near the end and also bundle by device so cables stay matched. Personalize by adding a color for each device, like blue for laptops and green for tablets.
Cost considerations can be low if you use twist ties and printable label strips. A current trend is cable management kits and “traceable” labels that reduce tech frustration for remote work and streaming setups.
-
Patterned Label Borders for Easy Scanning

Patterned Label Borders for Easy Scanning Use label borders with patterns like dots, stripes, or thin lines around the text. Visually, your items look organized because the labels have a consistent “frame.”
This helps scanning because your eyes can spot the border style faster than plain text. A tip is to assign one pattern per category, like stripes for “Bathroom” and dots for “Kitchen.” Personalize by choosing patterns that match your home vibe.
For cost, you can print patterned label designs at home or use simple craft paper cut into frames. This is a trendy move because “decorative organization” is popular right now, especially on home styling pages.
-
Sticky Notes as Temporary “Warm-Up” Labels
Sticky Notes as Temporary “Warm-Up” Labels Start with temporary labels using sticky notes while you figure out what you use most. Imagine your pantry with bright notes today that become tidy labels tomorrow.
You get fast feedback because you can adjust the system without committing right away. A tip is to replace sticky notes with proper labels after a week, so you don’t keep rewriting. Personalize by writing in your real voice, like “Grabbing snacks here!”
Cost is very low, and that’s the best part when you’re testing a plan. Current trends support this “trial and refine” style, because it helps people move from chaos to order without pressure.
-
Laminated Labels for High-Use Areas

Laminated Labels for High-Use Areas Use laminated labels in spots that get touched often, like pantry shelves, cleaning cabinets, or kids’ toy bins. The look is neat and glossy, like your storage has a little protective skin.
This benefit is big: the labels resist water, spills, and smudges. For tips, keep text short and choose high-contrast ink so it reads even from a distance. Personalize by adding simple icons that match the laminated style.
Cost considerations can be moderate, because lamination supplies cost a bit. But durable labels often save money over time because you replace them less. This matches current trends toward long-lasting, wipe-clean organization tools.
-
Bins with Labels That Match the Contents Size

Bins with Labels That Match the Contents Size Make labels that fit the bin shape, so the label size feels “right” for that container. Picture small jars with small labels and big tubs with bigger labels, all balanced.
This improves readability and makes your system look designed, not patched together. A tip is to decide a simple rule like “label width is half the bin width” so everything stays consistent. Personalize by using the same label style across different sizes, like always using a rounded label cut.
For cost, it’s still affordable because you only need one design style and different label sizes. Many organizing creators now recommend proportional labeling because it makes systems feel easier to use.
-
Label Trays for Countertop and Craft Areas

Label Trays for Countertop and Craft Areas Make small labeled trays for everyday grab-and-go items, like craft supplies or kitchen prep tools. Visualize a cart with trays that each have a clean name label on the front edge.
This helps because loose items have a home, which reduces the “where did it go?” moment. For tips, keep the tray contents small enough that you can refill quickly. Personalize by naming trays with fun tags like “Sticker Zone” or “Spice Sprinkles.”
Cost considerations depend on tray choice, but you can start with inexpensive containers and reuse them later. Current trends show people leaning into “stations” instead of one big storage spot, and labeled trays support that idea.
-
Write Labels Like Mini Signs
Write Labels Like Mini Signs Instead of just single words, write short sign-like labels such as “Empty Here” or “Put Back Now.” Imagine a cabinet with playful little signs that guide behavior without nagging.
You benefit because the label tells people what to do, not only what something is. A tip is to keep the wording friendly and clear, like instructions you’d give a buddy. Personalize by matching the tone to your household, such as cozy and calm or funny and energetic.
Cost is usually low because you can print signs on cardstock and tape them on. This is trending because people want organization to feel supportive, not strict.
-
Label Everything in the Same “Reading Direction”

Label Everything in the Same “Reading Direction” Choose a reading direction and stick to it, like always left-to-right on front panels. The visual result is a tidy wall of labels that all “face” the same way when you walk in.
This reduces mistakes because your eyes learn where to look. A tip is to angle labels slightly or keep them straight so they look uniform at a glance. Personalize by using the same arrow style on each label, pointing toward the correct storage area.
Cost considerations are simple: most of the work is placement, not extra materials. This idea is quietly popular because it supports how our brains scan when we’re busy.
-
Make “Label Stations” for Supplies

Make “Label Stations” for Supplies Create a small station with paper, scissors, marker, and a place to store finished labels. Imagine a drawer labeled “Label Station” that holds everything you need to update your system in minutes.
This benefit is huge: you’ll actually keep your labels current instead of letting them fade into old habits. For tips, put the most used tools on top and keep replacement labels nearby. Personalize by adding a tiny checklist like “Print, Cut, Stick, Done.”
Cost can be low if you already have basic supplies. If you want a trend-friendly setup, use a small caddy and a labeled container for each step, like a maker workspace vibe.
-
Seasonal Date Labels for Pantry Jars

Seasonal Date Labels for Pantry Jars Write “Made on” or “Packed on” dates on pantry labels, plus a “use by” reminder. Picture jars with neat date tags so you can rotate items without second-guessing.
You’ll benefit from better freshness and fewer surprises when you open a jar later. A tip is to use a consistent date format that you can read quickly. Personalize by adding a small “first” star or a color dot for the season.
For cost, a simple label template and a marker can work perfectly. Current trends include smarter food storage routines, and date labeling is a low-effort way to join that movement.
-
Dual-Side Labels for Open and Closed Storage

Dual-Side Labels for Open and Closed Storage Label both the front and the inside of doors, drawers, or cabinet panels. Visualize a cupboard where the label on the door tells you what’s inside, while the inside label reminds you where to put things back.
This makes the system work for both open and closed moments. For tips, keep inside labels simpler and shorter, since you’ll only read them when you’re already there. Personalize with different label styles, like plain inside and more decorative outside.
Cost considerations are manageable because you can use the same label design twice. This idea is trending for people with busy kitchens and families who need clear guidance every day.
-
Label Pull Tabs for Easy Re-Grab

Label Pull Tabs for Easy Re-Grab Add small pull tabs with labels so items can be pulled without digging. Imagine spice containers sitting behind a tray, and each one has a labeled tab sticking out like a little flag.
This benefit is speed: you grab what you need in a snap, and you can put it back the same way. A tip is to place the tab at the same height across containers so your hand knows where to go. Personalize by using tab colors that match categories, like warm colors for baking and cool colors for tea.
For cost, tabs can be made from cardstock and tape, or you can buy inexpensive tabbed dividers. Current trends include “pull-first” storage because it helps with small spaces and reduces clutter buildup.