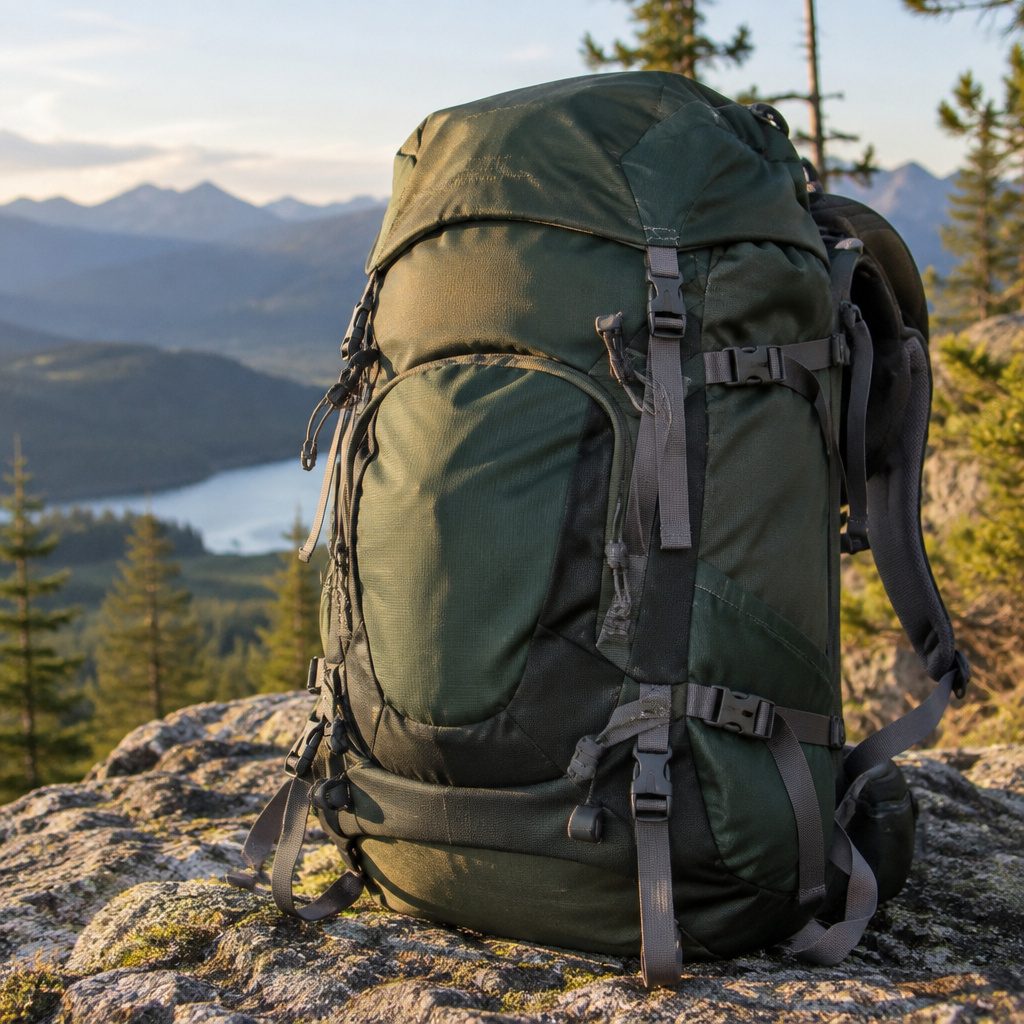
Your backpack can look neat instead of messy in just a few changes. Simple storage moves can make your room feel calmer every day.
1. Over-the-Door Back-of-Pack Hooks
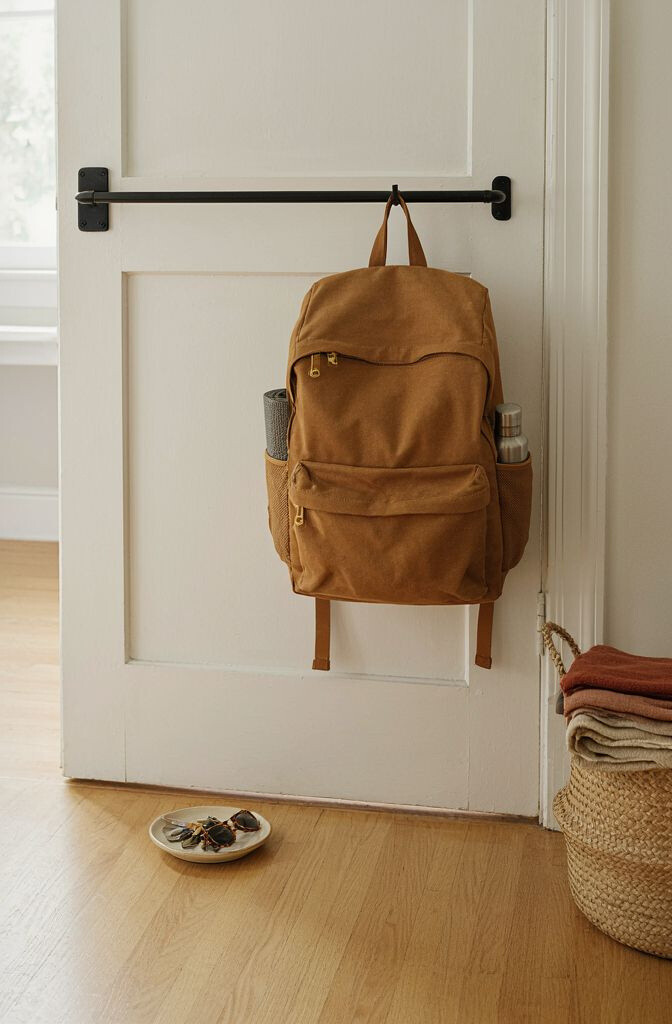
Hang hooks behind the door so your backpack has a clear home. You get instant visibility and fewer piles on the floor.
Pick strong adhesive hooks or drill-in hooks that match your door material. Keep the backpack straps angled so the bag doesn’t flop and twist. If your backpack is heavy, use two hooks to spread the weight and protect the zipper track.
2. Pegboard With Labeled Hooks
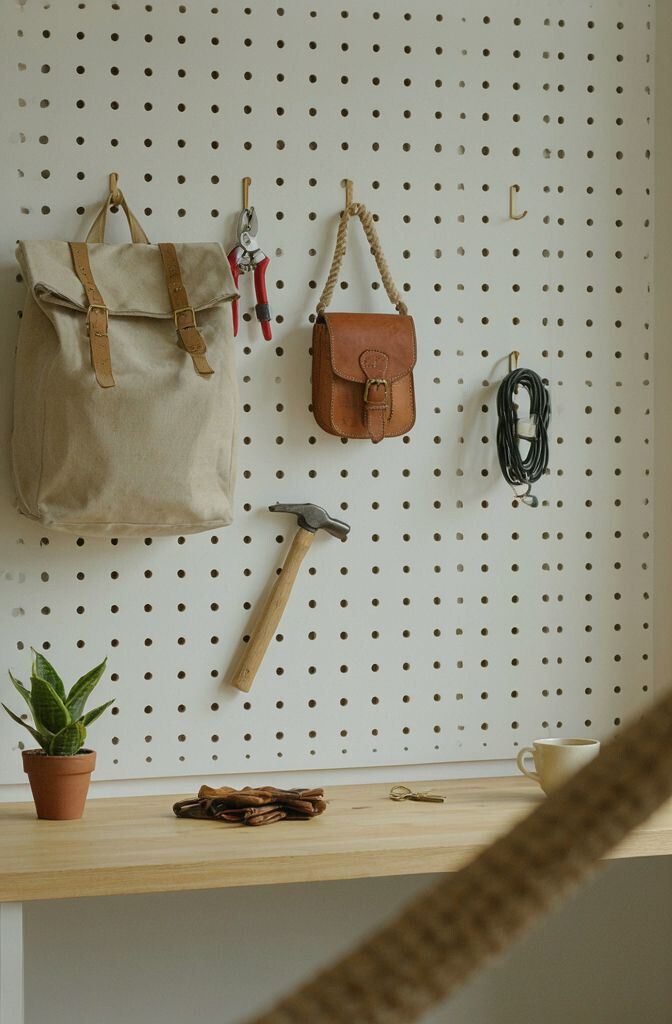
A pegboard turns backpack storage into a tidy, organized display. The holes also make it easy to adjust as your needs change.
Label each hook with a simple sticker or a small card so everyone knows where things go. Add a small tray below for keys or a water bottle so small items don’t wander. This is especially helpful in shared spaces because the system stays the same even when backpacks rotate.
For personalization, paint the pegboard a fun color or add patterned tape around the hook lines. Many pegboard kits are budget-friendly, and you can start small and expand. A current trend is using matching rainbow labels to make routines feel more playful without losing organization.
3. Wall Niche Shelf With Strap Clips
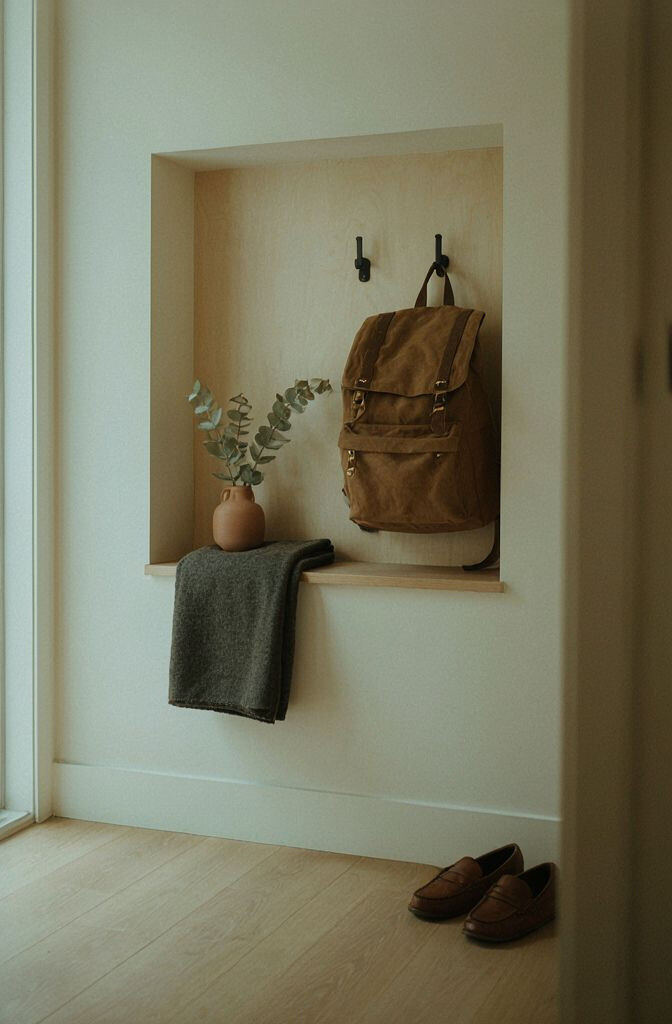
A slim wall niche gives your backpack a dedicated “resting spot.” The straps stay contained instead of sliding down the wall.
Install a narrow shelf and use small clips or wall-mounted hooks for the straps. When you clip the straps in place, the backpack sits upright and looks neat. This is unique because it behaves like built-in storage, even if you keep it simple and compact.
Use a soft felt liner on the shelf so the backpack bottom doesn’t get scuffed. Choose a shelf length that fits your largest bag, then leave a little extra room for growth. Budget varies based on whether you go DIY or buy a pre-made niche shelf, but even a basic shelf can work.
To keep it tidy daily, set a lightweight “drop zone” inside the niche for headphones or a charging cable. That way, you’re not tempted to toss items onto the bed or desk.
4. Corner Stand With a Hanging Rail
A corner stand keeps backpacks off the main walk path. It also helps your room feel cleaner because the corner becomes a storage zone instead of clutter.
Choose a stand with a hanging rail or multiple hooks so you can store a backpack, jacket, and tote nearby. Position it where you usually pause to grab your bag, like near the bedroom entrance. If you have limited floor space, this is a great practical choice because it uses vertical space without crowding your furniture.
5. Closet Door Organizer With Clear Pockets
Closet door organizers are great for small storage, and they can include backpack straps too. The clear pockets make it easy to spot what you need fast.
Hang the organizer inside the closet door so backpacks stay close while keeping the room visually calm. Use the pockets for chargers, pens, or gym cards, and keep the backpack on a hook or shelf outside the pocket section. This idea is unique because it tackles the “everything spills out” problem, not just the backpack itself.
For cost considerations, you can find pocket organizers at many price points. A current trend is going for slim designs that don’t block the closet hanging bar. Personalize by adding small color labels that match your school subjects or weekday routines.
6. Rolling Grid Shelf With Quick-Grab Bins
A small rolling grid shelf can hold backpacks and also extra supplies. Rolling storage is helpful if you rearrange your room often or clean frequently.
Place hooks on the side for straps, then use bins on the shelves for lunch items, wipes, or folders. When the backpack is ready, you can move the whole station instead of carrying everything separately. This makes the setup feel practical and “move-friendly,” which is great for busy households.
For personalization, choose bins in your favorite colors and label them with marker. Budget-wise, you can start with just the shelf and add bins later. Many people now like compact rolling storage because it offers flexible organization without a full remodel.
7. Boot Tray or Tidy Mat Under a Wall Hook
Start with a wall hook, then add a boot tray or tidy mat underneath. The tray catches crumbs, dust, and stray items so your floor stays clean.
This simple combination looks tidy because the bottom area stays contained. Use a mat that’s easy to wipe, and keep it near where the backpack lands. Add a small zipper pouch inside the tray for spare chargers or lip balm so you’re not hunting when you leave.
To personalize, pick a tray color that matches your room theme, like black for modern looks or light wood for a cozy vibe. Cost is usually low to moderate depending on material, and it’s a good option if you rent and can’t mount hardware. A current trend is using “micro catch” trays that prevent small messes from becoming big ones.
8. Ladder-Style Display With Hooks for Multiple Sizes
A ladder-style rack turns your wall into a storage display. Different hook heights make it easy to hang backpacks of various sizes.
Hang larger backpacks on the top rungs and smaller ones lower down. Add a basket on a lower rung for hats or water bottles. This setup feels unique because it blends function with a visual style, similar to a clothing rack but designed for bags.
Make practical tips part of the layout by leaving one rung free for “today’s” bag. If you share the room, assign each person a specific rung so there’s no confusion after school. For cost, wooden ladders can range widely, but even a simple metal rack can provide the same effect.
Personalize by wrapping a ribbon or adding a tiny tag that says “Monday” or “Gym.” That small touch makes it easier to put the backpack back quickly.
9. Bedside Hanging Organizer for Campus Cram Sessions
If your backpack often ends up by the bed, move that routine into a hanging organizer. A bedside solution keeps your bag accessible without taking up floor space.
Use an over-bed hook or a bedside ladder-style stand with hanging pockets. Store the backpack on the hook, then use pockets for the items you grab late at night, like lip balm, a book light, or a charger. This idea is unique because it supports your nighttime flow, not just your morning routine.
For practicality, keep the pockets for “sleep items” and keep the backpack space for “day items.” That separation helps reduce clutter that creeps in after long days. Cost considerations depend on whether you buy a specialized organizer or repurpose a hanging garment rack.
To personalize, choose fabric organizers in calm tones to make the bedroom feel relaxing. Many people now prefer soft, fabric-first storage because it looks cozy rather than industrial.
10. Magnetic Strip for Metal Clip Straps
A magnetic strip is a clever way to manage backpacks with metal clasps. It keeps straps off surfaces and reduces tangles.
Mount the strip on a wall near your entry area and clip the straps in place. Use it as a “landing spot” so the backpack stays vertical and doesn’t slide around. This is unique because it uses the backpack hardware itself, turning straps into parts of the storage system.
Choose a strip with enough holding strength for your specific clips. For practical tips, wipe the surface regularly so dust doesn’t affect adhesion or magnet strength. Budget is usually low if you already have magnets or you’re buying a small strip, and the trend toward magnetic organization keeps growing.
11. Rolling Closet Drawer With Backpack Slot
A rolling drawer unit with a tall slot can hide your backpack when you want a clean look. It also makes storage feel more “contained” than open hooks.
Look for a drawer cart with a vertical compartment or create one using dividers inside a tall cubby. Store the backpack upright, then add compartments for small accessories inside the drawer. This setup is unique because you get both vertical storage and a hidden storage feel.
For personalization, label each section with a simple icon sticker like a book, lunch, or gym shoes. Cost considerations vary, but you can find compact drawer carts at many price points. A current trend is blending open shelves with hidden bins so rooms look neat at a glance.
If you’re adjusting sizes, leave some space for strap hooks so you don’t cram the bag. Cramming can stretch straps and make zippers harder to open later.
12. Clear Acrylic Backdrop for a “Wall Closet” Look
Clear acrylic storage can make backpacks look like a clean display. It’s especially helpful if you want a modern, minimal style.
Mount a transparent wall organizer with compartments or hanger bars where backpack straps can rest. The clear surface helps you see what’s inside without digging. This idea is unique because it turns storage into a visual part of your room design.
For practical tips, keep the acrylic pieces clean so they don’t show smudges, especially near entryways. Choose sizes that fit your largest backpack and allow for ventilation so odors don’t build up. Cost can be higher than basic hooks, but the look can be worth it if you love modern decor.
13. Under-Desk Hanging Rail With Clamp Hooks
An under-desk hanging rail keeps your backpack out of sight during the day. It’s helpful for home offices, study corners, and small rooms.
Use clamp hooks or a rail that attaches to the desk frame without drilling into walls. Hang the backpack by its straps so it stays upright. This setup is unique because it uses the space most people ignore, the “underside” of your work area.
For personalization, match the rail color to your desk hardware. Consider adding a small tray or hook for your headphones so you don’t leave them on the chair. Budget is often manageable since clamp solutions avoid complicated installation.
To keep things tidy, choose a consistent “hang time” after school or work. Returning the backpack to the same underside spot reduces the chance it ends up on the couch.
14. Wall Hanging Basket With a Strap Handle
A wall hanging basket adds warmth and texture while holding your backpack. It’s great for storing a bag that doesn’t need perfect upright structure.
Pick a basket with a sturdy backing and hooks, then add a strap handle or built-in hanger to keep the backpack positioned. Place it near your door so it becomes a natural drop point. This is unique because it combines open-basket style storage with the structured feel of a wall organizer.
For practical tips, line the basket with a washable fabric or use a removable insert. That way, spills and dust are easy to clean. Cost depends on the material and size, and woven textures often feel on-trend for cozy rooms.
15. Magnetic or Velcro Strap Management on a Shelf Edge
Use Velcro straps or small magnets on a shelf edge to control backpack straps. It’s a small change that makes a big visual difference.
Mount the management points on the shelf where the backpack rests, then wrap the straps around them. The backpack stays compact and doesn’t hang awkwardly over the side. This idea is unique because it focuses on strap behavior, not just where the bag sits.
For personalization, choose ribbon-like straps in colors you already use in the room. Budget is usually low since you can buy materials at craft stores. A practical trend is “micro-organization,” where tiny systems prevent daily clutter from forming.
16. Stair-Style Rail Storage for Small Spaces
If your room is narrow, stair-style storage uses the wall efficiently. It keeps backpacks stacked neatly without blocking each other.
Install multiple hooks or a stepped rail so each backpack hangs at a different height. This prevents the straps from tangling and makes it easier to grab the right bag quickly. It’s unique because the layout is almost like a staircase, which feels ordered even with multiple bags.
For practical tips, keep a gap between hook levels so straps don’t rub and wear out. Personalize by adding color-coded tags on each hook for each person. Costs can vary, but rail systems are often mid-range and very flexible.
17. Under-Shelf Shelf-Nook for Backpack Bottoms
Sometimes the problem isn’t the top of the backpack; it’s the bottom dragging and scuffing. A shelf-nook fixes that by supporting the base.
Mount a small shelf just above the height where the backpack bottom usually rests. Slide the backpack into the supported area, then hang or clip the straps on nearby hooks. This idea is unique because it adds support where you normally see wear and mess.
Use a wipeable surface or add a felt pad to protect both the shelf and the bag. For personalization, paint the shelf backing a contrasting shade so the storage spot looks intentional. Budget depends on shelf material, but it’s often cheaper than building a full niche.
A current trend is using “hidden support” storage, like small ledges and risers, to keep items stable without bulky organizers.
18. Custom Name Tags With a Matching Hook Theme
Name tags make backpacks feel like they belong somewhere. When the hook matches the label, returning the bag becomes almost automatic.
Choose a hook theme like stars, stripes, or simple icons, then add matching name tags for each person’s bag. Keep the hook area near the door or near a consistent launch spot for mornings. This is unique because it turns storage into a routine system, not just a place to hang a backpack.
For practical tips, use durable labels that won’t peel off from humidity. Personalize the tags with small details, like a favorite color or a mini symbol for each person. Cost is usually low, especially if you use laminated cards or strong label tape, and current trends favor personalization that still looks clean and minimal.