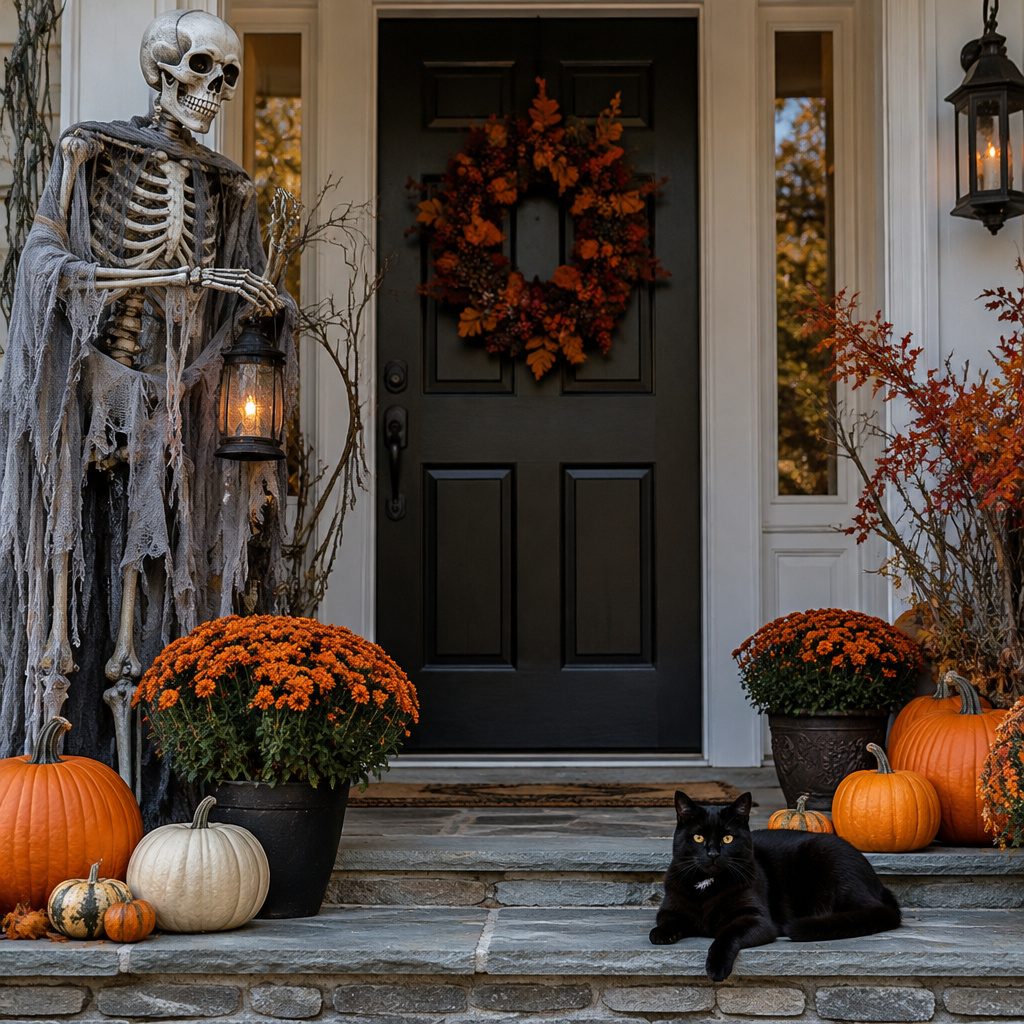
Spooky yards are built in the details. Your front step can look like a haunted scene without spending a fortune.
1. Foggy Jar Lights for Creepy Pathway Glow
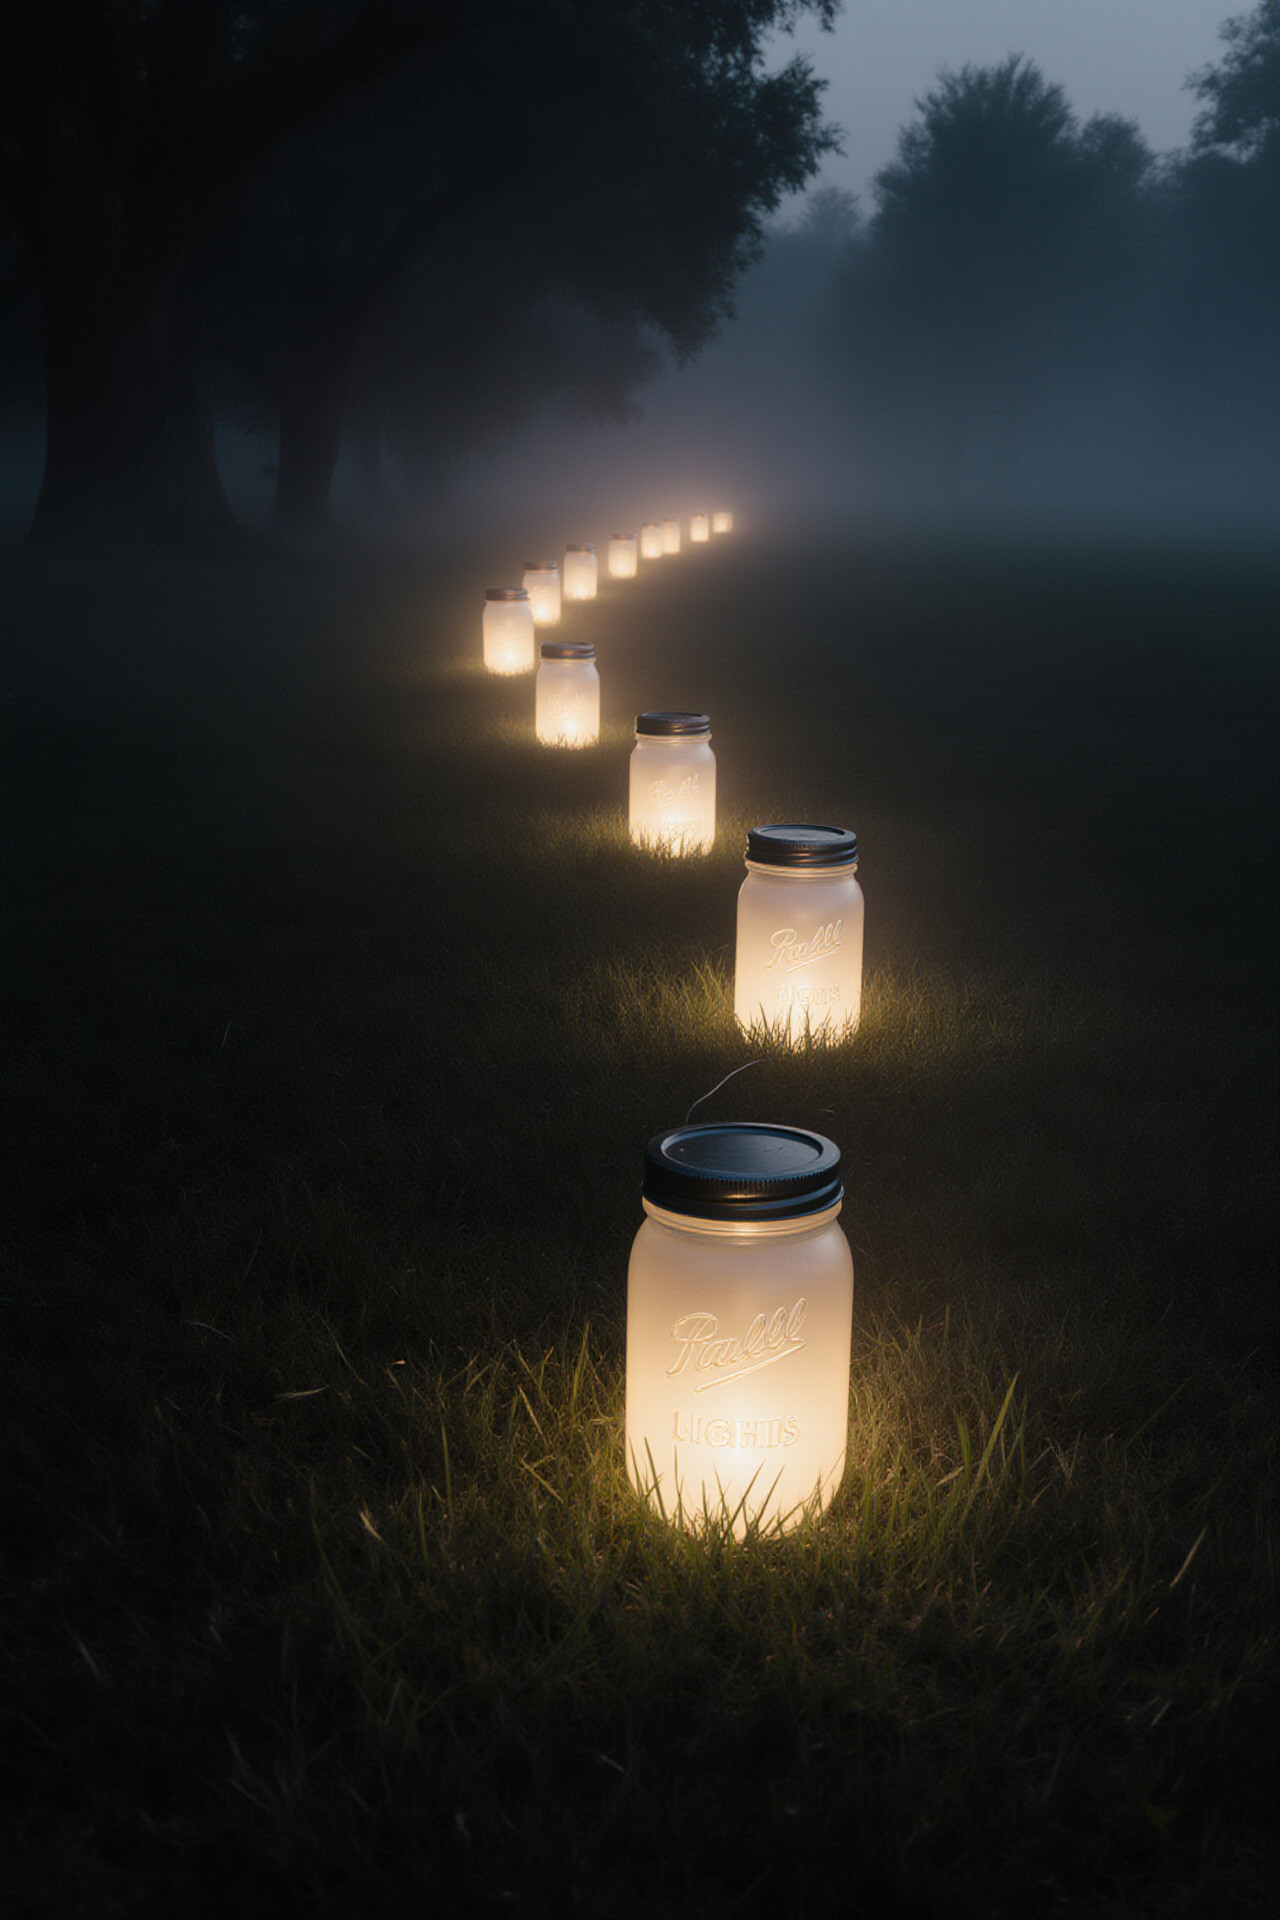
Fill clear jars with a mix of faux fog and soft lighting so they look like ghostly lanterns. Place them along a path or driveway so the glow stays low and eerie.
Start by adding LED tea lights or small battery fairy lights inside each jar. For the “fog” effect, stir a little polyester fiberfill or thin white craft pom poms around the light so it looks like mist. Seal the lid loosely or use jar bands so you can swap batteries fast.
2. Spooky Skeleton Hand Planters
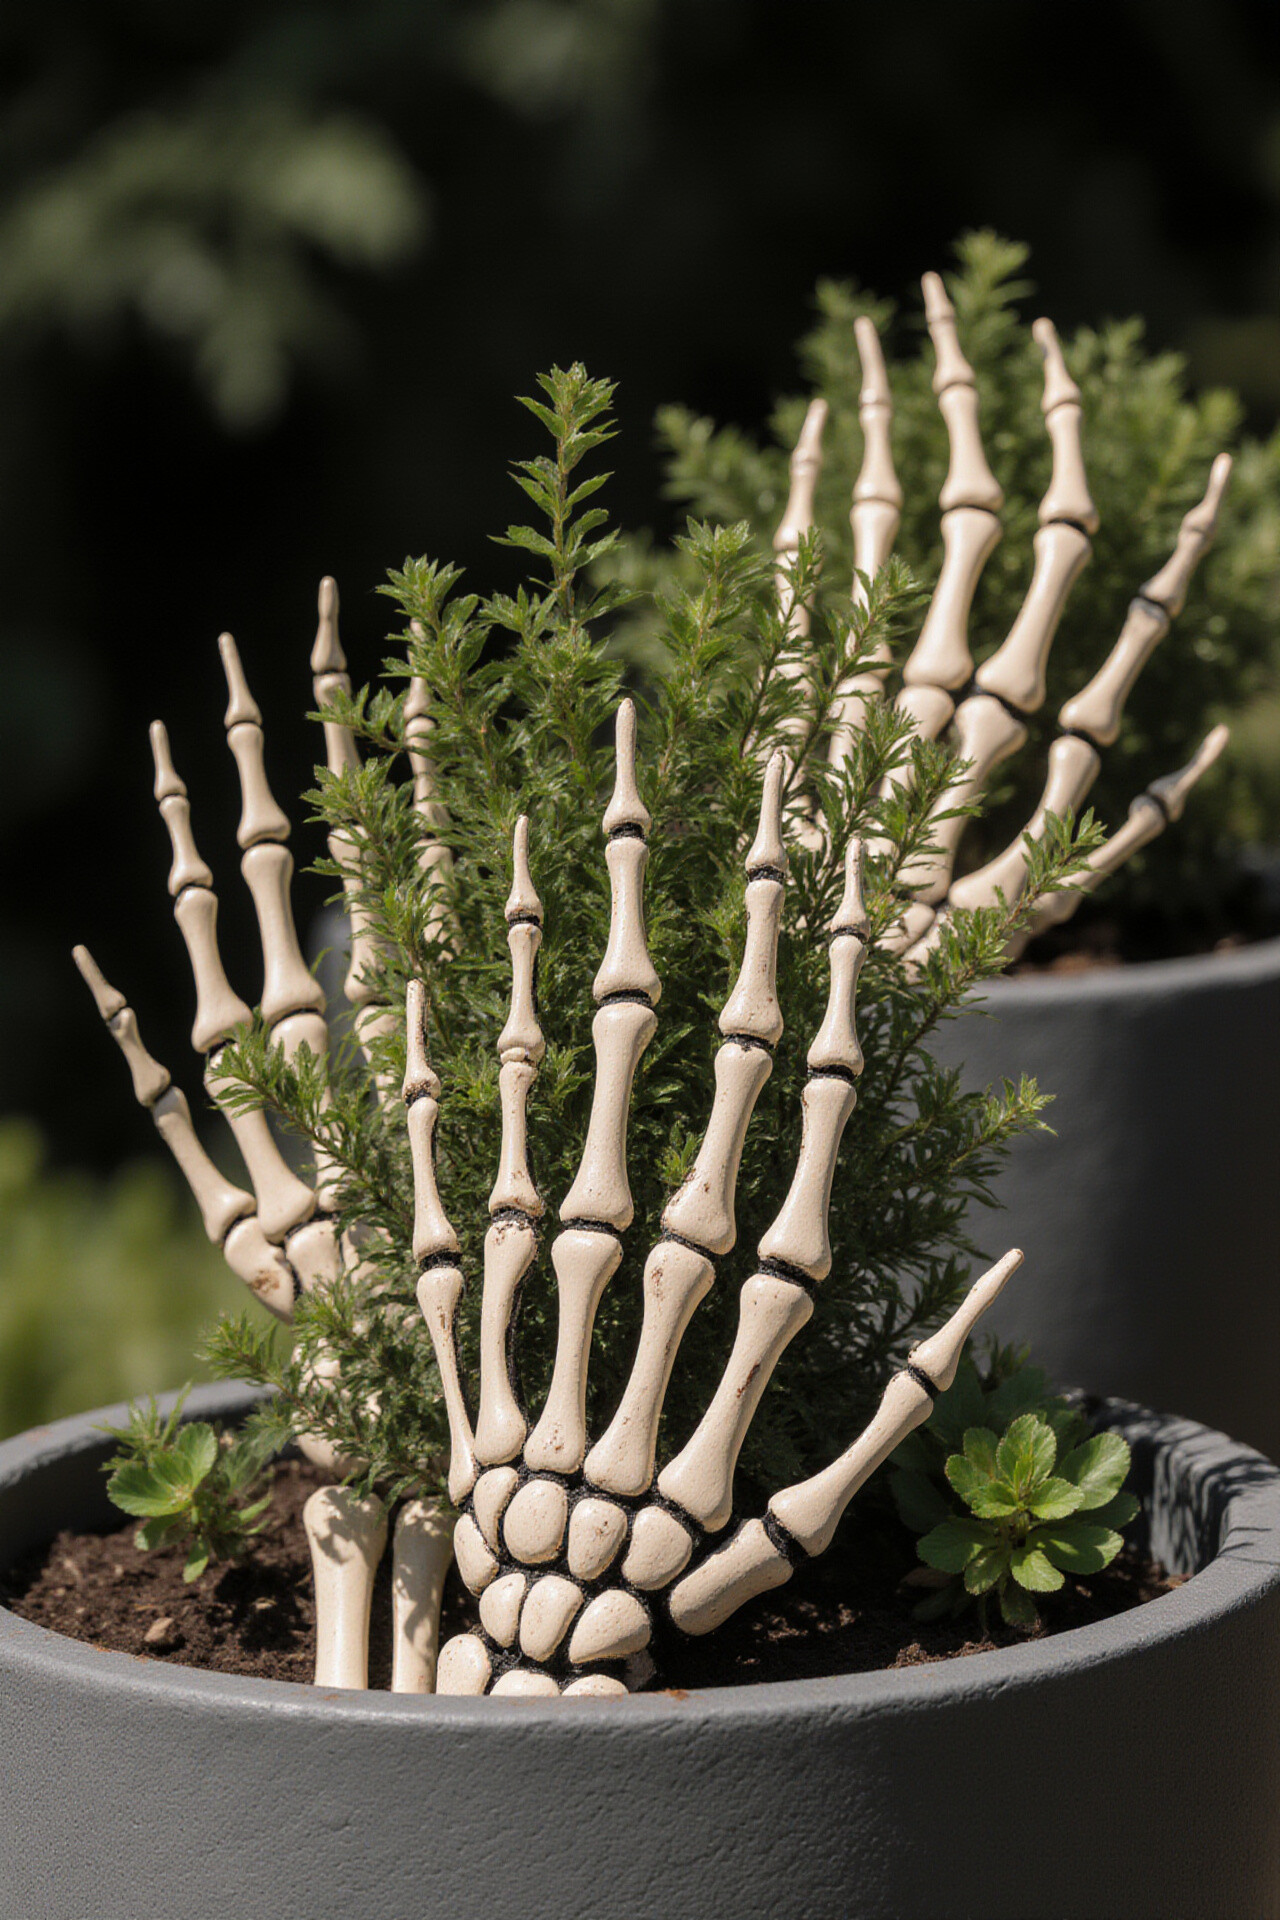
Turn old gloves into skeleton hands that “grow” from your yard plants. They look funny and scary at the same time.
Coat a pair of gardening gloves with a thick layer of white latex or fabric paint, then outline knuckles and fingers with black paint to mimic bones. Fill small planters with potting soil, tuck the “hand” into each container, and insert low plants like mums or herbs.
Use an outdoor sealant for weather protection, especially for rainy climates. If you want a trending look, add a touch of greenish moss paint near the fingers like the plant is creeping into the hand.
3. DIY Ghosts on the Fence With Cheesecloth
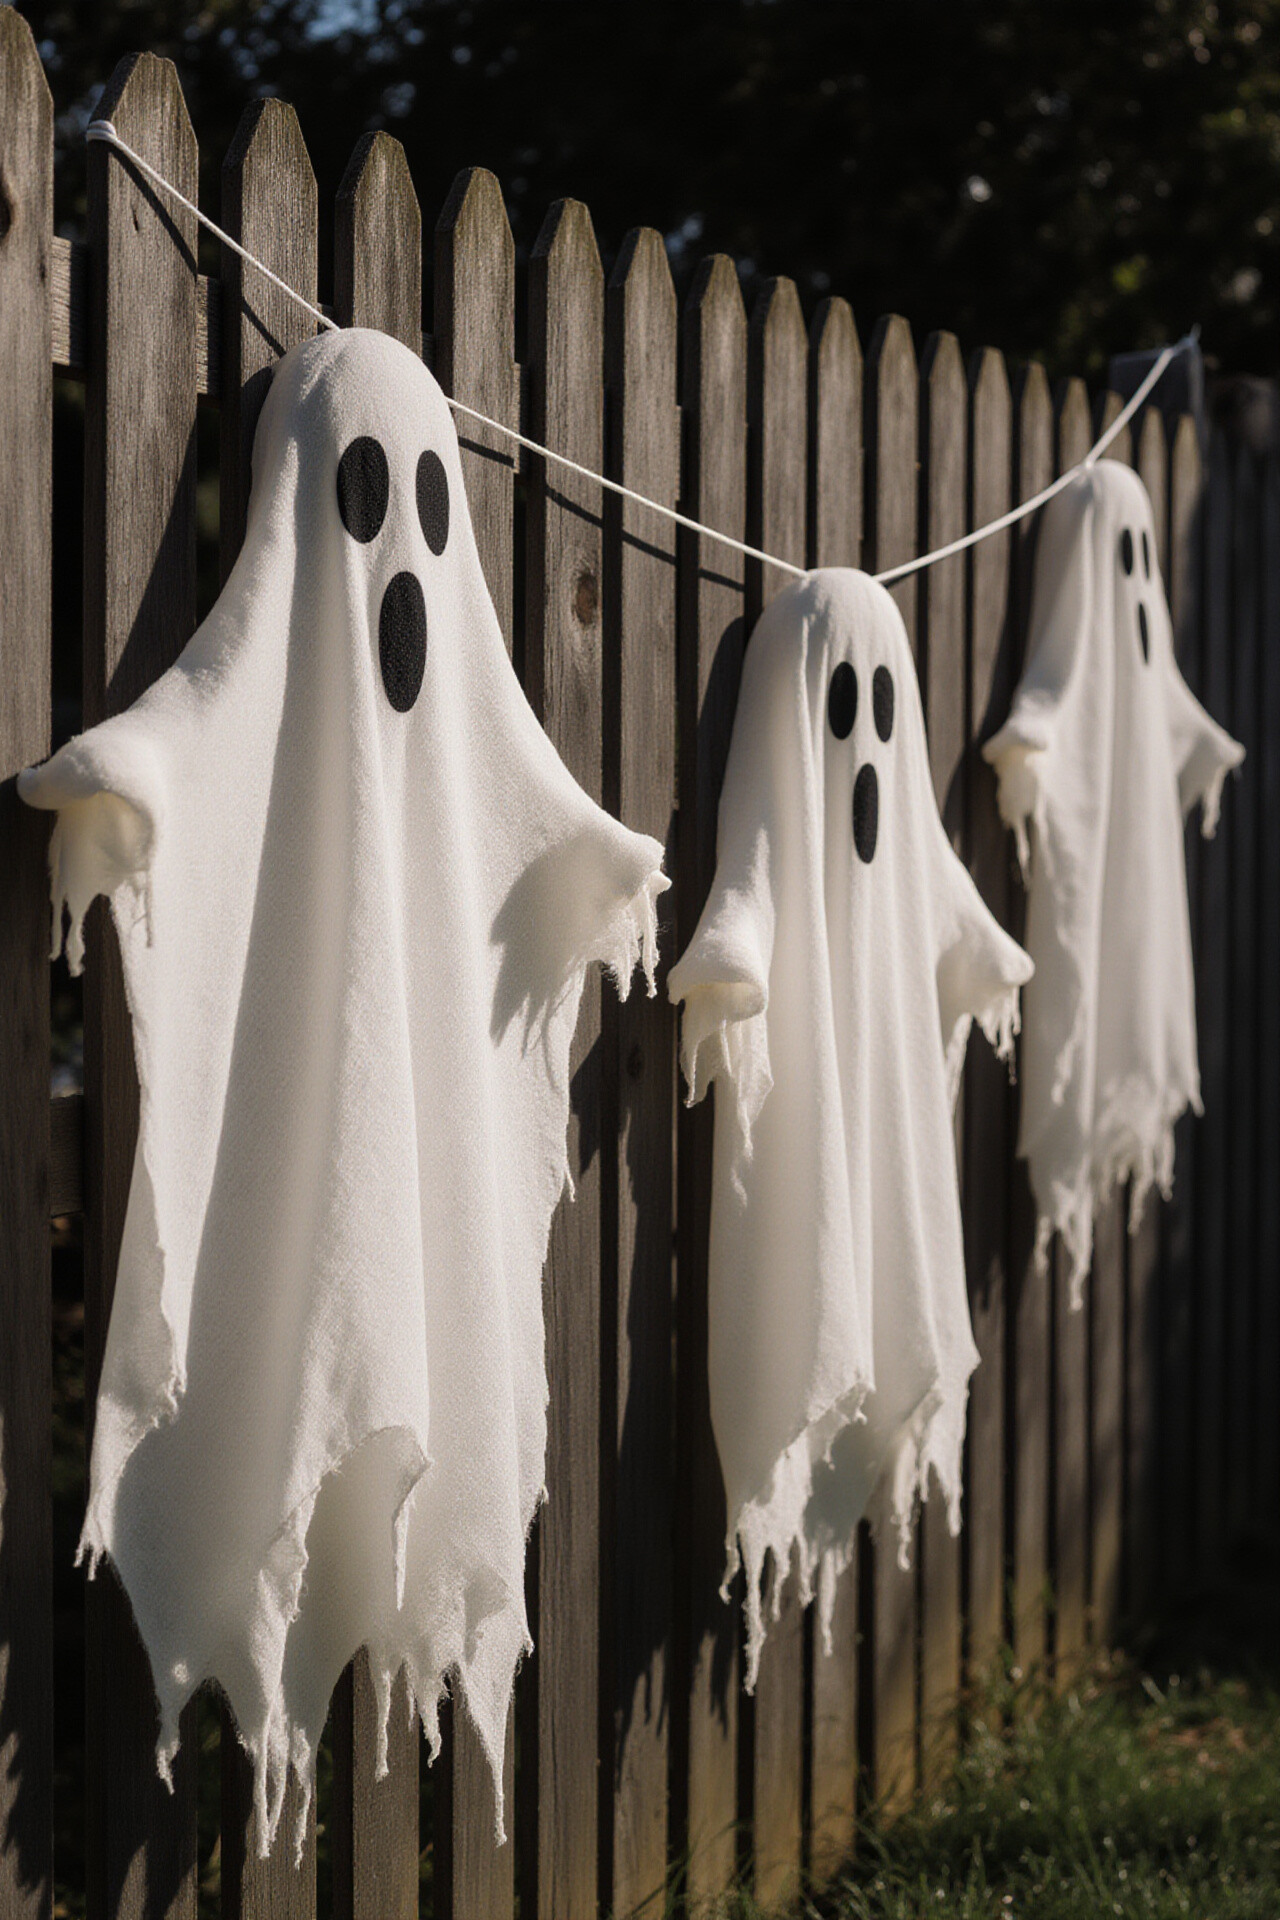
Drape light cheesecloth over a simple frame to make ghost shapes that sway in the breeze. The fabric creates a soft, spooky motion without heavy props.
Form each ghost by stretching cheesecloth over a hoop, then tie off the bottom with twine so it gathers like a sheet. Draw simple eyes with black marker or use small stitched buttons, and hang the ghost from fence posts at different heights.
To keep them from tangling in wind, secure the top with clothespins and add weighted corners with small stones inside a tiny fabric pouch. Personalize with color by lightly misting the cloth with gray spray paint or diluted black paint for an aged look.
For cost control, check craft stores for clearance cheesecloth and buy LED mini lights that match your budget. This decoration matches current trends for airy, movement-based yard decor that doesn’t require drilling.
4. Chalkboard “Haunted Directions” Yard Signs
Create a set of chalkboard-style signs that guide guests toward imagined “tricks.” It’s a clever way to add personality while keeping the setup simple.
Use weatherproof chalkboard paint on scrap wood, then write spooky directions like “Follow the lanterns” or “Turn back at midnight.” Add small arrows with white paint marker, and mount the signs near the walkway or along the curb using stakes.
5. Witch Hat Luminary From a Bucket
Make a witch hat that glows from inside a yard bucket so it looks like a magical spell has landed. The silhouette is bold and easy to spot from the street.
Cut a bucket or use a cheap plastic container as the base, then attach foam or cardboard to shape the brim and crown. Spray paint the whole hat black or deep purple, and place a warm LED candle inside to cast a safe amber light.
To make it unique, add “stitches” with a paint pen along the brim and a striped ribbon around the middle. For practical tips, reinforce the brim with a light wooden dowel or sturdy wire so it stays flat after outdoor use.
6. Candlelit Pumpkin Door Frame With Spiders
Turn your doorway into a haunted welcome by building a “frame” of faux candles and spider accents. It makes your entry feel decorated even when the rest of the yard is simple.
Arrange small battery candles on a wreath base or wide board, then add webbing mesh across the top. Hot-glue plastic spiders at different sizes so some look near the candles and others hang lower along the frame.
Use flameless LEDs only, and test the light pattern before sealing everything in place. To personalize, swap candle colors to match your theme, like orange and black for a classic look or silver and purple for a modern twist.
7. Hanging Bats From Old Plastic Plates
Cut bat shapes from lightweight plastic plates so they flutter without being fragile. This craft gives a spooky look that moves when someone walks by.
Trace bat outlines onto plates, then cut wings with scissors or a craft knife if you’re experienced. Punch two holes near the “body,” tie fishing line through them, and hang the bats from tree branches or a porch ceiling.
For benefits, the plastic is easy to wipe clean after dusty days and it doesn’t soak up rain. If you want a cost saver, use mismatched plates in a single color family like black, matte gray, or even metallic.
8. Haunted Tire Graveyard With Painted Stones
Old tires can become mini graves when you stack and paint them into a spooky yard corner. It’s a rugged Halloween look that also reuses materials.
Stack one or two tires and cover the top with soil or potting mix, then paint “tombstone” rocks and stones in white, gray, or black. Arrange them in a small curve so they look like they’re emerging from the ground, and add one larger stone as a focal point.
Use waterproof paint and seal it with outdoor clear coat so the stones don’t fade quickly. For practical tips, add solar path lights nearby so the area glows after dark and the grave shapes stay visible.
To personalize, write fun “headstones” with short phrases like “Stay Out” or “Boo Crew,” then spell-check before you paint. This style fits a current trend for upcycled, texture-rich decorations that look great in photos.
9. DIY Floating Candle Bags in Lanterns
Create an eerie “floating flame” effect by placing tissue paper around LEDs inside lanterns. When the wind moves the paper, it looks like ghostly candles are hovering.
Choose outdoor-safe lanterns or even sturdy glass jars with handles. Put a flameless candle in the center, wrap thin tissue paper around it like a skirt, and tie the top with twine so it stays snug but breathable.
Add a few fake cobweb strands across the lantern opening for a haunted finish. For personalization ideas, mix tissue colors like white for classic ghosts or pale green for a more witchy vibe.
Cost-wise, tissue is cheap and easy to replace if it gets crumpled. For tips, keep lantern bases flat and weight them with sand so they don’t tip on windy nights.
10. Scary Crows on a Branch With Burlap
Dress up an outdoor branch with crows made from burlap scraps for a classic spooky feel. They add texture that looks great close up and from far away.
Shape burlap into a simple body form, tie off the bottom, and add a paper beak or foam triangle for the face. Create wings by pinching and tying more burlap pieces, then fasten them to the sides with twine.
For practical tips, use hot glue sparingly and secure with stitches or wire if the birds will be exposed to heavy wind. Personalize by painting the eyes with small dots and adding a strip of ribbon around the neck like a tiny “scarecrow” style.
11. Mummy Porch Wrap With Old Sheets
Wrap a porch column, railing, or mailbox with old white sheets to make a mummy scene. It’s a simple setup that instantly makes your yard feel themed.
Start with clean, dry fabric and secure it with painter’s tape, twine, or zip ties so it doesn’t slide. Leave a little “face” area near the top, then add black paint smudges or marker dots for eyes and a mouth.
To make it unique, add small tattered edges by cutting the sheet strips unevenly and pulling at the fibers. If you want to follow current trends, pair the mummy with warm string lights for a cozy-but-creepy look.
For cost considerations, use sheets you already own or check thrift stores for inexpensive fabric. Outdoor sealant isn’t required if it’s only light rain, but if weather is harsh, keep the wrapping slightly elevated.
12. Glow-in-the-Dark Skull Stones in Planters
Turn regular garden stones into glowing skulls by painting them and sealing a clear topcoat. The glow effect makes nighttime look extra magical.
Paint stones to resemble skull shapes using white paint, then add eye sockets with black paint. Sprinkle a tiny amount of glow powder inside the eye area or on the cheek lines, then seal the whole piece with outdoor-safe varnish.
13. Giant Spider Web Corner With Stretch Fabric
Build a dramatic spider web in one corner of your yard so it looks huge and intentional. This kind of “statement corner” is great for photos and curb appeal.
Use a mix of lightweight stretch fabric, white string, or webbing mesh draped from one support point to another. Anchor the web at a fence post, trellis, or between two trees, then pull the strands tight in a spiral pattern.
Add a large plastic spider on the edge for impact, and place smaller spiders in clusters for realism. For practical tips, secure knots tightly and check tension after wind so the web doesn’t sag before Halloween night.
14. Trick-or-Treat Cauldron With Hanging Treat Tags
Make a cauldron that holds candy and looks like it’s brewing secrets on your porch. The hanging tags add charm and keep visitors excited while they wait.
Use a plastic storage bin or metal-style bucket, then paint or wrap it to look cauldron-shaped. Add a flameless light inside, and hang small paper “spell” tags from a ring or hook so they flutter slightly.
For personalization, write tags like “Boo-nanza,” “Hex Refund,” or “Charmed Chocolate,” and swap them each year if you like fresh themes. For cost considerations, print tags on cardstock and laminate or seal them so they survive damp weather.
This decoration also supports current trends for interactive, kid-friendly Halloween props. Just make sure all light sources are flameless and safely secured so they stay stable in the open air.
15. Window “Haunted Eyes” With Paper Lantern Faces
Create haunted window eyes by turning paper lanterns or cardstock circles into staring faces. It’s a fun craft that also looks surprisingly spooky when lit from inside.
Cut simple eye shapes from black paper, attach them to circular lantern covers, and add a small nose or brow line with marker. Place warm LED lights inside the lanterns so the eyes glow outward.
Mount the lantern faces in front of windows with removable hooks so you can remove them after Halloween easily. Personalize by making different expressions across the set, like calm, angry, or surprised, for a playful “haunted household” vibe.
16. Outdoor Spirit Wreath With Pinecones and Webbing
Craft a spirit wreath that hangs on your door or garage with webbing, pinecones, and a soft ghostly color palette. It sets the tone for the whole yard without needing a big footprint.
Use a foam wreath base, then wrap it with thin strips of white fabric or faux spider web. Glue pinecones and small faux leaves around the edges, then add one or two faux skeleton hands or tiny floating skull ornaments for extra character.
17. Potion Bottle Cluster From Glass Jars
Make a potion bottle cluster by turning clear jars into “brews” with colored water and labels. It looks like a witch is preparing spells right near your walkway.
Mix food coloring with water for the liquid look, then place the “potions” into a tray or group them along a fence line. Add labels made from waterproof paper, cut into strips or tag shapes, and tie them with twine or attach with clear tape.
To avoid mess, use lightweight jars and keep lids secure, especially if kids or pets might bump them. For practical tips, choose a consistent color theme, like emerald green and midnight blue, to make the cluster look designed rather than random.
18. Haunted Snow Globe Yard Scene With a Big Clear Container
Build a yard-sized “snow globe” scene using a large clear plastic container and simple mini props. Even if it doesn’t snow, the effect feels magical and cinematic.
Set a base like a small shelf board inside the container, then glue down fake grass and place mini tombstones, a tiny haunted house, or a spooky tree. Add a “shake” element by using loose faux snow or glow beads, and position the container near a porch light for a spotlight look.
Personalize by matching the mini scene to your yard theme, like adding skulls for a classic Halloween vibe or adding bats for a midnight flight theme. Cost considerations are easy here because you can reuse containers and mix in thrifted mini decorations.